Updated Pantry
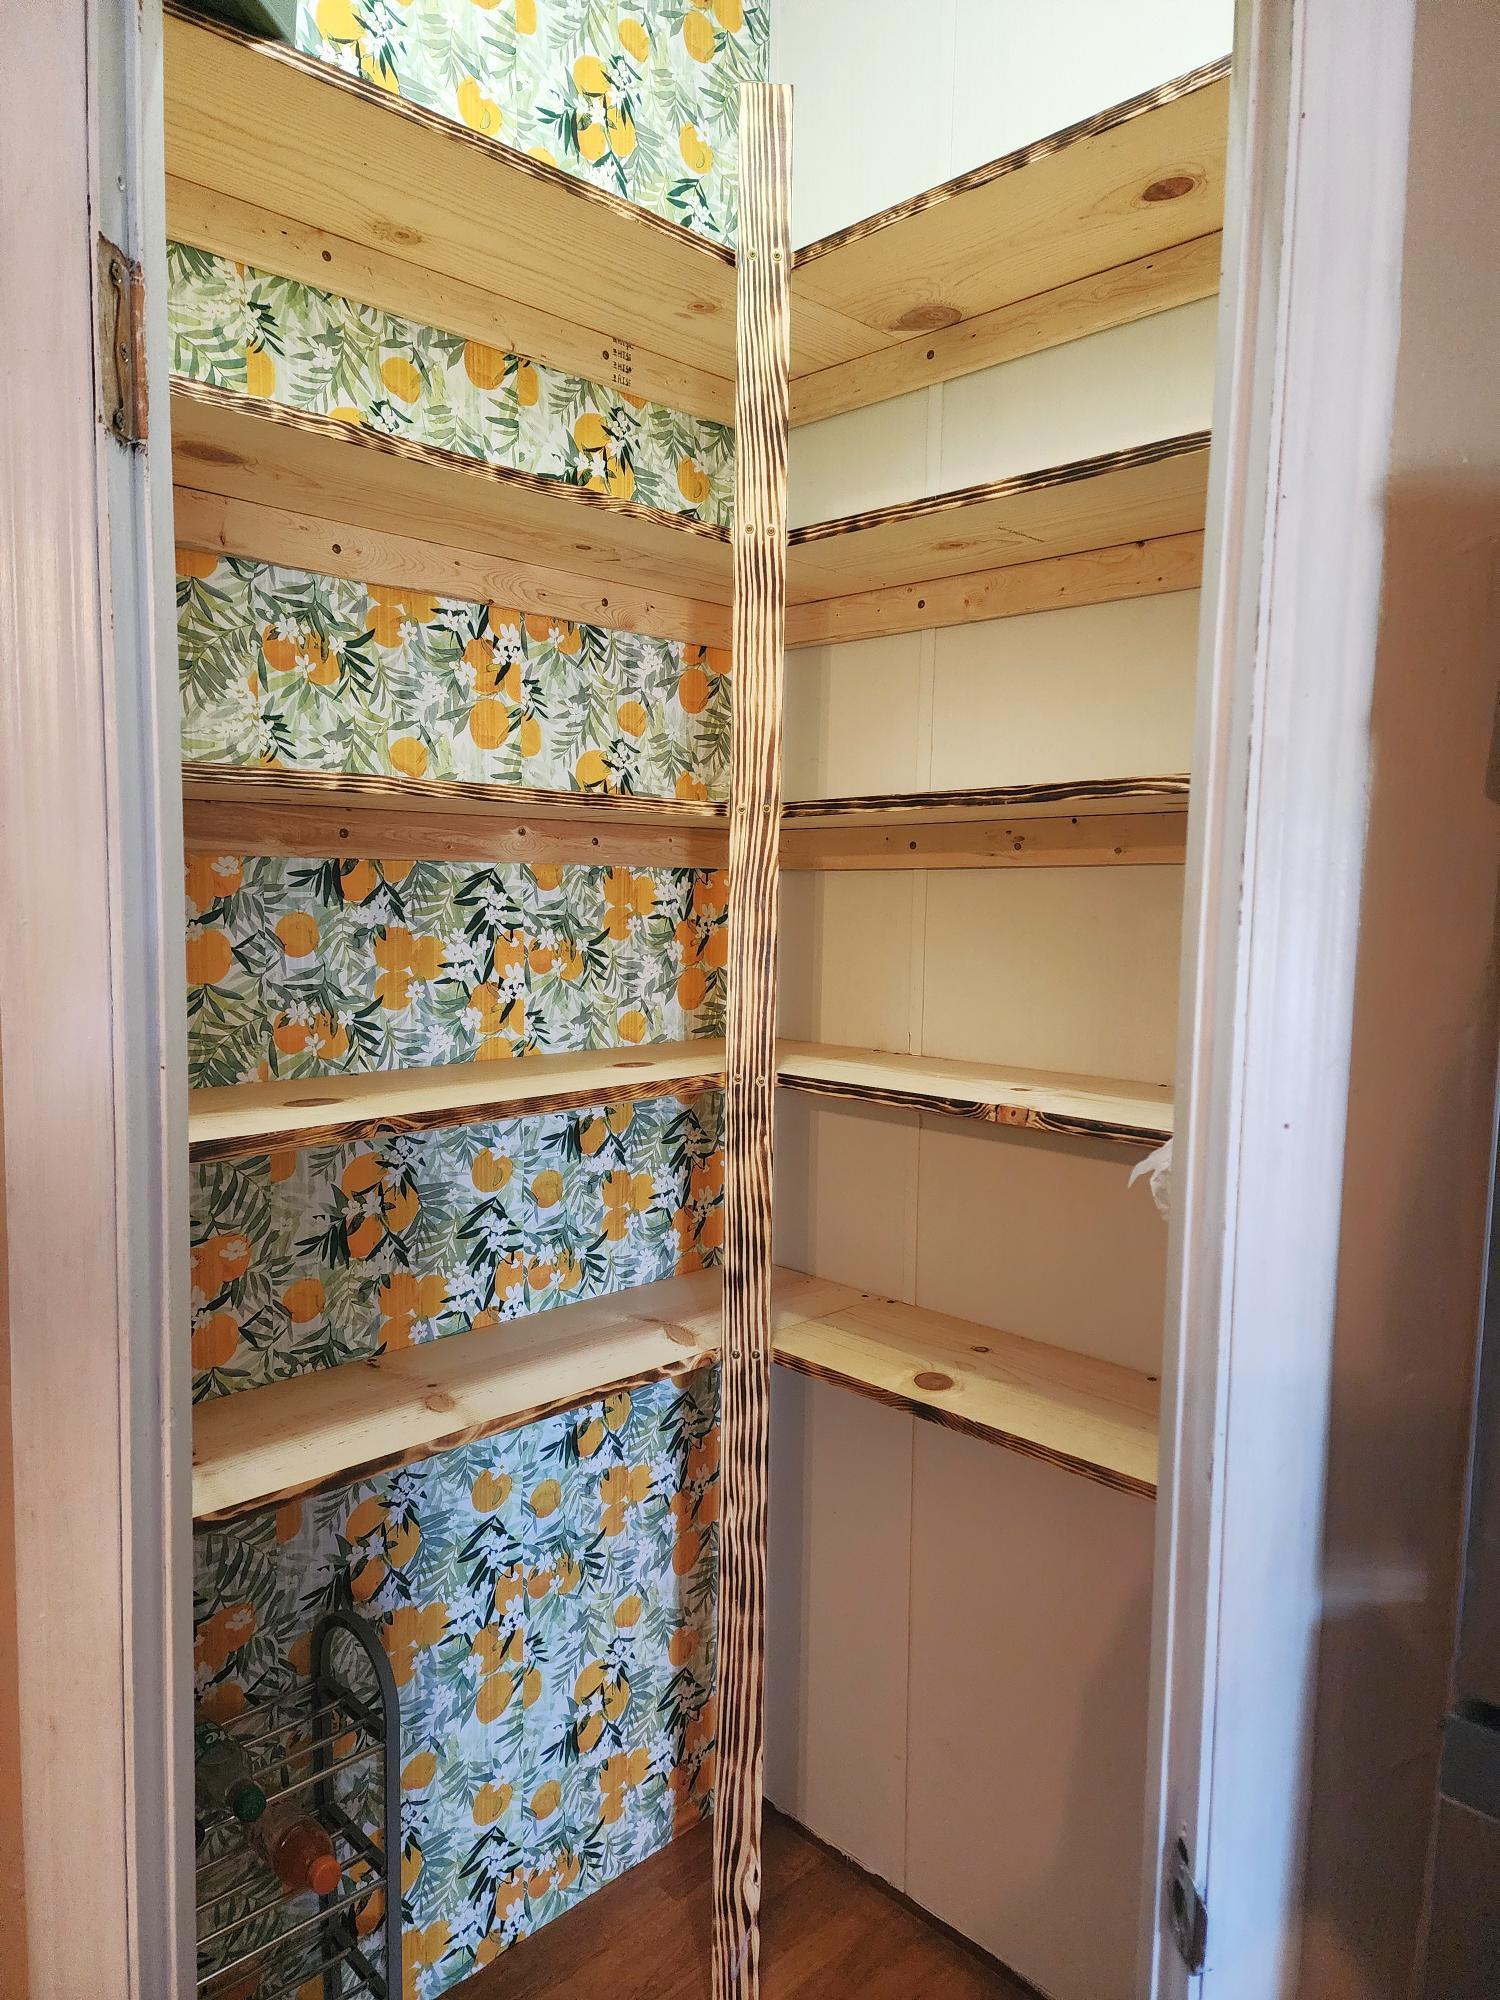
Replaced our wire metal shelving with this easy to follow plan. My first time doing a project like this and it turned out amazing!
Lindsey


Built from Plan(s)
Replaced our wire metal shelving with this easy to follow plan. My first time doing a project like this and it turned out amazing!
Lindsey

Our two boys are really starting to get into Legos so we knew we needed a place for them to play (especially after repeatedly stepping on Legos--ouch!). My husband designed this simple plan after looking at some expensive designs online. He cut a small notch out of the top so legos can be pushed into the storage container. We just used a simple under bed storage box, which is great because it is large and holds a ton of legos.

This was my first ever project. I initially intended to use it for office storage but it ended up taking its place in the kitchen - and proving most useful for storage there too!

We altered our plans as my dining room could only accomodate a 7 ft table! This was out first DIY that was this large of an undertaking and we love the way it came out. If we can do this as woodworking novices you can definately do it!


Utilized your plans for this porch bed swing! Looks great on the porch. Couldn’t find anything solid in the ceiling to hang it from so I installed my own joists with rafter hangers attached to the walls. Should hold long term.


Mom's Fancy Farmhouse in California King, Glazed.
I used the headboard measurements from the original plan, and the width/length measurements from the California King plan. My first plan was to distress (above picture) and I loved it, but when I brought it downstairs it didnt really match... So I repainted and Glazed :) Not to bad for buying my first "power tool" less than a month ago!!


I'm homemade woodworker. This is my first job!


Thu, 06/19/2014 - 21:49
Very nice looking! I really like the blonde stain.

My wife found this post on Pinterest and asked if i could build it. The hardest part was cuting the angles wit the jig saw because i can never get it to cut square and i have a little OCD about that sometimes. I ended up using my table saw a little. I would not recommened that though. If i had acess to a band saw stand that would have ben perfect.


I loved this project so much!! The best part of it for me was I didn't spend any money! I literally used scrap boards I had from rehab projects I had completed around my little cozy cottage. Some of the boards were already painted in Polar Bear by Behr in gloss finish. The other boards are unfinished common boards. Including this room I finished 2 weeks ago!
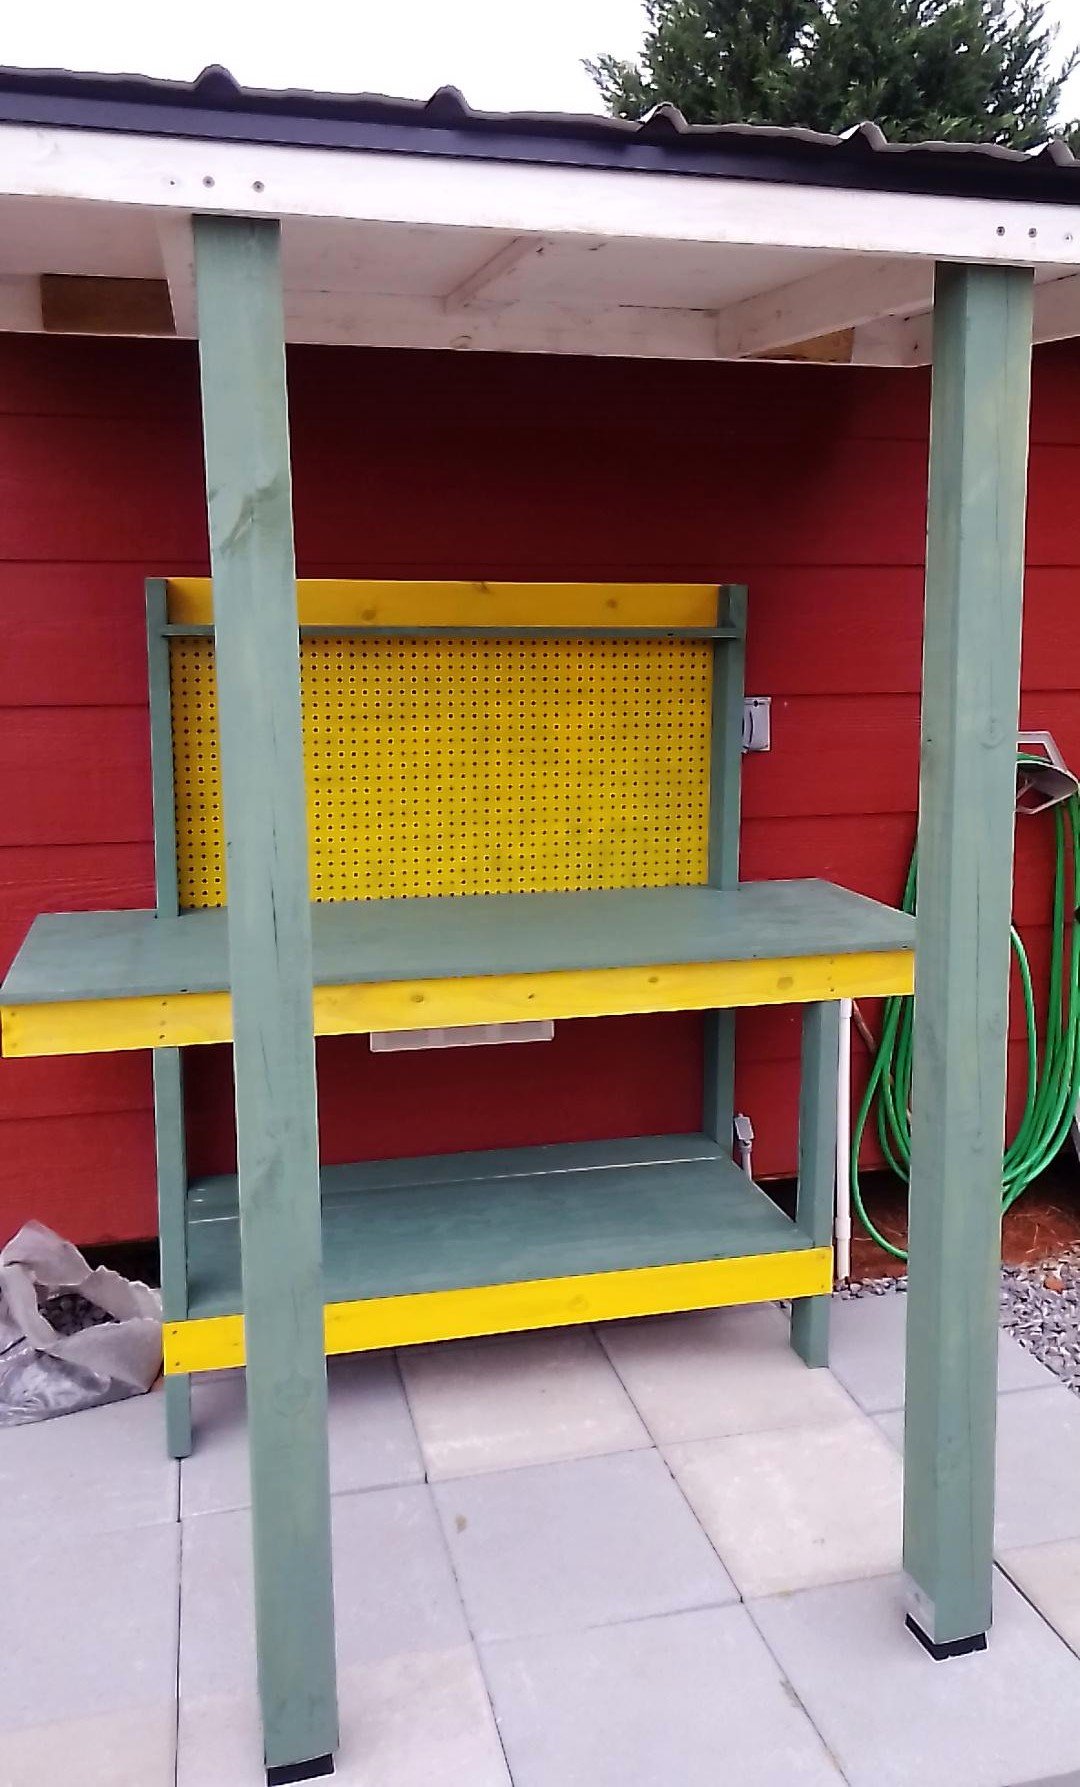
An expansion of the 2x4 potting bench.


I didn't use any plans but the Outdoor Ottoman comes really close. Needed an end table to go with our Outdoor Sectional that my husband and I built. While he was at a ballgame I whipped this up. Still have to sand and stain this as well as the sectional, but will probably do it as a winter project. We bought the 1x4s a while ago when we bought the 2x4s for the sectional so I wasn't exactly sure of the cost. I think I used 2 1/2 pieces of 8' lengths. Who would have thought a couple of years ago that so many of us would have attempted to build furniture and then even without a plan now and then?! Ana rocks! :)

This is our first build. Instructions were easy to follow but we didn't go much on the bottom center drawer runners!
I love the second layer of slide out drawers we use for the printer , paper and electronic gadgets!

Wed, 06/25/2014 - 05:37
Love this. What great mods and you even tackled drawers for a first build?! I'm too chicken and still haven't tried. Especially love how you used slide outs in the middle. Clever!

We love the look of farmhouse tables but we wanted to try building our own rather than spending over $1500 on one.
We saw this tutorial on pinterest and we decided to make it our first woodworking project, we love how it turned out!
Wed, 09/21/2016 - 20:22
You did a great job, can't believe it's a first project! What's next?:)

Thu, 09/22/2016 - 09:15
Truly amazing first project! Can't wait to see what's next for you guys! Ana
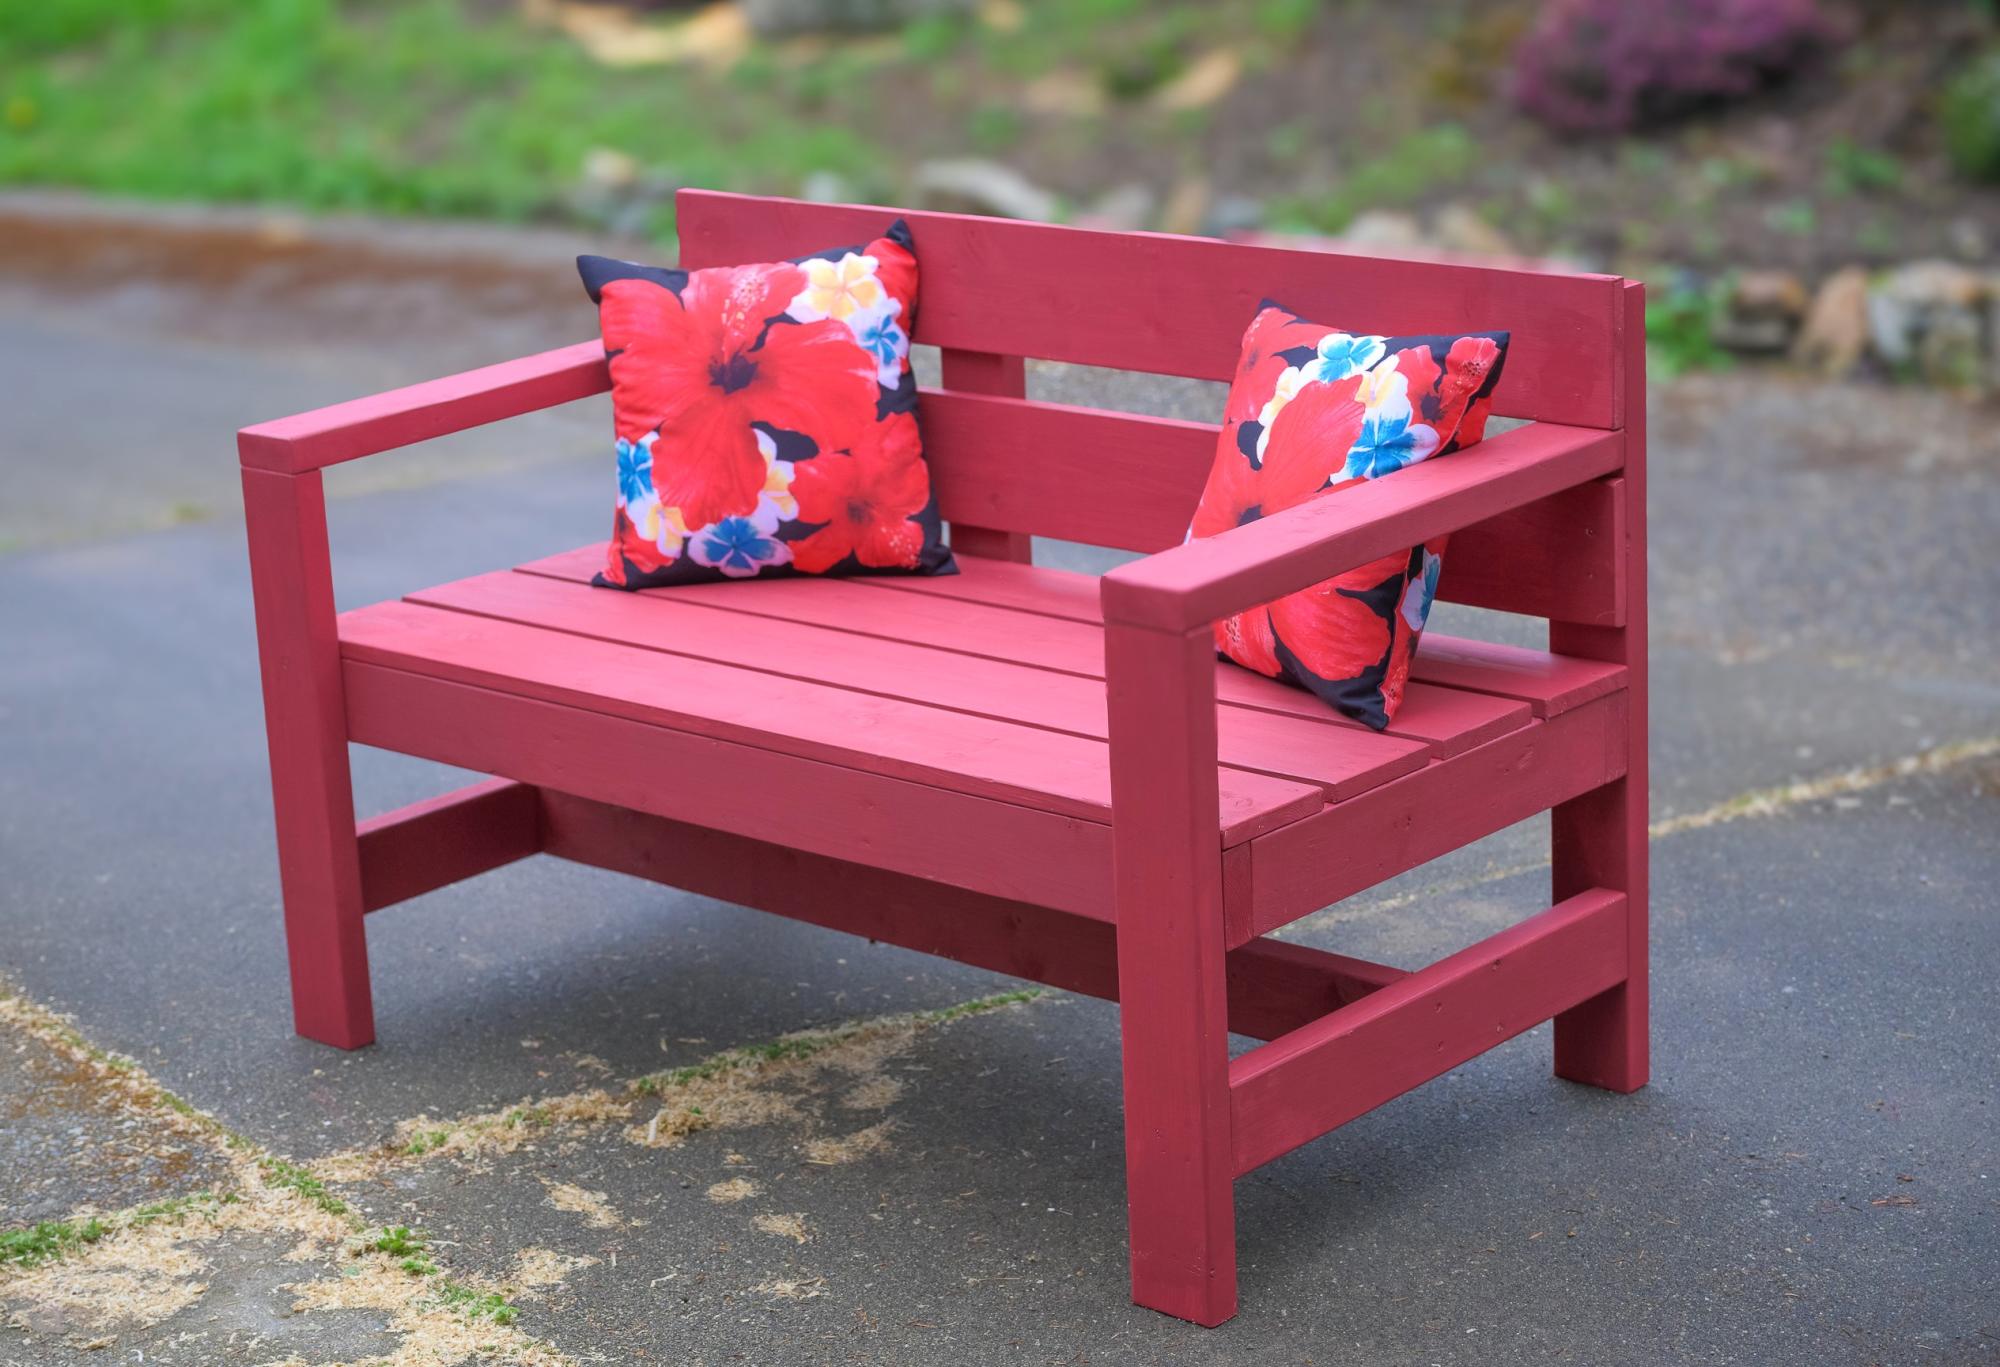
I am new to this. I used your plan but reduced the lenght by 24 to make a 2 seat Garden Bench. I used softwood and painted with this outdoor paint. Thanks for inspiration and plans. I am located in Victoria, British Columbia, Canada.

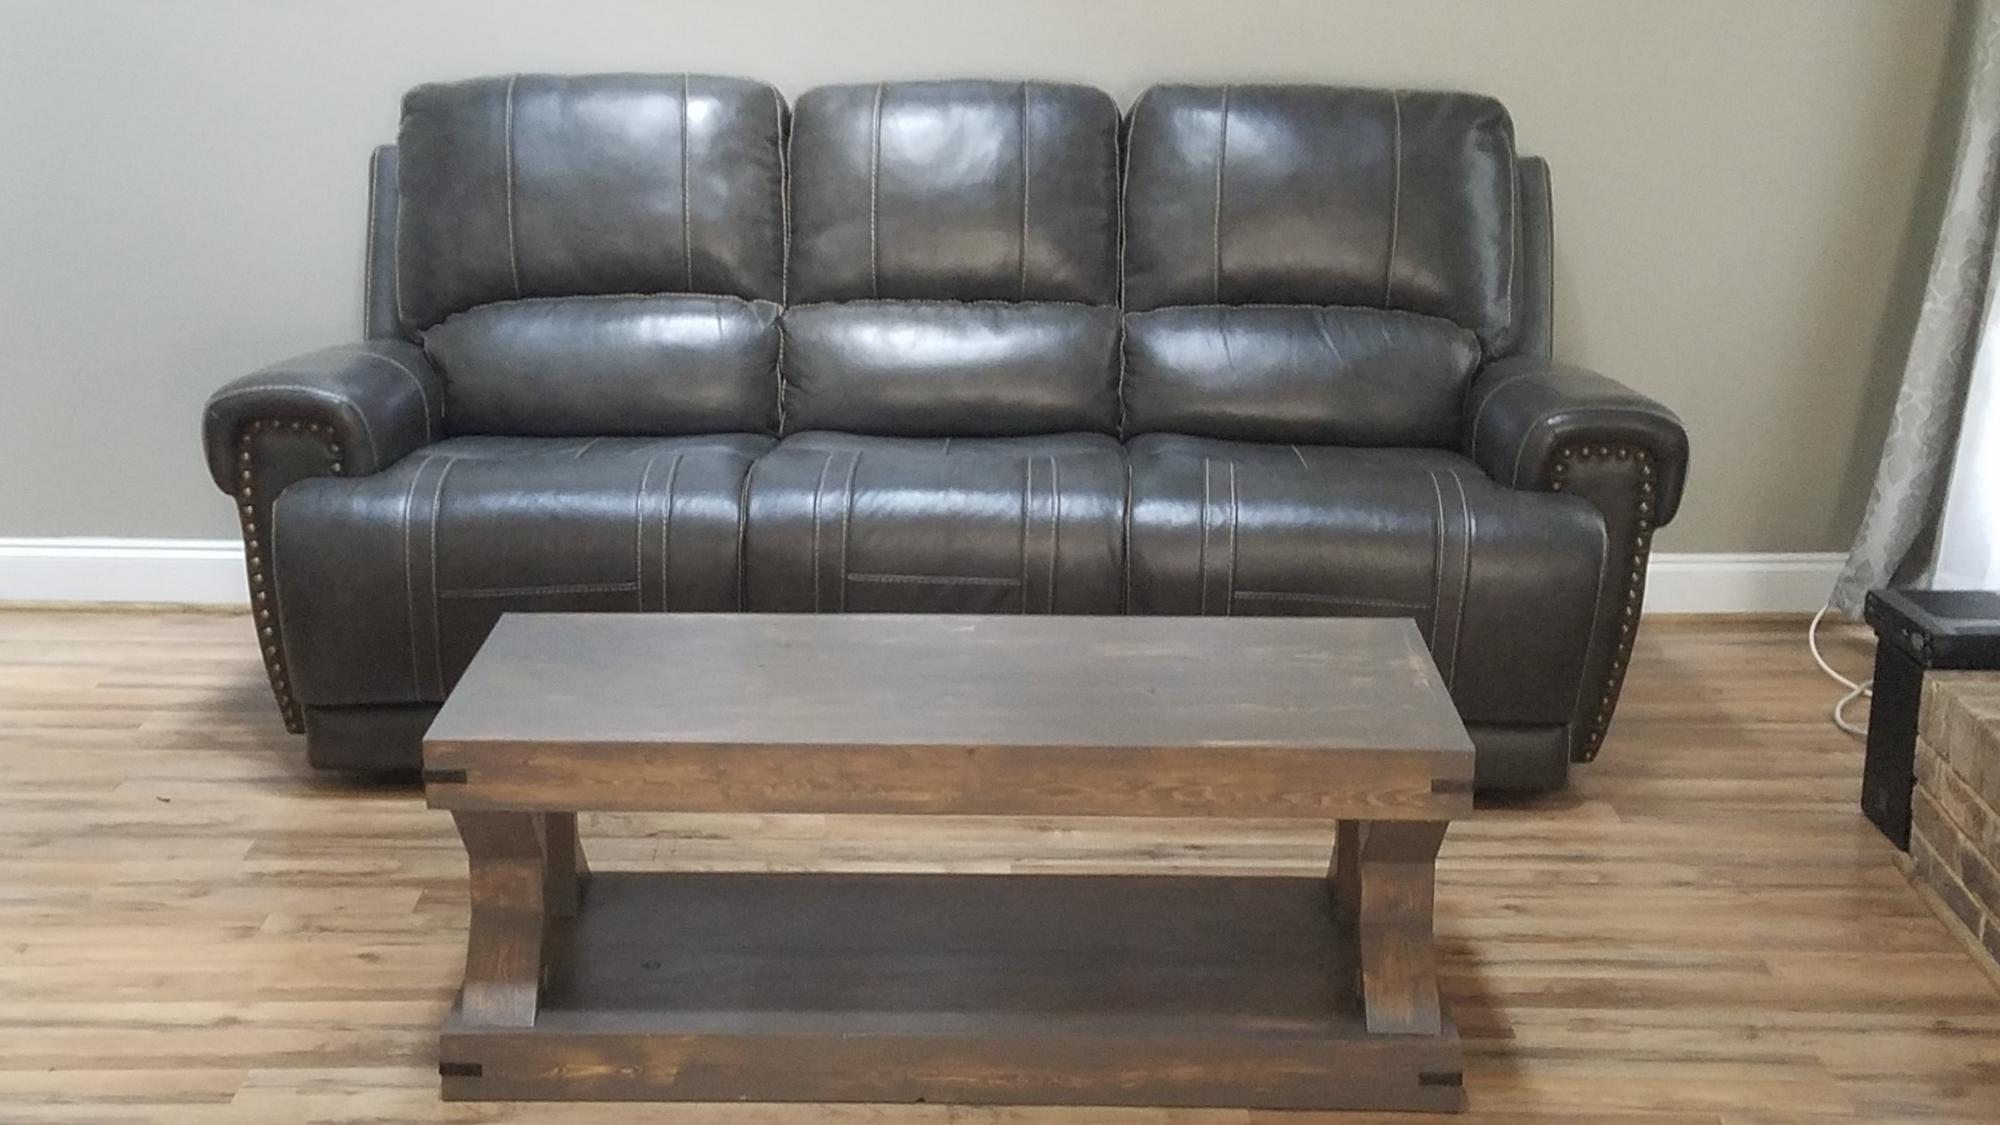
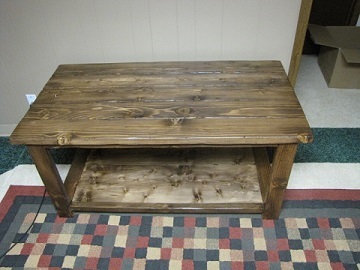
After the high of finishing my first build (http://ana-white.com/2012/08/farmhouse-table-rustic-table), I was quick to find my next fix. My mom was so impressed with the table, she trusted me to build her another piece of furniture for our very empty new home. She liked the look of this coffee table, so I adjusted the dimensions to meet her needs and away I went. It was pretty fun and not too difficult. It was a little more time consuming that I had anticipated, but that was mostly due to the two different finishes on the legs/apron and the top.


I cannot believe how easy and inexpensive it was to get the Pottery Barn look for SO MUCH less!


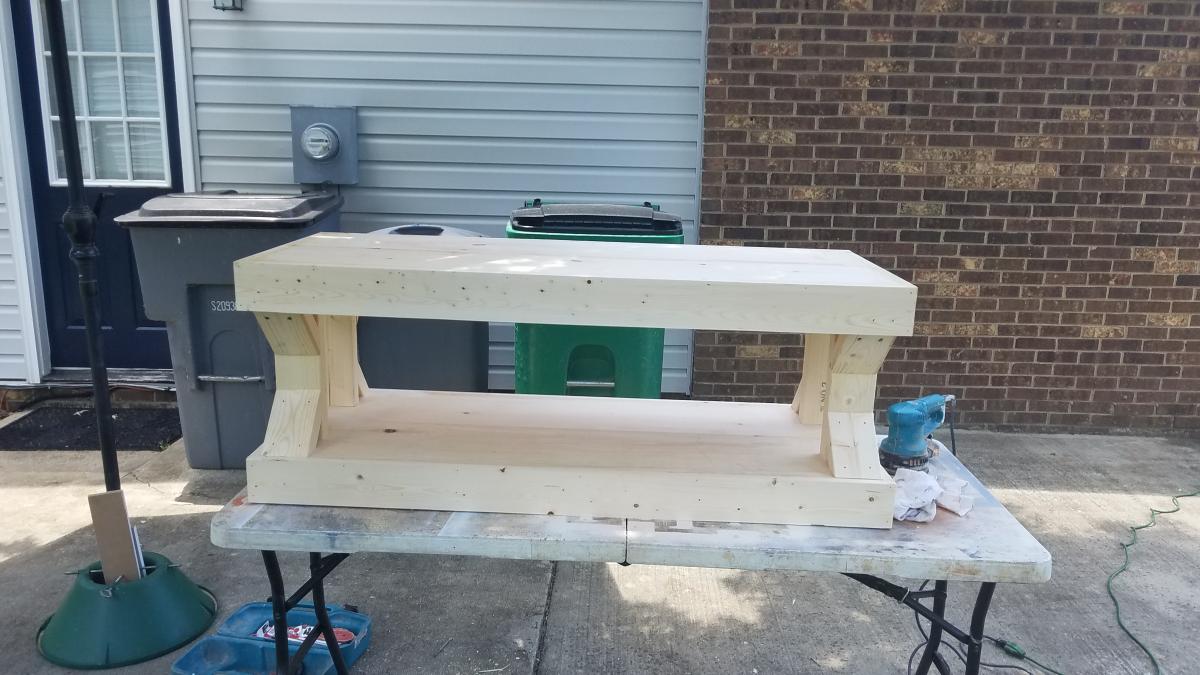
I modified the rustic x coffee table plans. I did not need a coffee table, but I loved the looks of this plan. I actually needed a TV stand for our basement, so I made this instead. I kept all of the dimensions the same except I made it 4" taller. I also took out the side "x's".
I used regular pine boards from Lowes. I bought a Kreg Jig, Kreg clamp and screws to get started, so my initial cost was pretty high just gathering all my supplies, as this was my first build.I wanted a rustic, worn look, so I chipped the wood, made fake cracks, etc.
I used Minwax Walnut Gel stain, and then went along the edges, over the cracks and knots with an Ebony stain. 2 coats of satin poly.
Can't believe how well it turned out. Next project is going to be the matching end table. Don't laugh at the size of the tv, it is all we have for the basement. We will be planning on getting an 55" for it and the kids to enjoy.


This bed is perfect for my small house. I used plywood for the drawers and made the 10" deep. I also burnt the wood paneling instead of using a dark stain. I'm so happy with how it turned out!