
Difficulty
Intermediate
| 
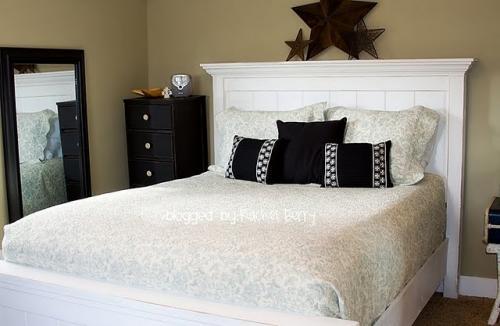
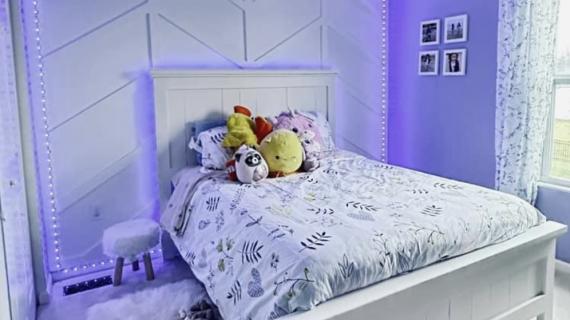
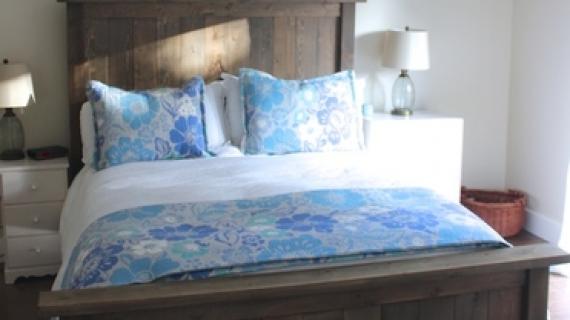
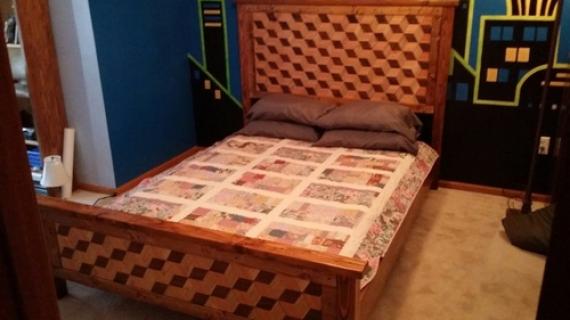
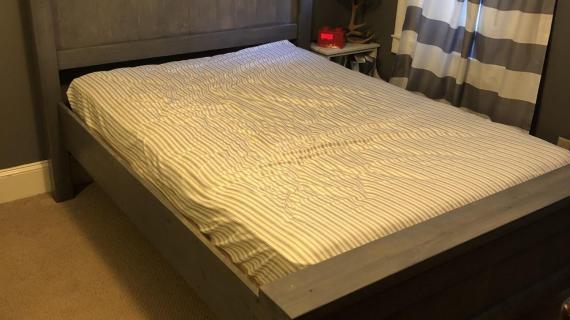
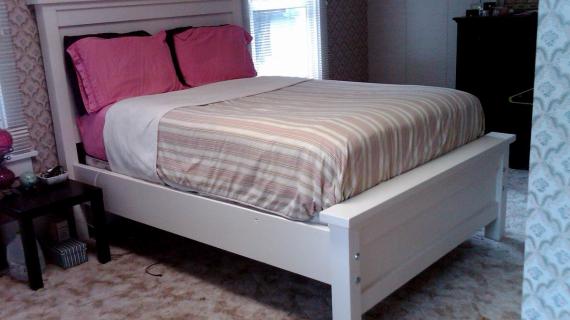
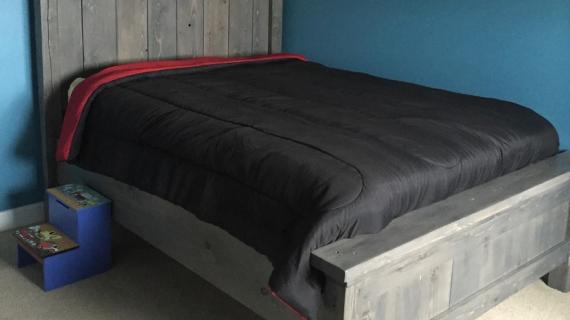
Build your own full size farmhouse bed. These Ana White plans use standard off the shelf lumber and basic construction. Since it's all wood construction, you can stain it beautifully!
Build a matching nightstand and stain or paint it for a complete set.
Collections
Dimensions
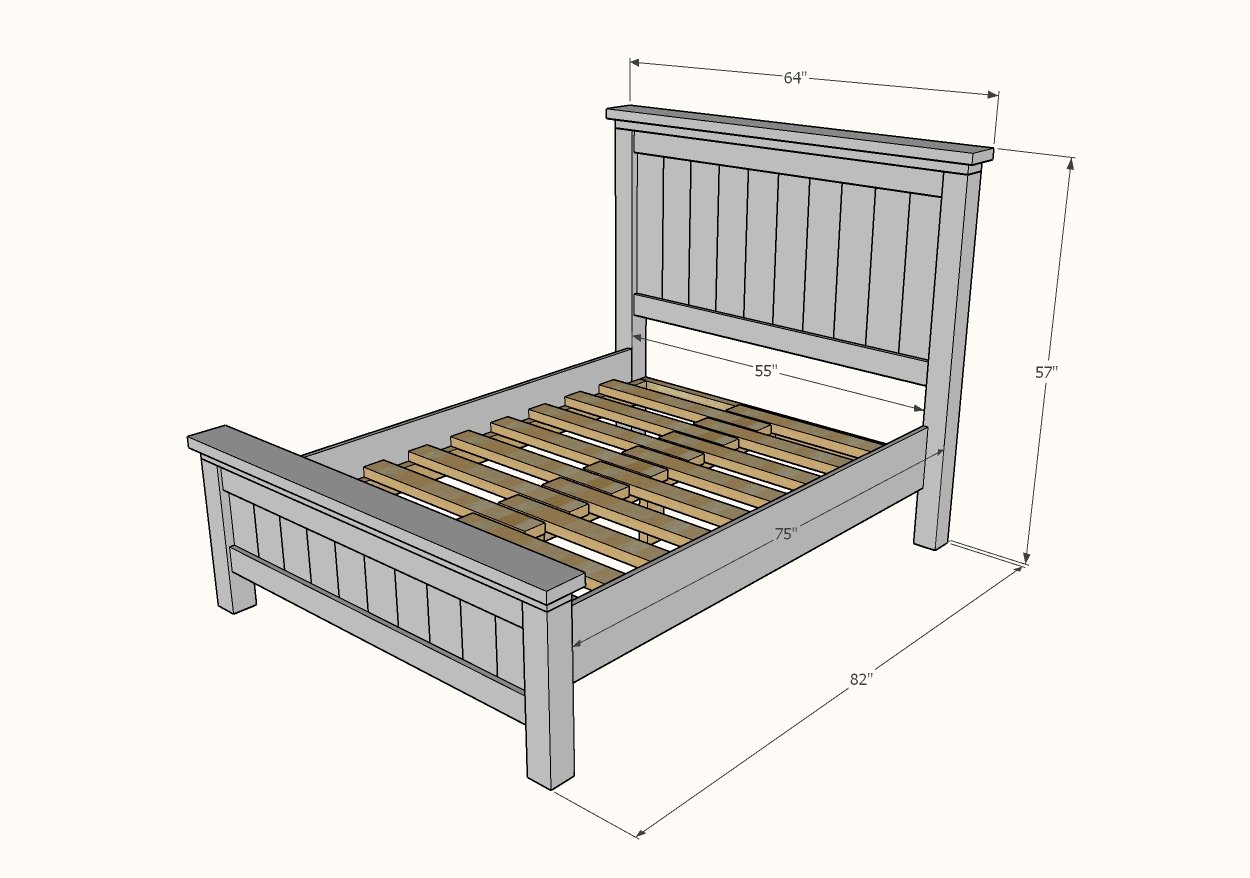
Fits Standard Full Size Mattress
Preparation
Shopping List
- 12 - 2x4 8 feet long
- 2 - 2x6 8 feet long
- 2 - 1x10 8 feet long
- 2 - 4x4 8 feet long
- 1 - 2x2 8 feet long
- 5 - 1x6 8 feet long
- 4 - 1x4 8 feet long
- 100 - 1-1/4" long brad nails
- 75 - 2-1/2" long self tapping wood screws
Common Materials
Cut List
HEADBOARD CUT LIST
- 2 - 4x4 @ 54"
- 2 - 2x2 @ 30"
- 10 - 1x6 @ 30"
- 2 - 1x4 @ about 55" - measure and cut to fit as to match the width of your 10 1x6 boards
- 1 - 2x4@ about 62" - measure and cut to fit as you are building
- 1 - 2x6 @ about 64" - measure and cut to fit as you are building, should be about 2" longer than the 2x4 @ 62"
FOOTBOARD CUT LIST
- 2 - 4x4 @ 21"
- 2 - 2x2 @ 8"
- 2 - 2x2 @ 3"
- 10 - 1x6 @ 15"
- 2 - 1x4 @ about 55" - measure and cut to fit to match the width of your 10 1x6 boards layed out
- 1 - 2x4@ about 62" - measure the top of the headboard panel plus the 4x4 legs and cut to fit
- 1 - 2x6 @ 64" - measure and cut to fit, 2" longer than the 2x4 at about 62"
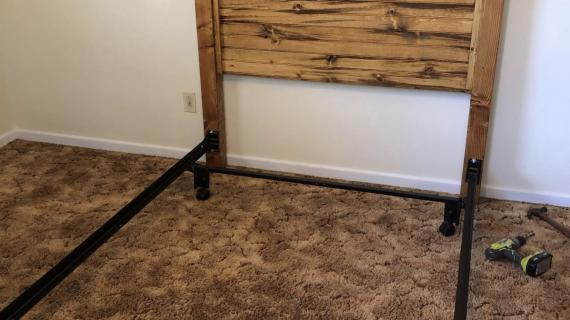
MATTRESS SUPPORT FRAME/SIDERAILS
- 3 - 2x4 @ 78"
- 1 - 2x4 @ 55"
- 2 - 2x4 @ 12-1/2"
- 2 - 1x10 @ 75"
- 18 - 2x4 @ 32" -slats - can be as short as 30" if you need to burn up scraps, can be other materials that are the same thickness, can also be all 1x materials
Tools


General Instructions
This bed follows the same building steps as the Queen Farmhouse Bed (except you'll use one less 1x6 panel board and the overall length is cut down by 5"). Use the supplied cut list, but follow the steps in the Queen plan.
Project Type
Room

Comments
Maria Stahl (not verified)
Thu, 10/29/2009 - 08:20
Thank you so much, Ana! I
Thank you so much, Ana! I can't wait till he gets home from school and sees this. :o)
Lindsey (not verified)
Wed, 01/20/2010 - 08:43
I cannot access the link at
I cannot access the link at your old blog to get the actual plans for this bed. It keeps redirecting me to the new site. Can you repost the farmhouse bed directions, please?
Ana White (not verified)
Wed, 01/20/2010 - 08:59
I updated the link to the
I updated the link to the Knock-Off Wood site. The address for the farmhouse queen sized bed is here:
http://knockoffwood.blogspot.com/2009/10/farmhouse-bed-save-158100_7467…
Also take a look at the Farmhouse with arch and other beds to figure out how you need to build your frame.
Sandie (not verified)
Wed, 03/24/2010 - 07:02
i absolutely can't wait for
i absolutely can't wait for this summer. my father is going to build just the headboard part of this bed for my parent's queen sized bed. if all goes well, we are then going to attempt the entire bed for me :) mine will be a bit more complicated because i have a "commercial" mattress set, which is the width of a full/double, but the length of a queen. will post pictures whenever we get them finished. then on to a twin for my 3 1/2 year old daughter
Craig T. (not verified)
Mon, 01/24/2011 - 03:23
Thanks for the plans. I
Thanks for the plans. I built this bed and painted it over the last couple weekends. It ended up great. However, I could only find pressure treated 4x4 posts without spending a fortune, so I went ahead and used those. I will have to come back in a couple months and paint the posts after they have dried out. I am very happy with the bed, and my daughter loves it.
http://img823.imageshack.us/img823/5610/bed1.jpghttp://img69.imageshack.us/img69/3839/bed2l.jpgThe Roundtable… (not verified)
Thu, 01/27/2011 - 04:17
[...] I found a great site
[...] I found a great site with plans for a bed both Mrs. Thomas and I really liked. After debating buying a table saw for this project, I decided [...]
mandylynn523
Wed, 06/08/2011 - 15:15
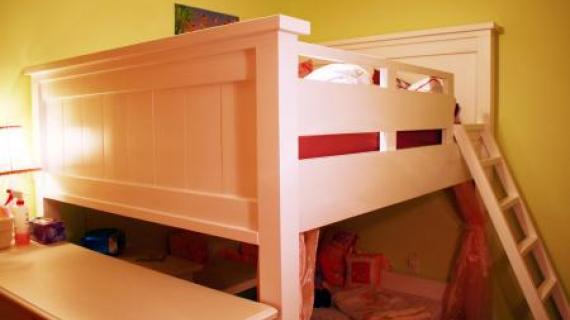
Crown Molding Headboard
how do we do the crown molding top like in this picture above? I would love that for my daughters farmhouse bed we are building :)
Tabitha's attempt
Wed, 11/04/2020 - 08:55
How did you do the crown molding??
Mandylynn523, I can't see any responses but did you figure out how to adjust this plan to accommodate the crown molding as pictured?? I really want to duplicate the picture with the molding and I am sooo out of my element..
Michele Richins (not verified)
Wed, 11/14/2012 - 19:41
Ana. I am looking for your 4
Ana. I am looking for your 4 posted farmhouse bed in full and can't seem to find it on you site. Can you help me?
alex_torres
Thu, 11/06/2014 - 16:32
I'm trying this!
I'm new to your site and your instructions are super helpful! I'm going to give this a shot this weekend. Wish me luck :)
timex10
Thu, 04/16/2015 - 19:15
king
i would love to build this for my room but i need a king size. do you have plans for one
In reply to king by timex10
Ana White
Fri, 04/17/2015 - 11:30
Here is our king planhttp:/
Here is our king plan
http://ana-white.com/2010/01/plans-how-to-modify-farmhouse-bed-to_09.ht…
gina10151
Tue, 05/19/2015 - 01:30
plans
I can't seem to find the plans to this bed. Could you send me the link to the full plans??? Also I am trying to build the loft farmhouse bed that dirt squirt built were there ever complete plans for this put up?
angellauna
Tue, 06/23/2015 - 11:53
NEED HELP ASAP
My father and I are trying to build this TODAY, and would love for some measurement modifications for adding a trundle underneath! Please help :) Also, where is the plan for the trundle that fits under here, and do you put it up on wheels?
Cowgirl77
Sun, 06/05/2016 - 13:24
Full Size Farmhouse Bed
I would love to be able to access dimensions for this bed. Is there a link for them?
Briwood
Sat, 02/25/2017 - 17:09
Type of wood for posts
What type of wood should I use for the posts? I dont think 4x4 posts are available in pine, could I just use spruce/hemlock?
lynn71_20
Mon, 04/20/2020 - 08:47
Trundle?
Do you have this plan in full but modified to use a twin size trundle? I would love to make it for my son’s room but we really need a trundle bed. Or, do you offer another full size bed to build that has a trundle?
rroberson63@ya…
Tue, 10/06/2020 - 11:50
Pocket holes
Love your plans, they are so easy to follow and put together. I would like to make a suggestion, regarding pocket holes. The first twin bed I built using your plans, was my first introduction to pocket holes. I purchased a small Kreg jig and was instantly in love. The bed is so sturdy and no puttying, plus it looks professional!! I think it would be nice to offer plans with and without pocket holes.
mlmrsh1
Sat, 10/24/2020 - 15:01
What type of wood do you use…
What type of wood do you use for this bed? I noticed none of the instructions list types of wood.
Tabitha's attempt
Wed, 11/04/2020 - 08:19
HOW DOES THE CROWN MOLDING AS PICTURED WORK??
I am wanting to make this bed THIS WEEKEND! Looking for advice/tips/measurements or anykind of help to duplicate the picture with the crown molding.
Any help is appreciated!!