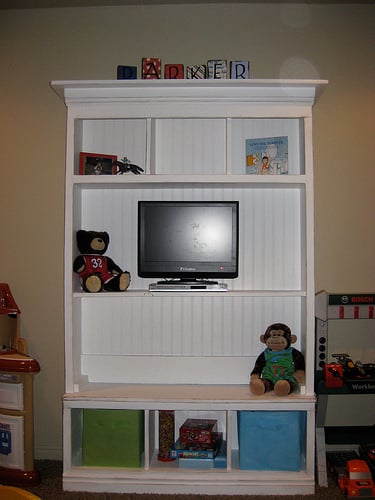


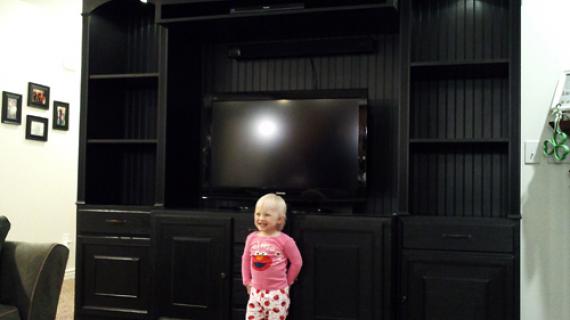
This simple media base is designed for flat panel tvs. It is easy to build and there is an entire collection of plans available here to build a media wall around this console.
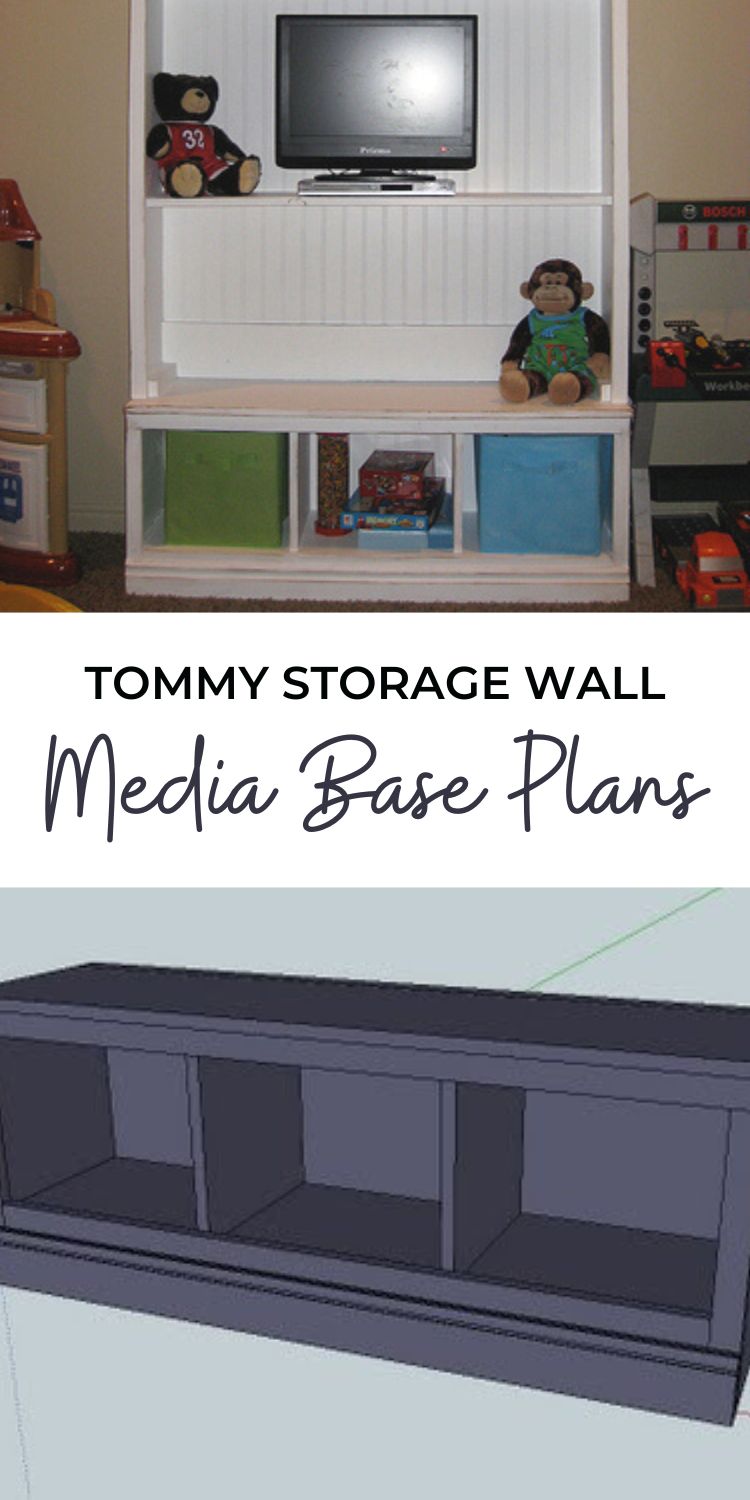
Pin For Later!
Preparation
2 - 1x12 @ 8 feet long 2 - 1x2 @ 8 feet long 1 - 3 1/2" Base Moulding @ 4 feet long 1 sheet of Beadboard Paneling (wainscotting could work)
A) 2 - 1x12 @ 16 3/4" (Sides) B) 2 - 1x12 @ 43 1/2" (Top and Bottom of the "Box") C) 2 - 1x12 @ 11 3/4" (Vertical Dividers) D) 1 - 45" x 16 3/4" beadboard (any thickness) E) 2 - 1x2 @ 45" (trim pieces for the top) F) 1 - 1x2 @ 42" (trim piece for the bottom) G) 2 - 1x2 @ 15 1/4" (front outside corner trim pieces) H) 1 - 45" piece of 3 1/2" base moulding I) 1 - 1x12 @ 45" (Top)


Instructions
Step 1
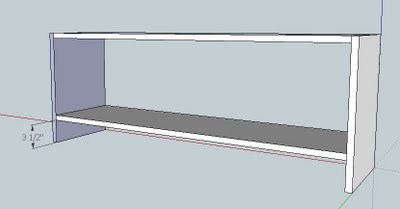
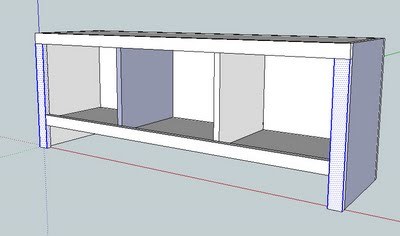
1. Box. Start by "building the box" by nailing through the sides (A) and into the edge of (B), as shown above. Note the dimensions on the space below the bottom shelf - 3 1/2" Use glue and at least 2" nails.
Step 2

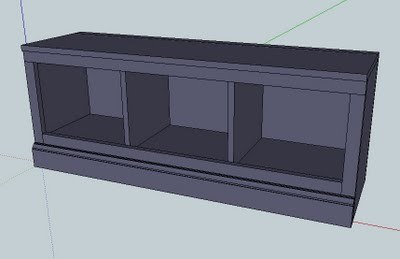
2. Dividers. Now add the center dividers (C) for the cubbies, spaced 14" between the upright boards, as shown above. Then add the beadboard (D) to the back. Use glue and 1 1/2" nails.
Step 3

3. Trim. Now attach one of the top trim pieces, E, to the top edge, as shown above. Attach the shorter trim piece, F, to the bottom shelf, lining top edges, and leaving 1 1/2" on either side.
Step 4
4. Side Trim. Add the vertical trim (G), as shown above, on both ends.
Step 5

Step 6
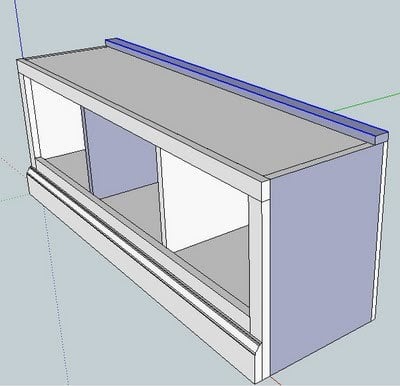
6. Top. Use the remaining piece (E) on top of the shelf. Attach as shown above. Use 1 1/4" nails and glue. Then add the remaining piece, I, to the top of the base unit, as shown below.
Comments
Colleen (not verified)
Wed, 03/17/2010 - 07:33
Quick question: Why, in step
Quick question: Why, in step 6, did you use the trim piece (E) + the 1x12 (I) on the top, rather than just a single solid piece?
Ana White (not verified)
Wed, 03/17/2010 - 07:52
Hi Colleen, I did the double
Hi Colleen, I did the double top for 2 reasons. The double top will add strength for the tv and it gives a nice overhang on the front. Because 1x12 is the widest width board you can buy (commonly), to get a wider width, you add the 1x2 to the back where it will not be seen.
Hope this helps! Ana
Bananas4Bargains (not verified)
Sat, 03/27/2010 - 03:29
We made the rustic media base
We made the rustic media base this week, with a few modifications=) I am more than happy with it...hoping to get pics posted to the Facebook group today!
MARYALICE (not verified)
Mon, 09/06/2010 - 17:38
I love all your designs and I
I love all your designs and I am sure you get overwhelmed with requests. Buy I've never seen a request for a corner media cabinet and I know there are people that would LOVE them.
Ana White (not verified)
Mon, 09/06/2010 - 19:10
Hi Mary Alice, request noted!
Hi Mary Alice, request noted! We have had tons of request for a corner cabinet, and I am listening!
Mary (not verified)
Mon, 10/04/2010 - 10:57
I agree about a corner media
I agree about a corner media cabinet, Mary Alice. I've been trying to figure out how to modify this plan to make a corner cabinet...but haven't been able to figure it out.