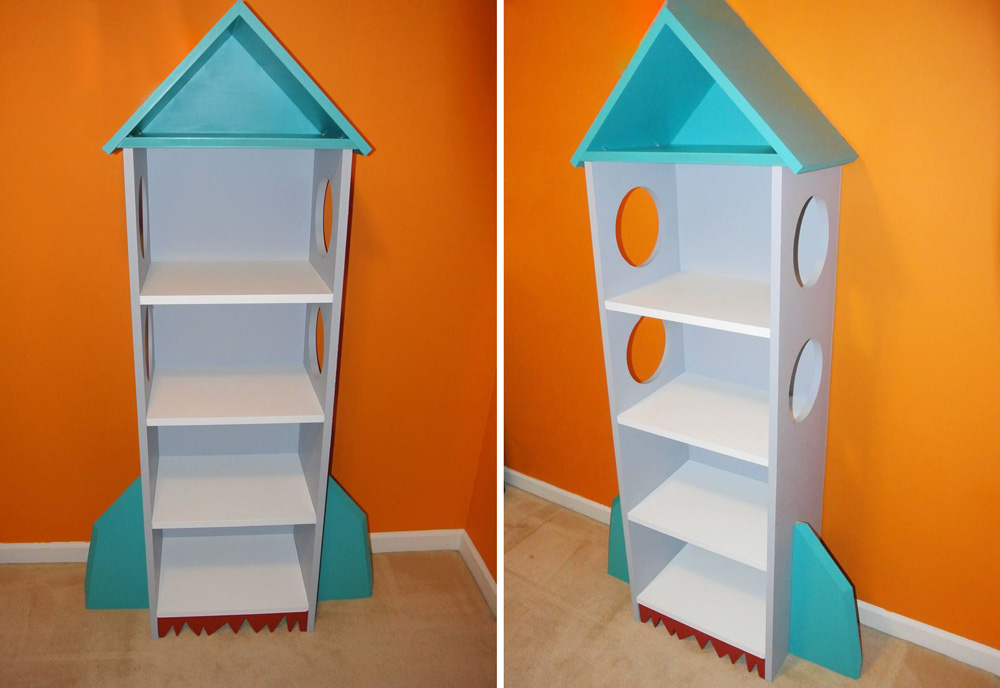


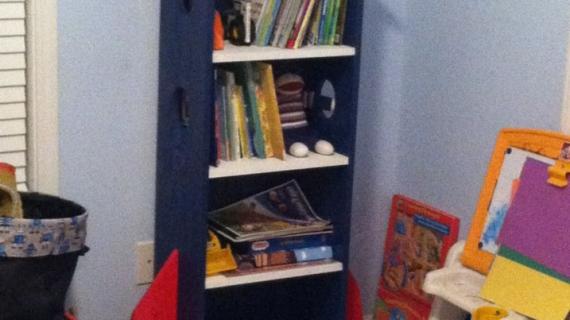
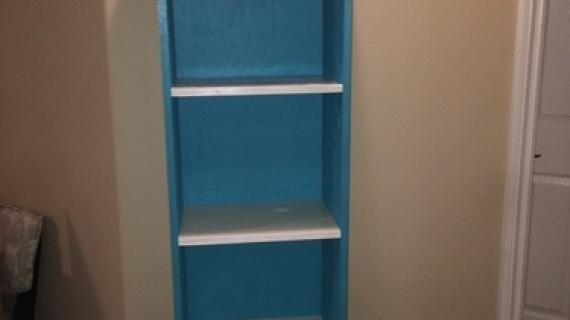
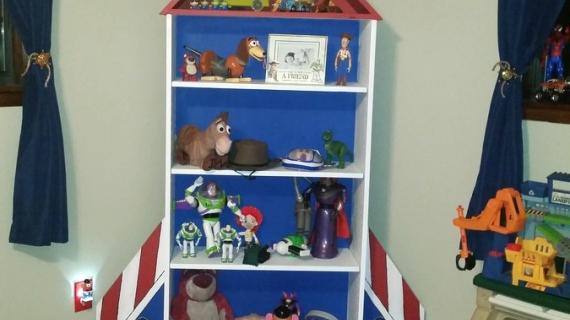
Blast off with this rocket bookcase! An easy project that any mom (or dad) can make to be an out of this world hit for their little ones. Features four roomy shelves and a top display shelf, optional rocket flares and mods for space port holes. Free plans from Ana-White.com
Preparation
3 - 1x12 @ 8 feet long
1 - 1x8 @ 4 feet long
1 - 1x4 @ 17" Long
1/4" plywood, full sheet
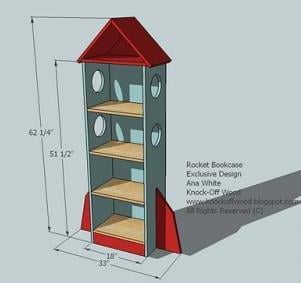
- 2 – 1×12 @ 51 1/2″ (Sides)
- 4 – 1×12 @ 16 1/2″ (Shelves)
- 2 – 1×8 @ 18″ (Rocket Fins)
- 1 – 1×4 @ 16 1/2″ (Footer)
- 1 – 1×12 @ 19 1/2″ long point to long point, both ends beveled at a 45 degree bevel, ends NOT parallel - SEE STEP 5
- 2 – 1×12 @ 15″ long point to point measurement, ONE end cut at 45 degree bevel - SEE STEP 5
- 1/4″ Plywood Cut 18″ wide x 61 1/4″ Tall


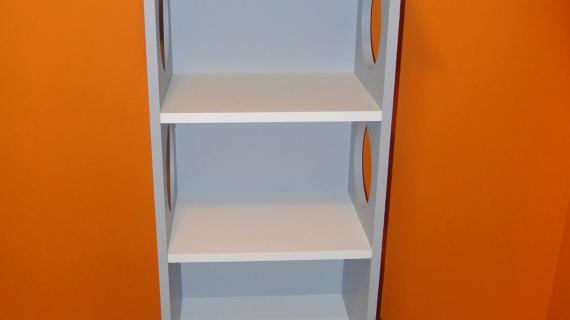
Cut all boards as directed above. Use 2″ nails and glue unless otherwise directed. Always nail into and from all neighboring boards at all possible angles to increase strength to the bookcase. Also shown are optional 3″ port holes cut out of the sides.
Instructions
Step 1

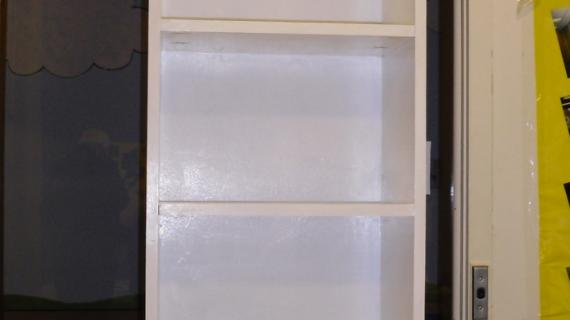
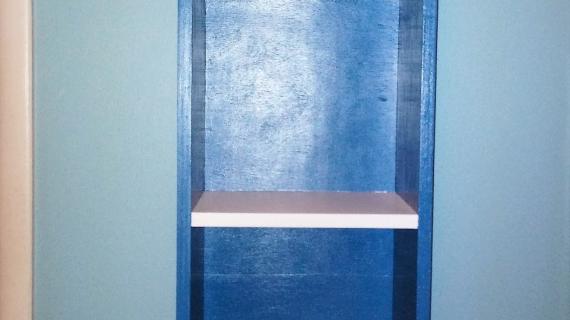
Attach the shelves the sides. You can use 1-1/4" brad nails and glue, or 2" self tapping screws or 3/4" pocket holes with 1-1/4" pocket hole screws.
Step 2

Cut the rocket fins out of the 1×8 as shown above. Fasten from the inside of the bookcase with 1-1/4" brand nails and glue. Alternatively pocket holes can be used from the back side of the "fin" into the outside side of the shelf.
Make sure the bottoms are flush.
Step 3
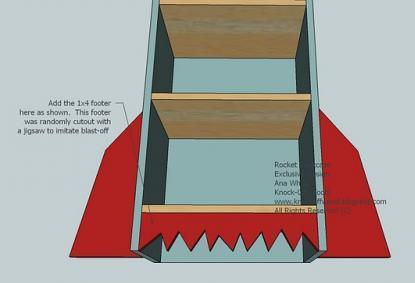
Fasten the footer with nails and glue. The footer above is shown cut out to represent flames from the blast-off. If you are going to cut out your footer, pay attention to the length of your nails and where you place the nails so the nails do not show when you cut out the footer.
Step 4

Set miter saw to 45 degree bevel.
Cut top shelf piece, long point to long point measurement is 19-1/2".
Fasten the top piece as shown above, leaving a 3/4″ overhang on the ends. Keep front and back edges flush.
Step 5
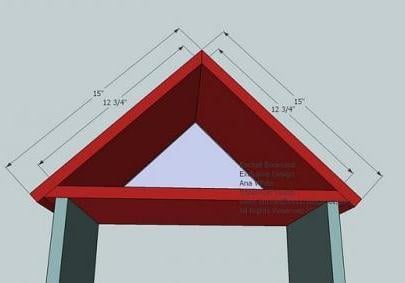
Cut "roof" pieces, the long point to long point measurement is 15" - only the top cut is a 45 degree bevel. The tail cut is square.
Make sure all the pieces fit.
Then attach roof pieces with 1-1/4" brad nails and glue.
Step 6

Place the rocket bookshelf on the 1/4" plywood.
Trace the outside with a pencil.
Remove and cut out along pencil line.
Attach to the back of the rocket bookshelf with 3/4" brad nails and glue into all available boards.


Comments
Simple Sage (not verified)
Thu, 12/10/2009 - 19:32
I just found your blog
I just found your blog (through the shabby nest) And I just have to tell you that you're stuff is awesome! I am still hesitant around the power tools, but seeing your work has inspired me to get over it and make some furniture!
Karyn (not verified)
Thu, 12/10/2009 - 21:38
Ditto Simple Sage 100%. Love
Ditto Simple Sage 100%. Love it!
Mrs. Dude (not verified)
Tue, 02/16/2010 - 10:35
This is FANTASTIC!! My 3 1/2
This is FANTASTIC!! My 3 1/2 year old son really wants a space & robot themed bedroom... THANK YOU SO MUCH FOR SHARING THIS!!! I'm so excited to make this for him!
Kimberly (not verified)
Wed, 05/05/2010 - 10:33
I must make this. My 2 year
I must make this. My 2 year old has a space room. We painted his walls and ceiling with a space mural. He currently has an old black blah shelf in there. This will be perfect. Now I have to go wrestle up some tools somewhere....
Thanks!!!
Rooms You Can … (not verified)
Wed, 11/10/2010 - 06:59
[...] Rocket Bookcase [...]
[...] Rocket Bookcase [...]
Guest (not verified)
Fri, 09/16/2011 - 06:13
cute versatile plans
Without the side wings on the rocket these plans make a great barbie high rise
dacajun
Wed, 11/26/2014 - 19:29
Great for action figures
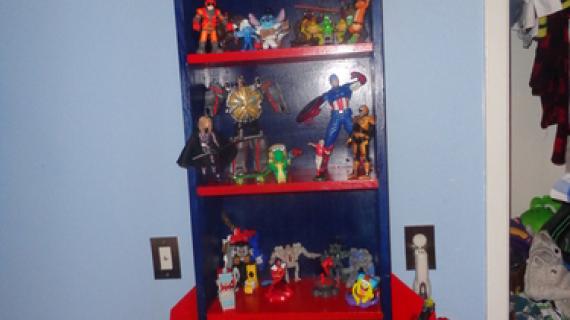
My 5yo wanted to start his own little action figure collection. Glad I came across this project (my first Anna white project). With all of the action figures my son gets, I might just have to build a second one.
Thrud_The_Barbarian
Sat, 03/19/2016 - 18:44
Great plans, one recommended change
I made this for our son a few years ago and it has been a great bookcase. I did fiddle with the plans a bit and would make one recommendation for anyone building this for young children. The plans give 11" of inside height per shelf. I would strongly consider making the bookcase a bit taller to give at least 12" of height in between each shelf. Books for young kids are often tall, and even with this added inch we have one Richard Scary book that doesn't quite fit vertically. No need to increase width for proportion, you're only adding 4".
Also, as always, be sure to secure any bookcase to the wall lest it tip over on a child.
DMH
Tue, 10/26/2021 - 03:39
Did not download.
I tried to download the plans so I can make this for my grandson for Christmas and all I got was a picture. Is there any way to fix this besides taking a bunch of screen shots. Thank you