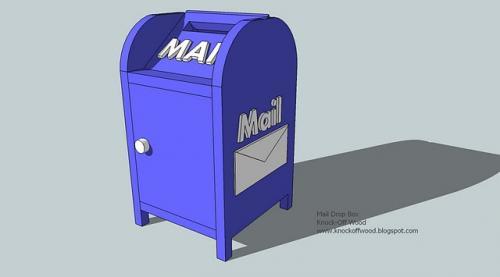


Shop at the hardware store (or your scrap pile) instead of the toy aisle! Your money is going to go much further and you will be able to give quality gifts that will be played with and loved for years.
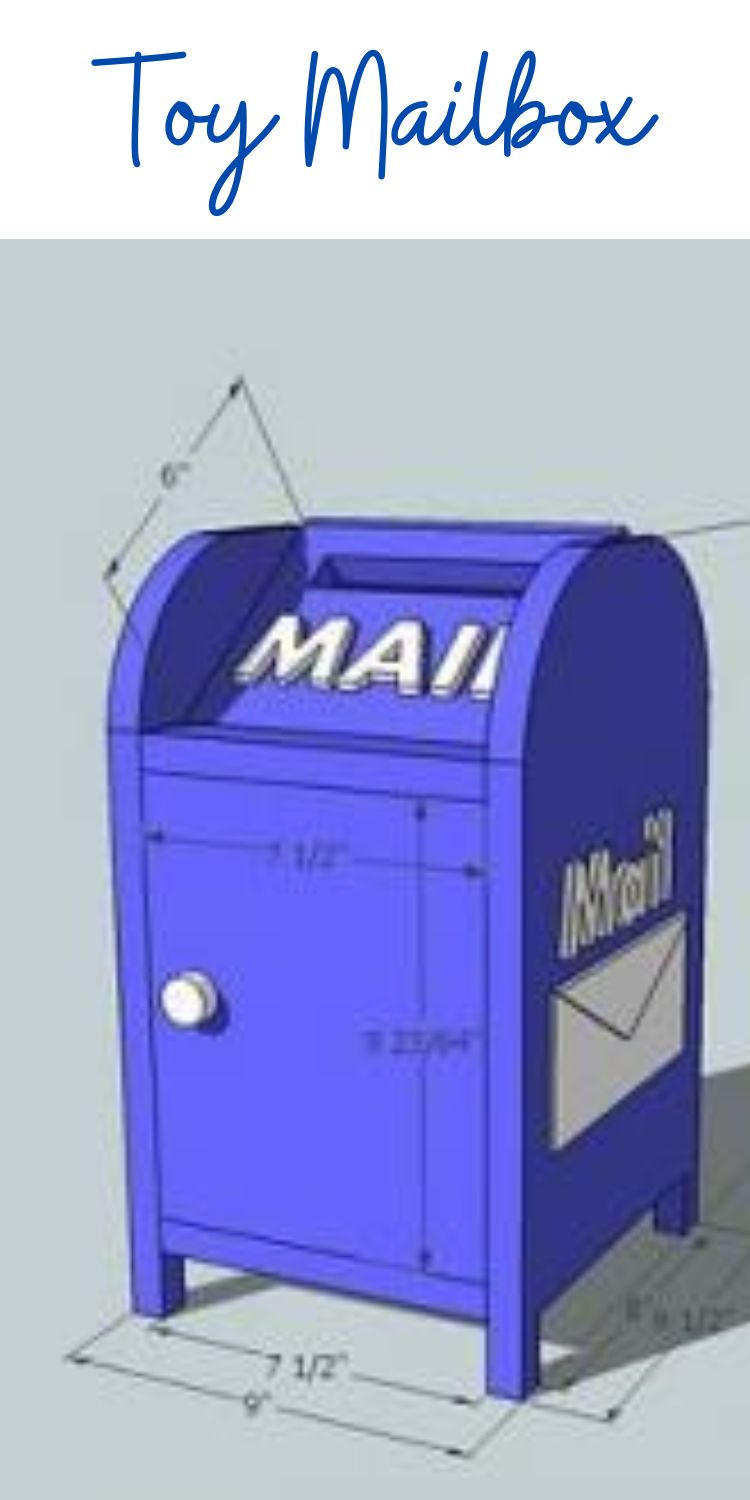
Pin For Later!
Preparation
1 - 1x10 @ 4feet
1 - 1x3 @ 1 foot
1 - 1x8 @ 3feet
1 – 1/4″ Plywood @ 7 1/2″ x 5″ (approximate, measure for exact fit)
A) 2 – 1×10 @ 16″ (Sides, cut out into the shapes of the sides)
B) 1 – 1×10 @ 7 1/2″ (Bottom)
C) 1 – 1×2 @ 7 1/2″ (Top front trim)
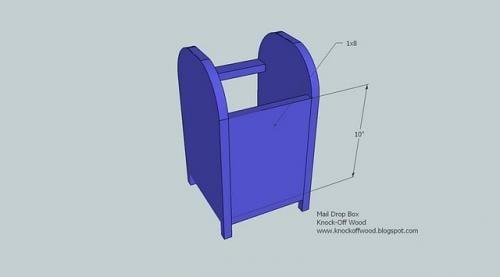
D) 1 – 1×8 @ 10″ (Back)
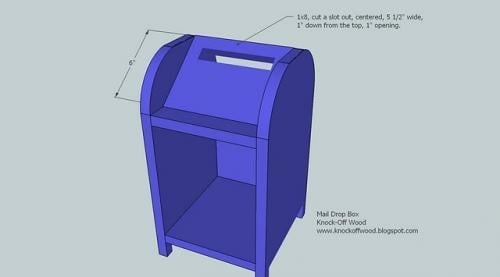
E) 1 – 1×8 @ 6″ (Top, Front, slot cutout)
F) 1 – 1/4″ Plywood @ 7 1/2″ x 5″ (approximate, measure for exact fit)
G) 1 – 1×8 @ 9 1/4″ (1/4″ give for the door)
With this piece, I recommend cutting to the exact measurements. Any time you are working with angles, it is very easy to get “off” the tiniest amount, resulting in large differences elsewhere. Use 2″ nails and glue unless otherwise directed.


Instructions
Step 1

Using a jigsaw or similar tool, cut out the following shapes out of boards A. Use the measurements above to guide you.
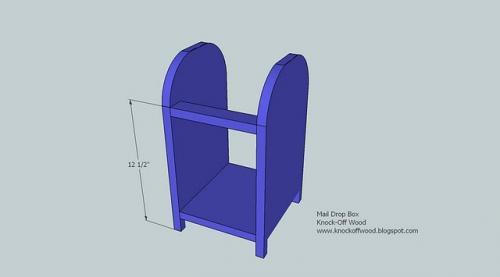
Step 2

Fasten the bottom, B, keeping the bottom of the bottom flush with the cutout bottom on the sides, A. Use the diagram above to guide you.
Step 3
Add the top front trim piece, C, as shown above.
Step 4
Add the back piece, D, as shown above. Make sure you nail through the bottom into the edge of D, and through the sides, A.
Step 5
Step 6

Measure the distance from the top of E to the back of D (should be around 5″) and cut a piece of 1/4″ plywood to this measurement, 7 1/2″ wide. This is board F. Fasten to D and E using 1″ nails.
Step 7
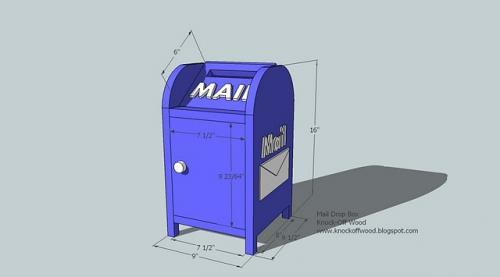
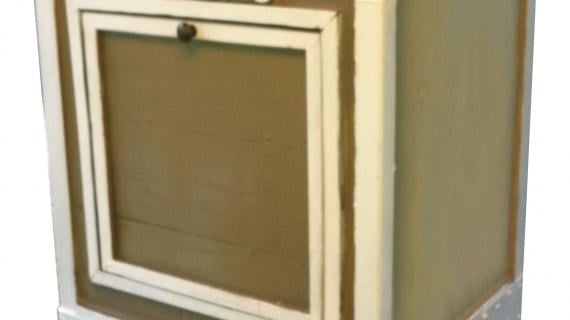
Fit the door, G, leaving a 1/4″ gap around the door.
Comments
Christian (not verified)
Fri, 01/29/2010 - 17:25
Hey Ana,First off thanks for
Hey Ana,
First off thanks for providing these plans, so cute! I made a mailbox yesterday for a birtday party gift. I had to alter it a little because I couldn't figure out how to get it together. Specifically I had to cut piece D and E down from 8 inches to 7 1/2 so it fit inside the sides of the mail box. Once I did that it went together very easily and is so cute, I will email you the pictures.
annemarielaney
Tue, 12/03/2013 - 18:06
is it a 1x3 or 1x2?
in the shopping list it says you need one foot of 1x3 but in the cut list it only shows a 1x2 and no cuts for a 1x3..... ????