


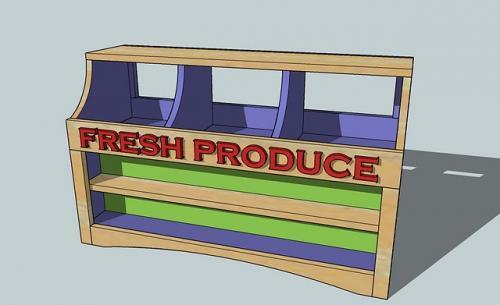
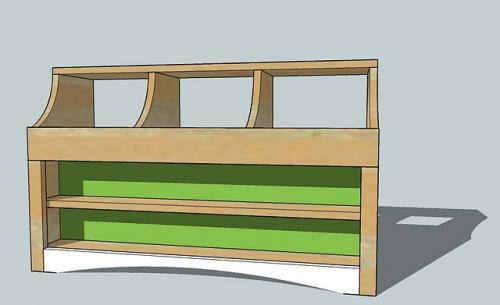
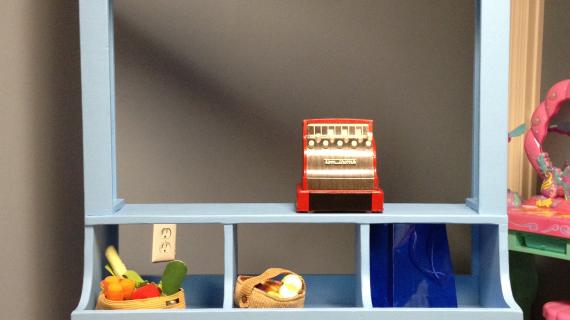
Featuring front and back storage, pass through market bins, and just right height for a cash register, this market base also works with a hutch (plans available in Grace's Town Collection). Give your child endless hours of pretend play with this solid wood, easy to build project plans.
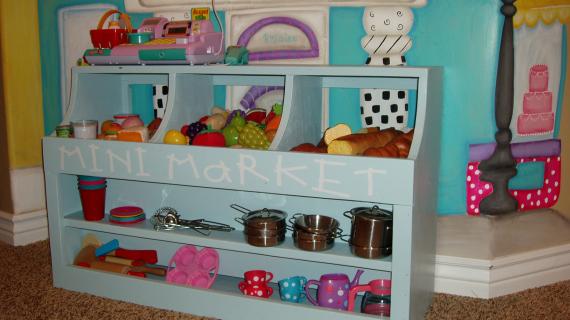
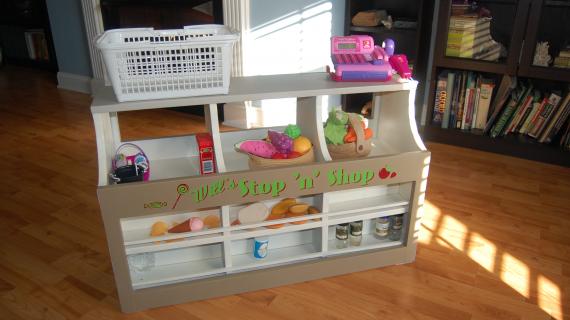
Special thanks to Canessa for sharing her photos with us.
Preparation
2 - 1x12 @ 6 feet long
1 - 1x10 @ 3 feet long
1 - 1x8 @ 3 feet long
1 - 1x4 @ 10 feet long
1 - 1x2 @ 8 feet long
1 - 1x3 @ 8 feet long
A) 2 – 1×12 @ 21 1/2″ (Sides)
B) 2 – 1×12 @ 34 1/2″ (Shelves)
C) 1 – 1×4 @ 34 1/2″ (Front Shelf)
D) 1 -1×10 @ 34 1/2″ (Center Divider)
E) 2 – 1×12 @ 8 3/4″ (Bin Dividers)
F) 1 – 1×8 @ 36″ (Top of Bins)
G) 1 – 1×4 @ 36″ (Front of Bins)
H) 2 – 1×2 @ 12″ (Front Side Trim)
I) 1 – 1×3 @ 33″(Footer on Front, cutout arch)
J) 1 – 1×4 @ 36″ (Back of Bins Trim)
K) 1 – 1×2 @ 36″ (Back Top Trim)
L) 2 – 1×2 @ 5 1/4″ (Back Bin Side Trim)
M) 1 – 1×3 @ 36″ (Back Bottom Trim)
N) 2 – 1×2 @ 9 1/2″ (Back Side Trim)
Cut out your boards first and use glue and 2″ nails unless otherwise specified.


Instructions
Step 1
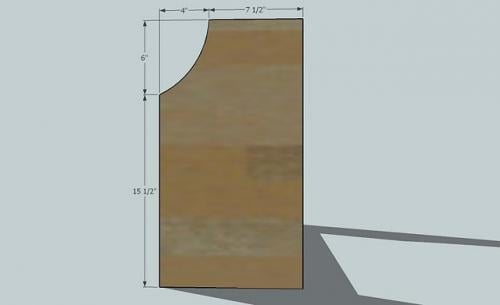
First cut out the side pieces, A, as shown above. Use the above measurements to guide you. Once you cut one out, use the finished piece as a pattern for the other pieces.
Step 2
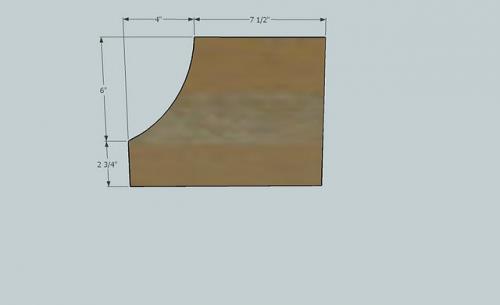
Cut out the bin dividers E the same as above.
Step 3

As shown above, nail through the sides into the shelves. The easiest way to do this is to mark on the insides of the shelf boards A where you will place the shelves B.
Step 4

Now add the Front Shelf, C, as shown above. Keep the front flush. See below for a section cut illustrating this.
Step 5

Step 6
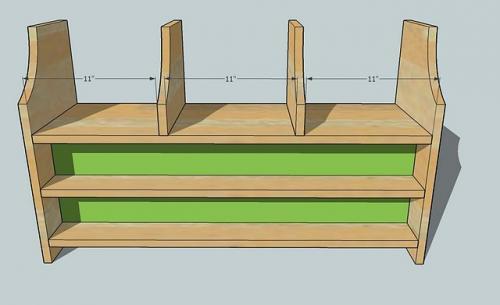
Now add the bin dividers, E, as shown above.
Step 7

Add F to the top, keeping outside edges flush.
Step 8

Add G to the front, keeping the bottom edge flush with the top shelf, B. Keep outside edges flush. Nail into the shelf and the bin dividers and the sides.
Step 9
Now add the front side trim, H, to the sides of the front shelves. Make sure you nail into all the shelves and the sides.
Now the footer, I, then cut out the arch in place. Cut out an arch as shown above. I started the arch 2 1/2″ in and went up 1 1/2″. Make sure you nail through the sides of the Front Side Trim pieces from step 9, pieces H, into the end edges of the footer, I.
Step 10
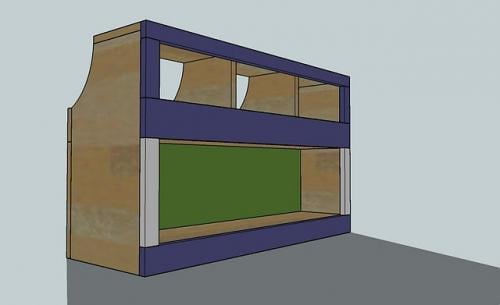
Now add the remaining boards as trim to the back as shown here.

Comments
Maranda (not verified)
Fri, 09/03/2010 - 11:14
I just love this market
I just love this market shelf! I really like all the things you have posted here. I cant wait to get started. Thanks for all your hard work!
Gina (not verified)
Tue, 12/21/2010 - 10:39
Ana, Just wanted to let you
Ana,
Just wanted to let you know that my daughter & I built this together. A "stand to sell stuff from at the farmer's market" was the only thing she asked for on her 9th birthday. Then, I happened to notice these plans and knew I could make it work. I had to modify them, as she is quite a bit bigger than the age it was designed for, but it worked out wonderfully. I posted about it with the modifications on my blog here...
http://asustainedlife.blogspot.com/2010/12/building-memories.html
Thanks so much for all your hard work!
Quartney
Sat, 11/03/2012 - 20:40
found error in plans
Found an error in the plans. It says:
D) 1 -1×10 @ 34 1/2″ (Center Divider)
But the space is for a 10" board. The 10" lumberyard board will be 9.25" wide, leaving a 0.75" gap (see step 5).