

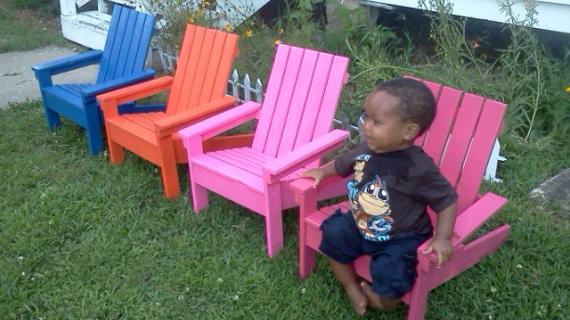
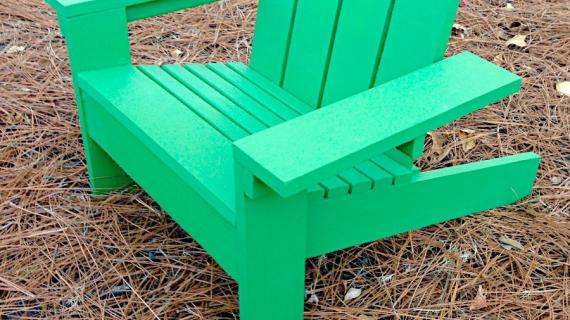
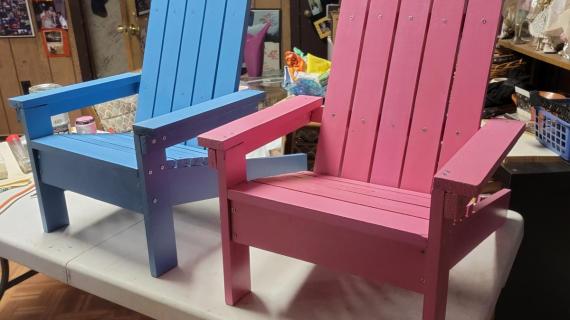
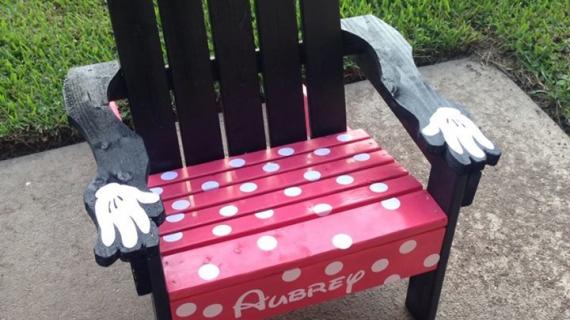
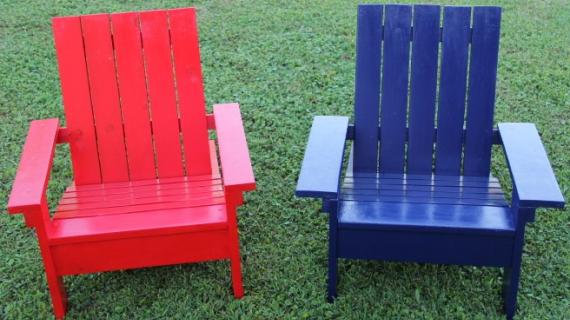
Build your own kids Adirondack chairs! Builders spend about $15 a chair. Step by step plans with diagrams, and dozens of reader submitted photos.
Also check out our adult sized Adirondack Chair plans too.
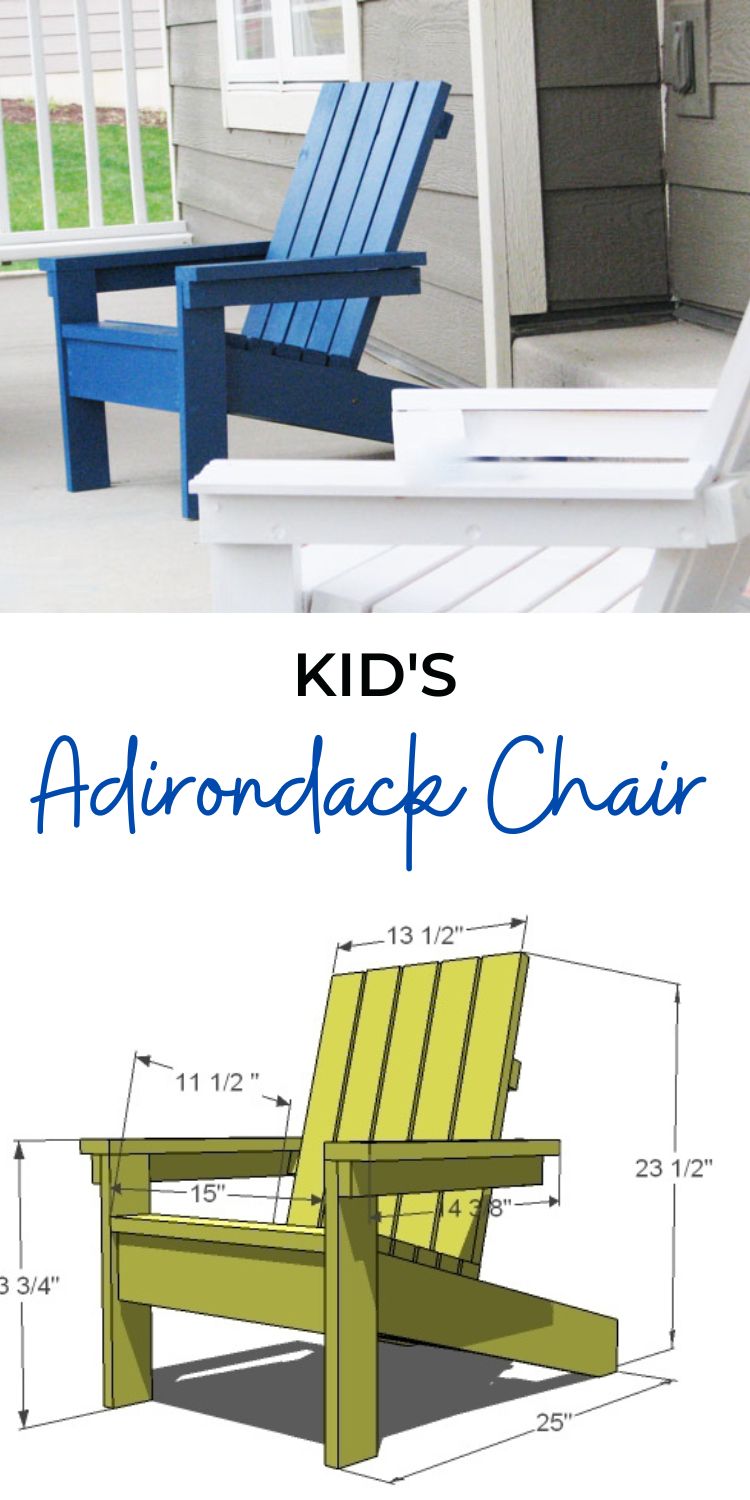
Pin For Later!
Preparation
1 – 1×4, 8′ Length
2 – 1×2, 8′ Length
2 – 1×3, 8′ Length
Wood Glue
Wood Filler
1 1/4″ Screws
2″ Screws
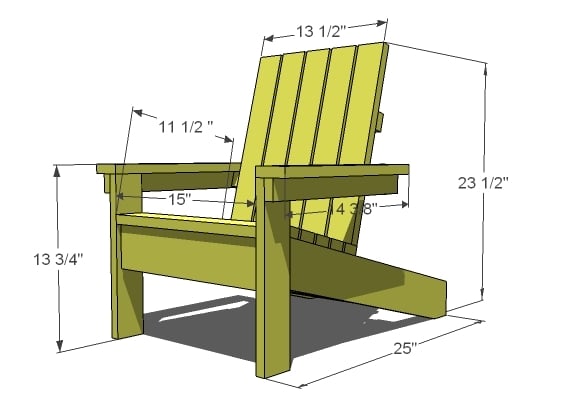
2 – 1×4 @ 25 1/2″ (Stringers)
1 – 1×4 @ 15″ (Front Apron)
5 – 1×2 @ 15″ (Seat Slat, Main)
1 – 1×3 @ 15″ (Seat Slat, Front)
2 – 1×3 @ 13″ (Front Legs)
2 – 1×2 @ 14 1/2″ (Arm Supports)
2 – 1×3 @ 14 1/2″ (Arm Rests)
5 – 1×3 @ 20 3/4″ (Back Slats)
1 – 1×2 @ 13 1/2″ (Back Trim)
1 – 1×4 @ 13 1/2″ (Back Apron)
1 – 1×2 @ 16 1/2″ (Back Support)


Instructions
Step 1
BENCH MODIFICATIONS
By simply doubling the number of back slats and increasing the seat width, you can get a bench. On the adult version, you can also create a bench, but you should add a couple of supports that run parallel to the stringers. The kids version won’t need these supports.
Step 2

Mark the front of your stringers as shown in the diagram.
Step 3
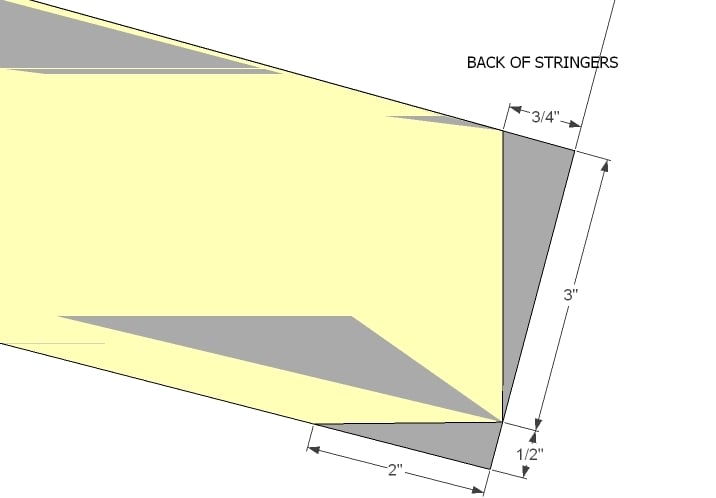
Mark the back of your stringers as shown here. Cut the stringers. Once you get a stringer that you are happy with, use it as a pattern for the rest of your stringers.
Step 4
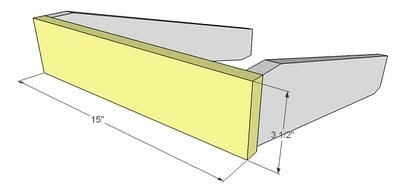
FRONT APRON
After you cut your stringers, attach the front apron as shown above with 2″ screws and glue. Keep the top edges flush
Step 5
Step 6
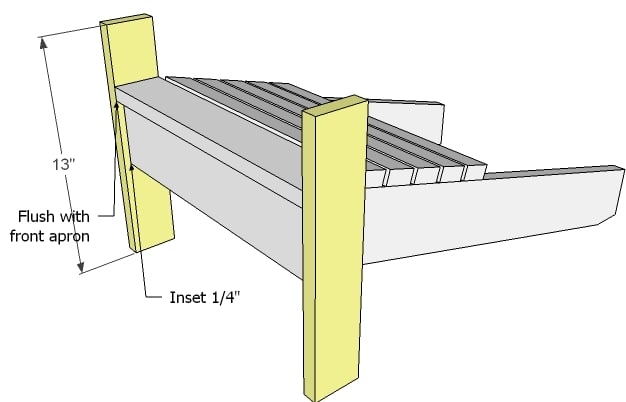
LEGS
Attach the front legs as shown above with 1 1/4″ screws and glue. The front seat board top will be at a height of 10″.
Step 7
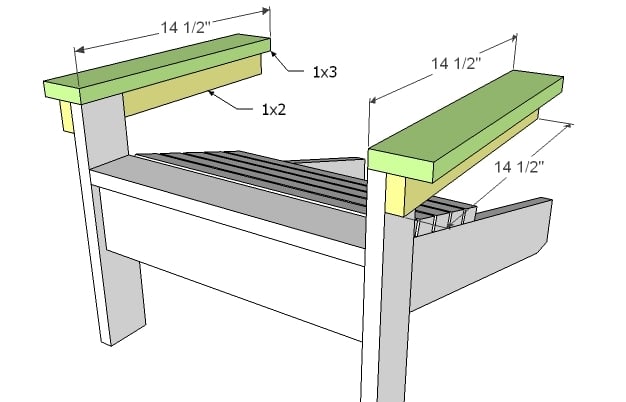
ARMS
First attach your arm supports (the 1x2s in yellow above) to the leg tops using a level and 1 1/4″ screws. Then attach the arm rests as shown above.
Step 8
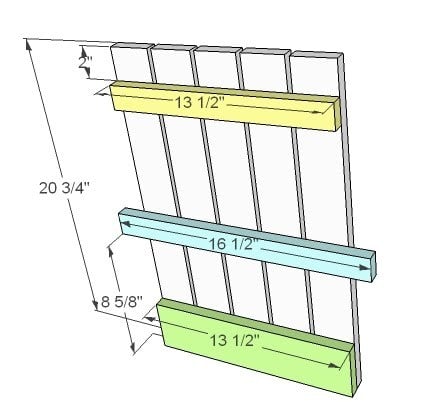
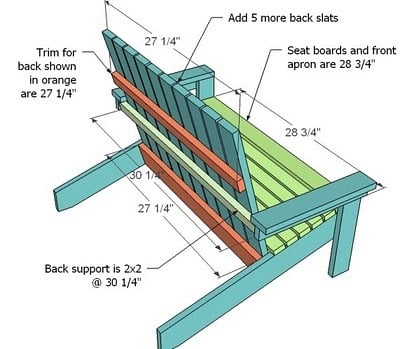
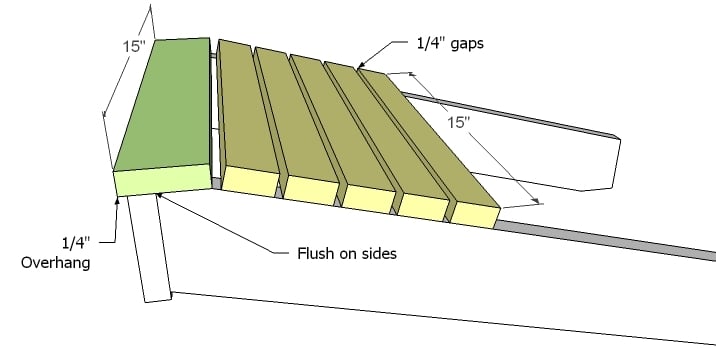
BACK
Build the back as shown above, using 1 1/4″ screws and glue. Leave a 1/4″ gap between the back slats. The middle support board (shown in blue above) will overhang the sides by 1 1/2″ on each side.
Step 9
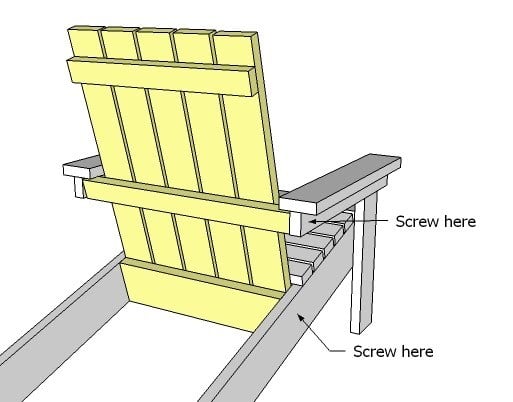
ASSEMBLY
Position your back into the chair, as shown above. An extra hand would be super helpful at this point. When you are happy with the back’s position, screw with 2″ screws as shown above.


Comments
The {G} Family (not verified)
Wed, 05/19/2010 - 14:06
How adorable! The chair on
How adorable! The chair on the patio of the playhouse was the killer for me. Looks amazing! Thank you so much!
Johanna (not verified)
Wed, 05/19/2010 - 14:15
my gosh!!!! please show some
my gosh!!!! please show some pictures!!!
Rachel@MyPinkF… (not verified)
Wed, 05/19/2010 - 17:16
Oh gosh! I just LOVE seeing
Oh gosh! I just LOVE seeing how you make mini versions of your other plans. It might be a while before I ever make something (I live in an apartment), but by golly I know that I CAN make something someday! Thanks for the inspiration! I love looking at your blog everyday!
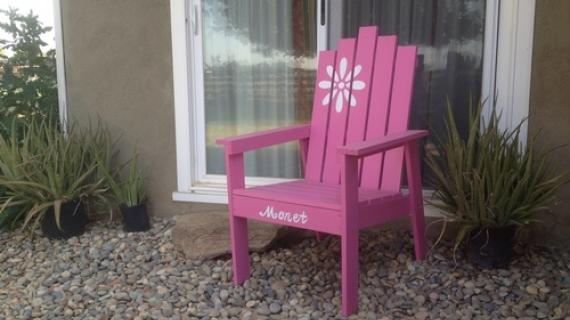
Maggie (not verified)
Thu, 05/20/2010 - 08:01
Can't wait to make the kid
Can't wait to make the kid version...I'm picturing fuschia chairs...
marcie (not verified)
Thu, 05/20/2010 - 21:52
I was just talking to my mom
I was just talking to my mom about wanting to make some off these. now I will since you made some easy to follow plans. Thank you love the kid size I will have to make 2 kid size and 2 Adult size. My list is getting way too long!
Greeneydmama (not verified)
Fri, 05/21/2010 - 08:08
I don't know when you changed
I don't know when you changed the site look to these chairs, but I love love love it! The flowery one is gorgeous but a little busy for me to concentrate on your plans....this I LOVE! : )
michaelsuitt (not verified)
Tue, 08/24/2010 - 09:59
Ana-Your website is
Ana-
Your website is fantastic!!! I was wondering if you have posted the plans for the adirondack coffee table yet. Please forgive me if I have overlooked it. Best of luck in your continued success!
Michael
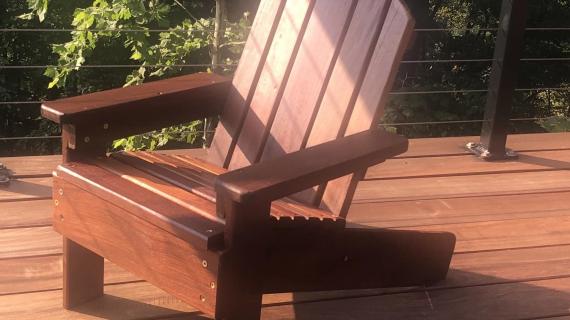
Derek846
Thu, 07/02/2020 - 14:23
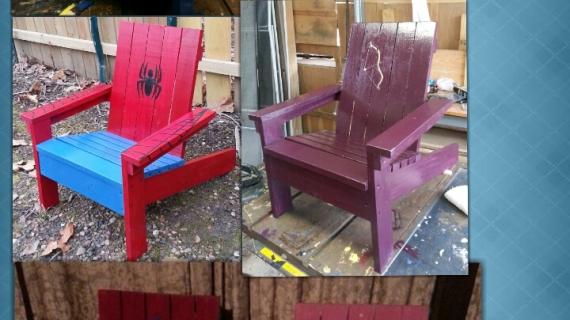
Built this today
I built this today from some cedar I had laying around. Now my daughter can have her own outdoor chair! I used 15 gauge finish nails instead of screws and it is plenty sturdy. I'm deciding if I want to paint or stain now. Thank you so much for sharing these plans!
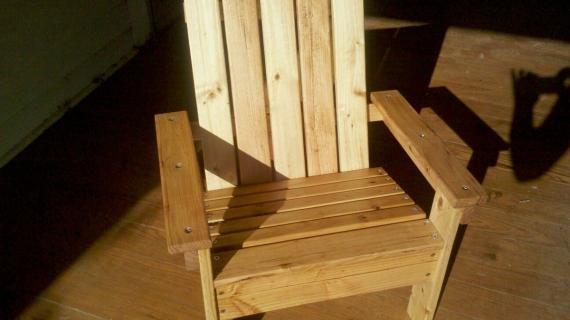
Art Lake
Wed, 01/19/2022 - 19:53
Adirondack chair enhancements
I built one of the kid's chairs yesterday in a few hours. The sharp edges make it appear a bit amateur is so I hit the exposed edges with a router and round over bit. Lacking a router one could do this with a simple wood rasp which would be about $5.00.