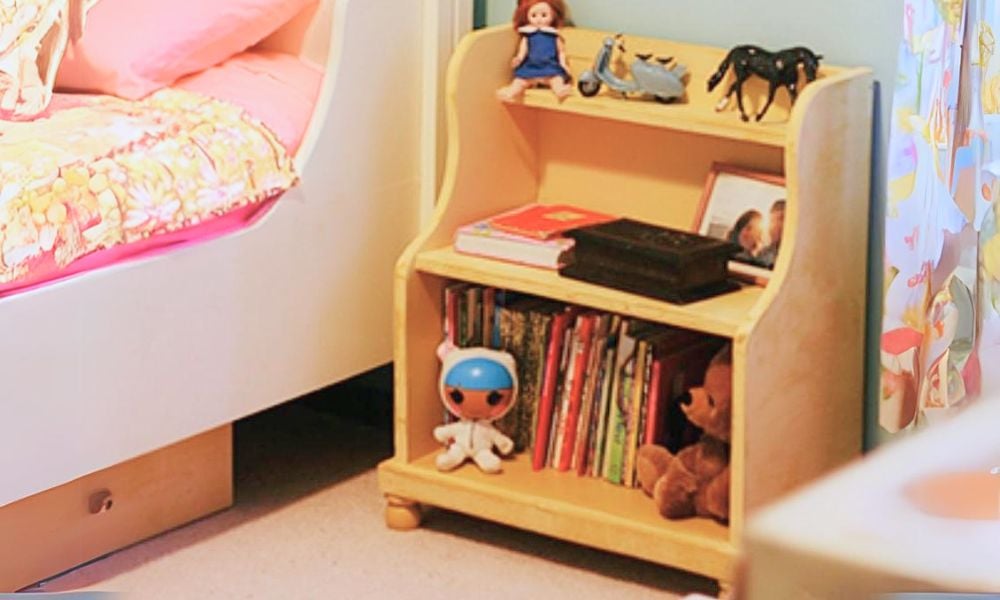


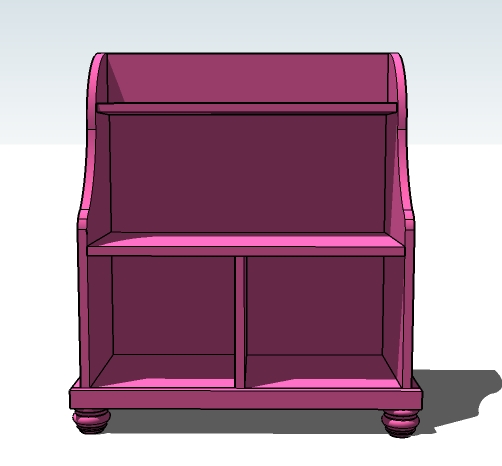
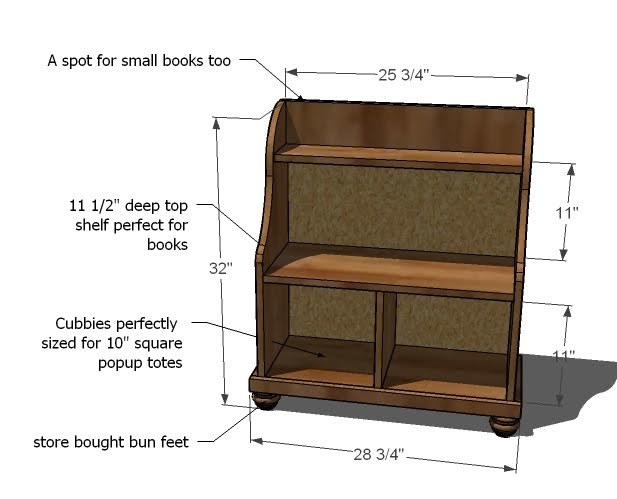
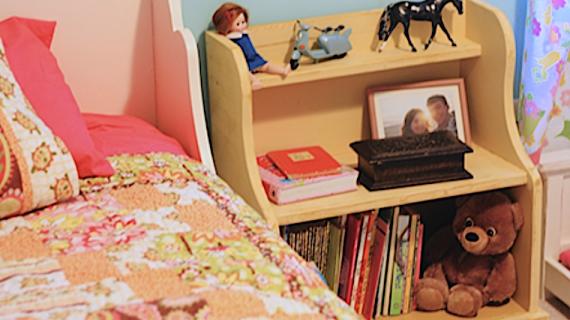
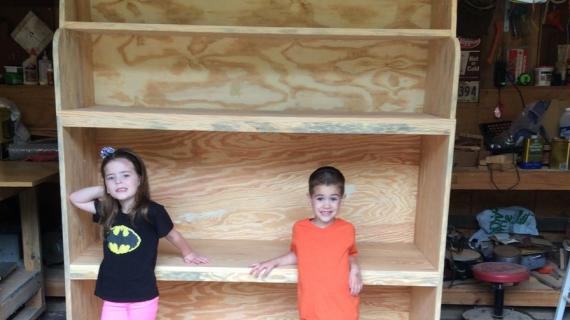
Free woodworking plans by Ana-White.com. This plan is for a cute little storage console perfect for a couple of cubbies and some books! Use as a nightstand, or a play center in a small space.

Preparation
- 1 – 1×2 Furring Strip or Moulding 1 1/2″ wide
- 1 – 6′ 1×6 Board
- 1 – 10′ 1×12 Board
- 1/4″ Plywood for the Back
- 4 – Bun Feet
- 2″ self tapping star bit screws
- 1-1/4″ brad nails
- 1″ brad nails
- wood glue
- wood filler
- Finishing Supplies
- 2 – 1×12 @ 29 3/4″ (Sides)
- 2 – 1×12 @ 25 3/4″ (Large Shelves)
- 1 – 1×12 @ 11″ (Cubby Divider)
- 2 – 1×6 @ 25 3/4″ (Top Shelf and Back)
- 1 – 1/4″ plywood @ 27 1/4″ x 29 3/4″ (Back)
- 2 – 1×2 @ 11 1/2″ (Side Footer)
- 1 – 1×2 @ 28 3/4″ (Front Footer)


Work on a clean level surface and be safe. Predrill all screw holes and be safe. Have fun!
Instructions
Step 1

SIDES
Cut the sides of the console as shown here. First draw out one side using the measurements shown here. Then cut out ONE side. Use that side as a pattern to cut out the other side. Place the two sides together and sand both cut edges at the same time until the edges match up.
Set the sides aside.
Step 2

LARGE SHELVES
Attach the cubby divider to the large shelves as shown in the diagram, using the measurement to place your joint. You can use 2″ nails and glue or screws.
Then attach the shelves to the sides, leaving a 3/4″ gap under the bottom shelf and the bottom of the sides. This is not shown in the diagram. Refer to the diagram in step 6.
Step 3

TOP
Attach the top to the sides, using either 2″ nails and glue or screws. Keep top edges flush.
Step 4

TOP SHELF
Attach the top shelf to both the sides and the top as shown in the diagram. Use 2″ nails and glue or screws. It’s a good idea to use a square to draw a square line at the bottom of the shelf so you know where to fasten the top shelf.
Step 5

Step 6

SIDE FOOTER
Use 1 1/4″ nails and glue to attach the side footer to the sides, keeping bottom and outside edges flush.
Step 7

FRONT FOOTER
Attach the front footer to bottom shelf and the side footer as shown above. Use 2″ nails and glue.
Step 8

BUN FEET
Attach the bun feet as instructed by the manufacturer.
Comments
Aubergine (not verified)
Wed, 06/30/2010 - 23:38
should fit perfectly under
should fit perfectly under bens fort bed just need to boy it up a little thank you
merideth (not verified)
Thu, 07/01/2010 - 01:27
very, very nice-looking! who
very, very nice-looking! who knew it would be so simple? :) thank you, ana!
Buckeyegal (not verified)
Thu, 07/01/2010 - 02:19
This is exactly what I need
This is exactly what I need for my daughter's room...and easy peasy! I think I might do this one instead of the hubby! : )
Brandi (not verified)
Sat, 07/03/2010 - 07:21
Love this!! I bought the
Love this!! I bought the lumber for it yesterday. I did need to get a 12' 1x12 instead of the 10'. Can't wait to build it and put it in my daughter's room!
Francais Frit (not verified)
Sat, 08/14/2010 - 17:38
Ana- I love your site and
Ana- I love your site and have been looking around, planning and plotting forever. I decided I would love to make this my first project.
HOWEVER
I still feel like (a loser) I don't know where to begin. I am having a hard time translating the materials list into the cut list. I am a little intimidated to go into our local hardware store with no clue about what I am trying to get.
I'm feeling like I am one step below beginner- please help!