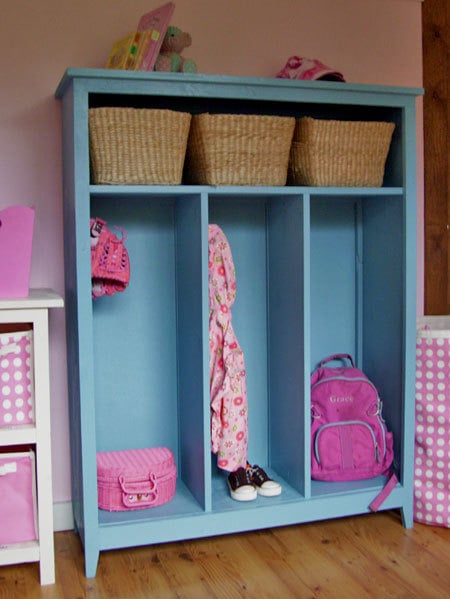


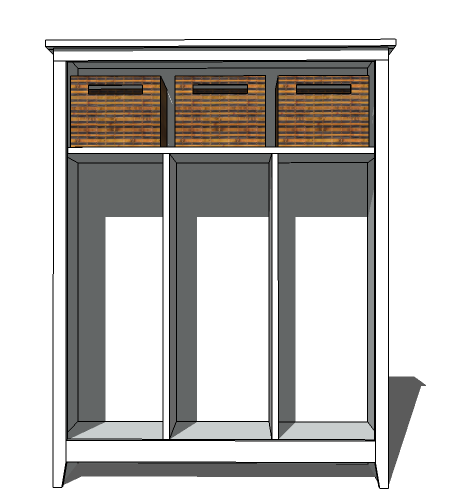
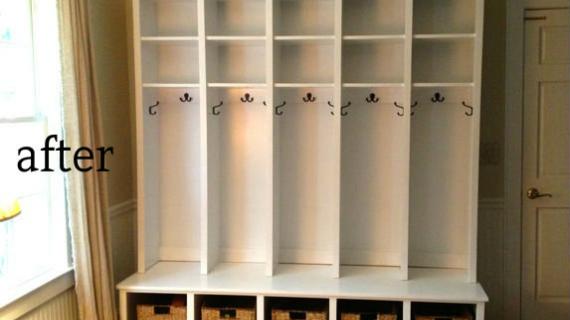
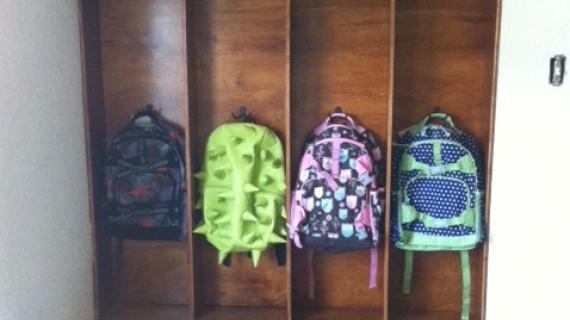
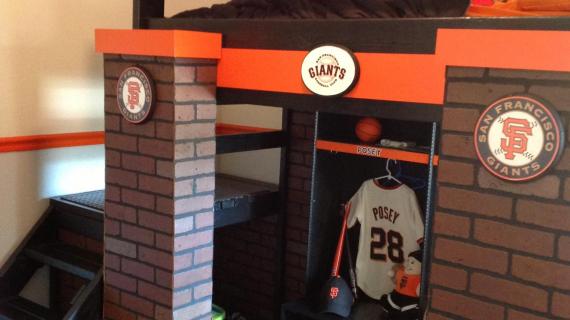
A small locker cabinet ideal for helping children organize and hang their own belongings.

Preparation
2 - 1x12 @ 8 feet long
1 - 1x12 @ 10 feet long
1 - 1x2 @ 8 feet long
1 - 1x3 @ 14 feet long
1 - 1/4" Plywood or Beadboard 1/2 sheet
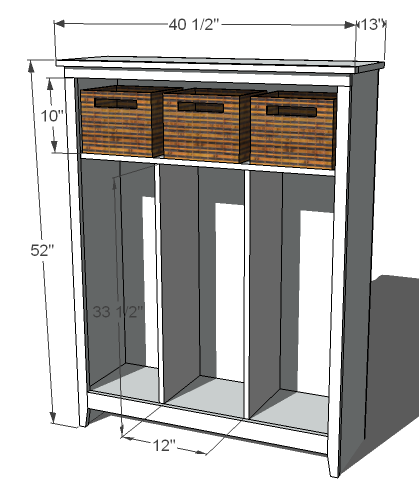
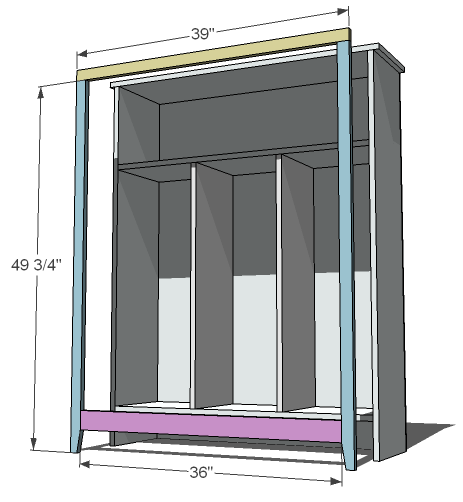
2 - 1x12 @ 51 1/4" (Sides)
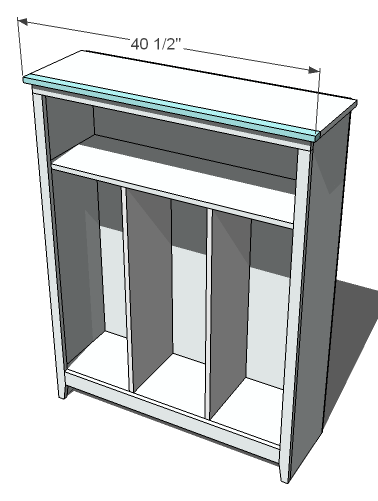
1 - 1x12 @ 40 1/2" (Top)
2 - 1x12 @ 37 1/2" (Shelves)
2 - 1x12 @ 33 1/2" (Dividers)
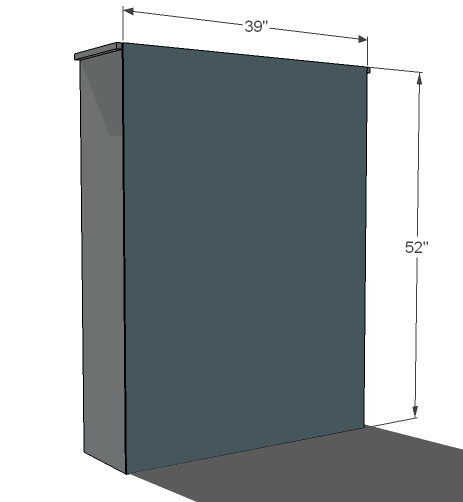
1 - 1/4" Plywood @ 39" x 52" (Back - 48" would work.)
2 - 1x2 @ 49 3/4" (Sides)
1 - 1x3 @ 36" (Footer)
1 - 1x2 @ 39" (Header)
1 - 1x2 @ 40 1/2" (Crown)
Cut list is also shown in the PDF. Cut longest boards first.


Full detailed instructions are shown in the PDF.
Instructions
Step 1

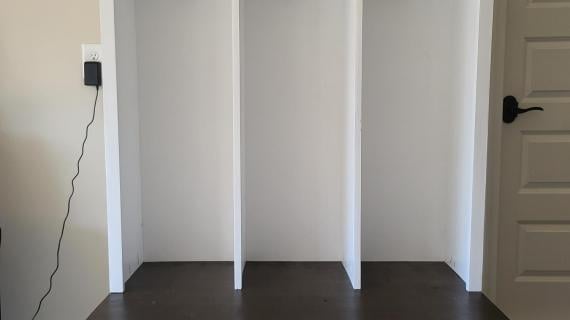
Start by cutting all your boards. I used my Kreg Jig™ to drill pocket holes into the inside tops of the blue boards, both ends on the underside of the green boards, and on both ends of the purple boards. I drilled three pocket holes per end. Then I measured and marked out all of my joints. Don’t forget that a 1x is actually only 3/4″ thick.
Step 2
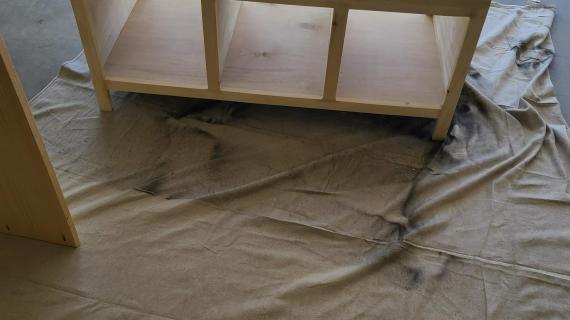
After squaring everything up, I tacked the back on with 1″ finish nails and glue. By also nailing into shelves and the locker sides, you add strength to the piece.
Step 3
Then I built the face frame by drilling pocket holes in both ends of the purple board, and the top ends of the blue boards. I marked the side boards and joined all the boards with screws through the pocket holes. Super easy. Finally, I used 2″ finish nails and glue to attach the face frame to the front of the locker cabinet.
Step 4
Finally, I used glue and 2″ nails to attach the crown to the top of the face frame and the top of the locker cabinet.
Step 5


Comments
scballou (not verified)
Wed, 08/18/2010 - 20:06
Jenny's Farmhouse TableI'd
Jenny's Farmhouse Table
I'd love to find out what kind of paint Jenny used for that wall color! Its gorgeous!
WindyLou (not verified)
Wed, 08/18/2010 - 21:16
If Jenny doesn't make it back
If Jenny doesn't make it back to comment, we have a similar color in our house called Sunnydale (for sure) made by valspar (I think).
PP-SD (not verified)
Wed, 08/18/2010 - 23:07
Hi Im new on here & live in
Hi Im new on here & live in England. I cant wait to try one of your projects. They are amazing and sound great fun to make.
Jenny what a FAB table. I love it. Where on earth do you start to make a table like that? I've been after a table like that for years. Never ever thought of making my own.... till now :-)
Many thanks for a great site. I'm in my element here.
Pam
Jenny (not verified)
Thu, 08/19/2010 - 00:44
Hi, I'm Jenny. Thanks
Hi, I'm Jenny. Thanks everyone for your comments! The paint in my kitchen & dining room is called Lounge Green from Sherwin Williams. It is my favorite wall color in the house.
ellison01 (not verified)
Thu, 08/19/2010 - 17:44
Love this so much i made it
Love this so much i made it today! Painting and hopefully bringing it in the house tomorrow, can't wait to share pics!
Holly (not verified)
Sat, 08/21/2010 - 11:03
Fantastic looking cubby, Ana!
Fantastic looking cubby, Ana! I love it ~ especially the blue with all the pink. Very nice :)
Ana White (not verified)
Tue, 08/31/2010 - 16:10
I love your wall color!
I love your wall color!
Locker Cabinet… (not verified)
Thu, 10/07/2010 - 07:29
[...] you can build this one
[...] you can build this one too! Plans are here. Grace’s play kitchen plans are [...]
Storage Star ~… (not verified)
Wed, 11/17/2010 - 06:56
[...] Kid’s Locker [...]
[...] Kid’s Locker [...]
allthosedelgados
Mon, 08/15/2011 - 10:21
the sketch up file?
any chance I can get your sketch up file for this? I'm making something similar for my boys room, but it needs modifying. I could start from scratch, but.....
Thanks!
NathanE (not verified)
Fri, 09/09/2011 - 10:14
14 feet?!
Why does the material list 1 1x3 at 14 feet when it's only used for the footer? I'm presuming it's a typo and we actually need a 4' (one foot of which gets cut off)?
A desperate ho… (not verified)
Sun, 02/26/2012 - 11:52
How do you hide the holes?
I have read many of your plans. I have never built anything and I am very nervous to start. Why? I have no clue.
I have a newbie-type of question: How do you hide all of the nails/screws? I know you countersink them. (I had my husband explain what this meant. hehe) How do you cover them. All of the projects looks so polished and I see nothing that talks about covering the holes.
In this particular project you mention using the Kreg Jig to drill pocket holes into the boards yet I see no indication of this in the image. Help!? Before I start, how do I hide the holes?
Thanks a million for all you do! I can't wait to try my hand at making my own things. :)
Brad Kid Lockers (not verified)
Mon, 04/30/2012 - 18:26
Great Idea
I love these kid lockers. My little ones know that when they come home from school, their coats go in the locker on the hook and the rain boots go under the seat until it rains again. I built similar lockers in my mudroom and it was one of the best things I've ever done.
No more searching the house for coats and boots and whatever, it's all in the lockers!
Brad Kid Lockers (not verified)
Mon, 04/30/2012 - 18:32
Great Idea
I love these kid lockers. My little ones know that when they come home from school, their coats go in the locker on the hook and the rain boots go under the seat until it rains again. I built similar lockers in my mudroom and it was one of the best things I've ever done.
No more searching the house for coats and boots and whatever, it's all in the kids locker!
prasoum
Mon, 12/09/2013 - 10:49
The pdf is not opening
The pdf is not opening up...any help
CatharineB
Fri, 01/17/2014 - 08:42
Please help PDF is not
Please help PDF is not working and would really love to make this!
In reply to Please help PDF is not by CatharineB
JoanneS
Fri, 01/17/2014 - 11:47
Saving printer friendly version as a .pdf file
Hi CatharineB,
If you ever have trouble with the .pdf link, you can also save the "printer friendly version" of the plan as a .pdf. These are the steps if you have Windows 7:
Click on the "printer friendly version" icon to open (located at the bottom of the plan, just above the comments)
Right click > Print
In the Print box that pops up, under "Destination" click "Change"
Then from the pull down you can select "save as pdf"
Click Save, and then you'll get the normal windows for saving the file onto your computer.
Good luck with your build!
Joanne
CatharineB
Fri, 01/17/2014 - 12:03
Thank you!
Thank you!
CatharineB
Fri, 01/17/2014 - 12:03
thank you!
thank you!
Kathibob
Tue, 10/08/2019 - 12:53
Lost PDF
I am unable to find a link to the PDF for the child locker cubbies. I really want to build them for my preschool classroom!!! Help!
Kathi