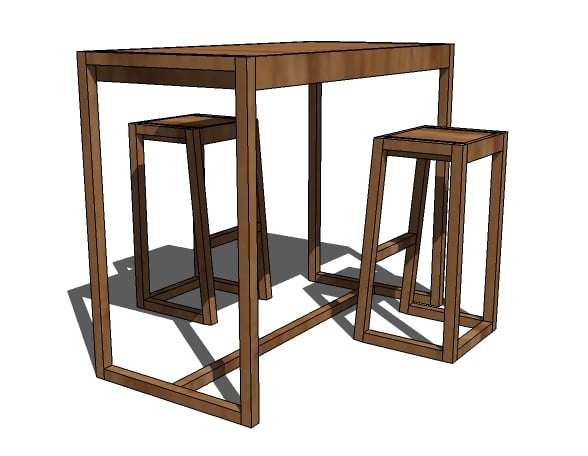


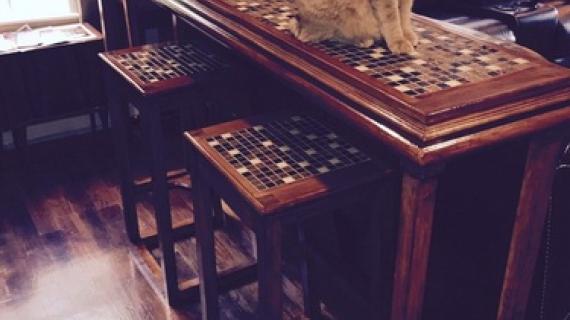
A modern style bar height table to match the modern bar stools.
Due to so many requests and so much interest, I'm so happy to debut plans for a simple, modern bar table.
 I'm so thrilled with this table because I know it's one of those projects that you can finish in no time flat. However, if you are going for that sleek rustic look, take the time to choose straight, good boards, and do an exceptional job lining up joints as you build, and do several coats of wood filler, sanding, wood filler, sanding (you know the drill, no pun intended) and finish with fine sandpaper. Don't forget to vacuum and wipe clean all that sanding residue. And for a smooth finish, you may wish to sand between coats. I recommend lots of layer of a thin paint followed with a sprayed on clear coat.
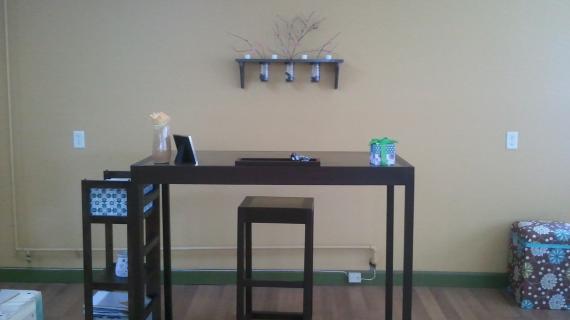
Wouldn't this make a lovely crafting table by a window?

Preparation
1 – 24″ x 48″ Edge Glued Pine Project Board or 3/4″ Hardwood Plywood OR (for painting) MDF panel
4 – 2×2 Boards, 8′ Long
1 – 1×4 Board, 10′ Long
2″ Screws and 2 1/2″ Screws (OR 1 1/4″ and 2″ Pocket Hole Screws)
Wood Glue
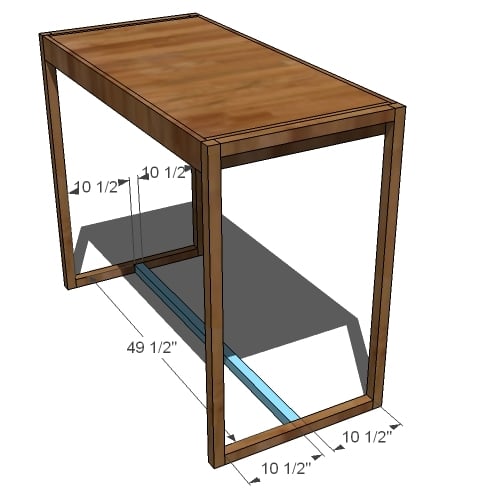
24″ x 48″ Project Panel (or plywood or MDF)
2 – 1×4 @ 24″ (End Aprons)
2 – 1×4 @ 49 1/2″ (Side Aprons)
4 – 2×2 @ 22 1/2″ (Leg Ends)
4 – 2×2 @ 42″ (Leg Sides)
1 – 2×2 @ 49 1/2″ (Bottom Support)


Instructions
Step 1

End Aprons
Attach the end aprons to the tabletop. Keep the top flush.
Step 2

Side Aprons
Attach the side aprons to the tabletop and the end aprons.
Step 3

Legs
Build the legs as shown above, either with 2 1/2″ wood screws and glue or 2″ pocket hole screws. Adjust for square.
Step 4

Assembly
Flip the photo above over. Then attach the legs to the frame as shown above.
Step 5
Comments
Aimee (not verified)
Thu, 11/11/2010 - 11:09
I would love to do a kitchen
I would love to do a kitchen table with this heighth. Is it possible?
Ana White (not verified)
Thu, 11/11/2010 - 22:37
Definitely!
Definitely!
Allison (not verified)
Wed, 01/05/2011 - 21:17
Love this! I've made quite a
Love this! I've made quite a few things from your site but I am really looking forward to this one. I plan on making two and put in some locking, somthing, to lock them together when I want to be able to seat more people and have this by the window when I don't. Thank you, love love this plan, its so easy.
Nikki Kelly (not verified)
Mon, 01/10/2011 - 16:08
I think this will be my first
I think this will be my first project from you website. I'm sure it will be the first of many. Thank you for what you do!
(p.s. the pdf version of this plan has a few pictures/diagrams that are going off the page.)
cmanmgm007
Sat, 08/04/2018 - 14:44
I love the design of this bar
I love the design of this bar but i had to lower it some,, it feels to high for my stools.