
Difficulty
Beginner Projects
| 
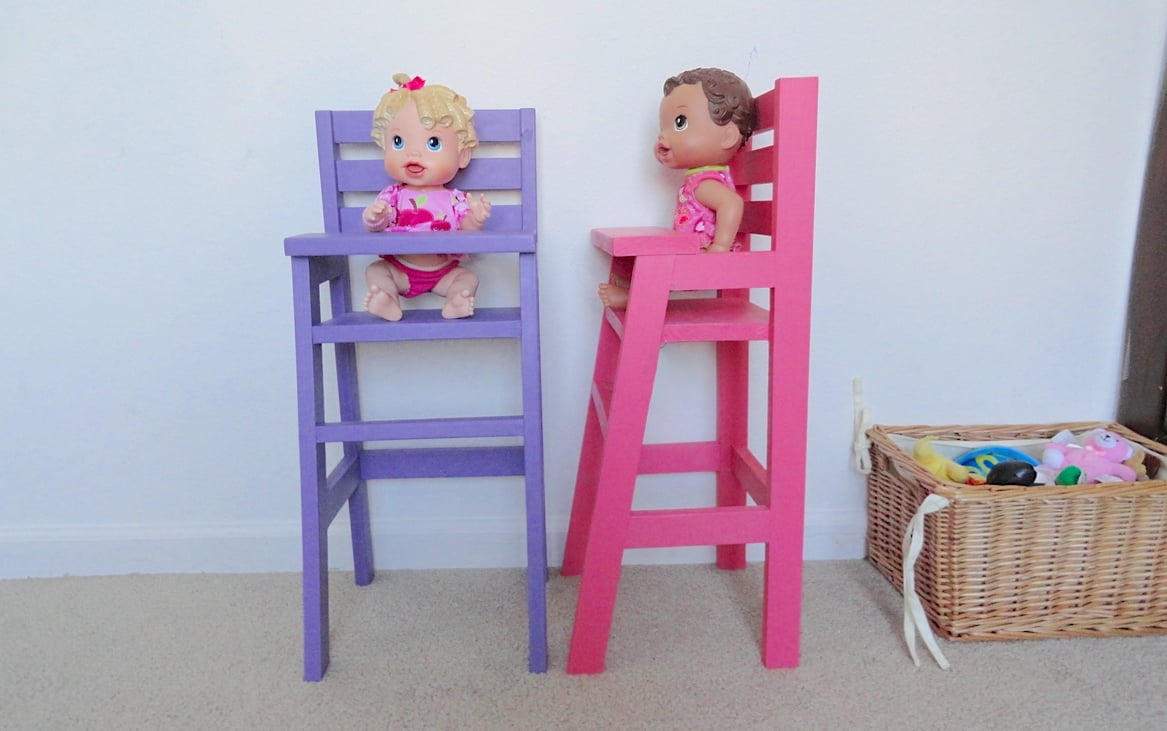
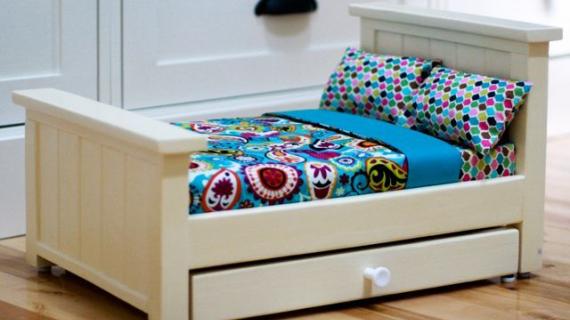
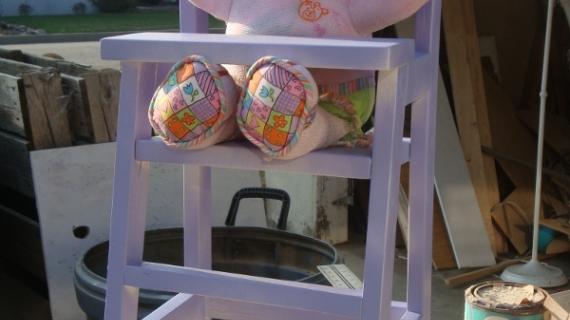
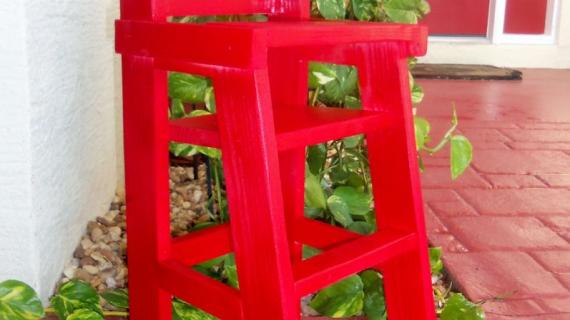
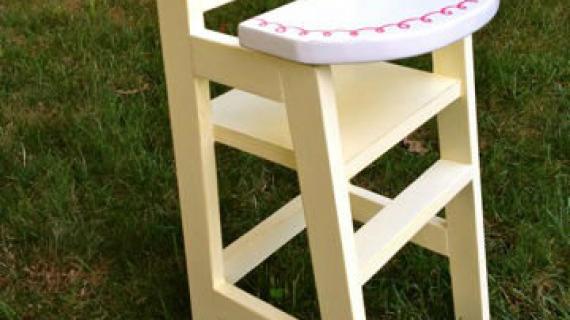
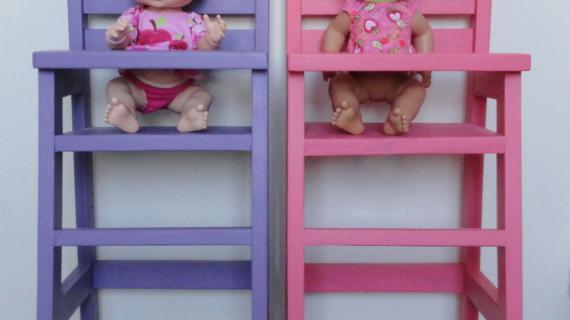
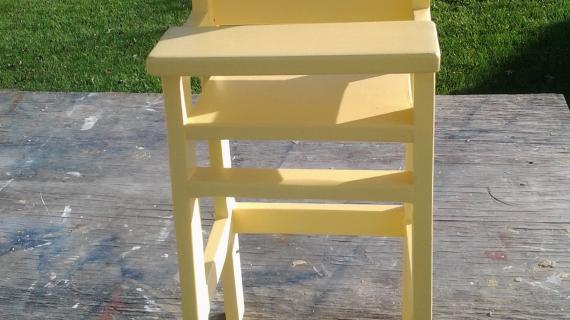
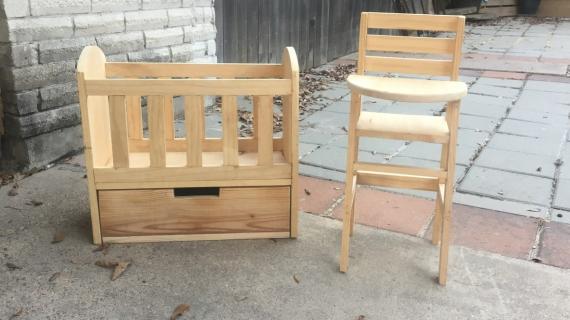
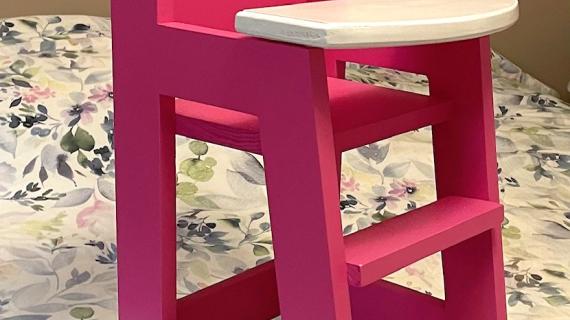
Simple to build diy doll high chair with free plans from Ana-White.com
Pin For Later!

Dimensions
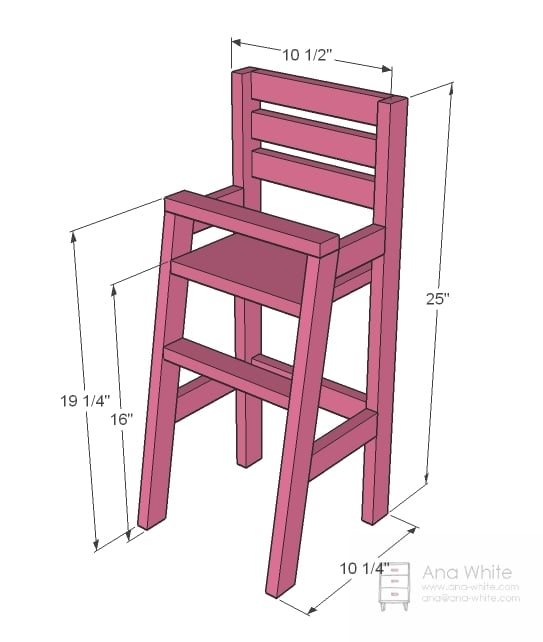
Dimensions are shown above.
Preparation
Shopping List
- 2 – 1×2 @ 8 feet long
- 1 – 1×4 @ 10 1/2″ long
- 1 – 1×8 @ 9″ long
Cut List
- 2 – 1×2 @ 25″
- 2 – 1×2 @ 18 3/4″ long, both ends cut at 10 degrees off square, parallel to each other
- 2 – 1×2 @ 4″, one end cut at 10 degrees off square
- 2 – 1×2 @ 6″, one end cut at 10 degrees off square
- 6 – 1×2 @ 9″
- 1 – 1×4 @ 10 1/2″ long
- 1- 1x8 @ 9" long
Tools


Instructions
Step 1
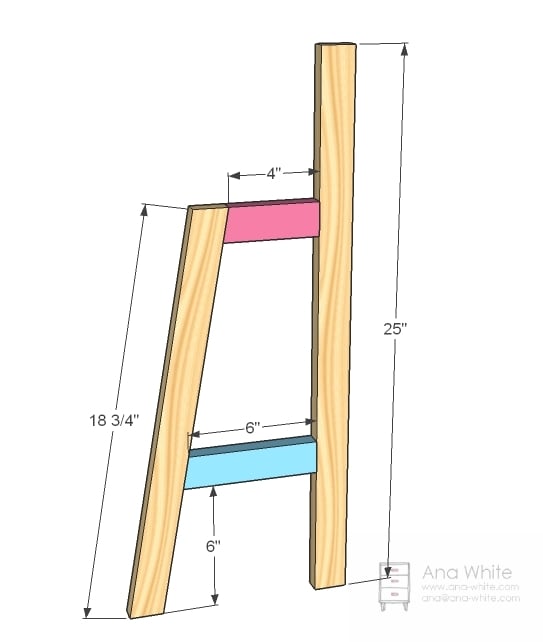
Chair Sides
Build the chair sides as shown above. Use 2″ screws predrilled from the outsides of the chair back and fronts into the ends of the side rails, or pocket holes. Build two of these.
Step 2

Back Slats
Now add the back slats, again, with 2″ screws and glue.
Step 3

Foot Rest
And now the foot rest. Same thing, 2″ screws and glue.
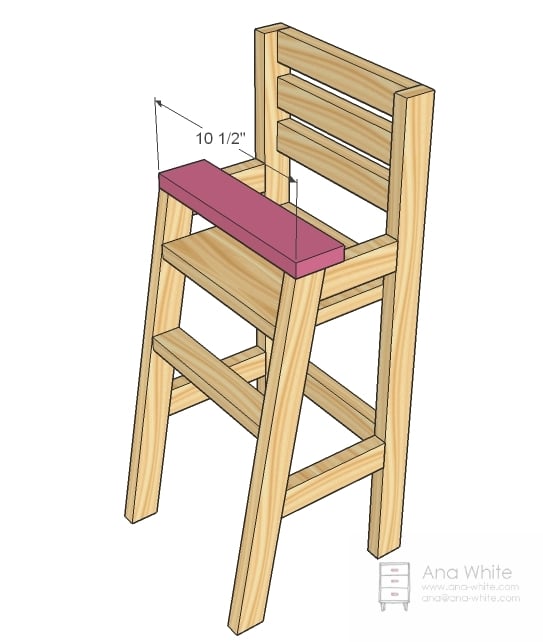
Step 4

Seat
And finally the seat. I recommend positioning the seat according to the dimensions of the doll that will sit in the seat.
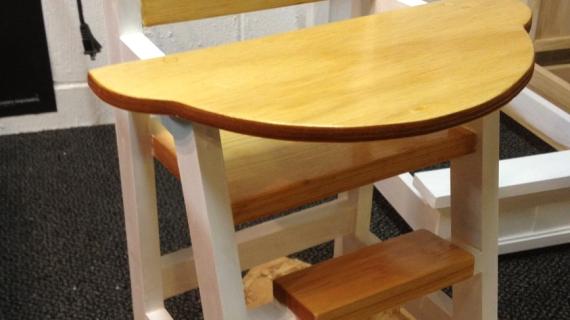
Step 5
Attach the tray piece to the top with 1-1/4" brad nails and glue.
Project Type
Room


Comments
Jaime (not verified)
Mon, 12/20/2010 - 01:37
Thank you, thank you, thank
Thank you, thank you, thank you Ana. I have been asking for this plan (very discreetly in my posts of all the other doll furniture) so I was so excited to see it posted! I will have to bundle up, the garage is very cold now so it makes building not so fun, but I'm off to make it and will share when I'm done. Thank you again, you are priceless!
Kristi (not verified)
Mon, 12/20/2010 - 06:37
Yippee, Ana!!!!! LOVE it!!
Yippee, Ana!!!!! LOVE it!! Thanks for doing this.....it was one of my "hopeful projects". I have linked my readers over to you for the tutorial! :) Kristi in California
24-7mom (not verified)
Mon, 12/20/2010 - 07:22
I love your furniture, but
I love your furniture, but more importantly I love your philosophy about motherhood. Thanks.
Suzanne (not verified)
Mon, 12/20/2010 - 08:29
oh wow!! Such a great job on
oh wow!! Such a great job on that birthday! She will remember it forever!
Jody (not verified)
Mon, 12/20/2010 - 08:54
Guess what Emmy is getting
Guess what Emmy is getting for Valentine's Day...if she doesn't get one from someone else for Christmas. The baby doll bed is done. Just need to make the doll quilt. I'm going to do it with leftover material from her 1st birthday quilt I made this summer, my first ever quilt. And I just need to put a quick coat of poly on the front of the toddler easel and we are ready to assemble it. It has been so much fun making presents this year. People think it is amazing when they find out. I'm going to start thinking about what to make for next year as soon as Christmas was over. Building day was 53 degrees in the workshop with 3 kerosone heaters going for four hours before we started. Sanding the filler I did without the heaters and I thought my hands were going to fall off. December isn't usually that cold here, but I think next year all building projects need to be done by Thanksgiving. I need to keep my fingers :) Thanks, Ana & Merry Christmas!
Christy (not verified)
Mon, 12/20/2010 - 13:22
This is great! When I saw the
This is great! When I saw the restaurant style high chair I actually said "I wish I could find plans for a doll high chair!" I am so happy and more importantly I bought some wood just in case I needed it:) Do you have the plans for that table and benches? I would love those too. What an amazing birthday party! I love the pretty dresses! That is a great idea for the empty wall space above my little girls dress up area. Thanks Ana!
Stacy (not verified)
Tue, 12/21/2010 - 10:36
YAY! I am so excited. My poor
YAY! I am so excited. My poor husband...I'm going to recruit him to help me make a whole set of doll furniture for our little girl's birthday in June :). He said no to the Christmas idea...what? It's only December 21 ;).
Candice (not verified)
Tue, 12/21/2010 - 17:33
Thank you for the plans. Just
Thank you for the plans. Just made this for my niece for Christmas. I also made the lap desk and my dad is so impressed at what I have made so far which is a huge compliment. My husband is still skeptical but I am having fun.
Thank you!
Melissa (not verified)
Wed, 12/22/2010 - 15:49
Awesome! Thank you!!!
Awesome! Thank you!!!
jcostigl (not verified)
Thu, 12/30/2010 - 03:22
Here it is - I finally
Here it is - I finally finished the high chair.
http://thatsmyletter.blogspot.com/2010/12/h-is-for-high-chair.html
On to the next project. Thank you Ana.
Becca (not verified)
Sat, 01/01/2011 - 20:50
You know, it would be super
You know, it would be super easy to add a hinge so the tray opened sideways, rather than up and over (or into) the dolls head. thats how our old (real) highchair worked...
Liz (not verified)
Mon, 01/10/2011 - 12:50
Thank you! Finally a simple
Thank you! Finally a simple affordable plan. Can"t wait to build it and play with Ella.
amy (not verified)
Sun, 02/06/2011 - 14:06
What are cork feet?
What are cork feet?
Noel Kelley (not verified)
Sun, 02/13/2011 - 05:48
Wow- this site is AMAZING!!
Wow- this site is AMAZING!! You are so talented!!! I cannot wait to try some of these plans!!!
mohammad (not verified)
Fri, 06/03/2011 - 22:14
great
it was perfect
i am iranian
متشکرم
Shomerito
Sun, 04/20/2014 - 08:23
Question
Can I use this high chair for my baby or it need to be a different measure. My baby is 6 months old. Thank you.