
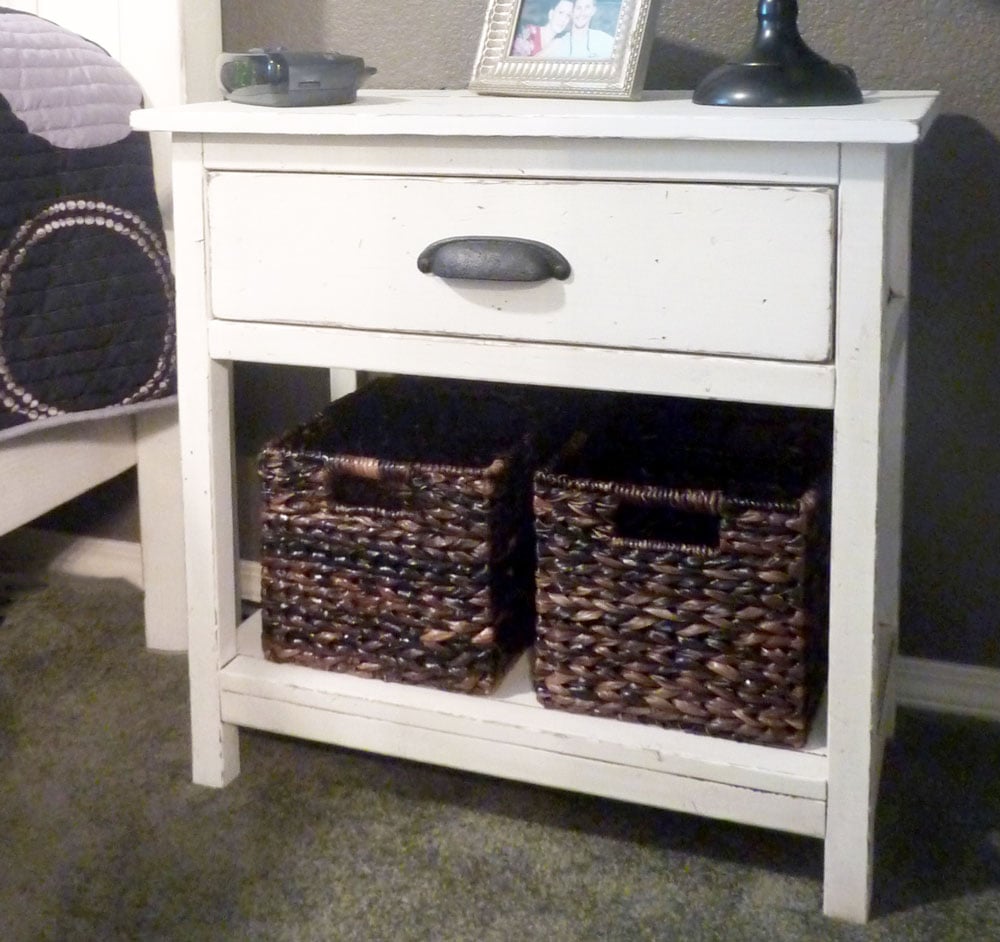

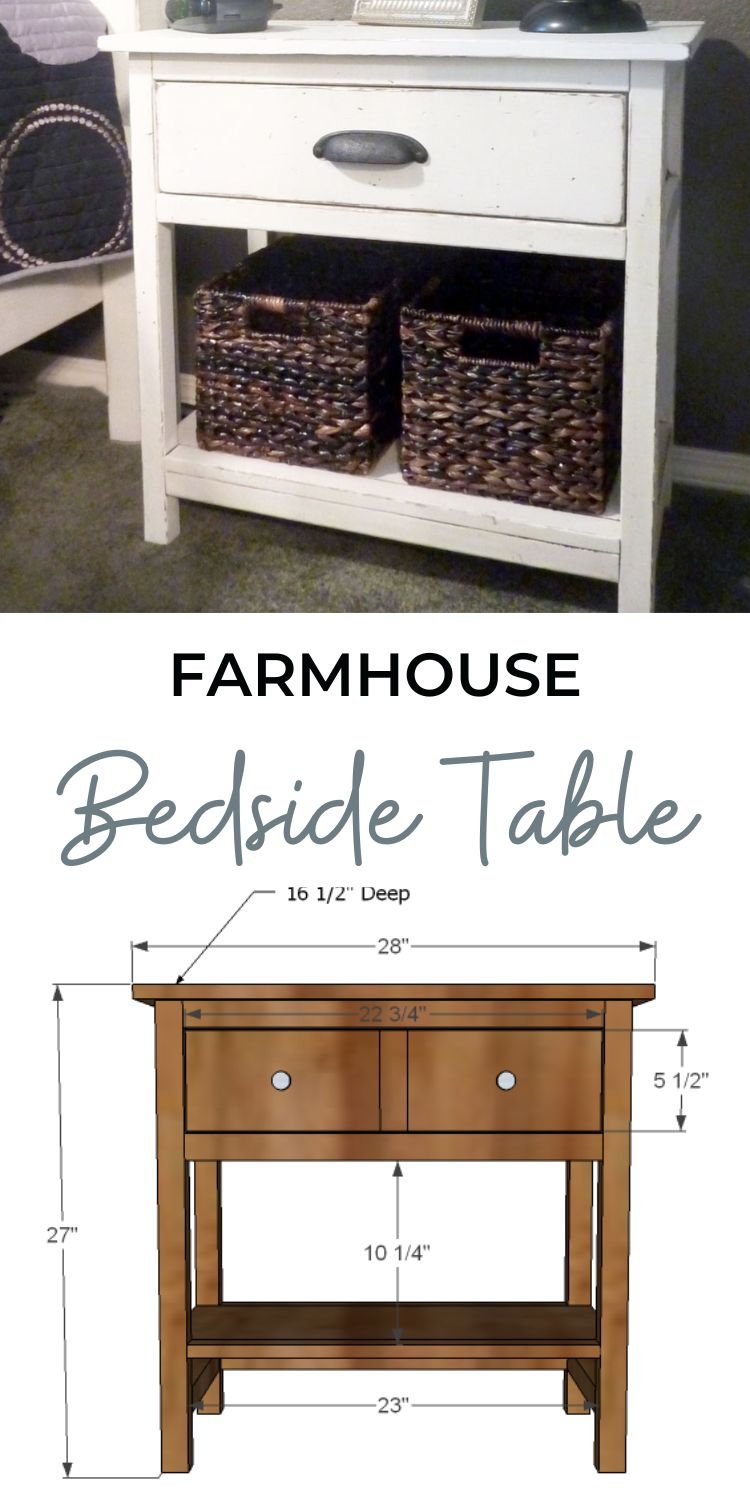
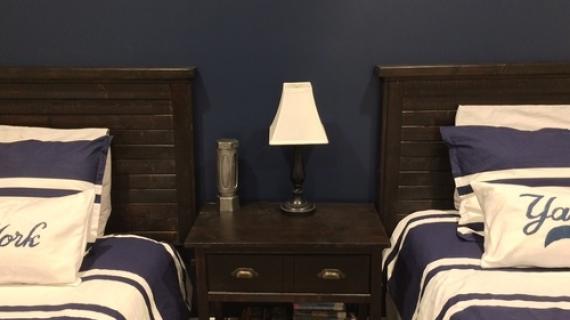
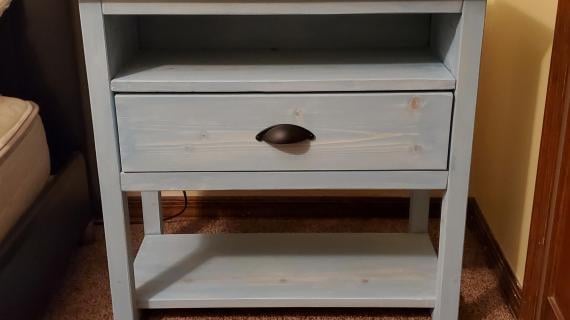
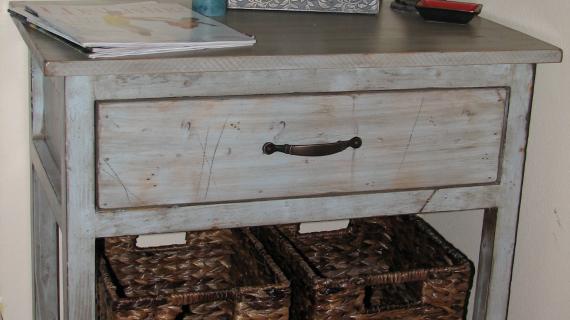
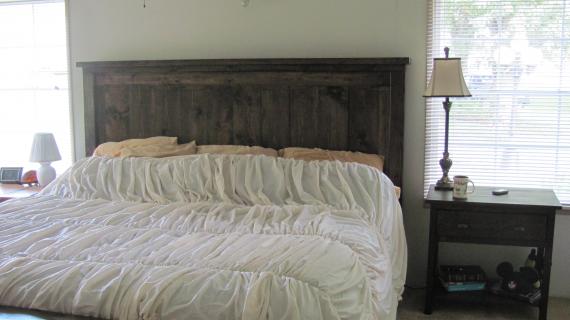
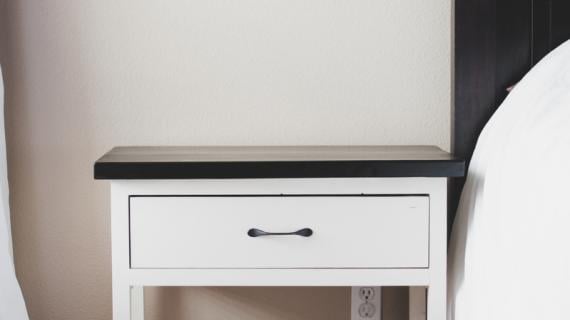
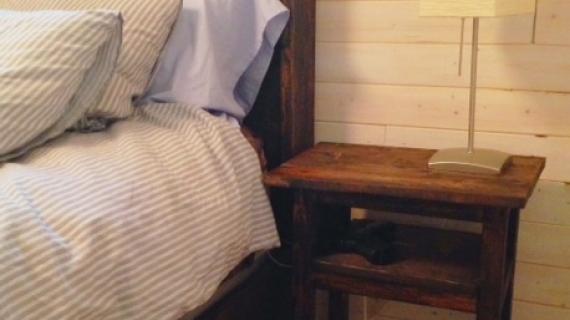
A bedside table to match our Farmhouse Beds. Features one large bottom shelf and one large drawer built with no drawer slides. Free step by step plans with diagrams created by Ana White.
Pin For Later!
Preparation
1 – 1×12 @ 6 feet long
2 – 1×6 @ 8 feet long
4 – 2×2 @ 8 feet long
2 – 1×2 @ 8 feet long
1/4″ plywood scrap, at least 24″ x 8″ (minimum, ideally 26″ x 8 1/2″)
2 1/2″ Screws or Pocket Hole Screws
1 1/4″ Finish nails or Screws
Wood Glue, wood filler and finishing supplies
2 Knobs
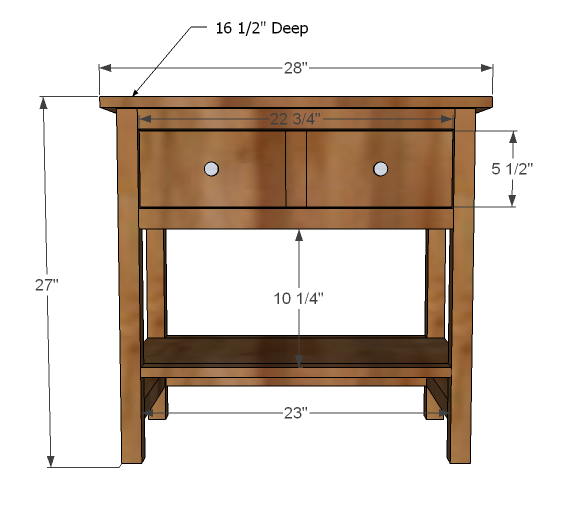
2 – 1×12 @ 8 3/4″ (Sides)
2 – 1×2 @ 11 1/2″ (Side Trim – needs to be width of your 1x12s)
4 – 2×2 @ 26 1/4″ (Legs)
2 – 2×2 @ 11 1/2″ (Side Stretchers, same width as your 1x12s)
6 – 2×2 @ 23″ (Front/Back Trim)
1 – 1/4″ Plywood or paneling or other sheet goods @ 26″ x 8 1/2″ (back, optional)
3 – 1×2 @ 11 1/2″ (Top Supports)
3 – 1×6 @ 28″ (Top)
2 – 1×6 @ 22 3/4″ (Front and Back of Drawer)
2 – 1×6 @ 11 1/2″ (Width of 1×12 – Sides of Drawers)
1 – 1×12 @ 21 1/4″ (Bottom of drawer)
1 – 1×12 @ 26″ (Bottom Shelf)
2 – 1×2 @ 23″ (Bottom Shelf Trim)


Instructions
Step 1

Sides Build the sides by screwing or nailing from the insides into the back sides of the 1×2 trim, as shown above. Remember that the 1x2s are on the outside, so hide your fasteners on the back side. Use glue. Make sure trim is flush on top and ends with the 1×12. You will need to build two of these.
Step 2
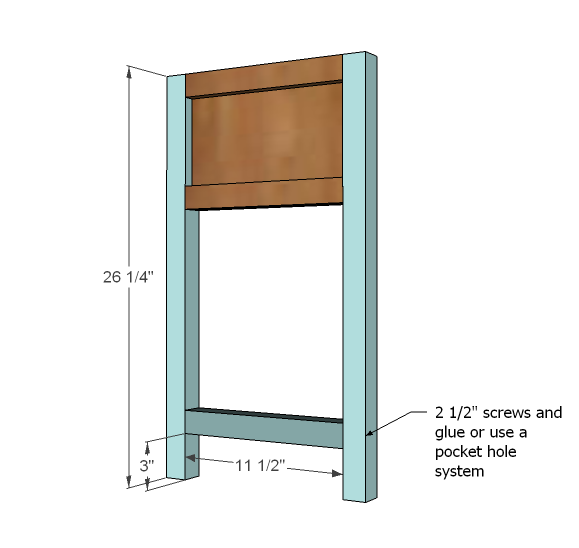
Legs Next add the legs to the project as shown above. Predrill holes and use glue and 2 1/2″ screws. Finish with the bottom stretcher. You will need to do this on both sides.
Step 3
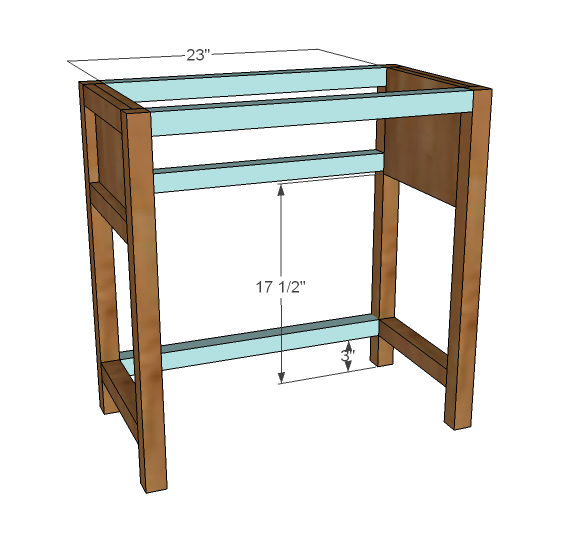
Front/Back Trim Join the two side pieces with the front and back trim as shown above. Use 2 1/2″ screws and glue.
Step 4

Back This could even be a stiff cardboard or hardboard if that’s what you have on hand. Try asking at your hardware store for a scrap piece of plywood or a damaged sheet to save extra money. Tack on with either 1 1/4″ finish nails or screws and glue.
Step 5

Step 6

Top The top needs to overhang the base by 1″ on all sides. If you have a pocket hole system, build your top, then screw the base to the top through the supports. Otherwise, screw the supports to the top, starting with the middle top board, and minimizing gaps between the boards as you screw the outer boards to the supports.
Step 7

Drawer Build your drawer as shown above. Use screws and glue. The bottom is inset, with all sides screwed into the bottom. The front is merely false cuts made with a circular saw with the saw blade set at 1/8″.
Step 8
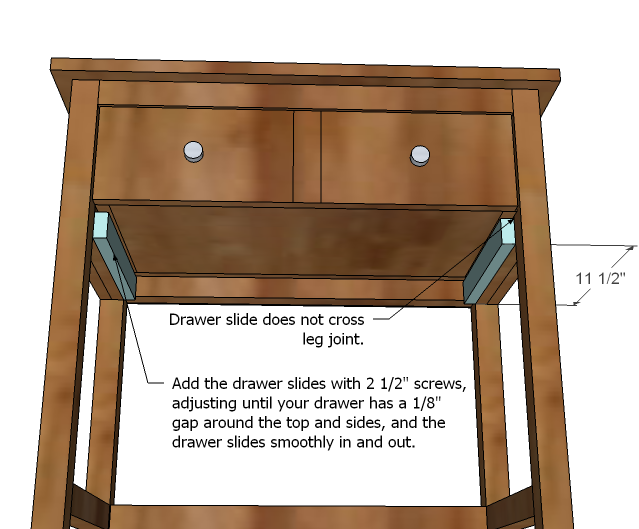
Drawer Slides What I would start with is screwing the drawer slides in place, flush with the bottom of the sides. Then fit the drawer in and unscrew the drawer slide and adjust until the gap around the top and sides is even and the drawer slides in and out nicely.
Step 9

Front Trim Attach the front trim to the legs as shown above, leaving an even gap on the underside of the drawer.
Step 10
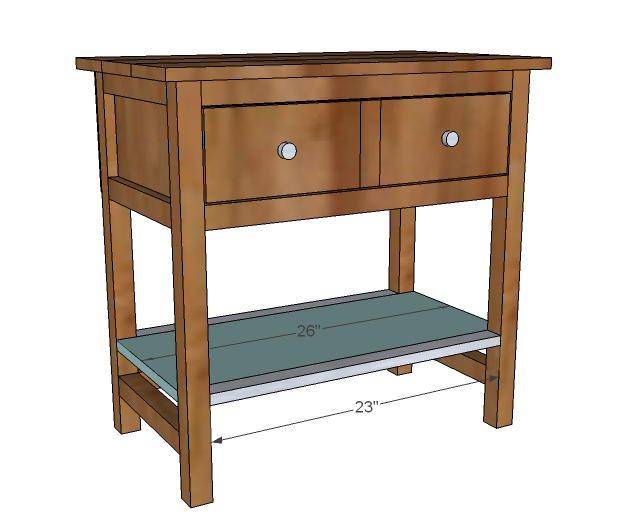
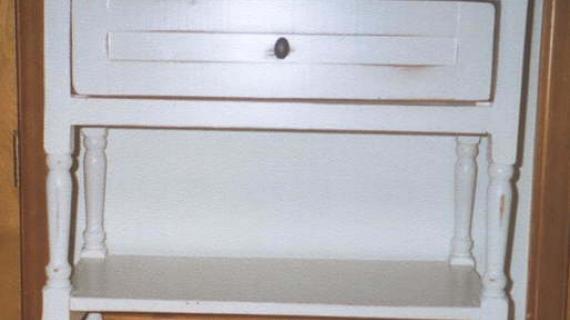
Bottom Shelf You can lay the bottom shelf on the side stretchers, or you can screw to the legs as shown above.

Comments
Nsmjc
Sat, 09/14/2013 - 15:00
Plans
My wife plans on have me make this side table only at 20 inches long to fit the room better.
My questions is are these plans for one or two tables? I believe it reads for one table.
She has already had me make the KING SIZE FANCY FARMHOUSE BED
Ill provide pics when it is all done.
Thanks
Matt
scottdh
Mon, 03/06/2017 - 10:48
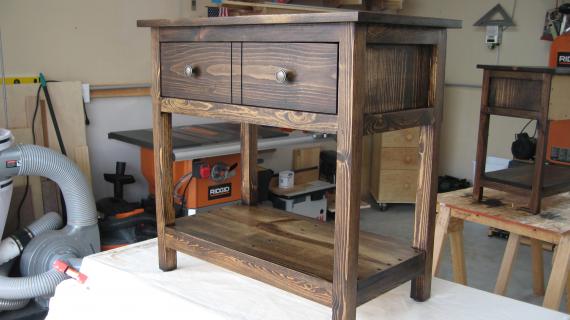
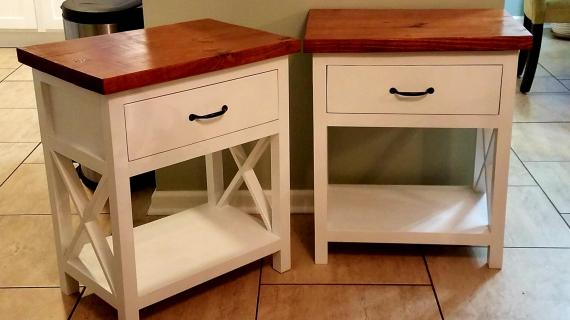
Just finished a pair of these
Just finished a pair of these. Absolute pleasure to build. Thanks so much!