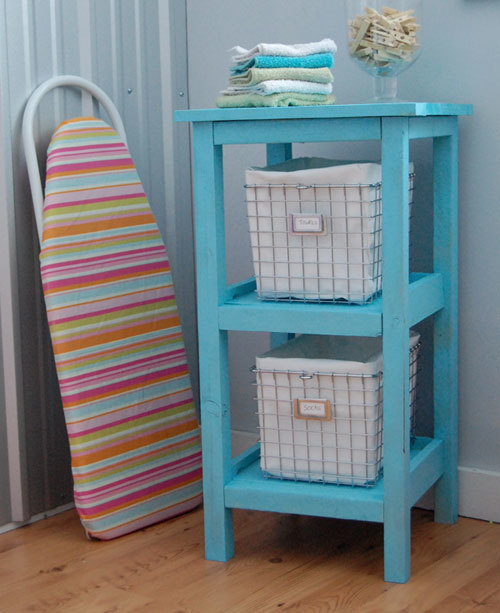


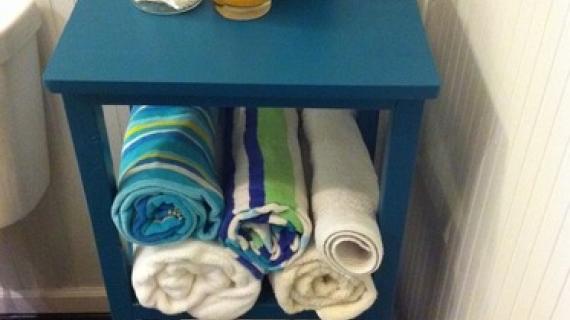
A little storage tower perfect for a couple of wire baskets or folded towels.
 Plan By:Ana White
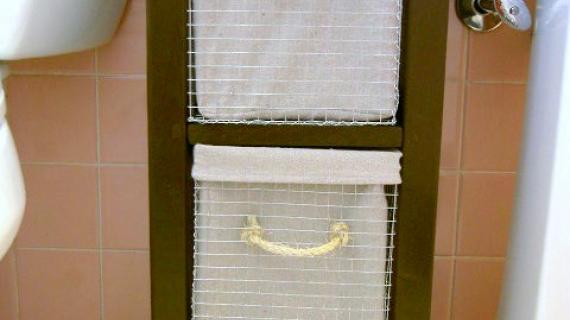
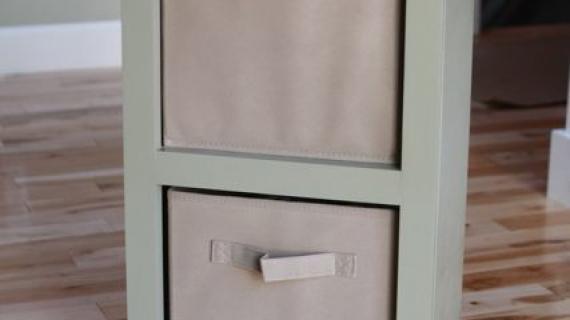
One of my favorite trends of the moment is wire baskets for storage. High quality woven baskets can just be so expensive and often less durable and more difficult to clean. This simple storage tower can be used with or without wire baskets to add precious storage space and countertop space to even the tiniest of bathrooms. Use throughout the home for storage - think potatos and onions, socks and underwear, or even favorite books beside your bed.
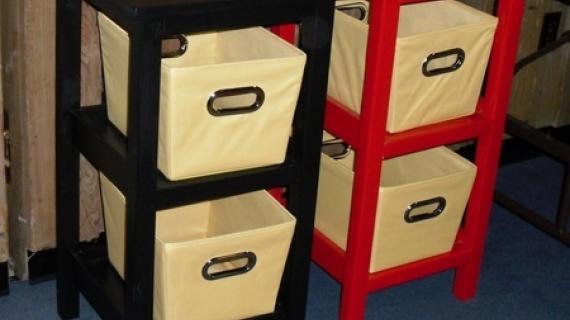
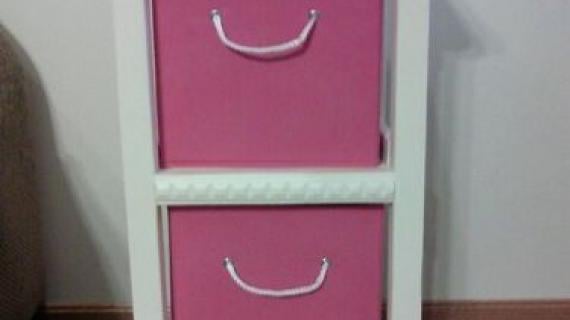
Shown with a Spectrum small wire basket, available at most stores for about $10 and a homemade fabric liner. Also available is a medium sized basket that is slightly wider. Simply add a few inches to the width of you project to accommodate the larger baskets.

Preparation
2 – Wire Baskets, measuring 9″ wide x 8″ tall x 12″ deep (as shown)
3 – 2×2 @ 8 feet long
1 – 1×12 @ 4 feet long
1 – 1×3 @ 8 feet long
1 – 1×2 @ 2 feet long
2 1/2″ Screws or finish nails
2″ Screws or finish nails
1 1/4″ Screws or finish nails
wood glue, wood filler and finishing supplies
4 – 2×2 @ 29 1/4″ (Legs)
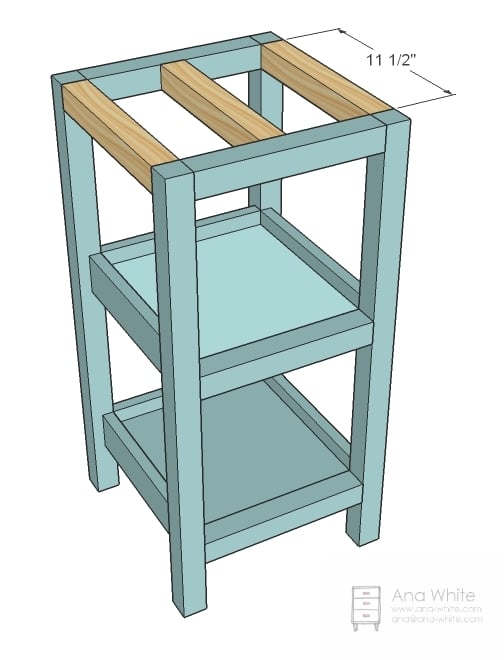
4 – 1×3 @ 11 1/2″ (Side Trim for shelves – Measure to fit the width of your 1x12s)
2 – 1×12 @ 11″ (Shelves)
2 – 1×3 @ 11″ (Back Trim for Shelves)
4 – 2×2 @ 11″ (Width Trim)
3 – 2×2 @ 11 1/2″ (Top Trim – Measure to fit the width of your 1x12s)
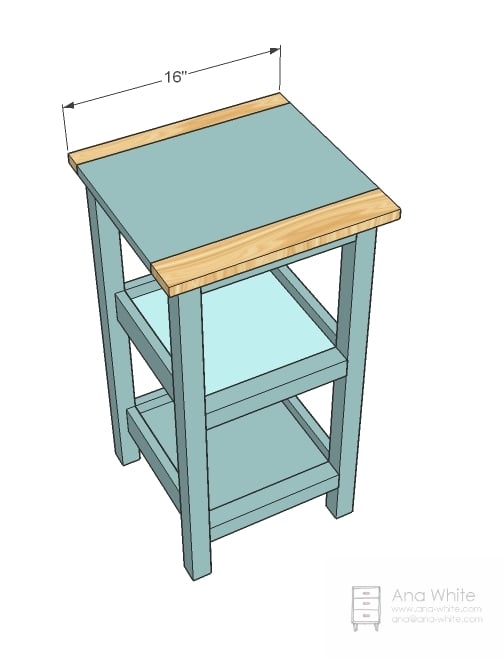
1 – 1×12 @ 16″ (Top Shelf)
1 – 1×2 @ 16″ (Back, Top)
1 – 1×3 @ 16, (Front, Top)


Instructions
Step 1
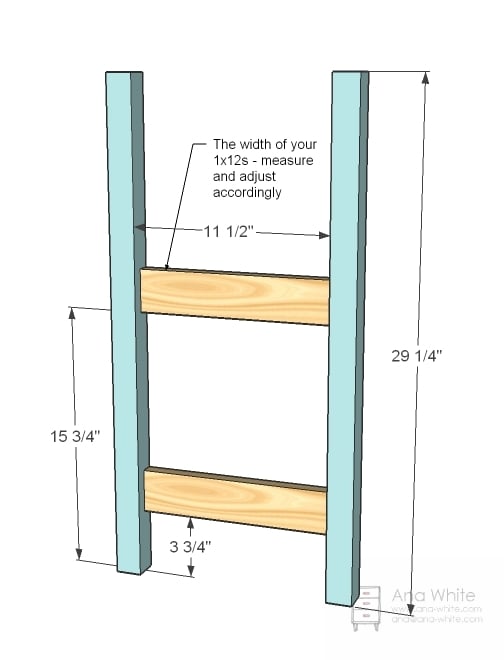
Attach Shelf Side Trim to Legs
Measure and mark the location of the shelf side trim on the insides of the legs. Predrill holes and attach with 2 1/2″ screws or finish nails and glue. Build two. Shelf side trim is flush to the inside.
Step 2
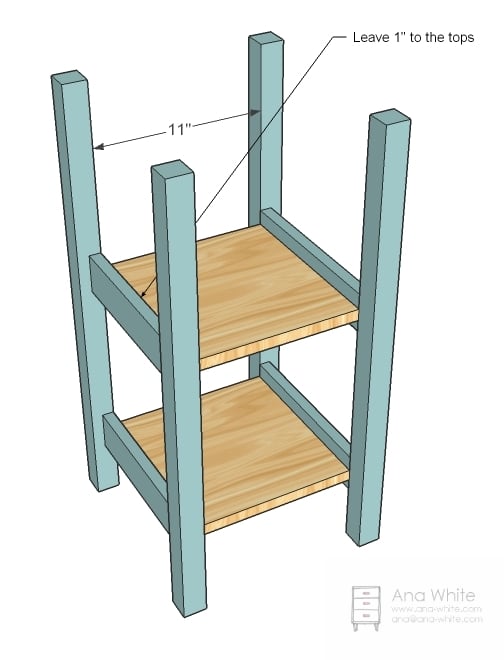
Shelves
Measure and mark the shelf side trim 1″ from the top edge. This is the top edge of your shelves. Attach shelves with 2″ screws and glue or 1 1/4″ pocket hole screws and glue.
Step 3

Back Trim
Attach the back trim flush with the sides as you did the side trim.
Step 4
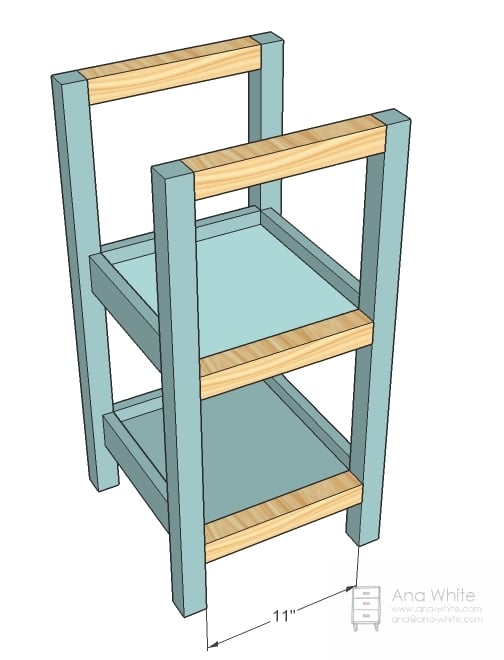
Width Trim
The shelf trim is flush to the top, the top trim flush to the top. Attach with 2 1/2″ screws or finish nails and glue.
Step 5
Step 6

Top Shelf
Screw through the supports/top trim with 2″ screws and glue to attach top shelf.
Step 7
Front and Back of Top Shelf
Finish the top shelf with the 1×2 and 1×3, 1×2 to the back so your piece will sit flush to the wall. Use 2″ screws and glue.
Comments
Morgan (not verified)
Mon, 02/14/2011 - 22:28
I was seriously just drooling
I was seriously just drooling over this.
marisa (not verified)
Tue, 02/15/2011 - 06:05
I have been looking for
I have been looking for something small for our bathroom. Perfect! An excuse for my husband to use his tools. I saw wire baskets at Target for about 5 bucks too!
Thanks for these plans. I've been a stalker for awhile and just wanted to say that I'm excited to start my projects because of your ideas!
Lynn (not verified)
Tue, 02/15/2011 - 07:43
I love this. I want to make
I love this. I want to make one for my office and use a file sized basket for organization. Of course I will have to make them for my craft room, hallway outside the bathroom for make-up, by the front door for mittens and scarves...great plan with so many uses!
Jenn Hoff (not verified)
Tue, 02/15/2011 - 10:16
This would be a really great
This would be a really great plant shelf, too.
Great job as usual, Ana!
Semele_74 (not verified)
Tue, 02/15/2011 - 15:11
Love it! Thank you so much-
Love it! Thank you so much- I actually own a similar piece of furniture that doesn't have a "home" and you have inspired me to put it in the bathroom I'm in the process of making over. It will be PERFECT there.
StephT (not verified)
Tue, 02/15/2011 - 17:38
I love it. This is just what
I love it. This is just what I need in the bathroom. I can't wait to get my shelf project done so I can start this.
Anne M (not verified)
Wed, 02/16/2011 - 10:05
Can you tell us the name of
Can you tell us the name of that beautiful turquoise paint? It is so bright and cheery and perfect for a laundry room shelf I am making.
Rachel (not verified)
Mon, 02/21/2011 - 12:26
Could this be doubled in
Could this be doubled in height and number of shelves without any additional bracing, etc...?
Lydia Harris (not verified)
Mon, 02/28/2011 - 04:47
Thank you for my new bedside
Thank you for my new bedside tables!