Hello from London, UK.
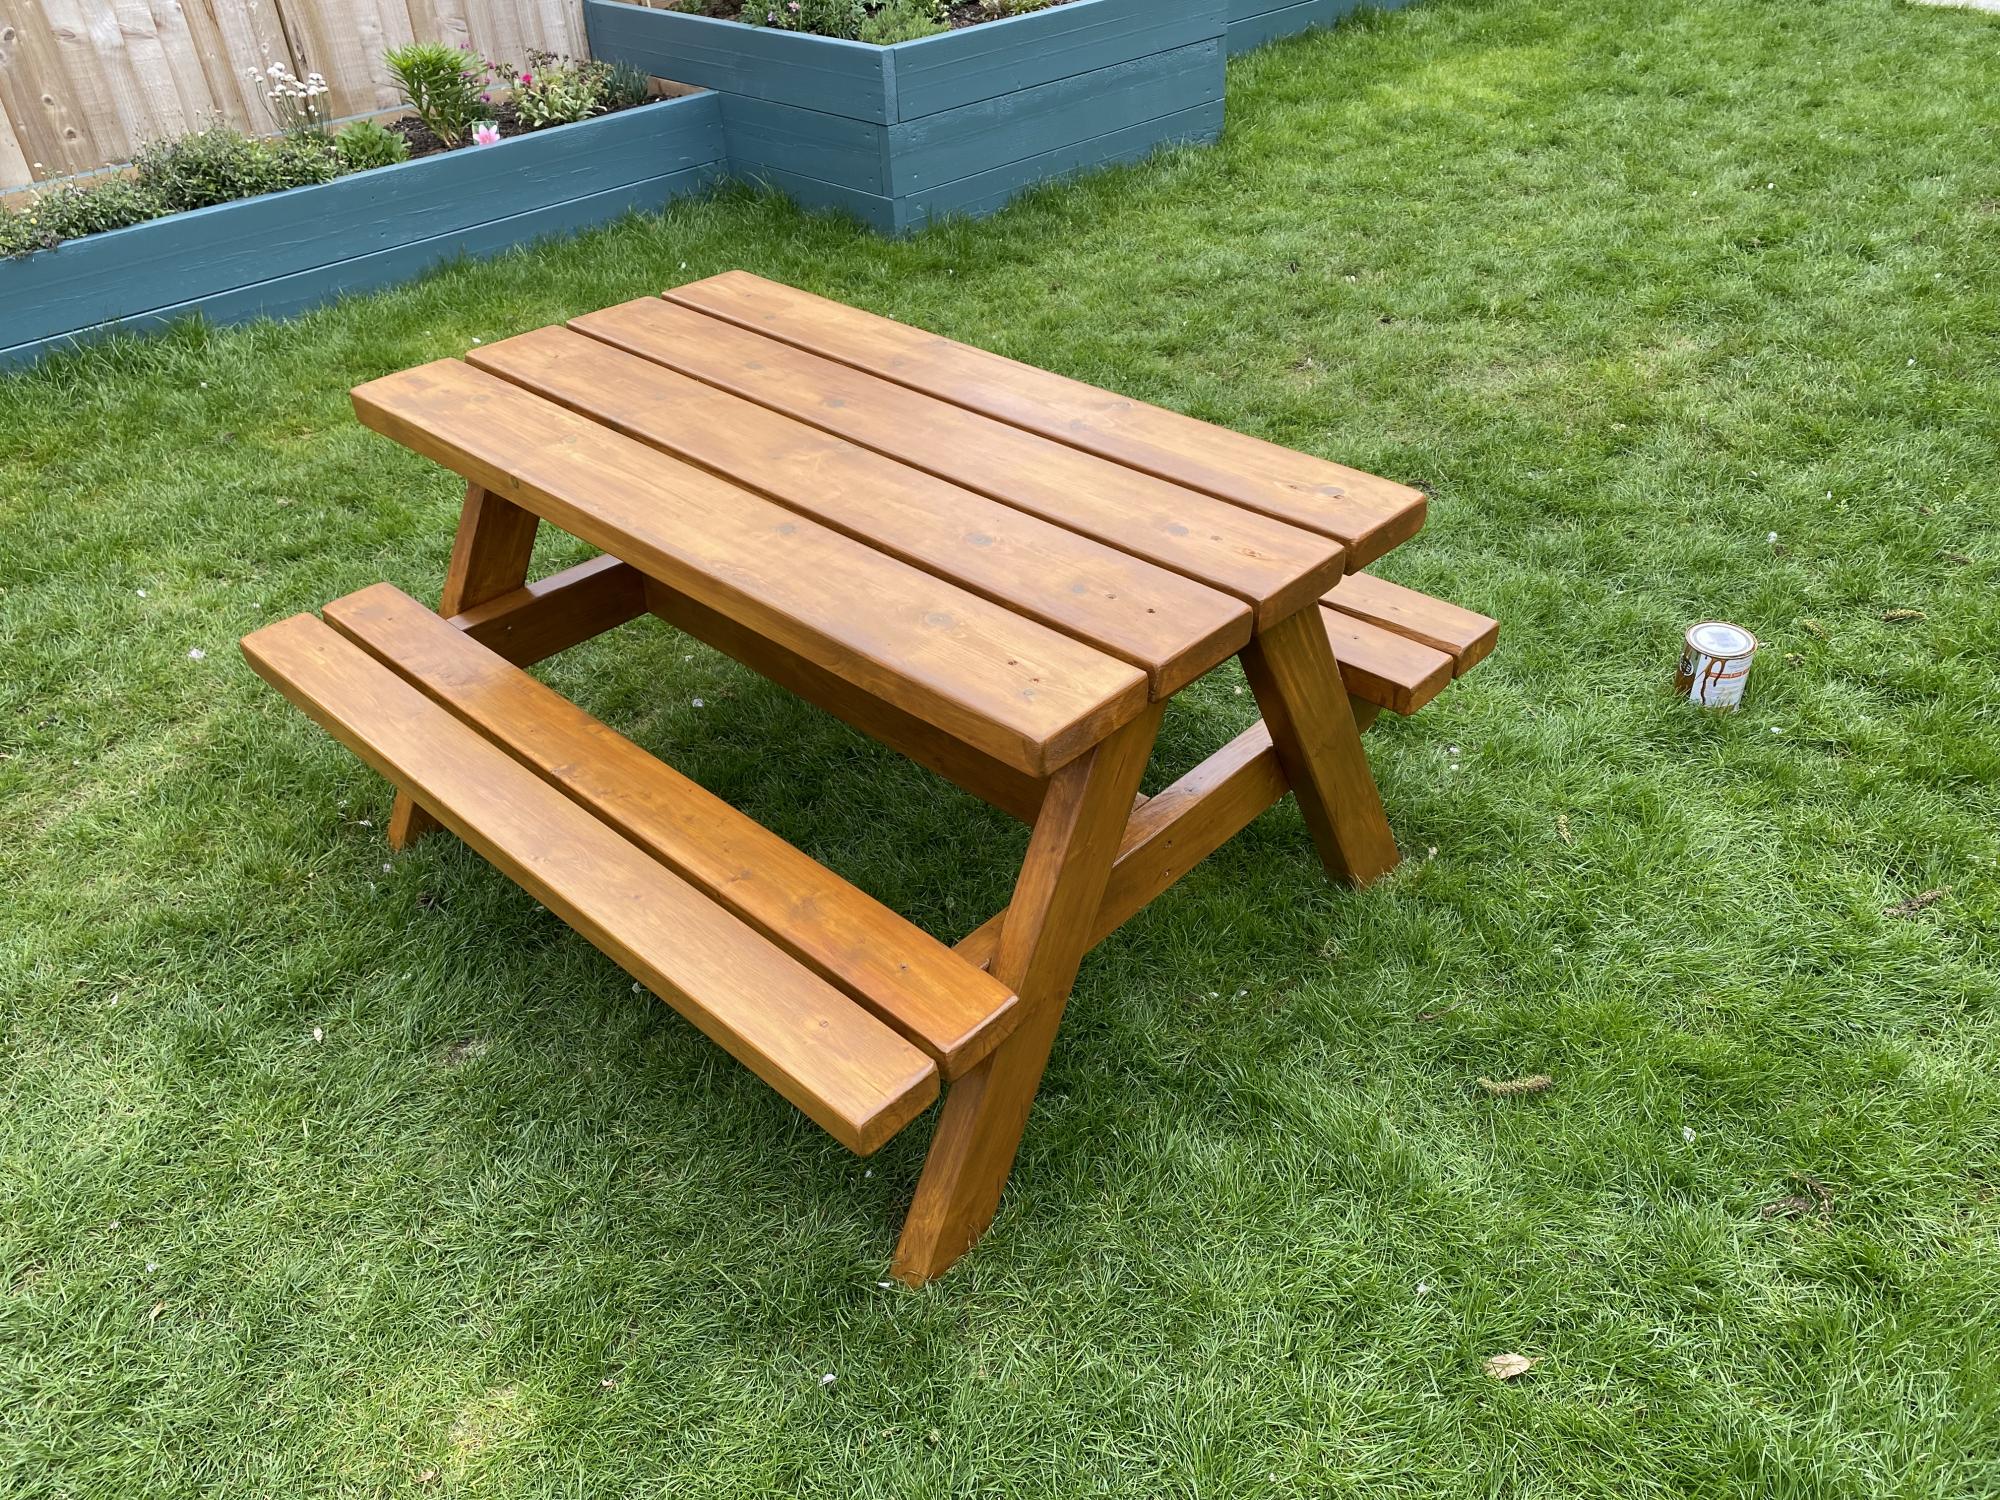
Used 120grit sandpaper and stained with Ronseal 10 Year Exterior Satin Woodstain 750ml Natural Oak
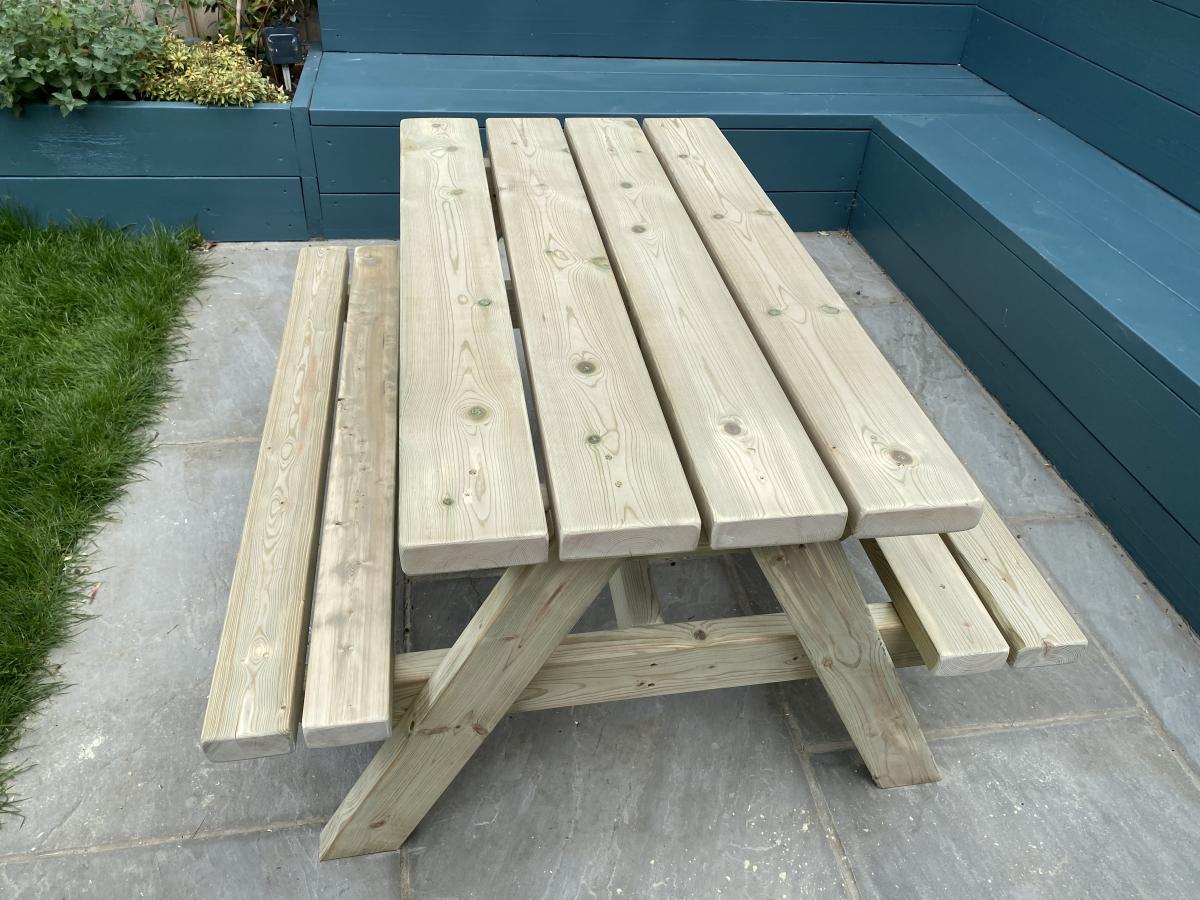
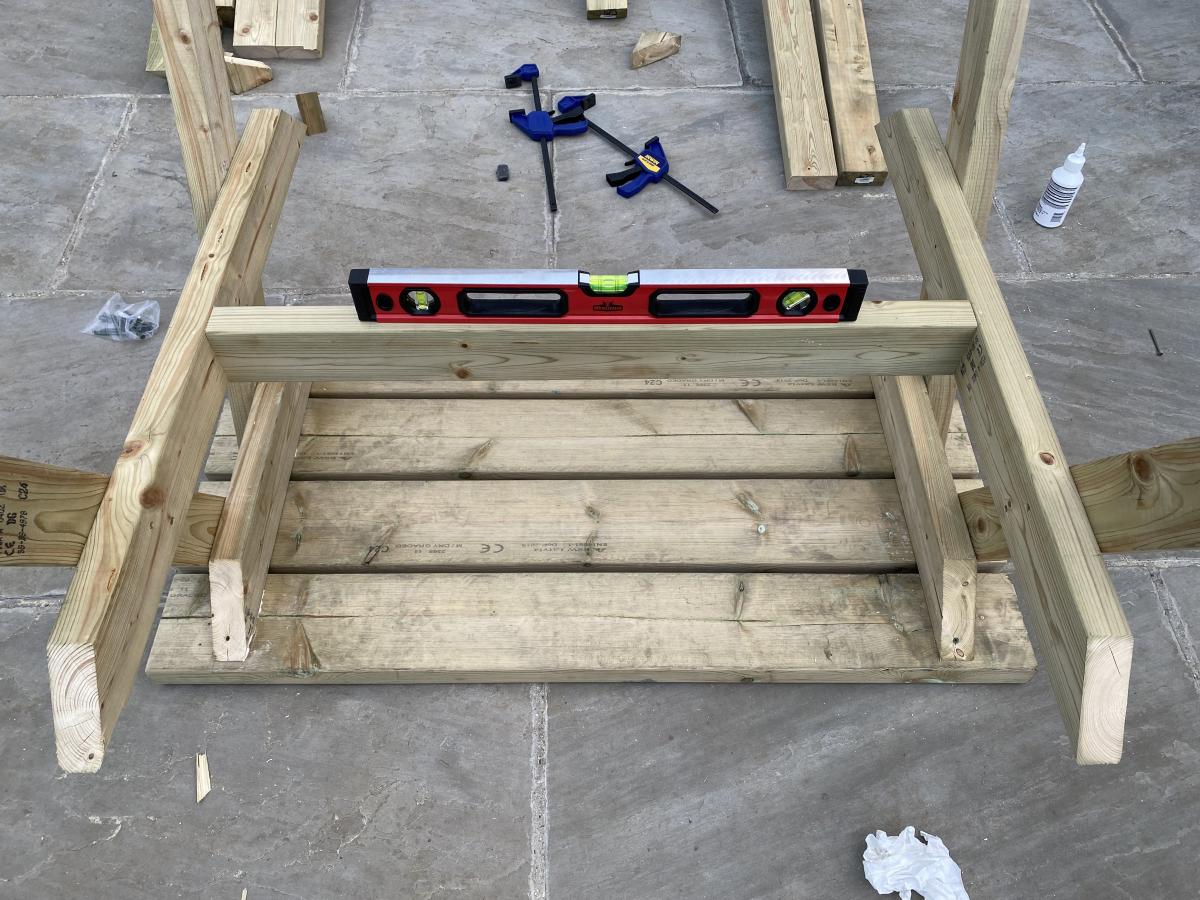
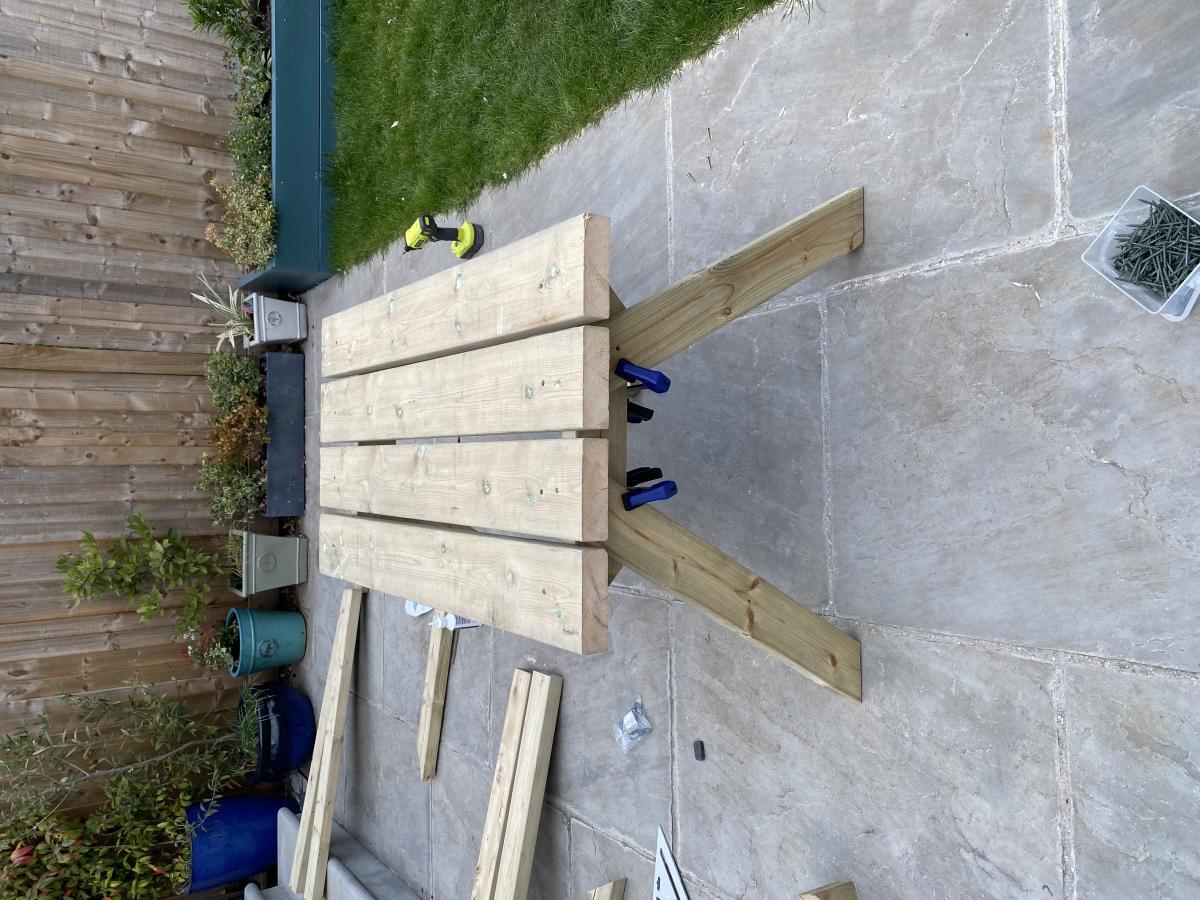
Built from Plan(s)
Estimated Cost
£120
Estimated Time Investment
Day Project (6-9 Hours)
Finish Used
Ronseal 10 Year Exterior Satin Woodstain 750ml Natural Oak
Recommended Skill Level
Beginner
Comments
Ana White Admin
Mon, 05/03/2021 - 11:20
HELLO!
Excellent job, thank you for sharing!
Ana White Admin
Mon, 05/03/2021 - 11:20
HELLO!
Excellent job, thank you for sharing!