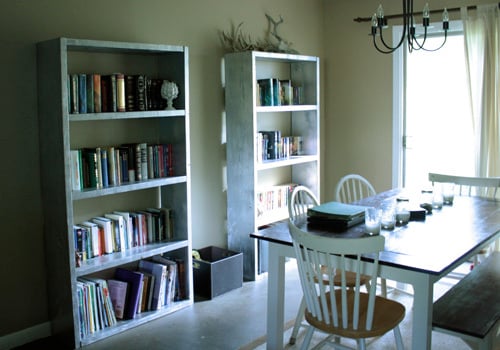


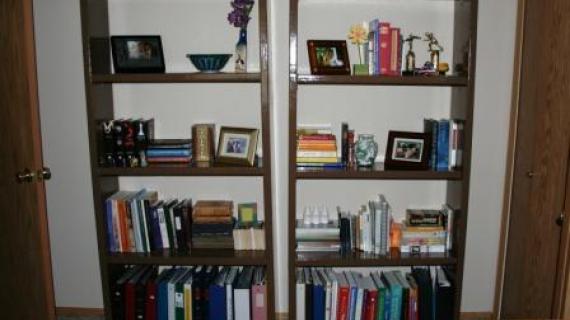
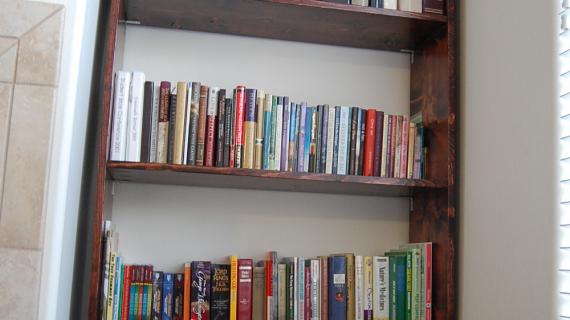
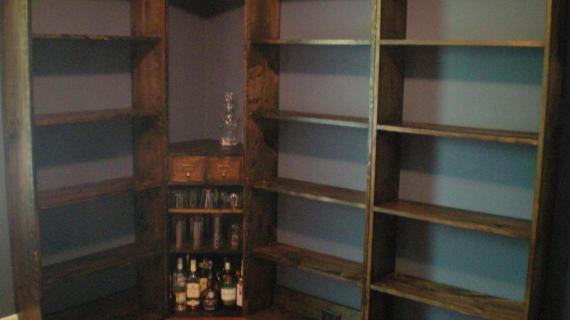
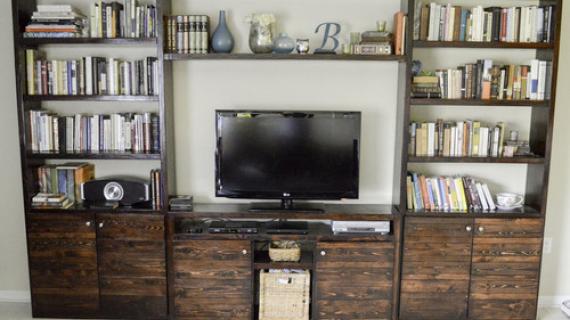
Looking for something that's not only cheaper than the big box stores, but sturdier and made from solid wood? Cut out the particle board and veneers from your life with this super easy hack from the popular IKEA Lack bookcase. It retails for $130, but you can build your own for $30 each! I sprayed mine with a metallic chrome finish, but the options really are endless when you build for yourself instead of being limited to the manufacturer's opinions.
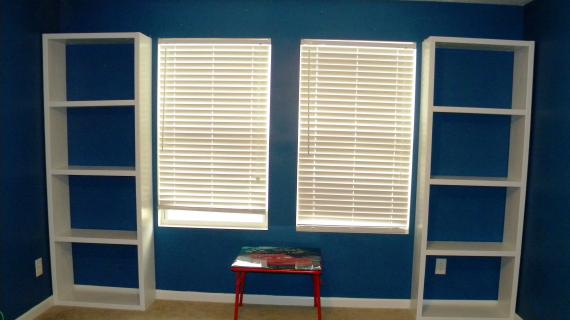
If you have children or pets in your home, it would be wise to secure these to the wall. They are extremely heavy, and would severely injure a small child or pet.
Preparation
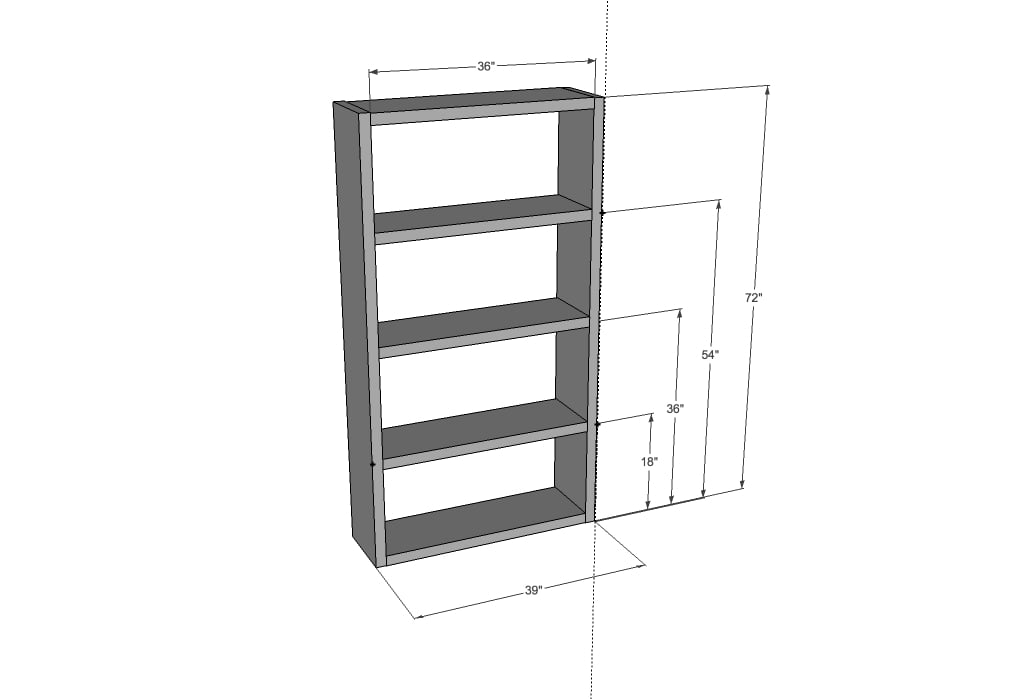
• 1 - 2 x 12 @ 12'
• 1 - 2 x 12 @ 16'
• 8 L-brackets
• 2 - 2x12 @ 72" (sides)
• 5 - 2x12 @ 36" (shelves)
You can easily get these boards cut down at your Orange or Blue for easy transport. Otherwise, take the boards home and cut with your favorite saw.


Please read through the entire plan and all comments before beginning this project. It is also advisable to review the Getting Started Section. Take all necessary precautions to build safely and smartly. Work on a clean level surface, free of imperfections or debris. Always use straight boards. Check for square after each step. Always predrill holes before attaching with screws. Use glue with finish nails for a stronger hold. Wipe excess glue off bare wood for stained projects, as dried glue will not take stain. Be safe, have fun, and ask for help if you need it. Good luck!
Instructions
Step 1
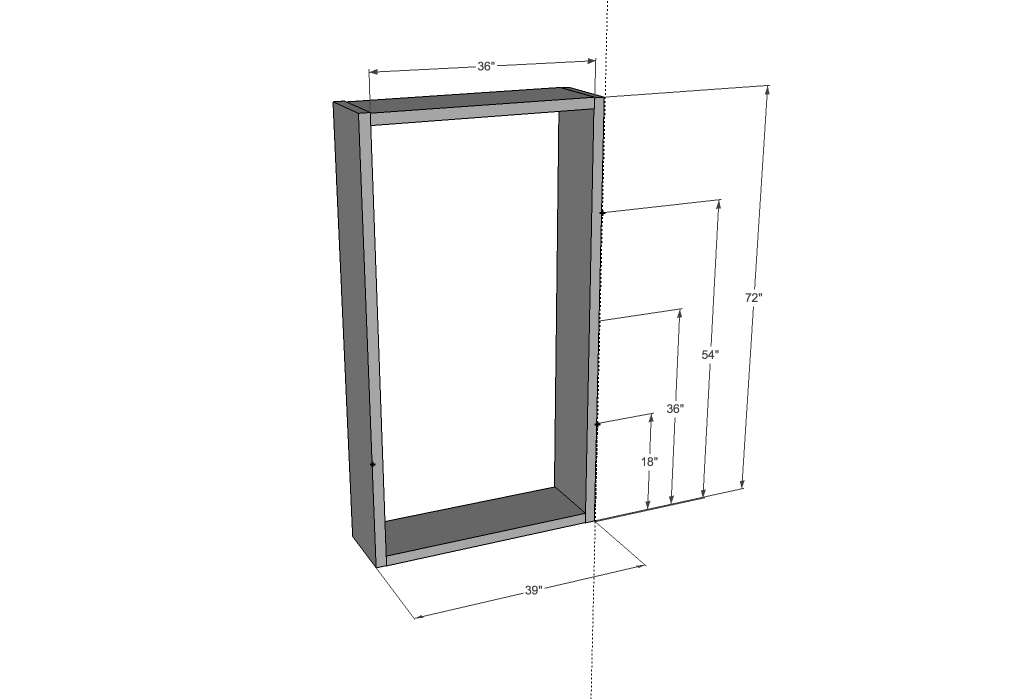
Build your box by attaching the top and bottom shelf sandwiched between the two sides with 2 1/2" screws. Check for square. I would recommend not using a Kreg Jig™ unless you have the plugs, as you will easily see holes on the undersides of the shelves. Predrill and/or countersink your holes to prevent splitting.
Step 2

On your sides, measure up 18" for the center of the first shelf, 36" for the center of the middle shelf, and 54" for the center of the third shelf. Predrill your holes where you've marked on each side, and attach your shelves with 2 1/2" screws. Keep checking for square on each shelf, and level as well. Predrill and/or countersink your holes to prevent splitting.
Step 3
Attach two L-brackets on the bottom wall-side of your shelves for added stability.
It is always recommended to apply a test coat on a hidden area or scrap piece to ensure color evenness and adhesion. Use primer or wood conditioner as needed.


Comments
Ana White
Thu, 03/17/2011 - 19:21
Love the Metallic!
And love the bookcases! Heck, I love EVERYTHING that you do! Thank you for taking the time to share your plans!
traciecook
Mon, 03/21/2011 - 11:33
Secure to the wall
How would you suggest securing these to the wall? Also, a complete beginner's question, but where are the L brackets installed?
brookifer86
Mon, 03/21/2011 - 11:56
Safety
The L-brackets are installed after you finish building, on the undersides of your shelves. You only need two per shelf, so place them along the edge of your shelf that butts up against the wall. Basically these will eliminate any "wobbliness" you may have. Technically you can put them anywhere that attaches horizontal shelf to vertical side. You could even do it on the visible top of the shlef and paint over them, then hide them with your books.
As far as securing them to the wall, you may check out some baby-proofing devices. L-brackets may work for this purpose too, but you can never be too safe. These look a lot like "ladders" to little kids, and can invite a lot of climbing or tugging. Which you don't want, because if these fall on them, it would be very damaging. I'm not an expert on baby-proofing or bookcase safety, so you may want to do a web search or ask a worker at your local hardware store
John M (not verified)
Thu, 03/24/2011 - 19:41
Best way to make the shelves adjustable?
Any suggestions for making the shelves adjustable?
In reply to Best way to make the shelves adjustable? by John M (not verified)
hillarylouise
Thu, 03/24/2011 - 21:09
adjustable shelf jig
I would guess that for a unit this big, you probably need to keep one or two shelves fixed for stability purposes. But, for adjustable shelves, I just bought a shelf jig at Woodcraft. I checked both Home Depot and Lowe's first but neither had it. Here's a similar one from Rockler:
http://www.rockler.com/product.cfm?page=5876&rrt=1
The jig is amazing!! And expensive!! $19 for a piece of plastic with a bunch of holes in it spaced exactly an inch apart. I also bought the drill bit that goes with it -- it centers the bit exactly in the middle of the
hole in the jig and stops you from drilling all the way through. I bought the 1/4 inch set, but you have a choice between 1/4 inch or 5 mm. It is super cool and I plan to use it for a lot of projects.
Guest (not verified)
Fri, 03/25/2011 - 02:35
We used a scrap piece of peg
We used a scrap piece of peg board as a template for all our closet organizers...worked great and best part it was free!
jamigraham
Tue, 05/10/2011 - 20:52
Wood type
I plan on making something modified from this so thank you for the directions and really the concept I've been able to come up with inspired by this!
I'm curious what type of wood you used? I went to Lowes yesterday and was overwhelmed with all the different types of wood there were!
In reply to Wood type by jamigraham
brookifer86
Tue, 05/10/2011 - 21:12
Wood Type
I used pine 2x12's. They're very affordable, and very sturdy.
In reply to Wood Type by brookifer86
jamigraham
Fri, 05/13/2011 - 23:28
Awesome! Thank you!
Awesome! Thank you!
Katelyn (not verified)
Sun, 05/29/2011 - 09:39
My husband and I built two
My husband and I built two bookcases very similar to these - we added an extra shelf. I'm a bit envious of your $30 estimate - wood alone cost us $40 per unit and that was before buying screws and the L brackets. We also stained ours so that added in another $15-20 worth of pretreatment and stain and poly. I love my bookcases and they are much sturdier and better looking than the cheap-o Wally World ones they replaced, but just wanted to give others a heads up that depending on prices near you they aren't a super cheap project.
JanetK (not verified)
Sat, 09/03/2011 - 15:56
Wood prices
The orange store sells the 2 x 12 x 12 yellow pine for $10 board. See model # 749869
2 x 12 x 16 for 13.67 see model # 749877
Elana Gamble
Thu, 07/28/2011 - 06:56
Back of bookcase
If I don't want the back to be open like the plan, but would rather have a backing what could I use? Or how many pieces of wood would I need to close off the back of the bookcase?
Guest (not verified)
Sat, 11/05/2011 - 10:27
Backing
There are lots of things that you could use for backing. You could use 1/4" plywood or 1/8" hardboard. Depending on what sort of look you are going for, beadboard would look gorgeous, or pegboard could be funky and useful for displaying items. The possibilities are really endless.
The number of pieces of wood needed to use as backing would depend on the width of the boards that you wanted to use. Using wood rather than one of the possibilities listed above would add a lot of weight and bulk to the bookcase though.
tjbrown82
Fri, 10/03/2014 - 13:54
How would you go about
How would you go about attaching the beadboard to the back? One large piece? A piece behind each individual shelf? By simply attaching it to the back of the shelf wouldn't it make the rear of the shelf uneven?
Thanks!
30Dominique1981 (not verified)
Mon, 06/11/2012 - 10:40
No Kreg jig
If you don't have a Kreg jig how would you attach the shelves? Just attaching the screws through the sides, counter sinking and then filling the holes? Or could you do wood pegs and glue and just clamp the whole thing until it dries? Which would be stronger?Thanks.
brookifer86
Mon, 06/11/2012 - 11:01
No Jig Required
I didn't have a Kreg Jig when I built these, and they turned out just fine! I countersunk my screws in from the outside, then filled with putty and painted them with chrome spraypaint. They still look fabulous. Honestly, if you plan to paint them, I prefer this method to the Kreg because the plugs don't always fit perfectly, and you can see them from below.
Ginalin (not verified)
Tue, 07/24/2012 - 21:40
bottom board necessary?
Hi! I am excited to try building these as my very first project, am modifying, don't need as tall, and I am going to be setting them on an existing cupboard for more storage, (moving into a smaller home and will need it!) so I am wondering if the bottom board is necessary?
brookifer86
Wed, 07/25/2012 - 09:32
Bottom Support
It's not necessary if you're attaching it to a base. You may consider adding a 1x2 or 2x2 to the back along the bottom to keep it sturdy
Kevin S (not verified)
Mon, 01/14/2013 - 13:39
Hi, Do you think you would be
Hi,
Do you think you would be able to design something like the Ikea Lack TV stand in a similar fashion? I'm 100% novice at wordwoorking and need a TV stand and that seems like a simple piece to start with. But I'm so new I'm not even sure how to design it....
emailjillianne
Thu, 02/12/2015 - 22:09
Boards rounded on edges
Has anyone else run into this? My 2x12s seem seem to have rounded edges a bit and they don't seem very professional when they are assembled. Do I just sand the heck out of them?
Fantastic Furn…
Mon, 09/07/2015 - 06:28
Ikea furniture assembly
I really love how accurate and detailed your furniture assembly instructions are. As a furniture fitter I know how messy a flat pack project could end up like. Even the simplest of RTA units, like a bookshelf could suffer from a crack if assembled the wrong way. That's why to become a good furniture fitter one has to obtain a solid amount of experience. The best thing about flat packs is the fact you can hack those! I've seen hundreds of different rta unit adaptations out there and this is just another example of how ready to assemble furniture offers you/me/us the chance to add a dash of our own imagination and creativity into the montage itself. Just my 2 cents here. Great assembly project here! Was a pleasure.
coldinaugust
Tue, 11/17/2015 - 16:02
Please help!
This is a pathetic newbie question, but it's my first solo woodworking project & I'm stuck.
I don't have a power saw (yet), so I had them cut my lumber to size at the yard. I built my box, and I was proud that it was square. And now...I can't fit the rest of my shelves in. If I built the box so that it was tight & square (and glued), and the top & bottom shelves are 36", then how would I be able to fit other 36" shelves in to make the butt joint? I've tried planing the sides but I think my inherited planes are too dull & I don't know how to sharpen or use them. I also tried sanding, but that seems to be taking forever. What am I doing wrong? If I want to make more of these in the future, should I ask the lumber yard to cut the inner shelves to maybe 1/4 inch shorter?
Thanks so much.