tweets >>

my other projects >>

My First Project

Printer-friendly versionPrinter-friendly versionSend to friendSend to friend
Additional Photos
My First Project
My First Project
About This Project

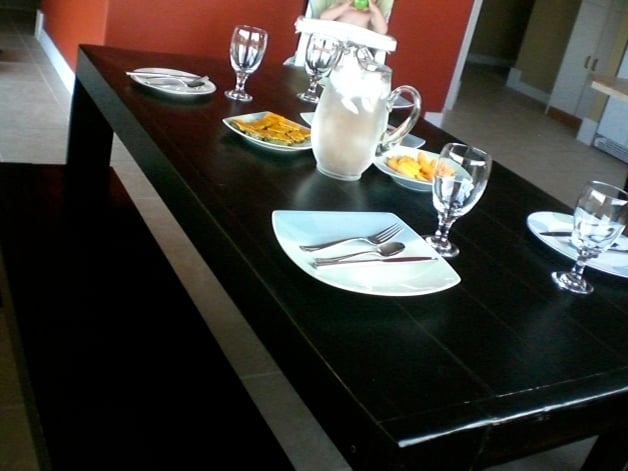
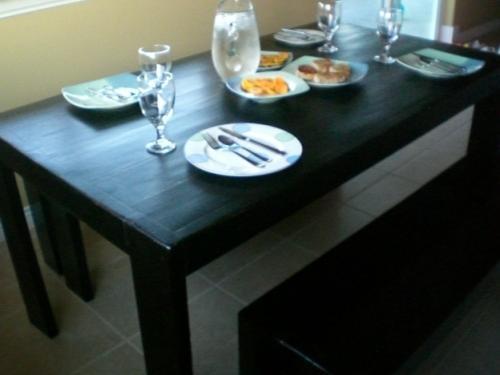
This was my first project I did close to a year ago. I was so excited about the site I decided to go big right away and do a table and benches for our first house we hadn't moved into yet. I had help and it was quite the learning experience. I think I would start with something smaller first but in the end we got a wonderful table in our dining area that has had plenty of use!

Estimated Time Investment: 
Weekend Project (10-20 Hours)
Required Skill Level: 
Starter Project
Type of Wood: 
Pine
Finish Used: 
Minwax ebony stain and satin poly.
Pin it
 #
how to make this fit 12

I have a large family...8 on a daily basis and would like to have room for guests...


Thank you for you time,


Dina

 
WendySpinelli's picture
 #
Re: how to make this fit 12

You would have to look at the dimensions of the table on the plans and then adjust to how you would want to fit 12. I did mine straight from the plans and it fits 6 comfortably. I really can't tell you how to do it because there are lots of ways.  You could make it a big square or go really long, I don't know what your space is like. Good luck!

 
 #
Thank you


 #
Finish used

Beautiful work! I am making this same table and want to paint it black as well. I love the finish on yours and I am interested to know exactly what brand of finish you used. Also, did you prime it first? Did you fill in the cracks with wood putty? Any specific information you can give me would be great, thank you!

 
WendySpinelli's picture
 #
Finish

Oh dear this is where I am happy the pictures do not show the detail very well. I would do the finish completely differently if I could. I actually used Minwax Ebony stain. Some guy at HD said to just layer it on thick and only use a dry brush to take off any excess. This resulted in pools and dripping and taking days and days to dry.
I would use paint with primer in it if I were to do it again and then distress all the edges. I used a satin poly finish. I love the satin finish. And I used a plastic wood filler in the cracks. If you use this make sure you put it in nice and thick and do it in a place where it is not going to dry out as you are applying it. Ana suggested at one point to use a silicone filler so it will expand and tighten with the wood. I don't know anything about silicone filler so test it out and make sure it will take the stain or paint or whatever you decide to use.


Post new comment

The content of this field is kept private and will not be shown publicly.
  • Web page addresses and e-mail addresses turn into links automatically.
  • Lines and paragraphs break automatically.

More information about formatting options

By submitting this form, you accept the Mollom privacy policy.

Not Much >>

What's going on up here in Alaska.

Momplex Cam >>

We are DIYing our moms a Duplex in Alaska! Check out our progress so far as we owner build a home, step by step. Read the Momplex blog here.

Recent comments

User login

Connect with Facebook
Sign in using Facebook

I'm Speaking At:

Haven Conference 2012

Please Visit Our Sponsors!


Pin It