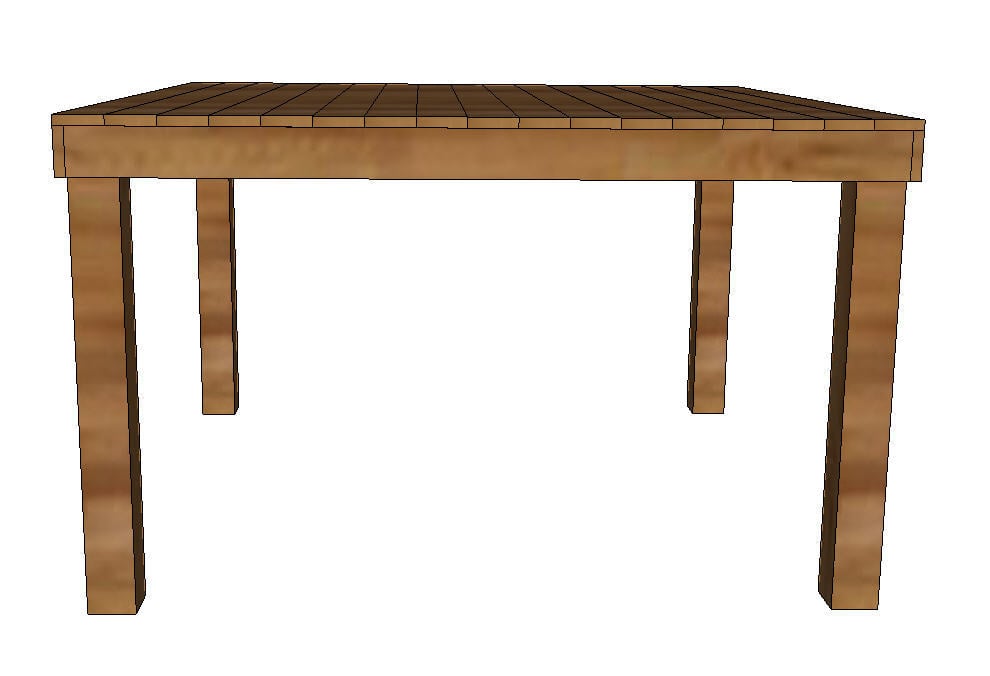


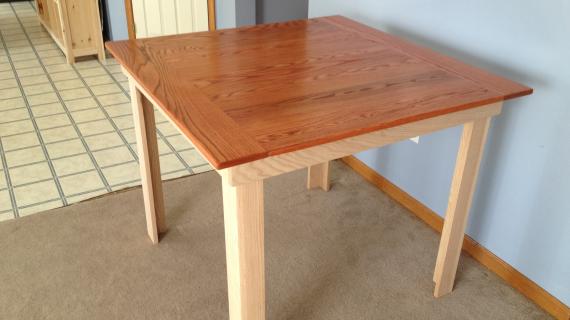
This plan comes from requests and need. I'd really like a pub/counter height table to seat 8, but I don't think it will fit in our dining room very well, so I will adapt this plan to make a table that seats 6, too (soon to follow)! At least then my whole family can eat together! =)
Build at your own risk; finish as desired!
Preparation
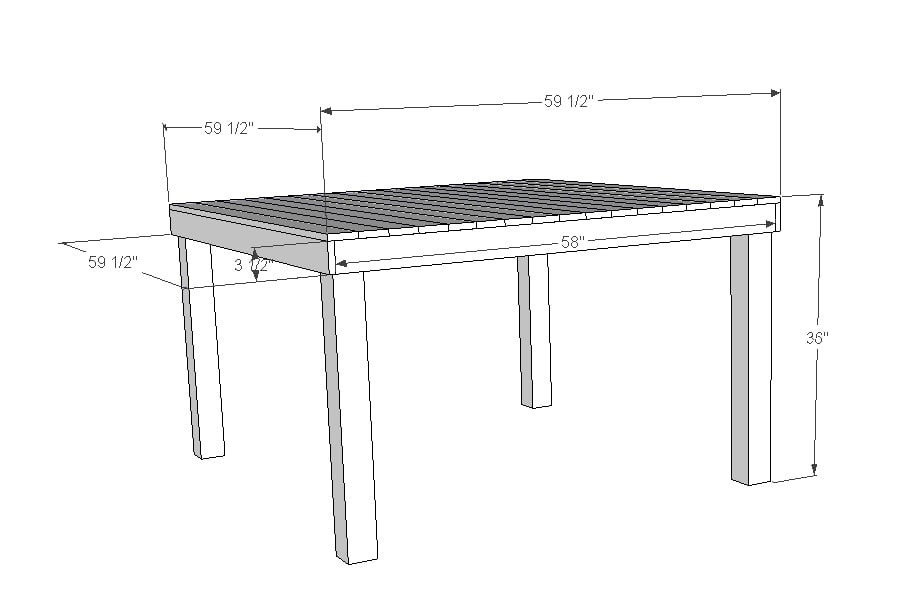
See Cut List.

Please read through the entire plan and all comments before beginning this project. It is also advisable to review the Getting Started Section. Take all necessary precautions to build safely and smartly. Work on a clean level surface, free of imperfections or debris. Always use straight boards. Check for square after each step. Always predrill holes before attaching with screws. Use glue with finish nails for a stronger hold. Wipe excess glue off bare wood for stained projects, as dried glue will not take stain. Be safe, have fun, and ask for help if you need it. Good luck!
Instructions
Step 1

Connect one 59 1/2" Apron square with one 58" Apron perpendicular at the ends (forming a L-shape) using 1 1/2" screws and glue. Repeat for other 59 1/2" Apron and one more 58" Apron. Attach both L-shaped pieces to form a square using 1 1/2" screws and glue.
Step 2
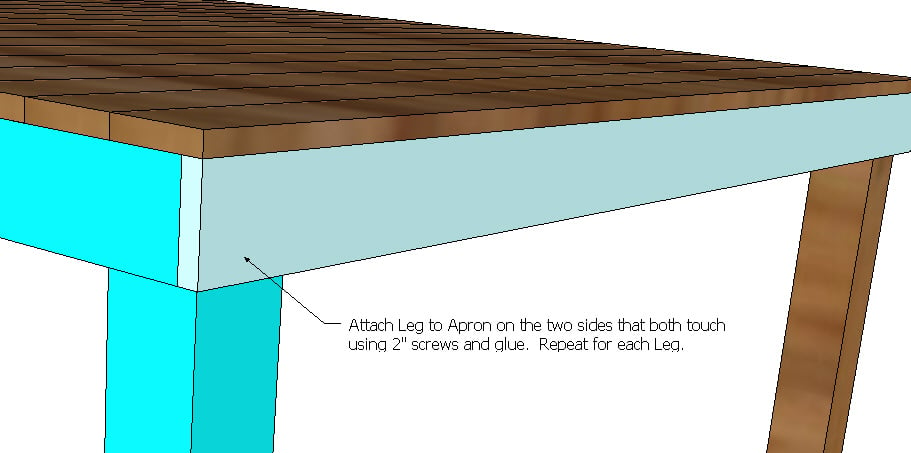
Attach Leg to Apron on the two sides that both touch using 2" screws and glue. Repeat for each Leg.
Step 3

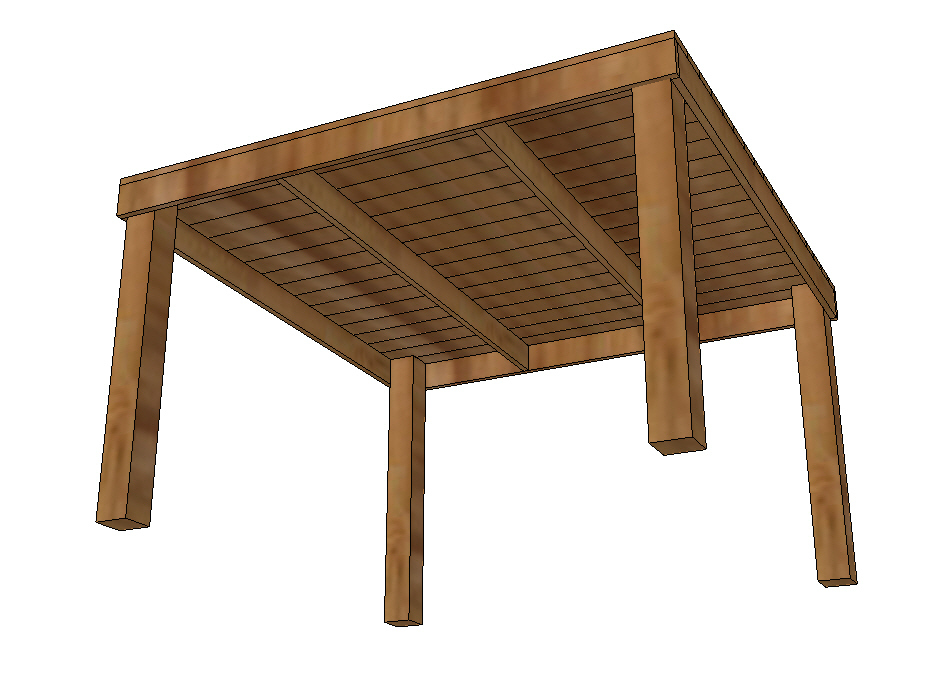
On the 59 1/2" Aprons, mark 18" in on each side; attach 58" Support using 2" screws and glue. Repeat with other 58" Support.
Step 4

Attach one 59 1/2" Table Top board perpendiculer to the 58" Aprons and Support boards and square to the edge of the apron using 1 1/2" screws and glue. Use one or two additional 1 1/2" screws on EACH Support board, screwing in from the Table Top through to the Support board (for a total of 6-8 screws for each Table Top board). Repeat for remaining 16 Table Top boards.
Step 5
It is always recommended to apply a test coat on a hidden area or scrap piece to ensure color evenness and adhesion. Use primer or wood conditioner as needed.
Comments
Chelsea Petersen (not verified)
Mon, 03/21/2011 - 15:57
Counter height Table
Very similar to the Modern Farm table. I love it! I am going to build the Modern farm table this week. Thanks for showing us your great work!
Teal H.
Thu, 03/24/2011 - 08:50
Gunk in cracks?
So, I have a question... If you build a table like this and juice gets spilled on it, will you be wiping it out of the cracks? (I know there won't be spaces) Or do the boards all fit together so perfectly that it is completely flat? Would I be better off buying a solid piece of wood to avoid this? Do they sell a piece of wood that big? What should I do? Sorry, I've never built anything before...
Tsu Dho Nimh
Thu, 03/24/2011 - 09:49
Yes, you may be wiping gunk
Yes, you may be wiping gunk out of the cracks.
Minimize it by:
1 - Gluing the sides of the boards together in addition to using pocket screws.
2 - Several coats of finish to fill the cracks with 'good gunk" and not PBJ anf OJ.
biz_kid1
Thu, 03/24/2011 - 09:28
I haven't built this yet,
I haven't built this yet, either. But I currently have a tiled top table and wouldn't think that even if there were creases between the boards, that they would be any deeper than that. You could put luaun board or plywood over it, too, or glue or fill the boards with wood filler sand it down smooth enough. Hope that helps!
ATableforTen
Thu, 03/24/2011 - 11:48
same concern here
That was my concern too..gunk in the cracks! I was thinking of putting wood filler and sanding, but that seems to kind of defeat the idea of having the separate boards. I can just see PB or another sticky mess being forever stuck in there. I think I might do end tables first to see how the cracks feel before taking on the table. I want a farmhouse table so badly though.
Jodie (not verified)
Thu, 04/28/2011 - 05:31
You can get a big piece of glass for the table top....
You can get a piece of glass to protect the table top. Call a glass shop and they can let you know how much it would cost, they have special thick tempered glass just for this purpose,
guest (not verified)
Mon, 10/10/2011 - 06:42
vinyl
We have a farmhouse table and we love it! We get compliments on how beautiful it is quite frequently. What to do about the cracks? Just get a piece of vinyl from the craft store and cut it to fit the exact measurements of your table top.
Guest (not verified)
Tue, 10/25/2011 - 11:28
Benches to go with the table?
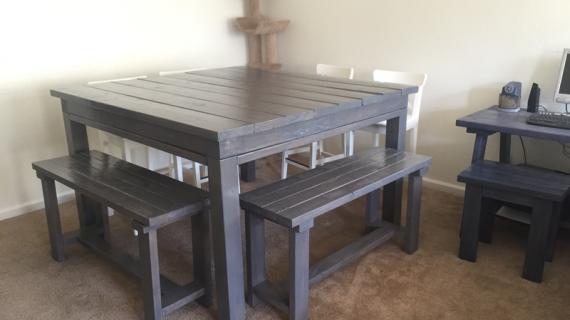
Anna - I am going to build the table before the holidays, but I want to benches to go along with it. How high do I make the benches for a counter height dining table? I'd hate to make them too short or too tall!
Guest (not verified)
Sat, 01/07/2012 - 17:10
transporting the table...alternative to nailing legs?
If I make this table in my garage, I think I'll have a tough time getting it through the doorway into my house. Is there an alternative method of attaching the legs, so that they're removable? On my store-bought table, it has some sort of metal brackets, a long screw, and whatnot so that you can connect/disconnect the legs easily. Is that something that can be bought in a hardware store? If I use this, will it compromise the stability of the entire table? What are they called so that I know what to search for?
TIA!
biz_kid1
Sun, 01/08/2012 - 15:14
I don't know what they would
I don't know what they would be called, but I am sure you could make the legs detachable with bolts and it shouldn't hurt the integrity of the table any. Good luck! and post photos when you're done! I'd love to see this built!
Millie (not verified)
Mon, 03/19/2012 - 23:46
Tile Top
I have been looking for a table like this with a slate tile countertop. Can I use this build and go with backer board and tile the top. I have a question about the last cut on the list 12 1/4 @ 12 " with 45 degree angle.this is or the last step which is not pictured :( I understand these are for corner support however there Are only 4 corners where do the other 12" boards go ? by adding the tile top I know I am adding weight and I want to ensure the table is secure.
biz_kid1
Tue, 03/20/2012 - 17:34
Tile top support
There are 12 corners - see the 2 other support boards underneath? That's the 12 corners! :) And I don't know about the backer board but would think that should work just fine.
j (not verified)
Wed, 06/27/2012 - 17:13
how much does the cost
how much does the cost approx?