


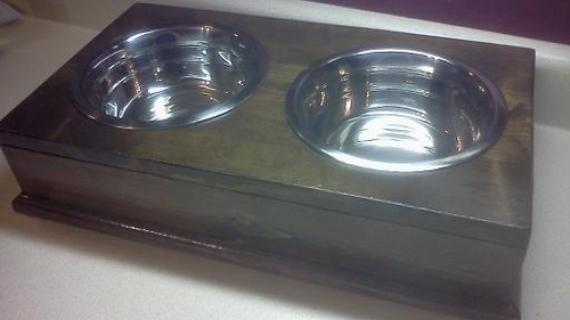
Since I submitted a raised feeder plan for large dogs I felt it was only fair to create one for small dogs.

Preparation
- 1 x 8 @ 16″
- 1 x 3 @ 43 1/2″
- 2 – 16 oz. Basic Stainless bowls from Petco
- 52 1/2" (optional) quarter round
- 1 – 1 x 8 @ 16″ (Top)
- 1 – 1 x 3 @ 16″ (Front Panel)
- 2 – 1 x 3 @ 6 1/2″ (Side Panels)
- 1 – 1 x 3 @ 14 1/2″ (Back Panel)


Please read through the entire plan and all comments before beginning this project. It is also advisable to review the Getting Started Section. Take all necessary precautions to build safely and smartly. Work on a clean level surface, free of imperfections or debris. Always use straight boards. Check for square after each step. Always predrill holes before attaching with screws. Use glue with finish nails for a stronger hold. Wipe excess glue off bare wood for stained projects, as dried glue will not take stain. Be safe, have fun, and ask for help if you need it. Good luck!
Instructions
Step 1

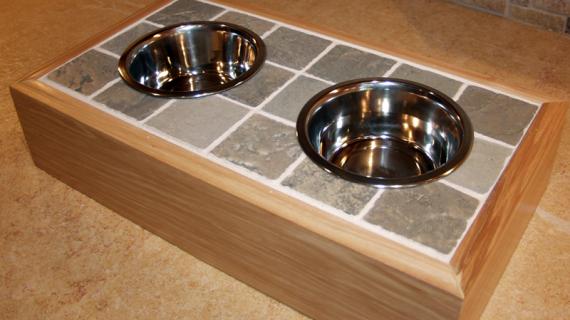
Using a jigsaw cut two 5” circles out of your top. The bowls I am using for this plan are 5 1/2” in diameter. This will give the bowls a 1/2” lip to rest on. Don’t worry about your circles being perfect because the bowls will cover them.
Step 2

(Remember to predrill all of your Kreg holes before attaching any of your pieces!) Attach your front panel to the top.
Step 3

Attach each of your side pieces to the top and front panel.
Step 4

Attach the back piece to the sides and top.
Step 5

Comments
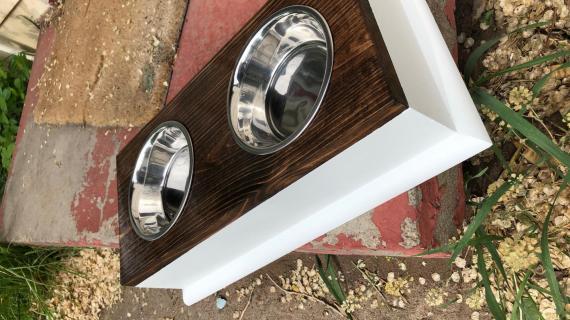
alysabasaker
Wed, 05/13/2020 - 09:53
Raised Small Dog Feeder
This was one of my very first woodworking projects and it taught me so much! I think next time I would have painted the bottom of the box a light grey to avoid such a striking contrast, but I still love it!
IMG_1414.JPG