Hello! I’m Ana, a mother and homemaker from Alaska.
Skeching
100’s of FREE plans!!
You can make ANYTHING!
stick
img
sticks
img

Table turned cabinet

March 29, 2011 |
posted by mycreativeescapes
Additional Photos
Table turned cabinet
About This Project

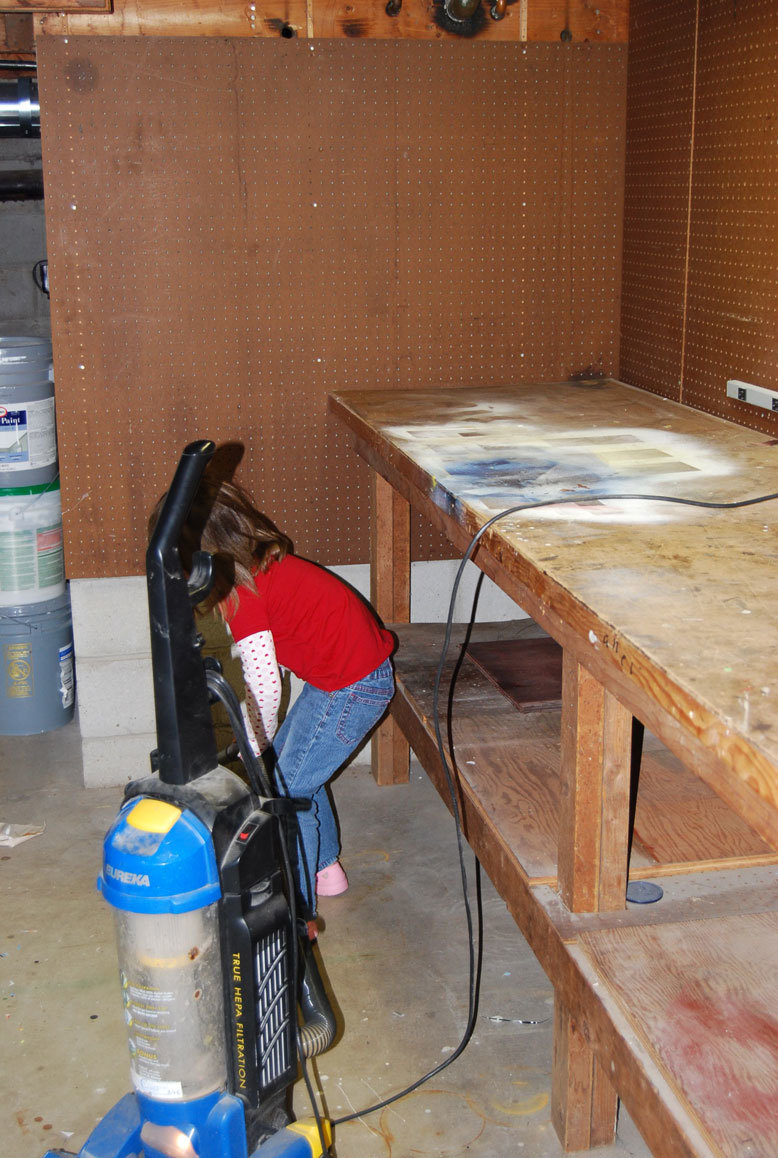
I had an old table that was in my basement.  I wanted to re-do my craft room.  I have been thinking and thinking about it.  So when I saw Ana’s link to her drawer organizer – and how to install drawer slides – I thought – ok – now it’s time to do it.

<?xml:namespace prefix = o ns = "urn:schemas-microsoft-com:office:office" /> 

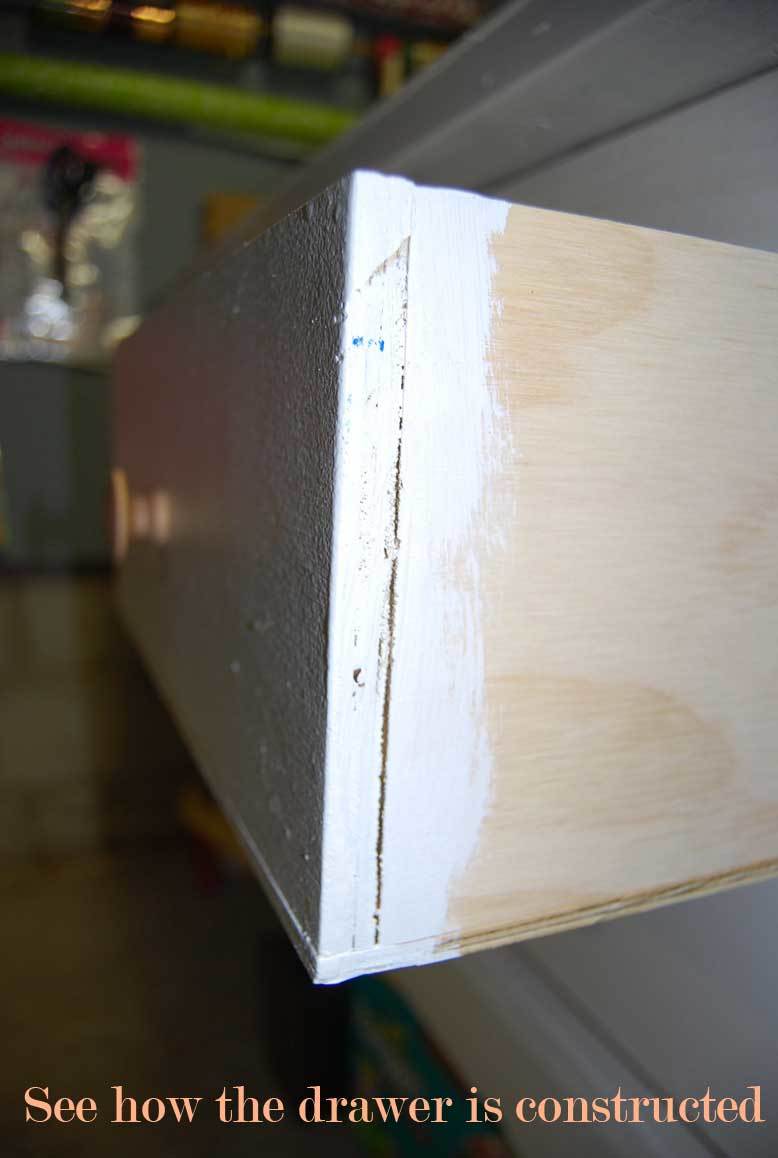
I spent about a week drafting plans, making measurements.  At first I was going to recycle the metal sliders I had left over from the kids dressers…but there wasn’t enough – and to do 12 drawers would be more money than I wanted to spend.


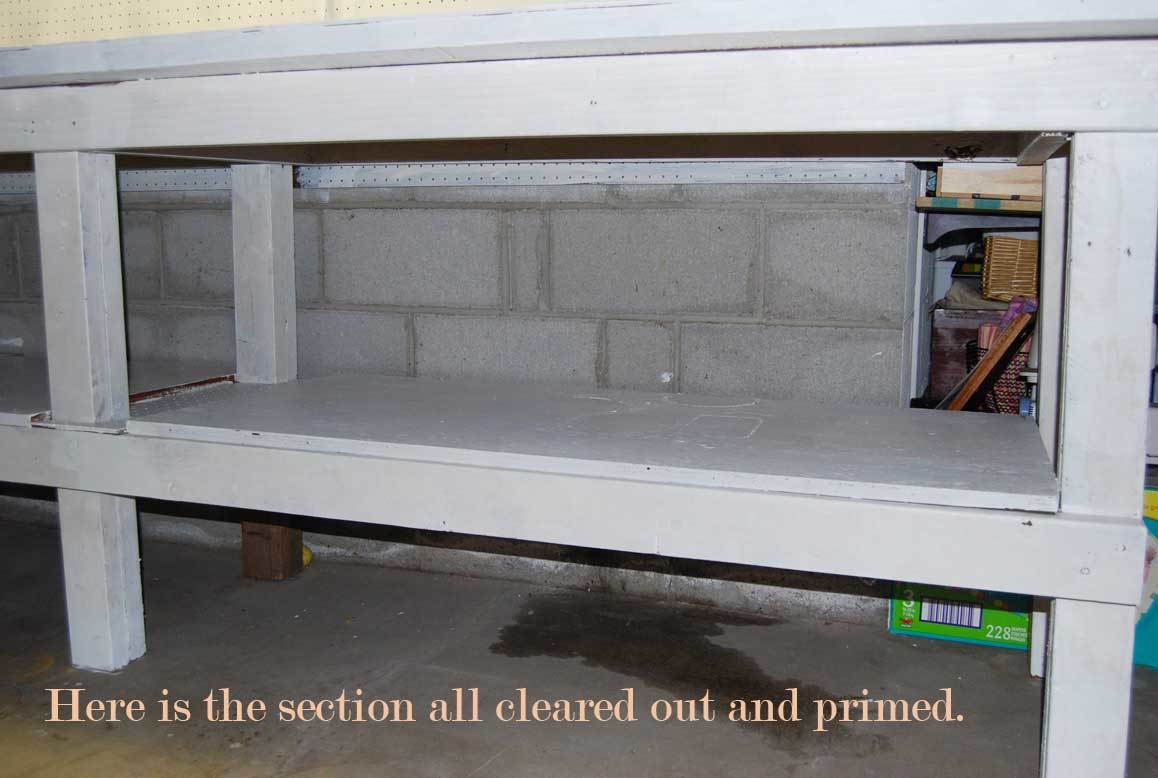
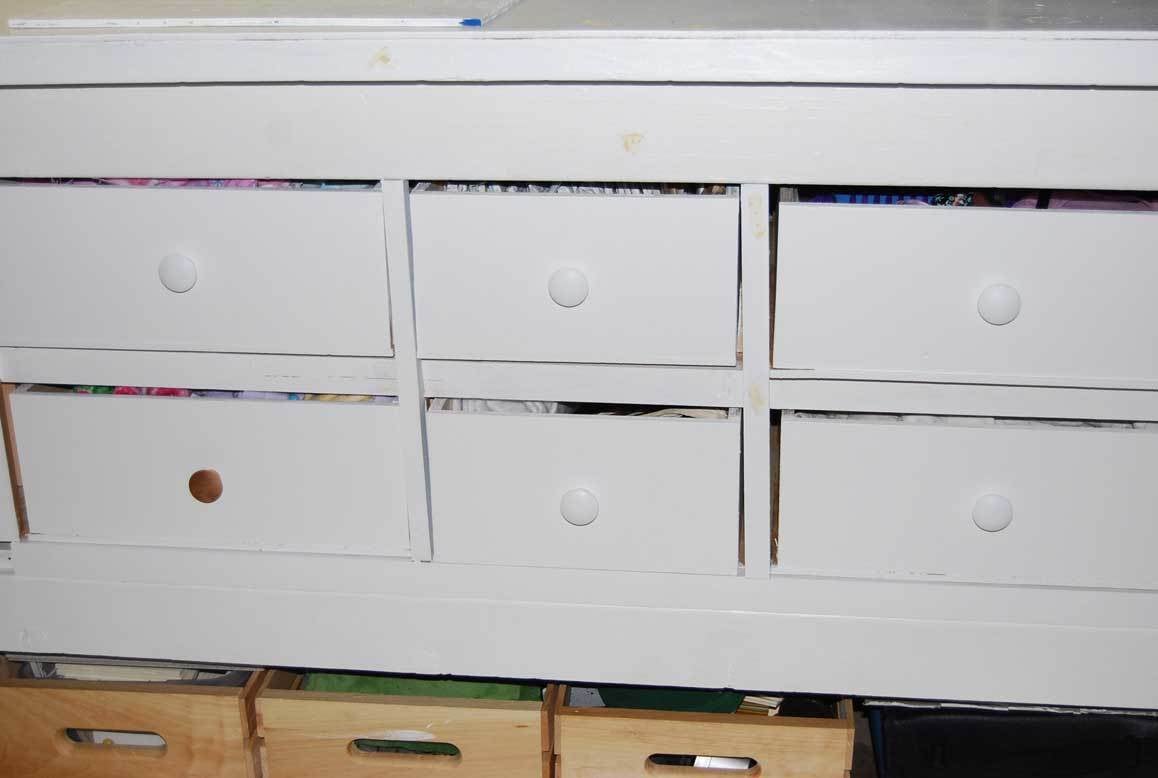
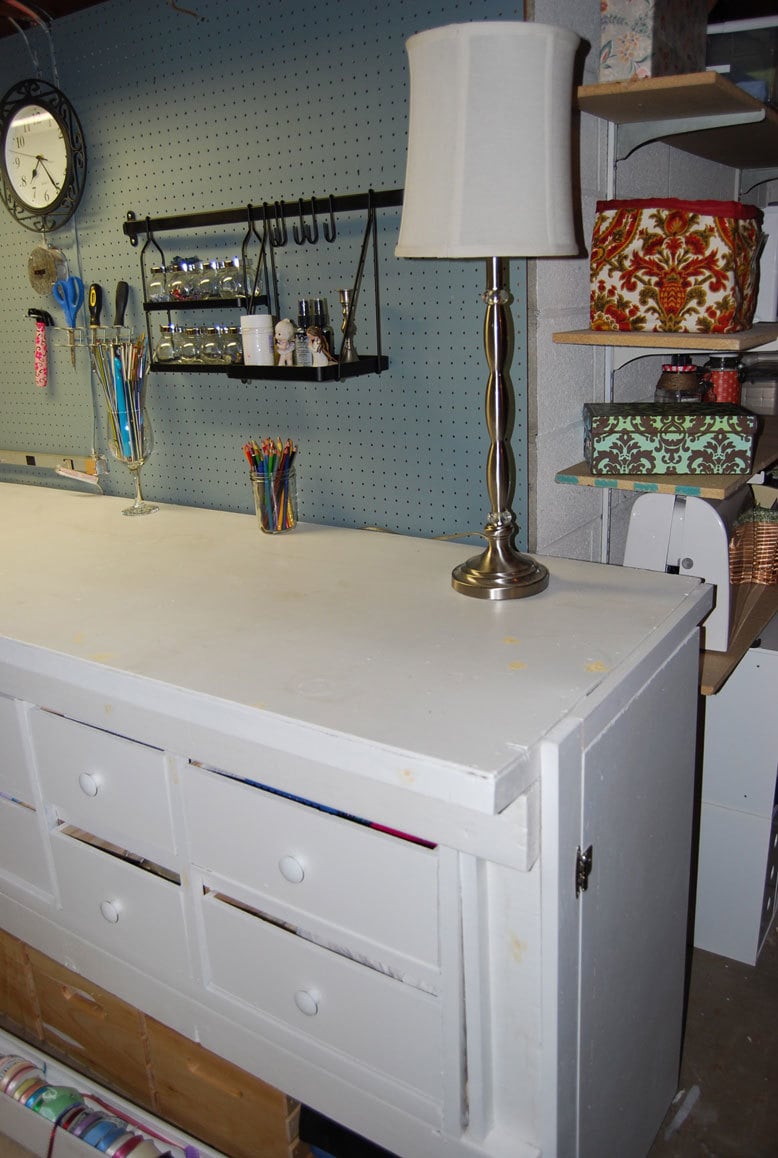
So – a trip to home depot – I was able to take this table that was just collecting junk – literally – to an organized and functional crafting cabinet – with huge deep drawers.  There are 12 drawers in total.  They are all 6 inch in height, 26 inches deep, and then there are 8 that are 16 inches wide, and 4 that are 12 inches wide.


Here are some before and after pictures – I have all the details on the build on my blog.  I wouldn’t have been able to do it without Ana.  Her plans and continual inspiration!

Estimated Cost: 
Around $80
Estimated Time Investment: 
Afternoon Project (3-6 Hours)
Required Skill Level: 
Intermediate
Type of Wood: 
Pine, Plywood, MDF and scraps
Finish Used: 
On the fronts of the drawers only. Sanded, primed and painted with high gloss white.

WOW!!  Great job!  I love how

WOW!!  Great job!  I love how you incorporated your ideas and transformed this table into a useful cabinet .... you should be very proud of yourself. :)

posted by Lori E. (not verified) | on Wed, 2011-03-30 11:10
clips
mplauger's picture

Nice Drawers (and a door?)


I love it!  Great Job!  Is that a door on the end?  I see a hinge.  I also love the color of your pegboard!  ;-) 

posted by mplauger | on Wed, 2011-03-30 15:48
clips
mycreativeescapes's picture

It is a door!


It is a door!  There were 4 inches of space not being used  on the end where the 2x4's met - so I built a stamp cabinet.  Here is a link to the room and then a full blown tutorial on the cabinets:


http://mycreativeescapes.blogspot.com/2011/03/craft-room-re-do-part-1.html


http://mycreativeescapes.blogspot.com/2011/03/how-to-turn-table-into-cupboard.html


www.mycreativeescapes.blogspot.com

posted by mycreativeescapes | on Thu, 2011-03-31 11:50
clips
mplauger's picture

yay for stamps!


great idea to use up that tiny space!  I have a similar-sized collection of stamps too and not really sure how to store them.  right now they are in a plastic shoe box.  I am trying to get my craft/scapbooking area under control as well.  LOL

I do have alot of ribbon, as I saw you had a bunch on the table, but I don't see it in the "after" pics.  Is the ribbon in the drawers?  Did you do anything special?  I really need to build a new table with storage!! 

Love all of the pics so we can see the transformation!  thanks for sharing!

posted by mplauger | on Sat, 2011-04-02 03:34
clips

GREAT REDO!

Absolutely wonderful example of taking something already useful and making it better.  Isn't thinking outside-the-box great?  Great job!  Keep up the good work and keep posting!


posted by bcubed | on Thu, 2011-03-31 11:40

Recent comments

Social

Let's Connect

Tweets

  •  

User login

Not Much >>

What's going on up here in Alaska.

Momplex Cam >>

Momplex Cam >>

We are DIYing our moms a Duplex in Alaska! Check out our progress so far as we owner build a home, step by step. Read the Momplex blog here.