tweets >>

my other projects >>

White Bunk beds with ladder instructions

Printer-friendly versionPrinter-friendly versionSend to friendSend to friend
Additional Photos
White Bunk beds with ladder instructions
About This Project

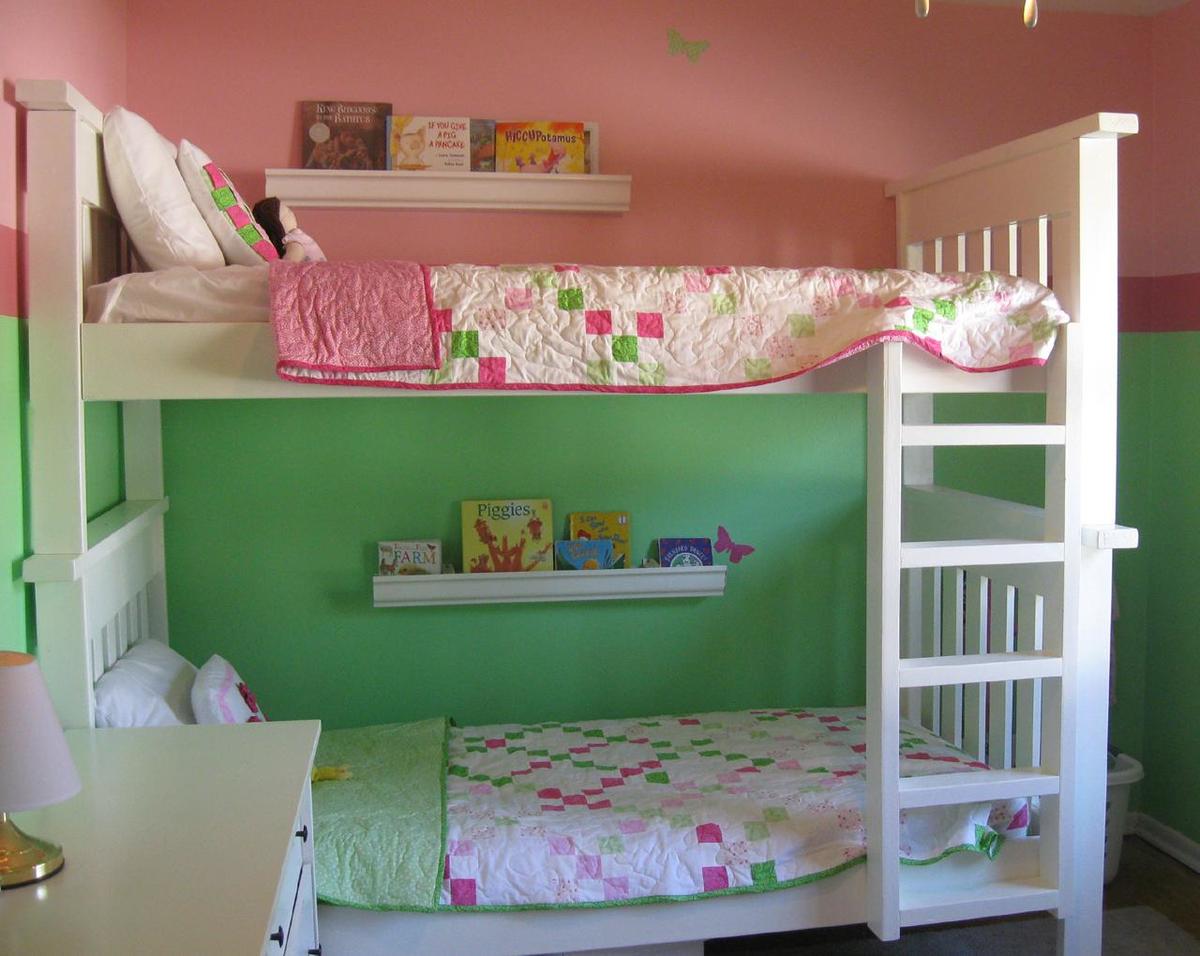
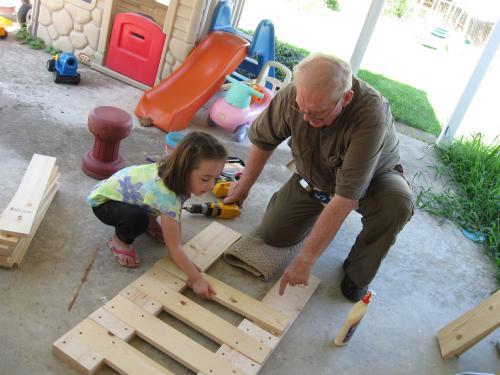
I redid this whole room for less than $600! Make sure you take your time with cuts and fitting. I did this with my father in law (my daughter even got to help out!), and it's less than perfect due to some rushing! More details on my blog.

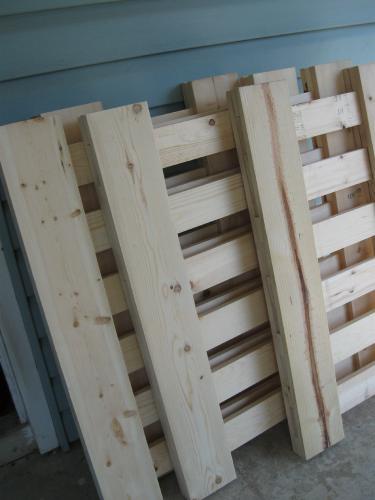
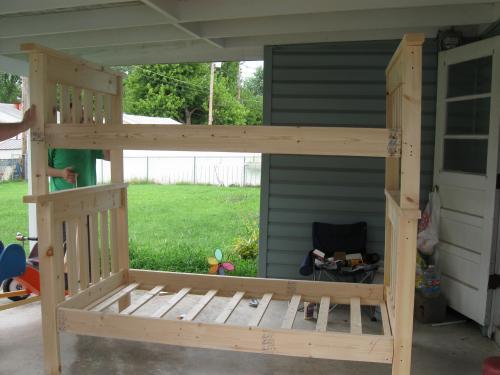
I also couldn't find any 4x4's. Instead of doubling up on 2x4's, I just used one. That allowed me to change the tops of the head/foot boards to only 48" instead of 50 1/2. You can get enough for a head and foot board out of one board this way.

After looking at a TON of bunk bed ladders online, I designed my own. Just some leftover 2x4's. The sides are 47 1/2 inches long, and the rungs are 13 1/2 inches long. It's screwed to the bunk bed from the back so you don't see the screws.

Estimated Cost: 
$300
Estimated Time Investment: 
Weekend Project (10-20 Hours)
Required Skill Level: 
Beginner
Type of Wood: 
pine
Finish Used: 
Sanded the heck out of everything, then two coats of Behr primer, followed by 2-3 coats of Behr semi-gloss in New Day Dew (it's a Disney color)
Pin it
 #
Oooo!

Very pretty, I love the colours!!


Just went to your blog too, the room is gorgeous! That tree is amazing :)

 
 #
I really like it. Are the 2x4

I really like it. Are the 2x4 alone okay? are will it be stronger if you double the 2x4? Im worried that the bed wont be strong with only 1 2x4

 
Ever heard of Euless's picture
 #
It's been just over a year

It's been just over a year now, and we haven't had any problems with the just 2x4. That bunk bed is so heavy and sturdy nothing is going to bother it much! So yes, I think just one 2x4 for the leg works just fine!

 
 #
Thanks for the info. Just

Thanks for the info. Just want I wanted to know :)

 
 #
What type of nails did you use on the heaedboards and footboards

Did you use regular nails, finishing nails, or screws for the paneling on the head and foot boards?

 
Ever heard of Euless's picture
 #
I used just regular gold

I used just regular gold screws for the entire project. We switched between 1 1/4 inch and 2 inch depending on which part we were working on.

 
 #
Thanks...a few more quick questions :)

Thanks for the info on the head and foot boards. One more series of quick questions.:) How did you attach the sidrails of the frame to the posts? Did you use pocket holes/screws from the inside of the siderails? How sturdy is the bed frame attached to the posts? Did you use normal matresses on both top bunk and bottom bunk (I am planning on slatting the frame)?

Thanks in advance for taking the time to answer. :)

 
Ever heard of Euless's picture
 #
The side rails are also just

The side rails are also just gold screws (I think 3 inch ones? They had to be really long). I just followed the instructions for the Simple beds exactly the way she wrote it, and they work great.

My hubby, on the other hand, didn't trust the screws holding everything up. So he added in a small L bracket at each corner of the bed between the side rail and the headboard. It's now been 2 years, and there has been no problem at all with the bed.

Yes, we used just regular mattresses. I did slat the frame with 1x3's, and everything is great!

 
 #
Thanks!!

Thanks again for taking the time to answer my simplistic questions...however, I am still confused as to how to screw the siderail to the post at an angle. Is it from the inside of the sidrail? Underneath? On top? Seems like there is only room for 2 screws per siderail end from the inside.

 
Ever heard of Euless's picture
 #
Remember, before you attach

Remember, before you attach the side rails, you make a large rectangle with 2x2's. You then screw through 2x2 into the side rail (so you now have a large rectangle with very tall sides.)

You then attach the 2x2 rectangle to the headboard, by putting the short side of the rectangle underneath the headboard and screwing it in. Once the short side of the 2x2 is attached, you'll be able to drill at an angle through the corner of that rectangle into the headboard.

We actually just used really long 4 inch screws, and instead of the angle, drilled through the top and bottom of the side board from the outside of the headboard (if that makes sense!) I think that's the part that worried my hubby, so he added in the l brackets.


Post new comment

The content of this field is kept private and will not be shown publicly.
  • Web page addresses and e-mail addresses turn into links automatically.
  • Lines and paragraphs break automatically.

More information about formatting options

By submitting this form, you accept the Mollom privacy policy.

Not Much >>

What's going on up here in Alaska.

Momplex Cam >>

We are DIYing our moms a Duplex in Alaska! Check out our progress so far as we owner build a home, step by step. Read the Momplex blog here.

Recent comments

User login

Connect with Facebook
Sign in using Facebook

I'm Speaking At:

Haven Conference 2012

Please Visit Our Sponsors!


Pin It