tweets >>

my other projects >>

Dresser with Open Bottom Shelf for Changing Table

Printer-friendly versionPrinter-friendly versionSend to friendSend to friend
Additional Photos
Dresser with Open Bottom Shelf for Changing Table
About This Project

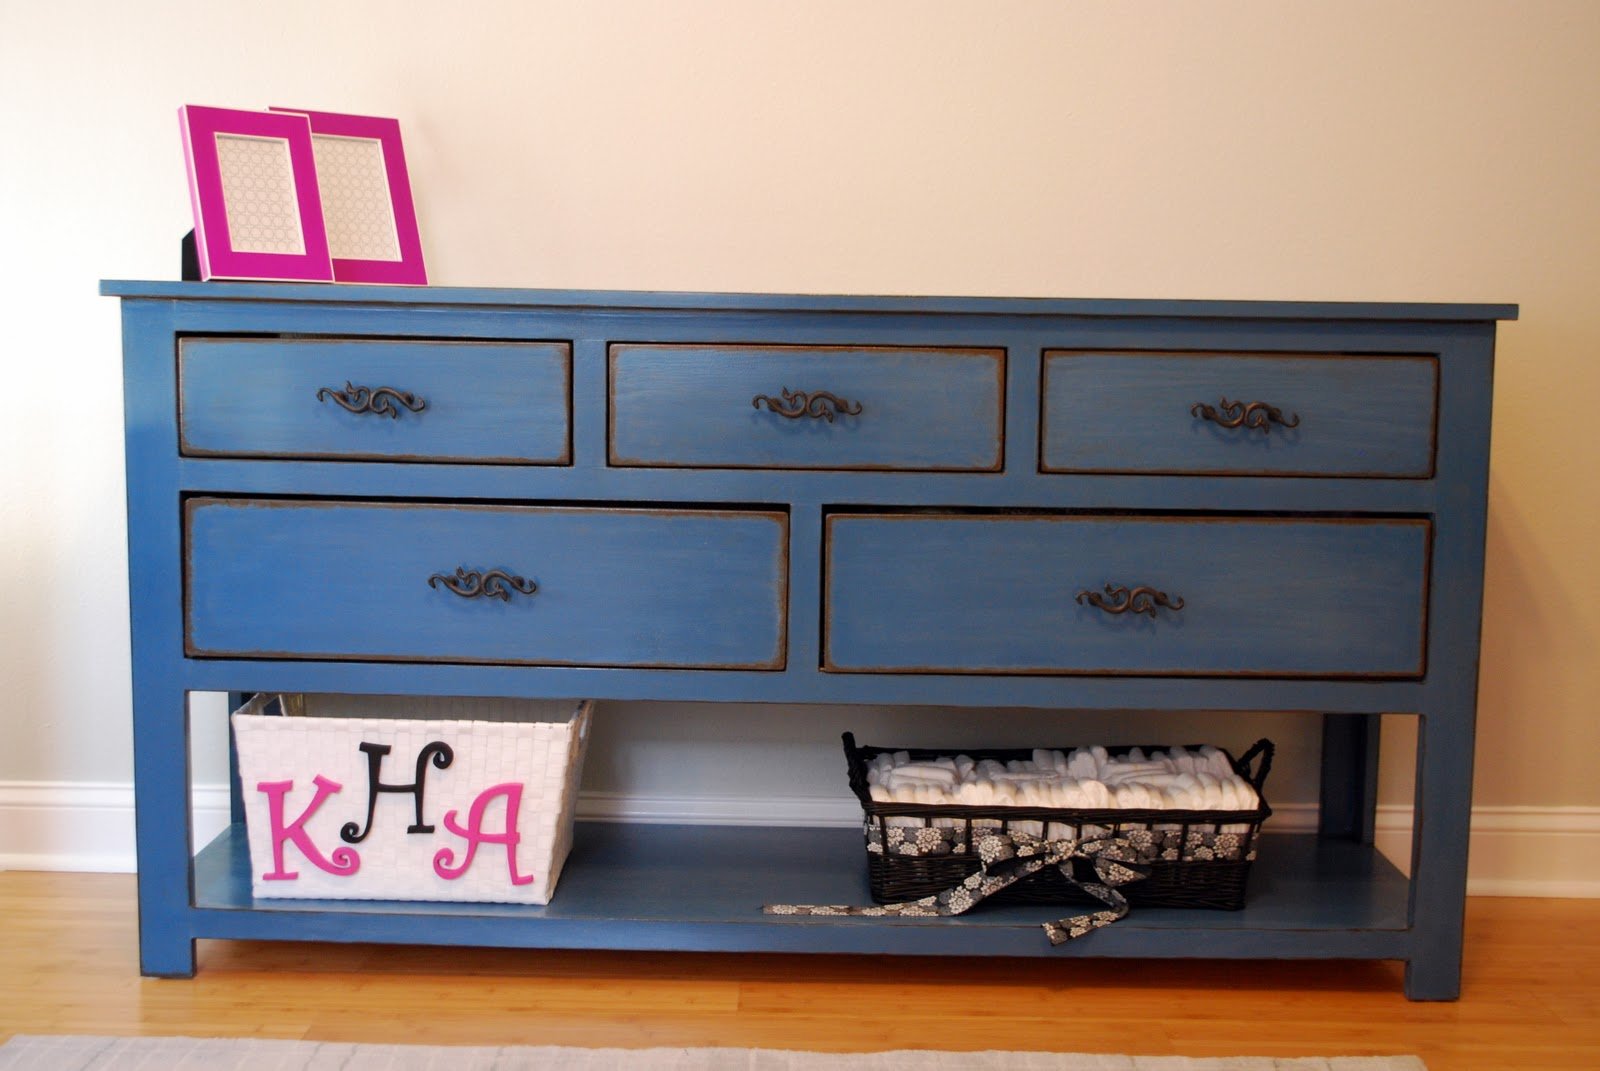
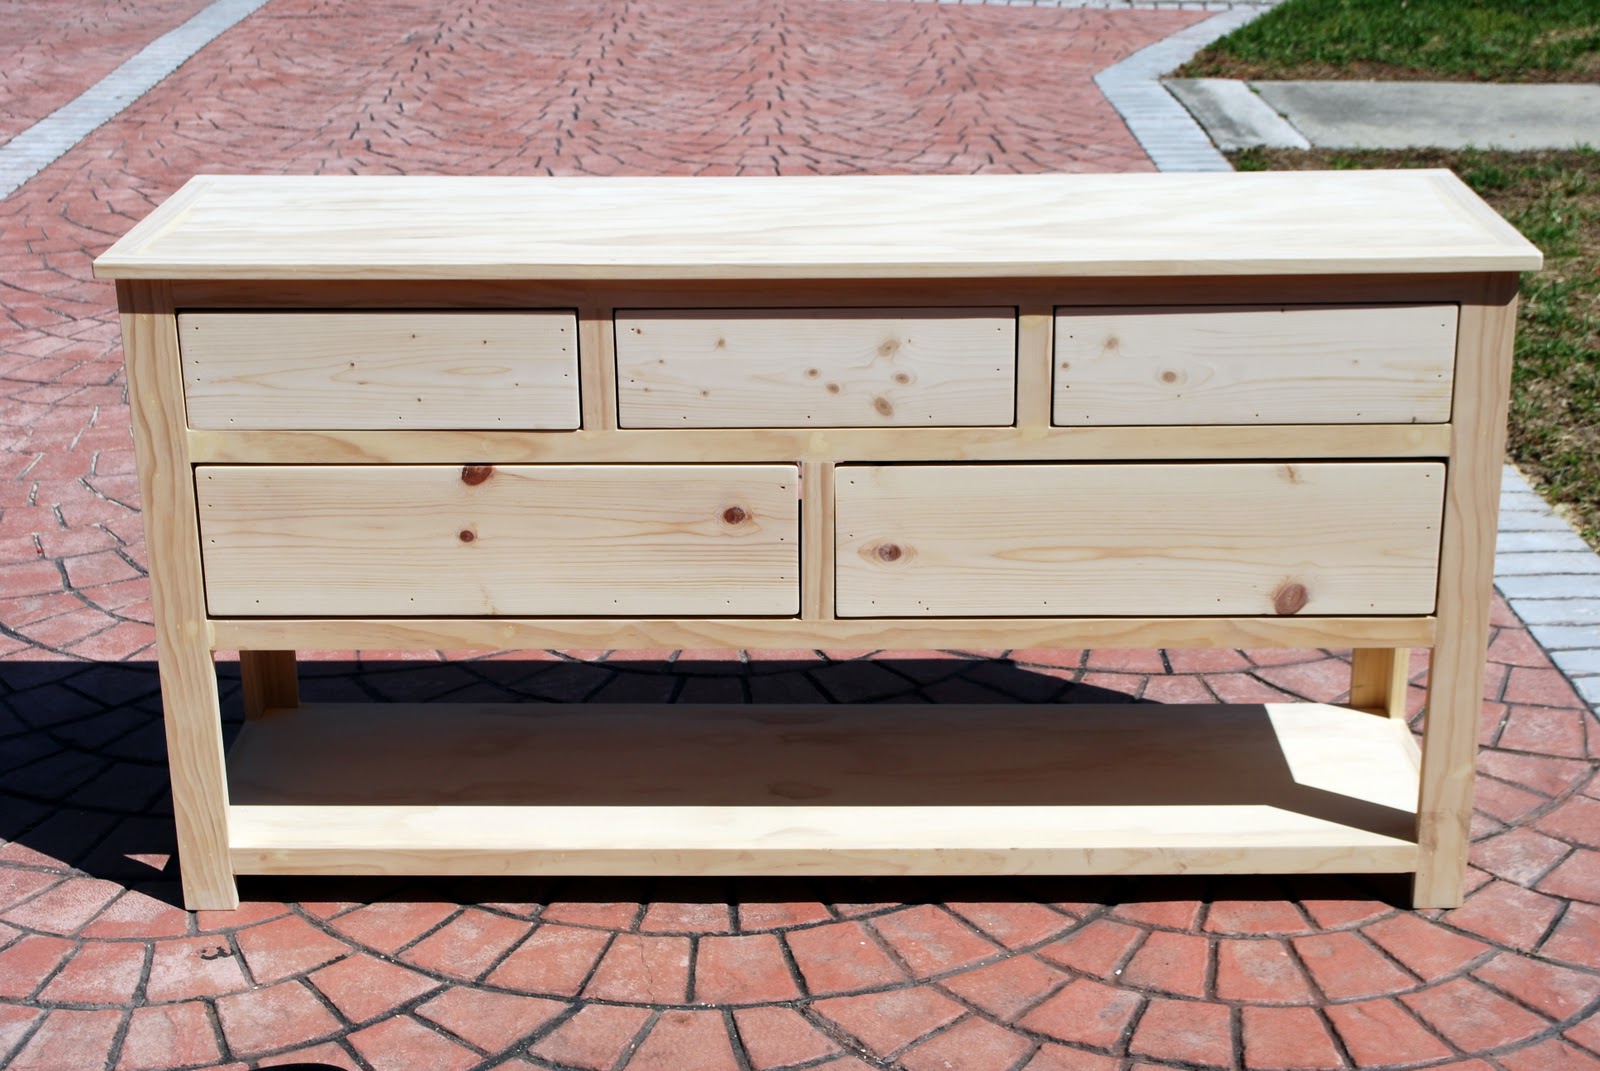
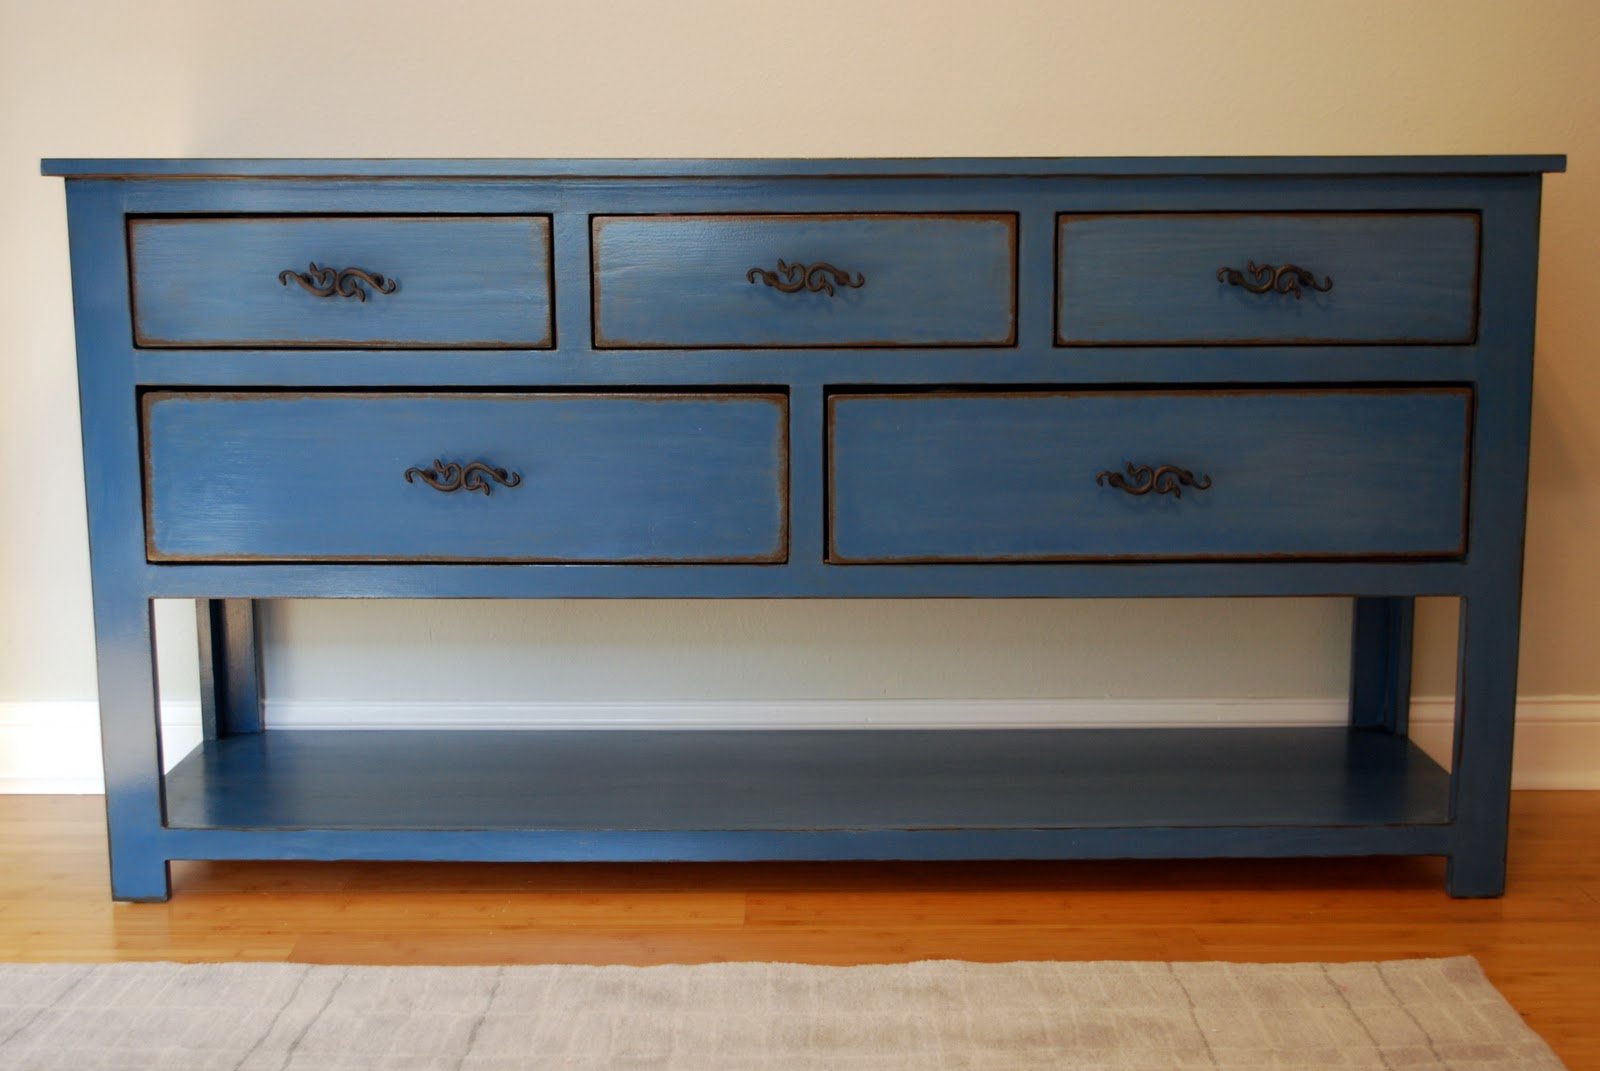
My husband and I built this dresser to use as a changing table in our daughters nursery. I explain the build process (with photos) in this blog post : http://mekhart.blogspot.com/2011/03/nursery-room-biggest-build-yet.html and the finishing process in this blog post : http://mekhart.blogspot.com/2011/04/nursery-room-finished-dresser.html . I'm so thankful to Ana...I love that almost every element of her nursery is home made!

Estimated Cost: 
150
Estimated Time Investment: 
Week Long Project (20 Hours or More)
Required Skill Level: 
Advanced
Type of Wood: 
Cabinet Grade Plywood, Select Pine for trim
Finish Used: 
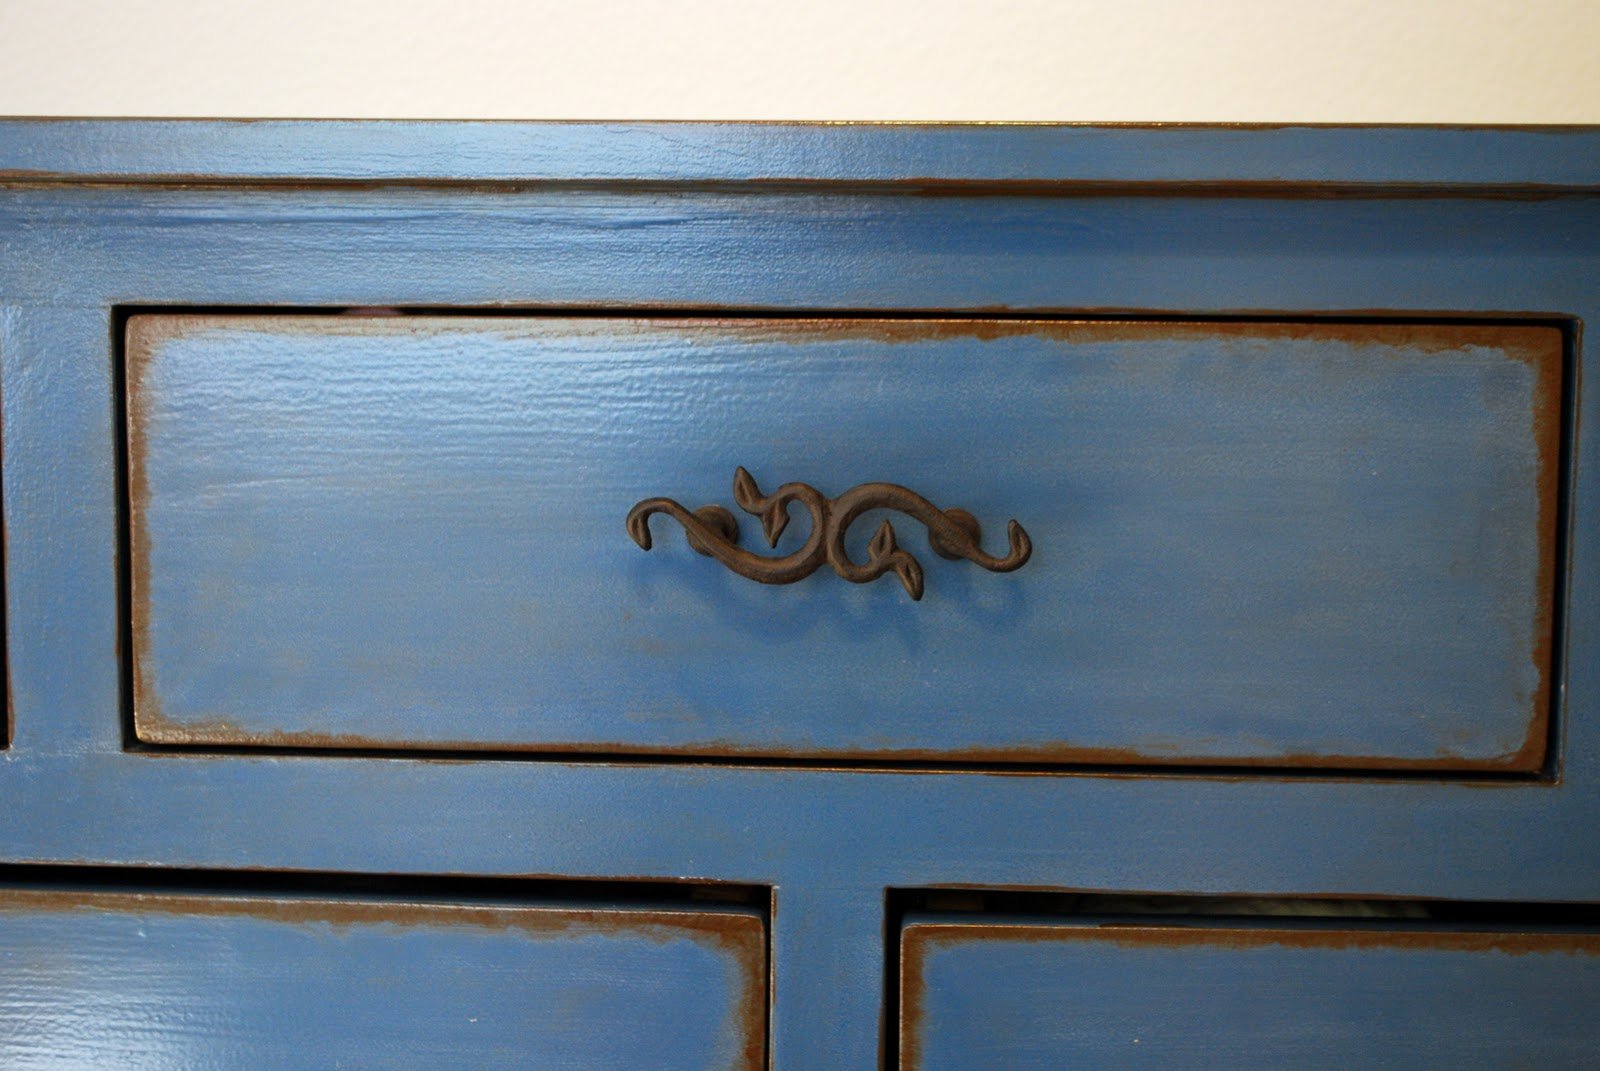
Paint with a whitewash over top and glazing on the edges. To see more details on how to replicate this finish, check out my blog post here : http://mekhart.blogspot.com/2011/04/nursery-room-finished-dresser.html .
Pin it
exuma_momma's picture
 #
Beautiful!!

This piece is truly beautiful!!! I'm trying to find finishing ideas for my media console and hutch that are almost complete, but I'm not sure I have the patience for this one... it really is amazing though. And the handles add that sweet little touch to the piece. Really great work!!!

 
bbcarey's picture
 #
Modifying this design - and a question

I am modifying this dresser design and making a buffet- but wondering- did you use filler on the 1x2 and 1x3 legs on the side before painting- or did the paint fill in those gaps pretty good? From the first pic it appears you used filler on each of the cracks between the faceboards... I'm thinking that is going to be my best bet. I am painting mine as well..

Looks great- I LOVE the distressed look. I am making our buffet to match a dining table that has that same look- so I'll definitely check out your other link on how to replicate that.

Thanks!! Beautiful job!

 
karahart's picture
 #
answer to filling in gaps

Thanks so much for the compliments!

I spent a ton of time at each step filling every new crack in before moving to the next step. In hind sight, I over-did it with what the trim covered up, but my thought process was that it seemed like less work to do it a little bit at a time, and get a good sanding over it, than to do it all at once. I think it helped my finish come out pretty smooth too because I filled and sanded between each step, and then did another good sanding at the end. The raw wood piece felt so smooth before I started painting it. I used 220 grit sand paper for the most part, although on some of the bigger pieces that needed more filling, I did use 150 grit.

Hope that helps!! Best of luck!

 
fethiye's picture
 #
Plywood only?

So, you didn't use anything but plywood for the whole thing (other than the trim) right? That seems to be a better option than sorting through endless warped boards. Totally looking into building this now, without the open base, but adding another set of drawers at the bottom.

 
karahart's picture
 #
plywood

Sort of...I only used cabinet grade plywood for the main part, and then the select pine for the trim AND to make the drawers.

The only 'trick' to doing this with the bottom being drawers instead of open is that you'll need to make sure you replicate the dimensions of the drawers above it exactly...don't line up the bottom of the dresser where Ana has it on her plans (10 3/4), you'll have to stick to the 7 3/4 measurements, or you won't be able to use the 1x8's as faces for the drawers, you'll have to adjust your measurements for larger drawers at the bottom too. So if you have the same sized big drawers, your bottom will be slightly higher than what Ana's plans call for.

Best of luck!!

 
 #
starting this weekend

Hubby and I are off to get the wood and materials to make this for babies room. Get ready for lots of questions! :-)


Post new comment

The content of this field is kept private and will not be shown publicly.
  • Web page addresses and e-mail addresses turn into links automatically.
  • Lines and paragraphs break automatically.

More information about formatting options

By submitting this form, you accept the Mollom privacy policy.

Not Much >>

What's going on up here in Alaska.

Momplex Cam >>

We are DIYing our moms a Duplex in Alaska! Check out our progress so far as we owner build a home, step by step. Read the Momplex blog here.

Recent comments

User login

Connect with Facebook
Sign in using Facebook

I'm Speaking At:

Haven Conference 2012

Please Visit Our Sponsors!


Pin It