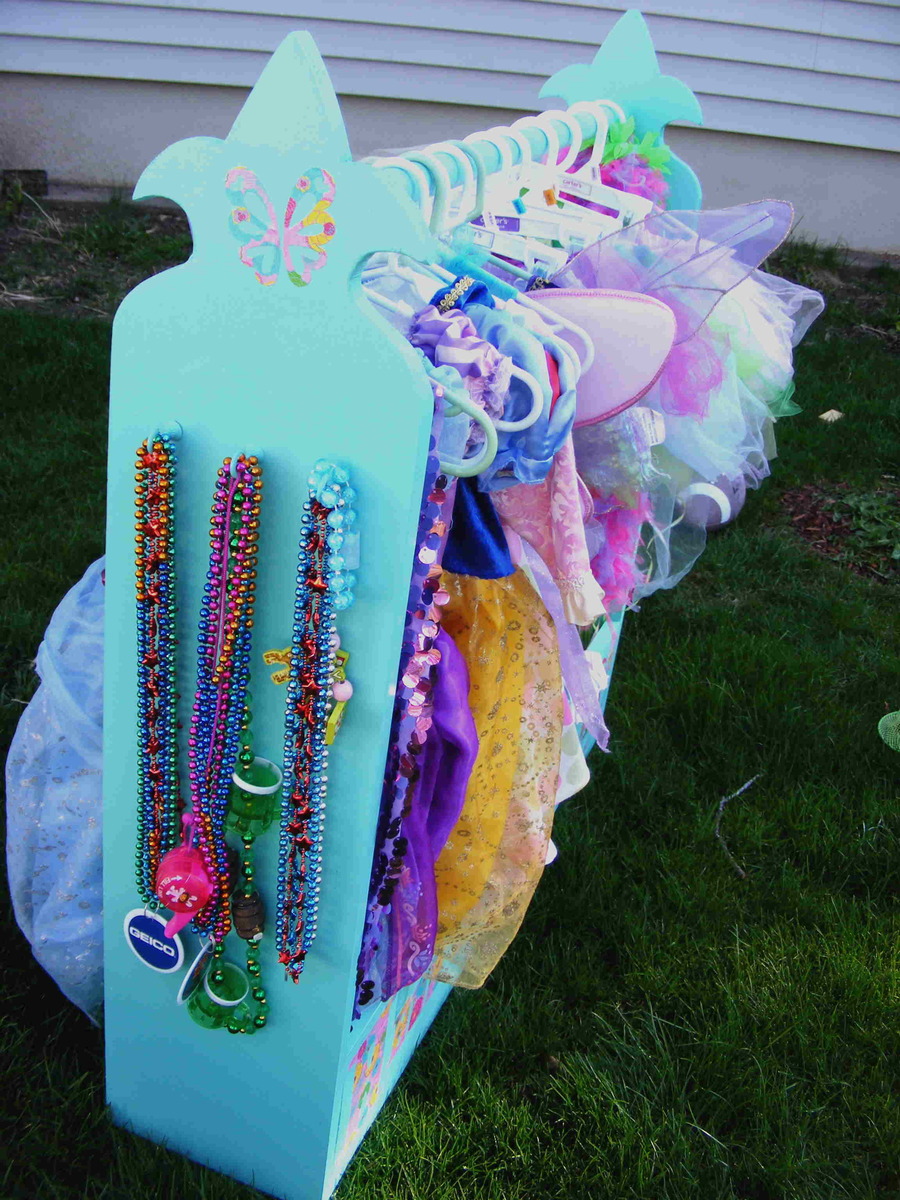
I saw the plans for the dress-up rack and immediately knew I had to make one for my girls. My three-year-old is in her prime dress-up stage and we had been shoving all of her princess crap in plastic drawers. She really couldn't get to them and stuff was constantly strewn all over the floor.
Enter the dress-up rack plan:
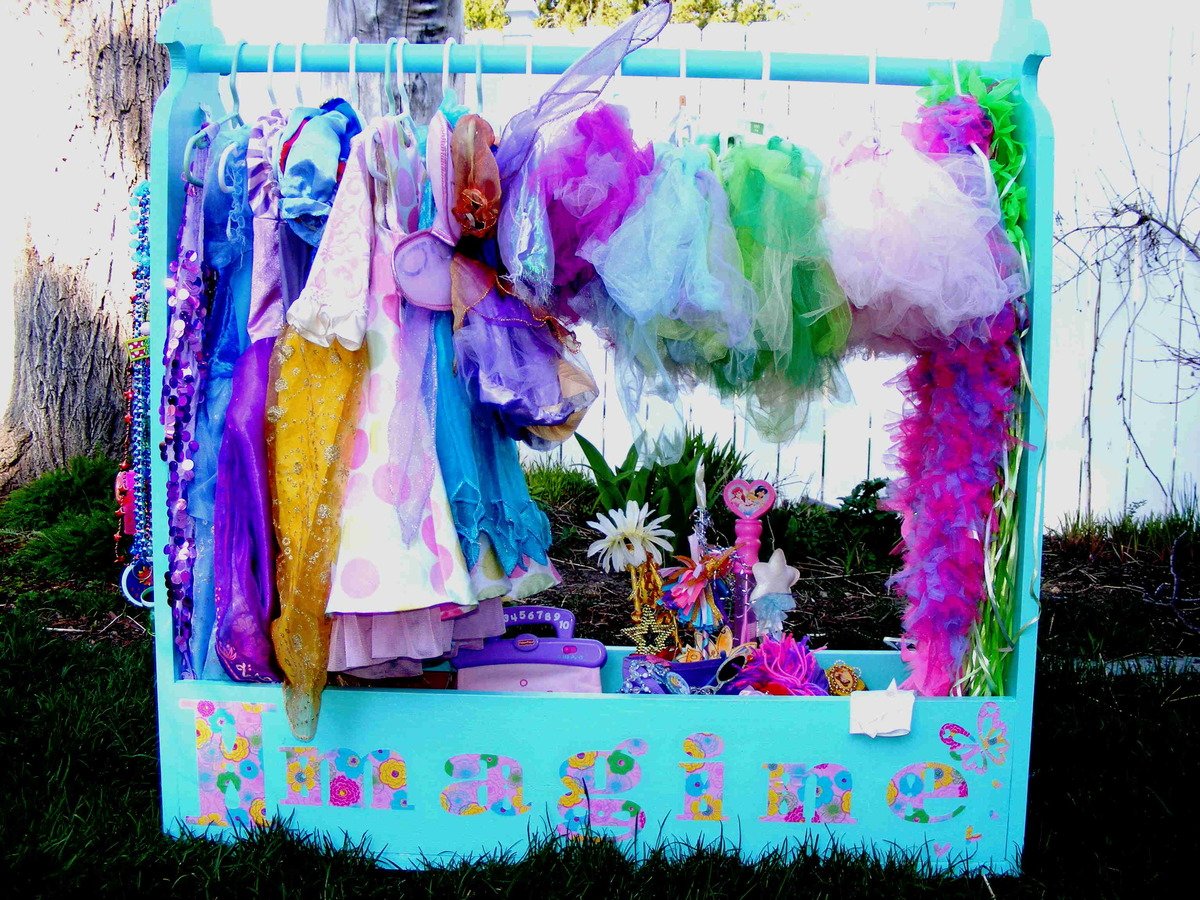
Thank You Ana! I looked over the plan and decided against the shelf feature on top, considering it would become a haven for junk. I figured the cubby space underneath would be a great catch-all for all of her shoes, purses, wands, and the like.
I purchased only two boards for the whole thing, as it was cheaper to buy an entire 12 foot length of 1x10 than several pieces with leftover scrap. So I had the 12 foot board cut into three equal lengths (4') at Lowes before I took it home, I also had the 1x8 cut in half. Every thing fit nice in my car (carseats included) for the ride home.
I decided on 44" for the height and width, so that it would be roomy enough to fit everything, and short enough for my three-year-old to hang up the dresses by herself.
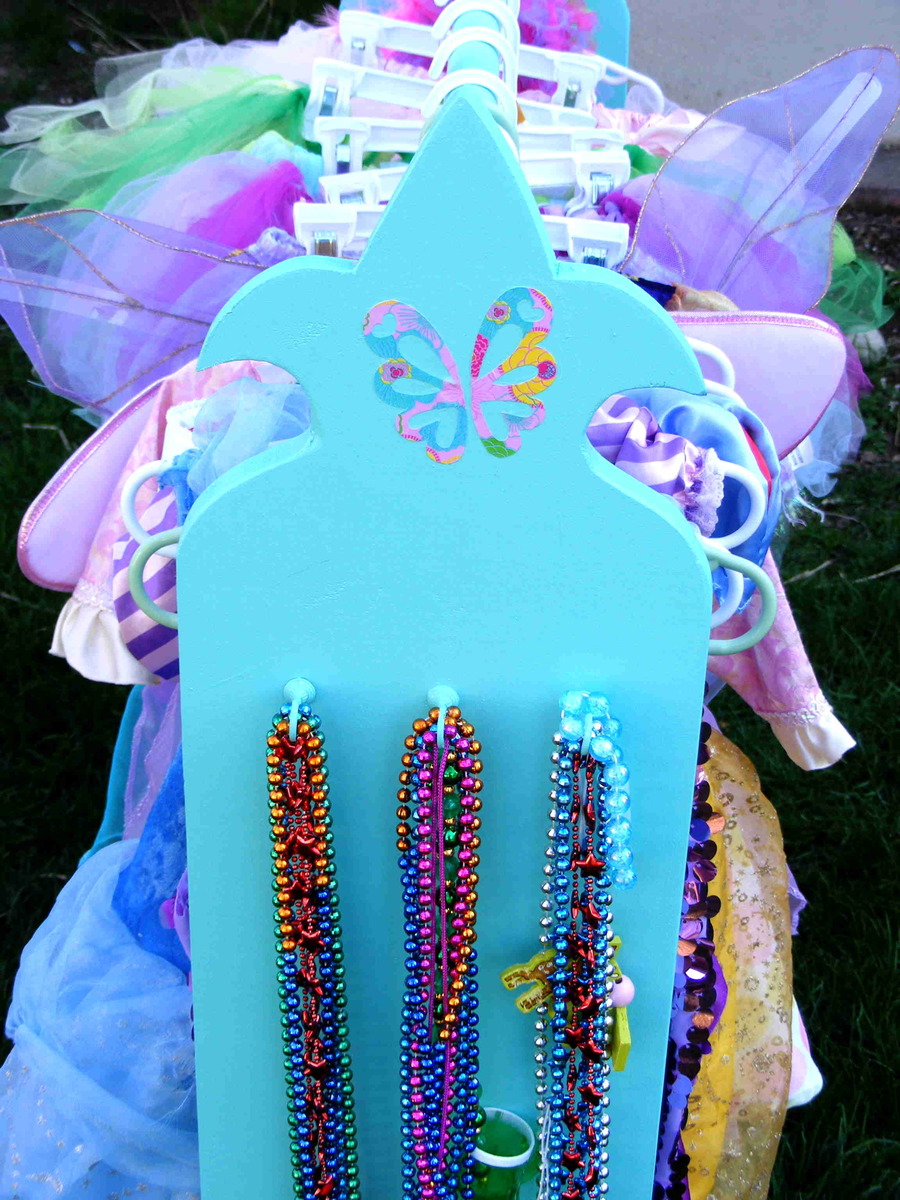
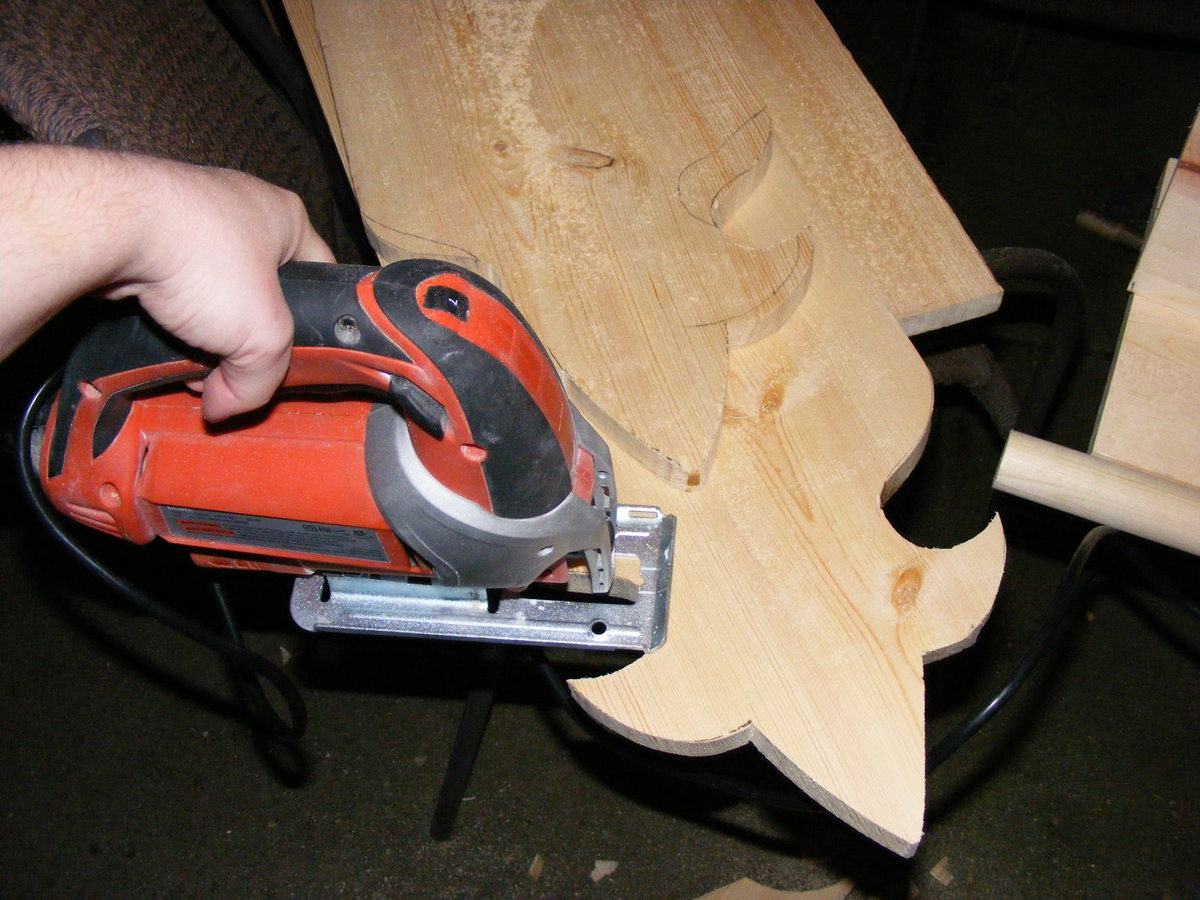
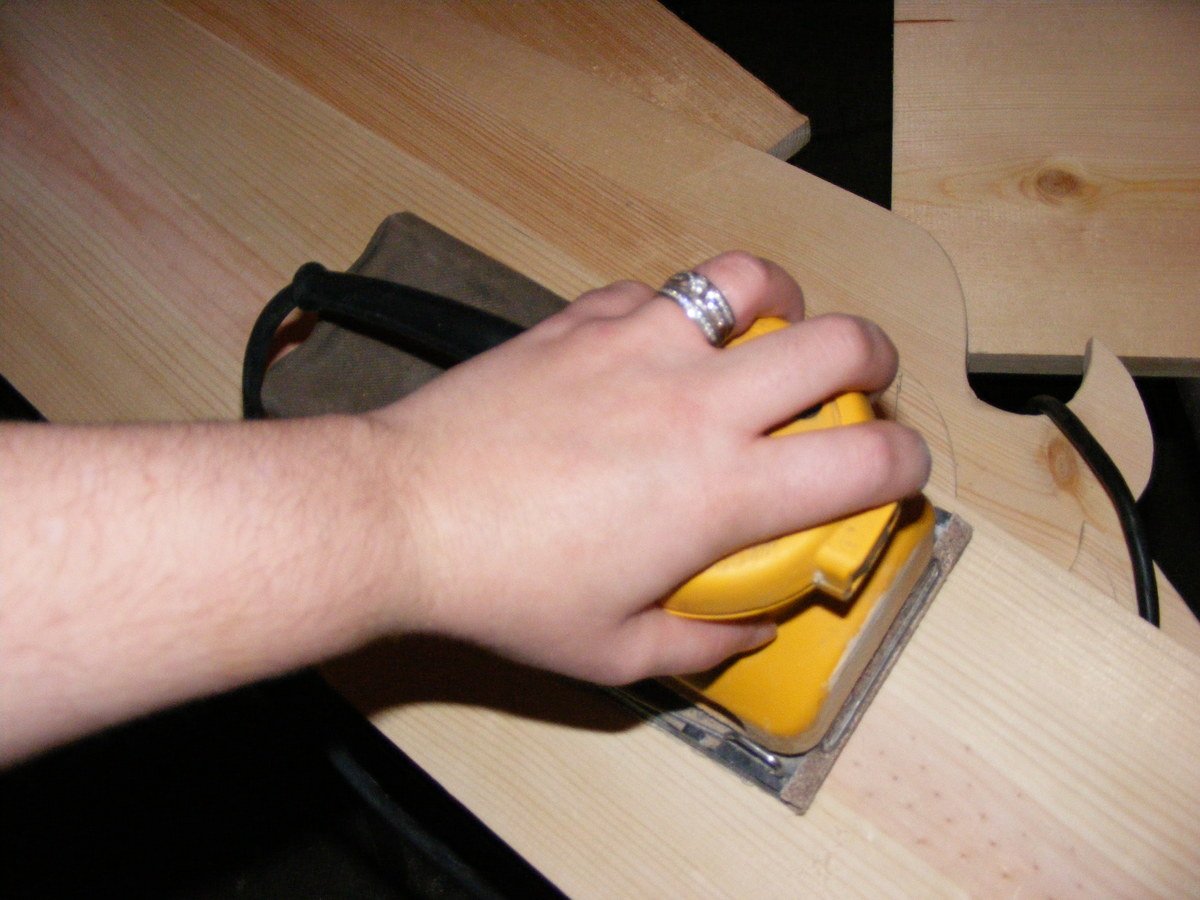
Then came the artsy part. I wanted a little whimsy in the design so I chose a Fleur de Lis pattern for the top ends of the rack. a little fancy, a little princessy, and fun at the same time. I rough sketched the pattern on one board (fold a piece of paper in half, draw one side, cut out, and voila, perfect mirror image. trace on the wood), cut it with a jigsaw, and traced from that one onto my next board. It was a little tricky with the jigsaw getting in the nooks and crannies, but I just took my time. The sanding hides all the rough stuff anyway.
I assembled the piece as the plan instructions followed.
For the closet rod, I measured down the same distance and pre-drilled into the rack ends, then glued and screwed one side of the rod into place. I put a little glue on the other end to give it a little stick while I did the first screw so it would hold still for me. For the other end, I put my screw through the 1x10 and left a little poking out to catch the rod and hold it still while I used the level to make sure it wasn't crooked. Then I did the final screwing.
I used a little wood filler, then primed and painted. I also added three hooks on one end to hold all of the necklaces my daughters like to tangle into one big ball.
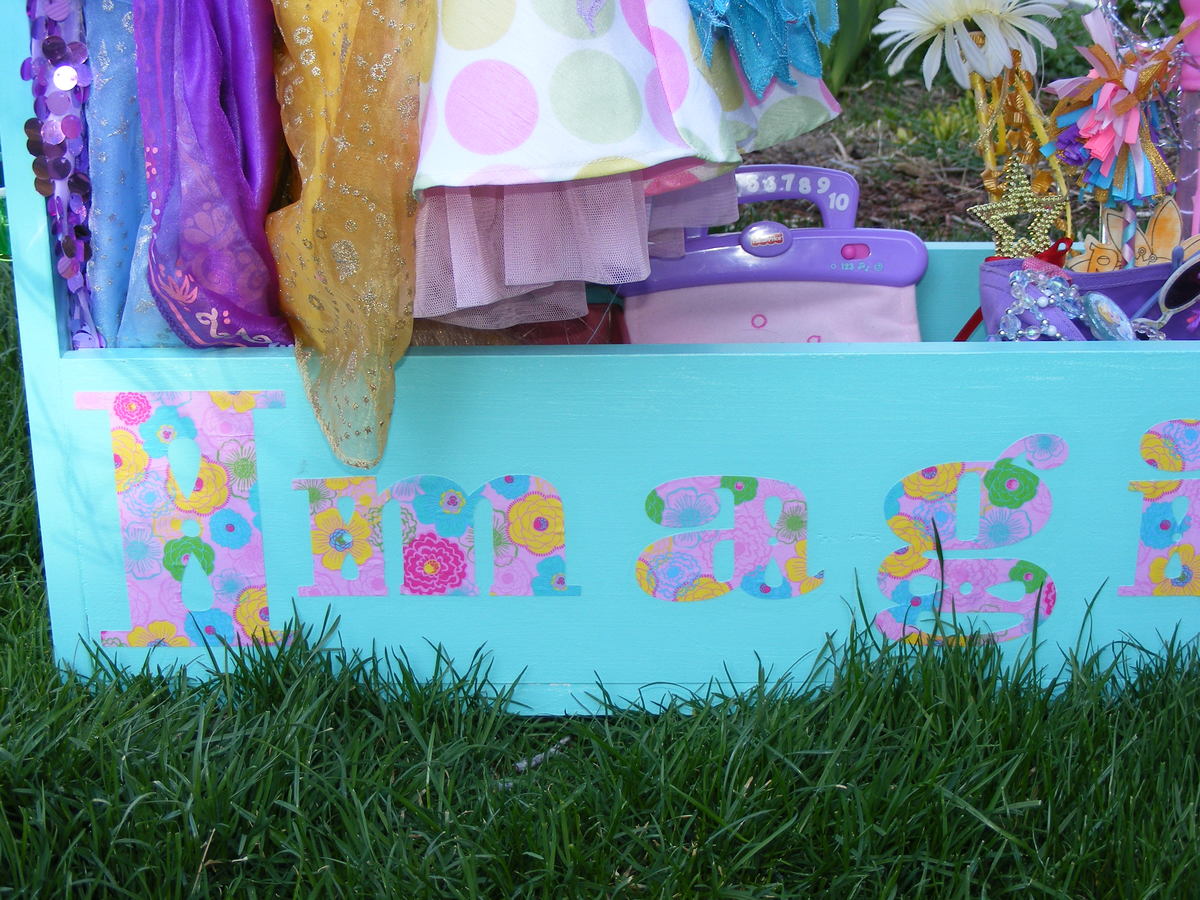
Then I used my Cricut and some patterned paper to make the word "Imagine" (I saw this on someone else's and loved it), I also cut out a few butterflies too. Seriously, what can't the Cricut do? (font cartridge was Cindy Loo) The last step was decoupaging them on there with a little Mod Podge. *I placed the butterflies right over the screw holes that showed on the ends.
It turned out lovely! And best of all, my kid can hang her stuff up all by herself, she has plenty of room underneath for her accessories, and the whole thing is so darn cute...Thanks!
Patterned Paper for decorations, Mod Podge (JoAnn's or Michaels)