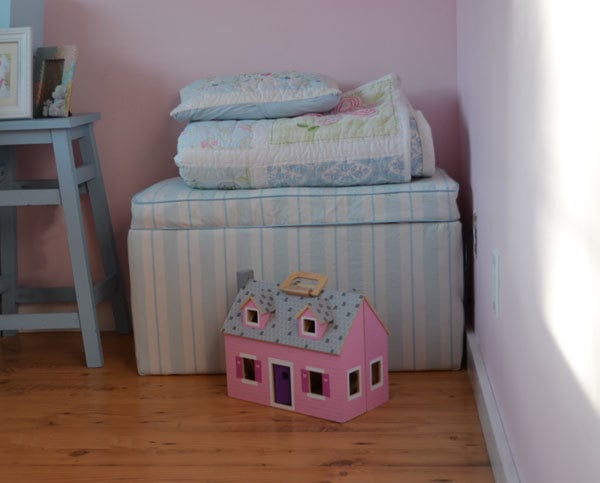


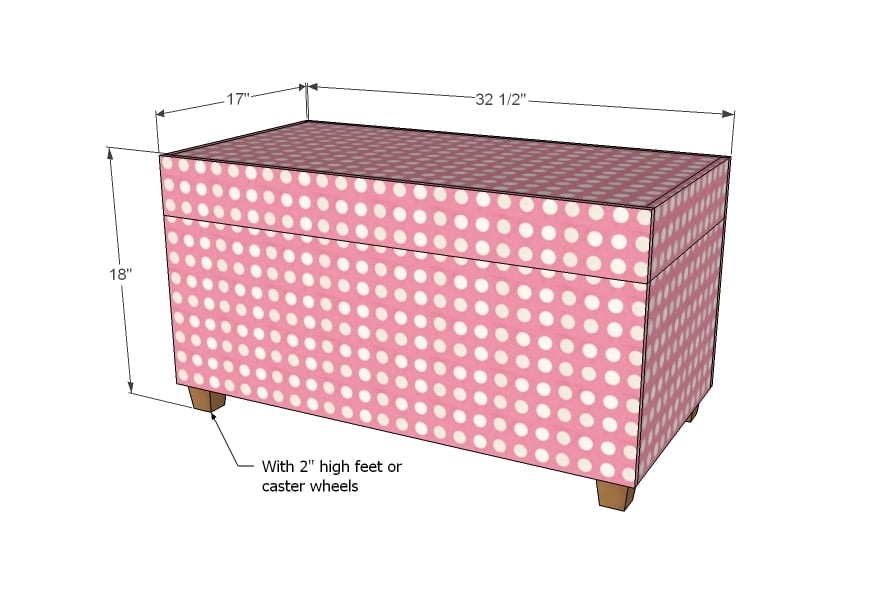
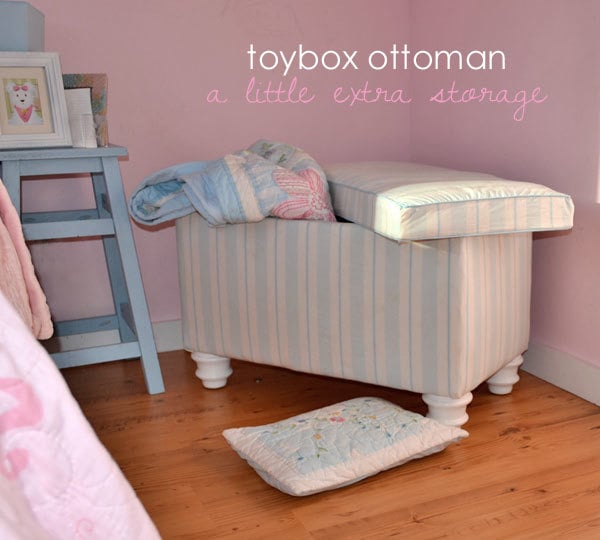
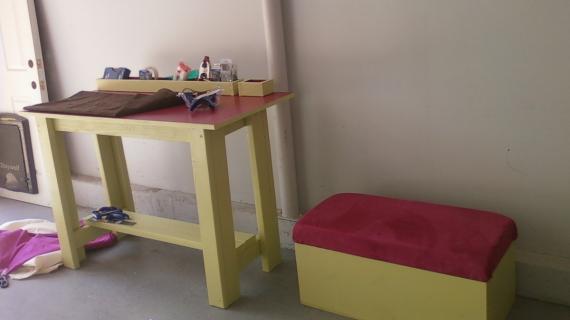
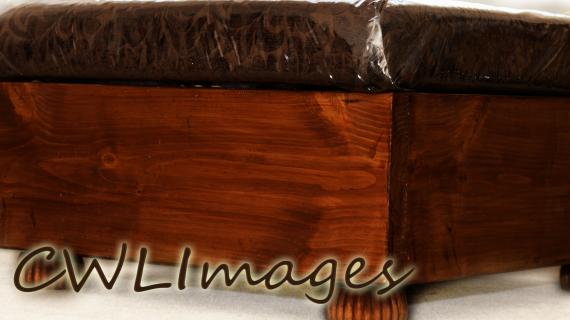
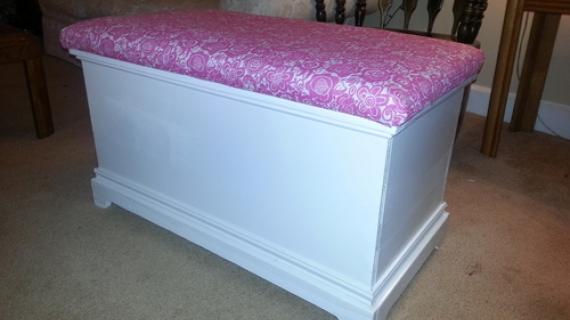
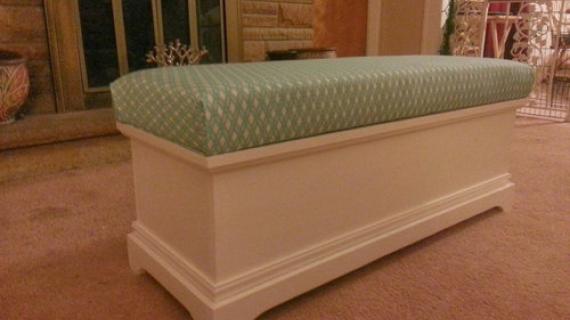
Toybox by day, cozy reading spot by night. This toybox ottoman features a lift off lid and a large storage compartment. Use caster wheels to create a moving seating surface and toybox in one.
Preparation
1 - 1x12 @ 8 feet long
2 - 1x12 @ 32"


Please read through the entire plan and all comments before beginning this project. It is also advisable to review the Getting Started Section. Take all necessary precautions to build safely and smartly. Work on a clean level surface, free of imperfections or debris. Always use straight boards. Check for square after each step. Always predrill holes before attaching with screws. Use glue with finish nails for a stronger hold. Wipe excess glue off bare wood for stained projects, as dried glue will not take stain. Be safe, have fun, and ask for help if you need it. Good luck!
Instructions
Step 1
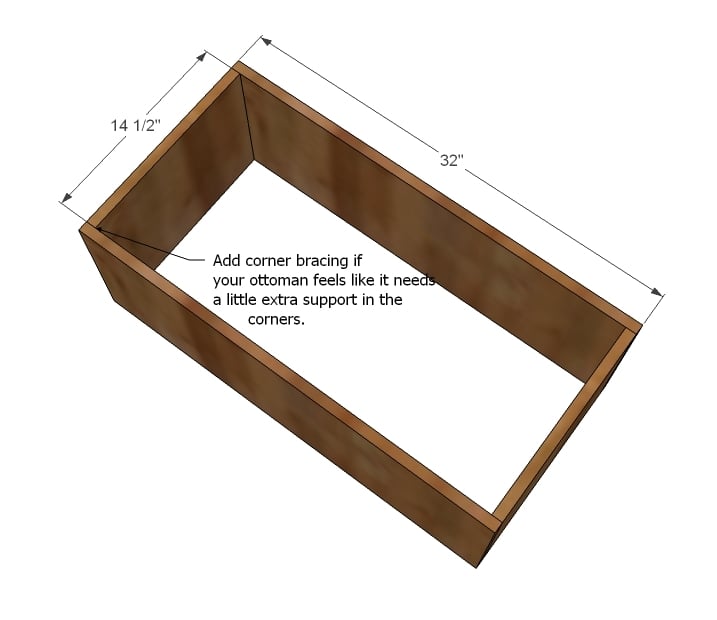
The first step is to build a simple box out of the 1x12 boards. You can use either the 2" screws or 1 1/4" pocket hole screws and glue.
Step 2
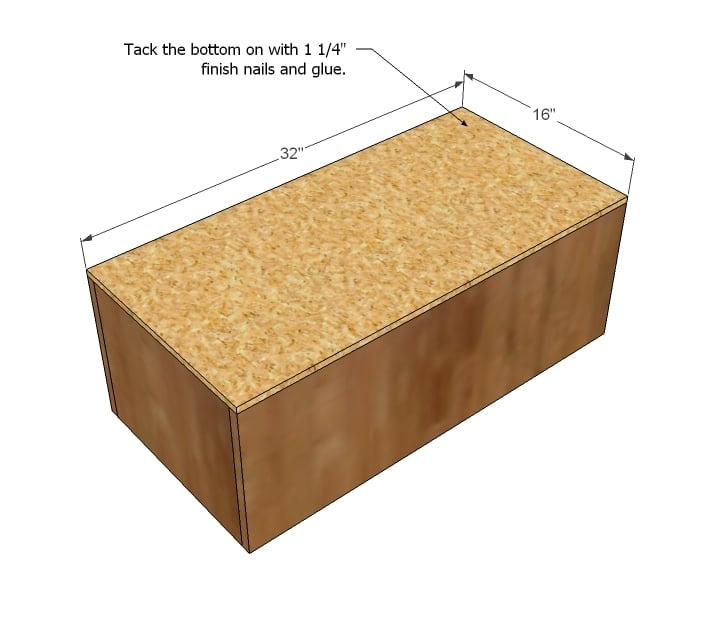
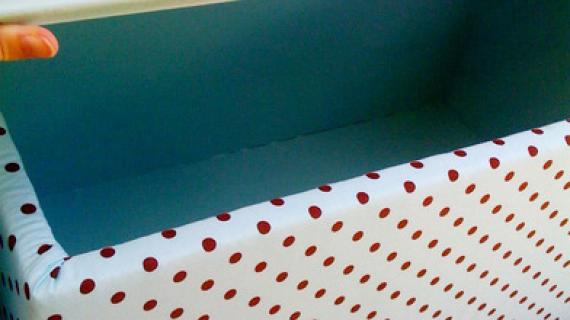
Now tack one of the pieces of plywood to the bottom with the 1 1/4" finish nails and glue. You may wish to paint and seal the inside of the toybox at this point.
Step 3
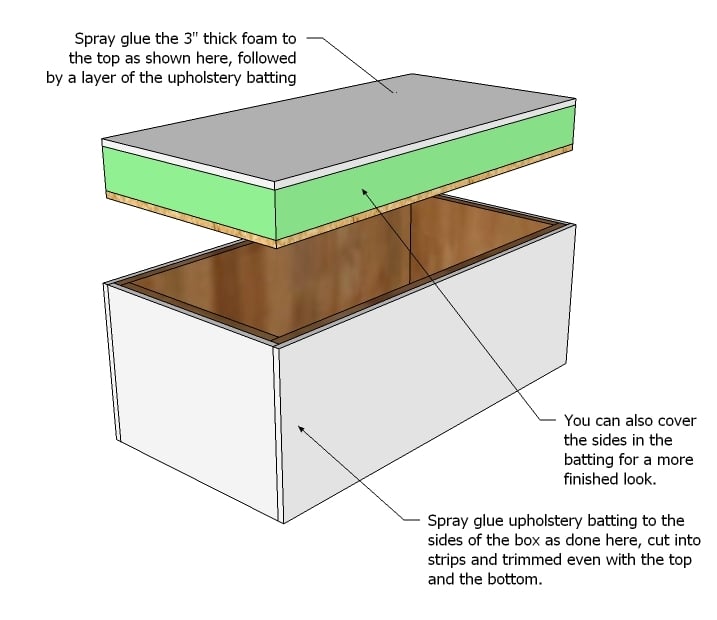
Foam time. Spray foam the remaining piece of plywood with the 3" thick foam piece to the plywood as shown above. Then spray glue the batting to the box and to lid as shown above, neatly trimming edges. You can bring the batting on the box around the inside and staple in place to create some cushion to keep little fingers from getting pinched if you wish.
Step 4
You can also cover the sides of the top with batting too so that it matches the box. Just spray glue in place and trim the excess off with a knife or sharp scissors.
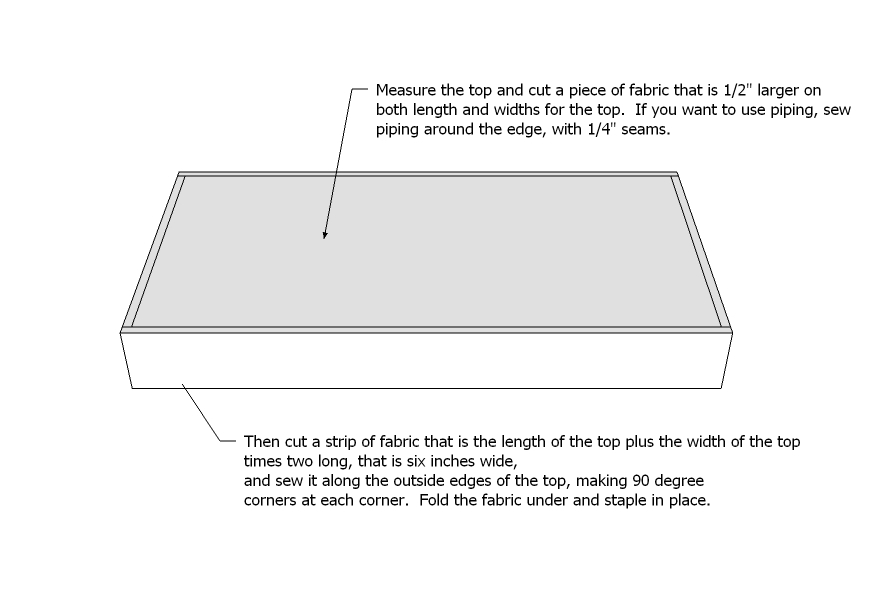
Now take a measurement of the top, width and height. Add half inch to each measurement, and cut a square of fabric out to this size. If you want, you can take a second and sew piping along the edges of the top piece. Next, cut a length of fabric out that is 6" wide x the total length around the top (width + length x 2) and sew the length to the top piece, to make up the sides.
For those of you who do not like to sew, you could alternatively cut a piece of fabric that is 6" wider and 6" longer than the top measurement, and simply staple it over the top, neatly folding corners, as done by Fresh Home magazine. I just really liked the custom fit piping look.
Step 5
It is always recommended to apply a test coat on a hidden area or scrap piece to ensure color evenness and adhesion. Use primer or wood conditioner as needed.
Comments
mycreativeescapes
Mon, 04/11/2011 - 11:30
I'm in love
I love this! I am looking for toy boxes for all three of my kids - and these would be perfect. I wonder if there is anything different it I wanted them taller - like 1x16 in stead of 1x12....Love this!
Thanks for the continued inspiration!
Carrie
Karie (not verified)
Mon, 04/11/2011 - 12:53
Perfect timing!
We are buying a house (YIPPEE!!!) Toy and book storage is on top of my to-do list. I want it done by the time we move in. That way the toys always have a 'home'. Thanks!
biz_kid1
Tue, 04/12/2011 - 09:57
Ana...how did you know?!?!?!?
http://ana-white.com/2011/04/great-minds-think-alike =) I wish I could get mine built as quickly as you seem to, too!
jenelope
Tue, 04/19/2011 - 08:25
Fresh Home
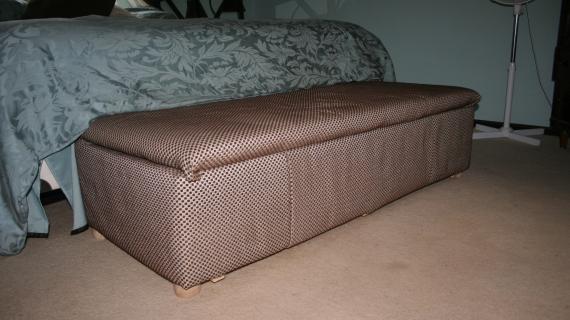
I used the project plans from Fresh Home that Ana linked to to build my ottoman in February. It was my first upholstered project and only my second building project. It turned out to be pretty simple to do, though I probably wasted more staples than I needed to because my brand-new stapler wasn't up to several layers! I made it out of half inch MDF because that's what was handy. I was a bit concerned about sturdiness, but considering two somewhat heavy adults sat on it together, the worry was probably unnecessary! It turned out really well, if I do say so myself.
Miabee
Thu, 01/19/2012 - 09:23
Level
What skill level would you say this project was? I would really like one for the foot of my bed but not sure I'm up to the task.
In reply to Level by Miabee
jenelope
Thu, 01/19/2012 - 09:33
I would say beginner to
I would say beginner to intermediate. It was only the third thing I've ever built (first being really simple planters, second being a variation on Grace's bookshelves). The instructions are very clearly written.
Morgan Stevens (not verified)
Mon, 12/17/2012 - 06:36
How does the top stay on?
How does the top stay on? Does it just rest on the box or is there some kind of fitted lip on the top or inside the box? Just curious about that. We are about half way thru this build and now I'm not sure how the lid will stay on! I have a very explorative toddler who's stronger than he looks so I'd hate for the lid to come off too easily. Thanks!