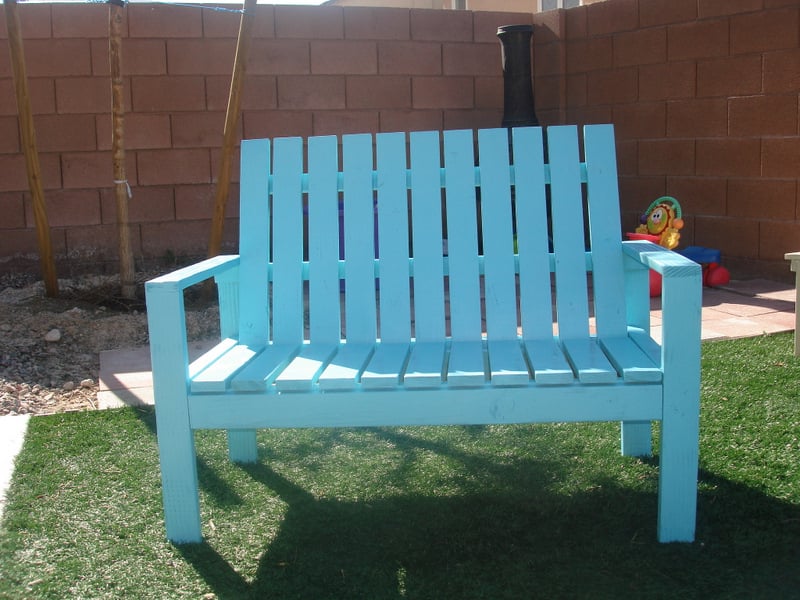


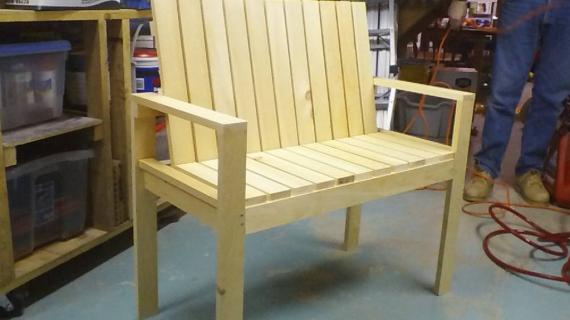
This is based on the outdoor easy lounge chair. I made the kids Adirondack chairs and was going to build the bench as well. I actually thought those were a little tricky with the angles and everything so I wanted to try this in kid size. It turned out awesome.
Preparation
7 1x3
3 1x2
1x3:
4 @ 18 ¼”
11 @ 19”
2 @ 15 ¾”
2 @ 31 ½”
3 @ 33”
11 @ 12 ¼”
2 @ 17 ¼”
1x2:
2 @ 33”
1 @36 ½”
2 @ 31 ½”
2 @ 15 ¾”


Please read through the entire plan and all comments before beginning this project. It is also advisable to review the Getting Started Section. Take all necessary precautions to build safely and smartly. Work on a clean level surface, free of imperfections or debris. Always use straight boards. Check for square after each step. Always predrill holes before attaching with screws. Use glue with finish nails for a stronger hold. Wipe excess glue off bare wood for stained projects, as dried glue will not take stain. Be safe, have fun, and ask for help if you need it. Good luck!
Instructions
Step 1
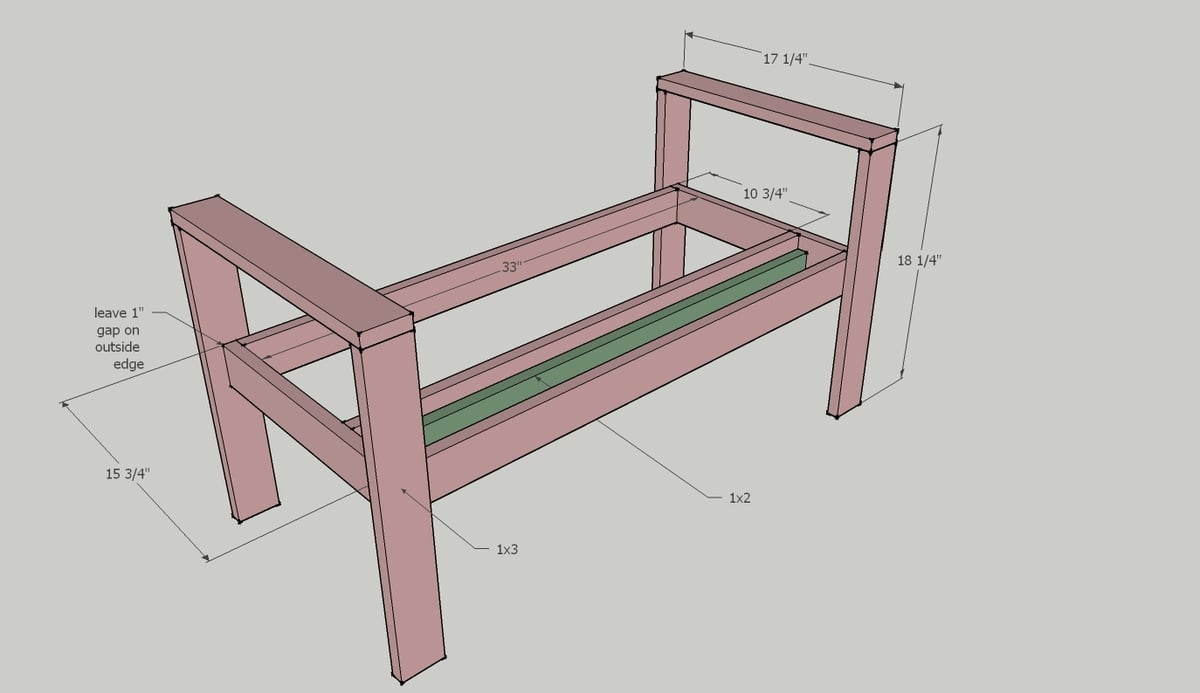
The total seat height is at 12 inches. So the seat support in this photo is placed 11.25" off the ground.
In addition to the original lounge chair idea I added an extra 1x2 to the back of that middle support for the back rest to lean on. Easier to assemble.
Step 2

I put the back support 1x2 on the inside of the arm rests instead of the back like mentioned in the original plan. This helps the seat sit up a little straighter and I liked it better.
Step 3

I placed the top support 2 inches from the top and actually did not add the middle support and it was fine.
Step 4

I would actually add those side 1x2's after you put your back on and in place seeing as on mine at least they overlapped.
Step 5

Step 6

Step 7
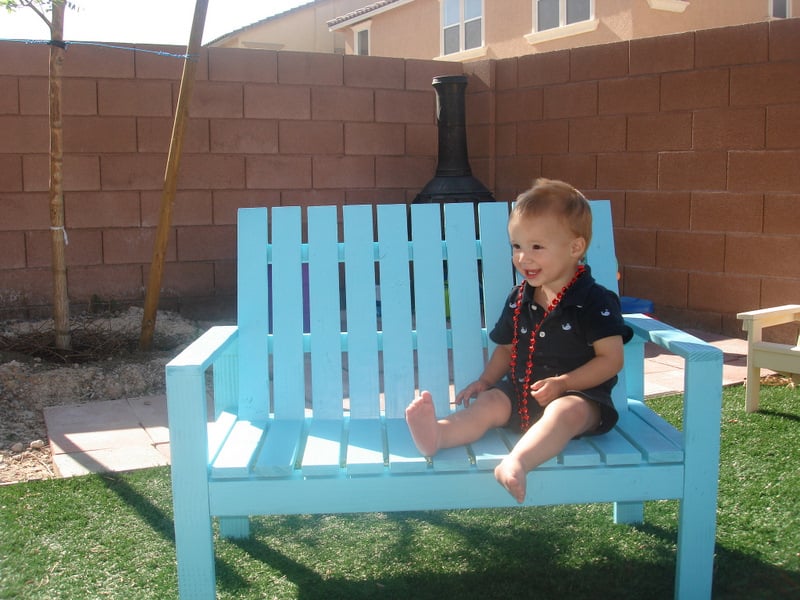
This is my 18 month old. So obviously it is small enough that he can climb up on it but definitely big enough that older kids into school age could enjoy this!
It is always recommended to apply a test coat on a hidden area or scrap piece to ensure color evenness and adhesion. Use primer or wood conditioner as needed.
Comments
patrickhosey
Mon, 04/16/2012 - 12:53
great job
This is awesome. Almost looks like you can chop the legs off and have a hanging swing. Very cool.
sumosam1
Sat, 01/15/2022 - 09:30
How to modify?
Wondering gif someone could help? I like this style bench and want to make this for adults, just don't know how to edit the measurements. Im worried if I raise it up, it might throw off the look!