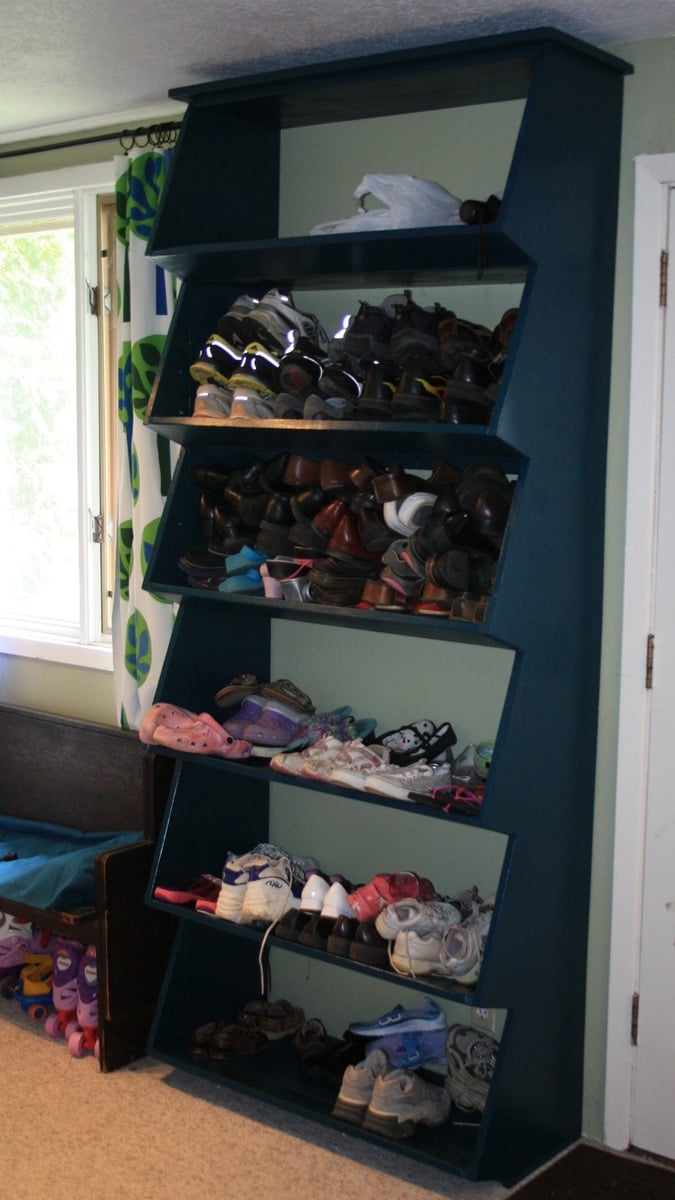


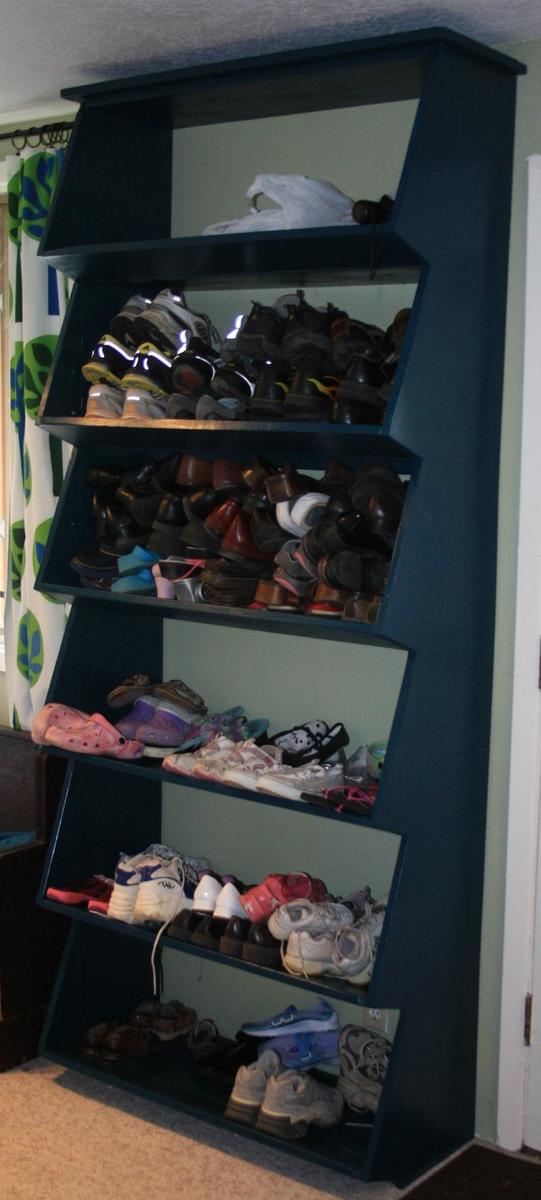
*This project NEEDS to be secured to the wall b/c it is front heavy.* I made this shelf to fit the space in our porch but you could adjust and make it shorter/narrower to fit your needs. It could hold lots of different items, too. We have a spot for each member of the family and one to hold store returns/thrift store drop offs and misc. gear (umbrellas, flashlights, etc.). I chose to use pine boards and join the boards with a Kreg Jig which made a very sturdy shelf. It is based off of Ana's vegetable bin plan so if you have questions about my instructions, her pictures will probably help a lot.
Preparation
I used all pine boards. I'm sure you could make it differently from mdf or plywood, but I like to use boards whenever possible to reduce the VOC's. It's also easier to make with boards since I use a chop saw.
(3) 1x12" 8' sides and top of shelf moulding
(3) 1x12" 6' shelves
(3) 1x6" 6' fronts of shelves
(1) 1x6" 8' sides of shelves
(2) 1x2" 8' toe kick, board to screw to wall, top shelf moulding
(7) 1x12" @ 36" shelves (cut in half the 6' boards and cut one from the 8' board)
(2) 1x12" @ 89 1/4" sides(make short enough that you can stand it up in the room after assembly)
(1) 1x12" @ 39 1/2" top moulding
(6) 1x6" @ 36" fronts of shelves
**(12) 1x6" @ 14 1/2 sides of shelf lip **don't cut these, yet. There are a couple of ways to do the sides of the lip, and I did two different ways! See step 4 & 5.
(2) 1x2" @ 36" toe kick and board to screw to the wall
(1) 1x2" @ 39 1/2" top shelf moulding
Also, the shelf lip sticks out a little beyond the side so I shaved off each corner with the jig saw.
The cutting is pretty standard except for the sides of the shelf lip. I did two different ways mostly b/c I forgot when I was cutting what I had decided to do. It works out either way, just with a little different look.
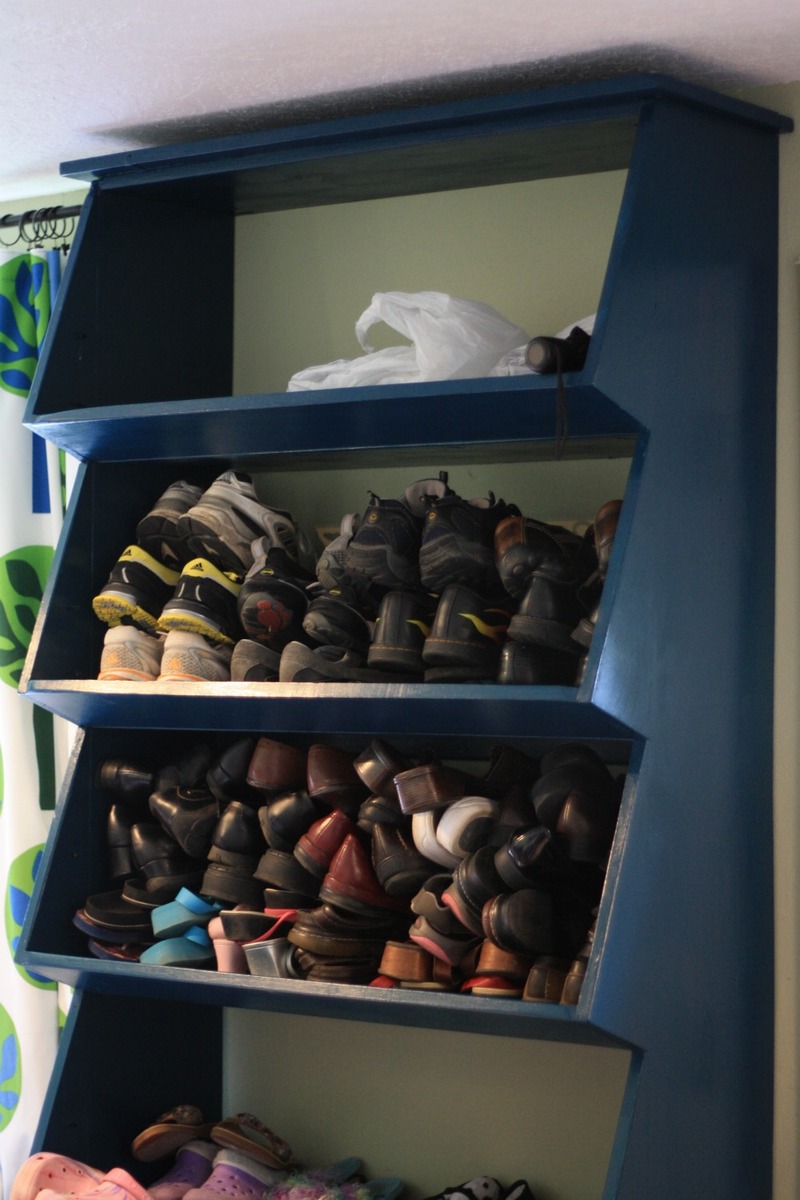
Option 1 (picture 7): tapered top as it meets the shelf above it--measure the distance from the bottom of the shelf to the bottom of the next shelf. Use that measurement to draw a diagonal line from corner to corner of that measurement. Then cut the board at that length. Cut on the diagonal line (the hypotenuse of the triangle will be the cut line and will go against the vertical side.) I found it easier to adjust my miter angle so that the blade matched the line I needed to cut and yet the board was still flush with the back plate. I needed to turn the board and line it up again to cut through the board (since it was longer than 12"). See the pictures for a better understanding.
Option 2 (picture 8): chunky top with the tip trimmed to fit under the next shelf side. Measure the distance from the bottom of the shelf to the bottom of the next shelf and cut the board at that measurement. Then cut the board diagonally. Again, I found it easier to adjust my miter angle so that the blade matched the line I needed to cut and yet the board was still flush with the back plate. I still needed to turn the board and line it up again to cut through the board (since it was longer than 12"). Once cut, you can use the next shelf side to mark the angle to trim off (I used a hack saw since it was late, but you could use the chop saw). See the pictures for a better understanding.


DRILL ALL KREG HOLES FIRST. I DIDN'T BOTHER TO FILL THE HOLES. I LIKE THEIR CHARACTER (AND I HATE FILLING HOLES). Please read through the entire plan and all comments before beginning this project. It is also advisable to review the Getting Started Section. Take all necessary precautions to build safely and smartly. Work on a clean level surface, free of imperfections or debris. Always use straight boards. Check for square after each step. Always predrill holes before attaching with screws. Use glue with finish nails for a stronger hold. Wipe excess glue off bare wood for stained projects, as dried glue will not take stain. Be safe, have fun, and ask for help if you need it. Good luck!
Instructions
Step 1
Cut the boards and assemble the top, bottom and sides by kreg jig and wood glue. I used angle clamps to hold the corners while I screwed them together. Then space out the shelves evenly. I put the bottom shelf up a little to leave room for the toe kick (in a later photo).
Step 2
The 1x12 is in the front, the 1x2 is in the back sitting flush with the back of the shelf.
Step 3

It is attached to the sides by a kreg jig and through the top of the shelf down into the brace. Then it is screwed into the wall.
Step 4

It is attached underneath by kreg jig and then sanded at the point where they meet (there is still a space since the board isn't cut at an angle, but it pulls close with the kreg jig and isn't noticeable from the top). I nailed at the top of the angled side shelf lip, though I don't know that it is necessary. This also shows where I shaved off the corner as it meets the shelf lip side.
Step 5

Step 6

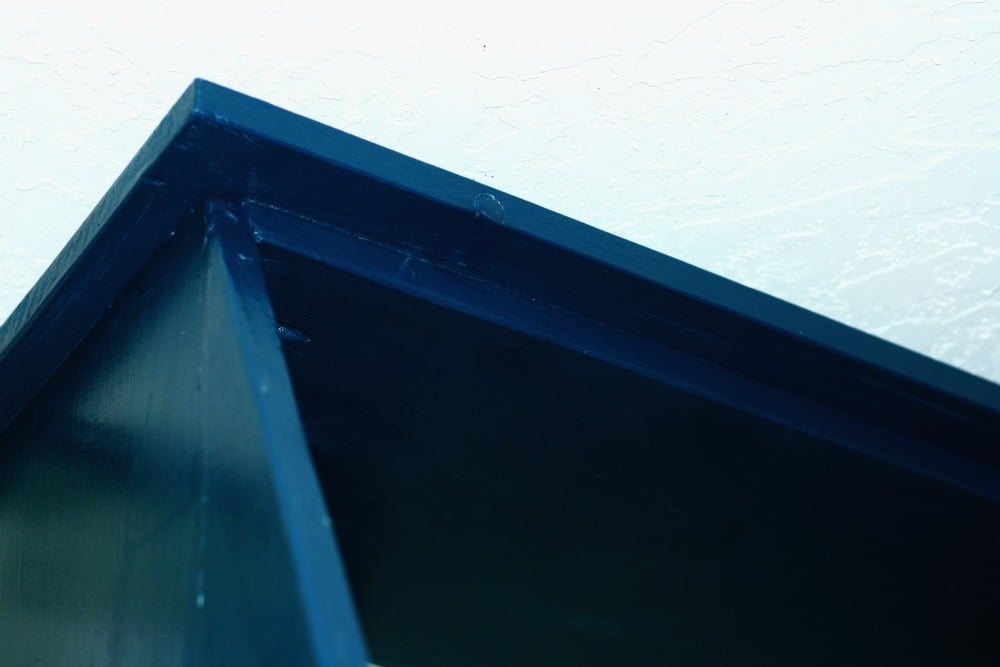
I didn't use wood filler, but the seam isn't that obvious. I mentioned earlier, I didn't fill the holes b/c I thought they added character (but mostly b/c I don't have patience for the finishing step). It also doesn't show that much with the dark paint.
Step 7

Step 8

Step 9

Step 10

A closer look at the toe kick.
It is always recommended to apply a test coat on a hidden area or scrap piece to ensure color evenness and adhesion. Use primer or wood conditioner as needed.
Comments
whitney_smith
Wed, 06/15/2011 - 04:27
Nice!
Love all that shoe storage!
I also don't fill my pocket holes, lol. How did you get them so nicely painted? I can never quite get them filled in.
In reply to Nice! by whitney_smith
MikeB
Tue, 11/29/2011 - 07:00
Q-Tips!!!
I have used Q-Tips to paint the inside of pocket holes. Works pretty good. You don't have to use near the paint in the holes to get a good coverage.
mamma_joy
Fri, 06/17/2011 - 17:46
LOTS of squishing paint
I squished paint in them and then again and then again! I think by the third coat I finally got them painted. It was still some work but not as bad as filling all of them!