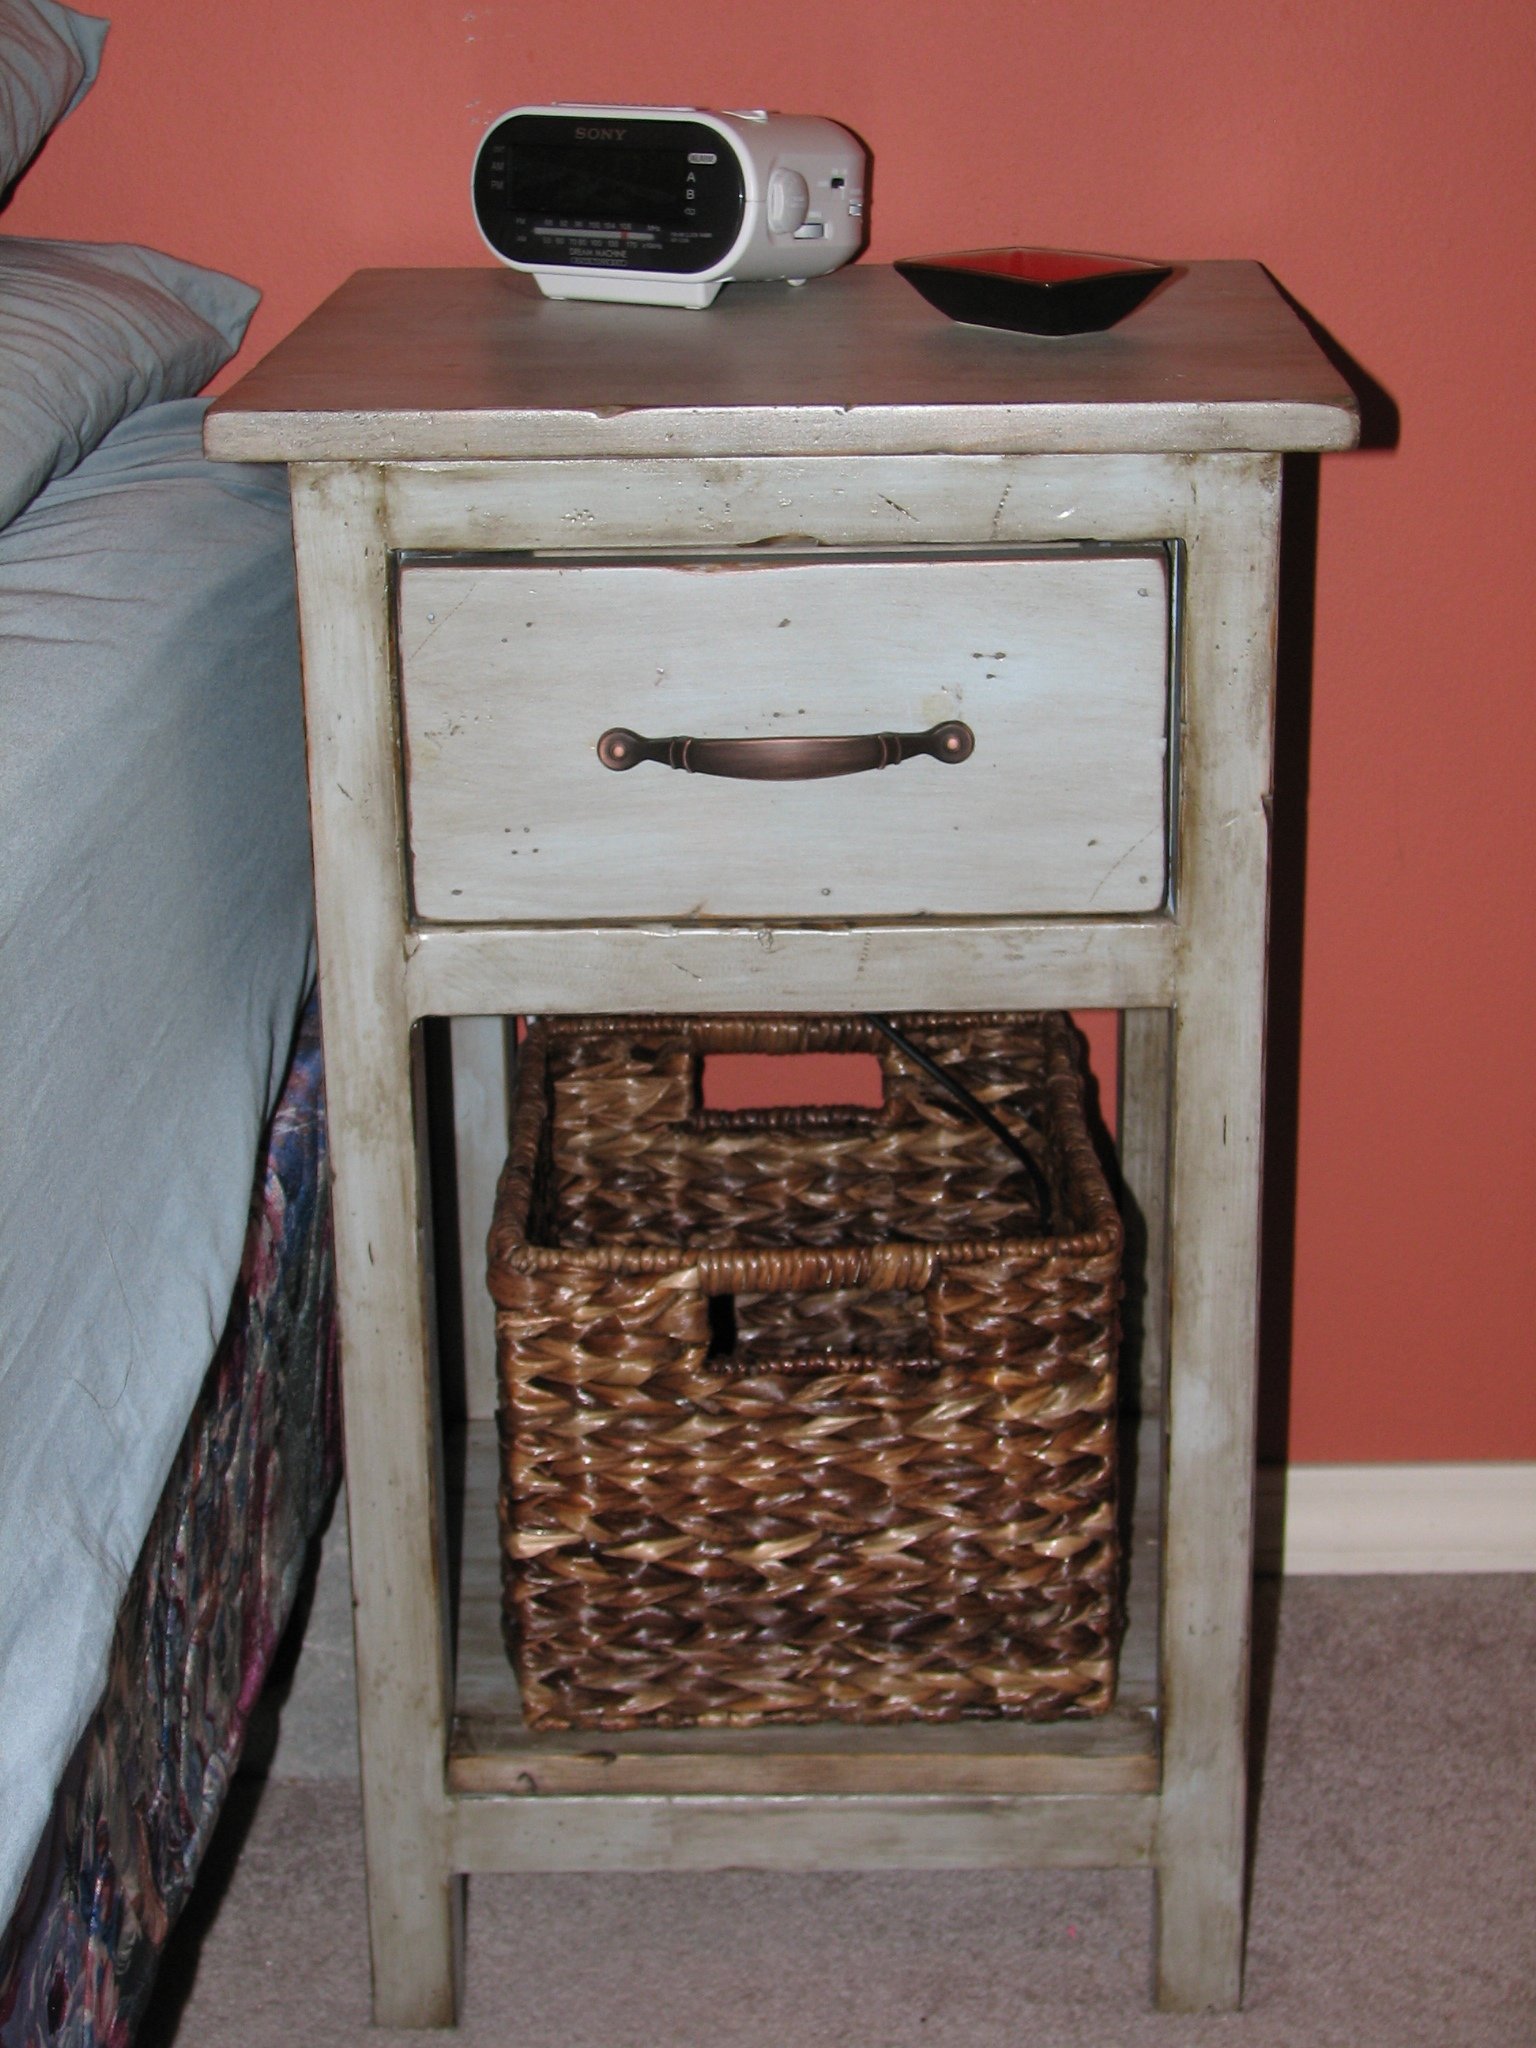


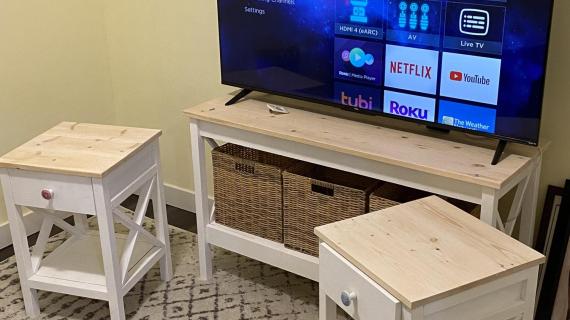
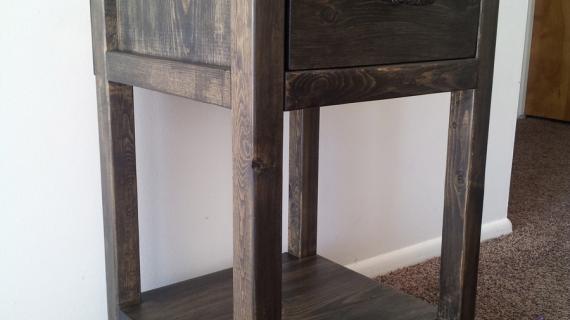
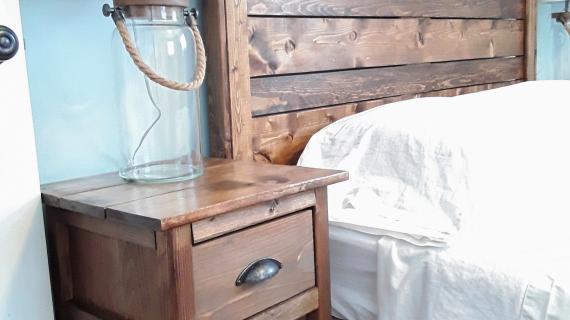
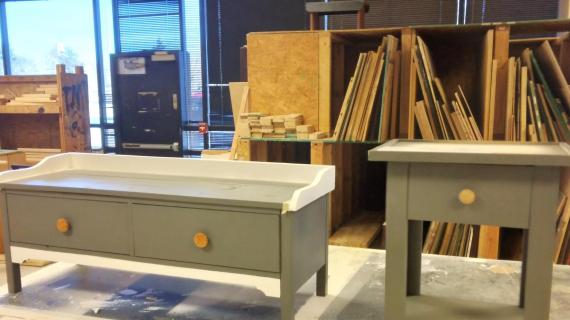
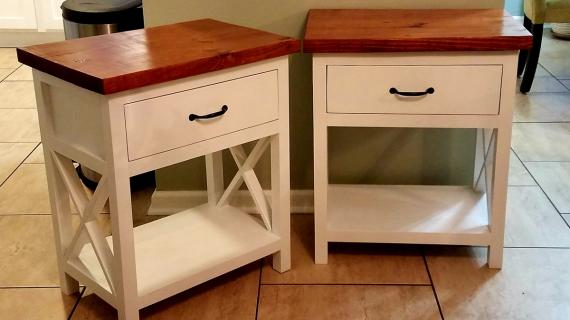
After making Ana's Farmhouse Bedside Table I realized that in my tiny bedroom I wouldn't get away with two pieces that big. That's when the Mini Farmhouse Bedside Table was born.
Be sure to label EACH cut piece as it is VERY easy to confuse pieces.
Preparation
cut list:
2-1x12 @ 8 3/4" (sides)
2-1x2 @ 11 1/4 (Side trim-needs to be width of 1x12s)
4-2x2 @ 26 1/4 (legs)
2-2x2 @ 11 1/4" (side stretchers, same as your 1x12s)
6-2x2 @ 11 1/2" (front and back trim)
3-1x2 @ 11 1/4" (top supports)
1-1x16 @ 16 1/2" (top)
2-1x6 @ 11 1/4" (front and back of drawer)
2-1x6 @ 11 1/2" (sides of drawer)
1-1x12 @ 9 3/4" (bottom of drawer)
1-1x12 @ 14 1/4" (bottom of shelf)
2-1x2 @ 11 1/2" (bottom of shelf trim)
Follow instructions for the original Farmhouse Bedside Table at: http://ana-white.com/2011/01/farmhouse-bedside-table
Please read through the entire plan and all comments before beginning this project. It is also advisable to review the Getting Started Section. Take all necessary precautions to build safely and smartly. Work on a clean level surface, free of imperfections or debris. Always use straight boards. Check for square after each step. Always predrill holes before attaching with screws. Use glue with finish nails for a stronger hold. Wipe excess glue off bare wood for stained projects, as dried glue will not take stain. Be safe, have fun, and ask for help if you need it. Good luck!
It is always recommended to apply a test coat on a hidden area or scrap piece to ensure color evenness and adhesion. Use primer or wood conditioner as needed.
Comments
Guest (not verified)
Thu, 07/14/2011 - 06:47
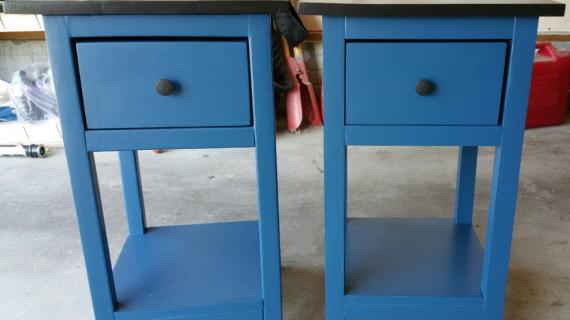
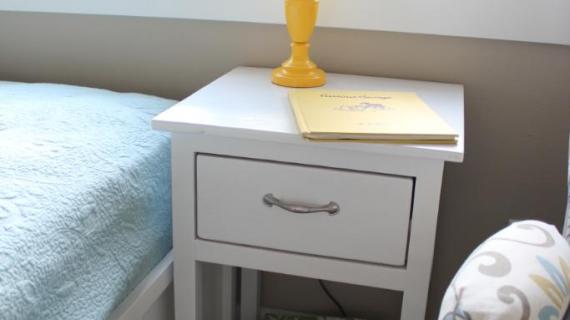
Love the paint!
I love the paint technique that you used on this? Do you mind me asking what you used and how you did it?
Thanks!
guest (not verified)
Mon, 07/18/2011 - 18:55
paint technique
Check out my blog for the finish technique: http://laundrywillwait.blogspot.com/2011/05/my-farmhouse-bedside-table…
rassyberries
Wed, 08/17/2011 - 10:22
4 instead of 2 side trim
I'm building this right now, and I noticed that the side trim only says two, but there needs to be four. Just FYI. Thanks so much for these plans--it's a blast to build!
Jake
Mon, 04/30/2012 - 04:36
Hurricane Capable
I am building the mini-table and it is so sturdy that I plan to hide under it during the next hurricane. Only change I have made is to make the legs 18" so it is a side table next to my chair in the TV room. I am also considering having the drawer overlap the front to hide my imperfections. Since I do most everything with hand tools it is easy to be a sixteenth of an inch off and over the course of the entire project that small of a measure can make a noticeable difference.
KristiSoutherland (not verified)
Fri, 10/26/2012 - 14:19
There is a cut list for this
There is a cut list for this but no shopping list???/ I'm needy.....a beginner.....:)
Carina Vause (not verified)
Mon, 01/14/2013 - 22:34
Shopping list
I too would LOVE a shopping list
scoutmom28
Fri, 03/15/2013 - 14:34
Shopping list from Farmhouse Bedside Table
Would the shopping list from the original Farmhouse Bedside table be enough to make two of the Minis?!?!
Sorry but this is gonna be my first project - Princess Pi just got her own room and needs night stands and these would be perfect!
Thanks,
Denise
Jamaunzie
Fri, 03/15/2013 - 17:25
According to what my figures
According to what my figures are you will need
1 1 1x12x6’
2 1 1x2x8’
3 1 2x2x8’
4 1 2x2x10’
5 1 1x6x8’
6 A ¼ inch plywood for the back
Now that is using 1x6 for the top. I would double check and this does not leave you much for Boo Boo’s for me I would buy all the boards at 10 feet in length ( I make my fair share of mistakes ) and the coast difference should be minimal Hope this helps
Oh ya dont forget
2 1/2″ Screws or Pocket Hole Screws
1 1/4″ Finish nails or Screws
Wood Glue, wood filler and finishing supplies
2 Knobs
Buildinghobby
Mon, 08/19/2019 - 21:00
I have a question on step 9!…
I have a question on step 9! Does the 1x12 sit on top of the 2x2 on the sides?
And then the 1x2 in front is flush? This part is confusing to me.