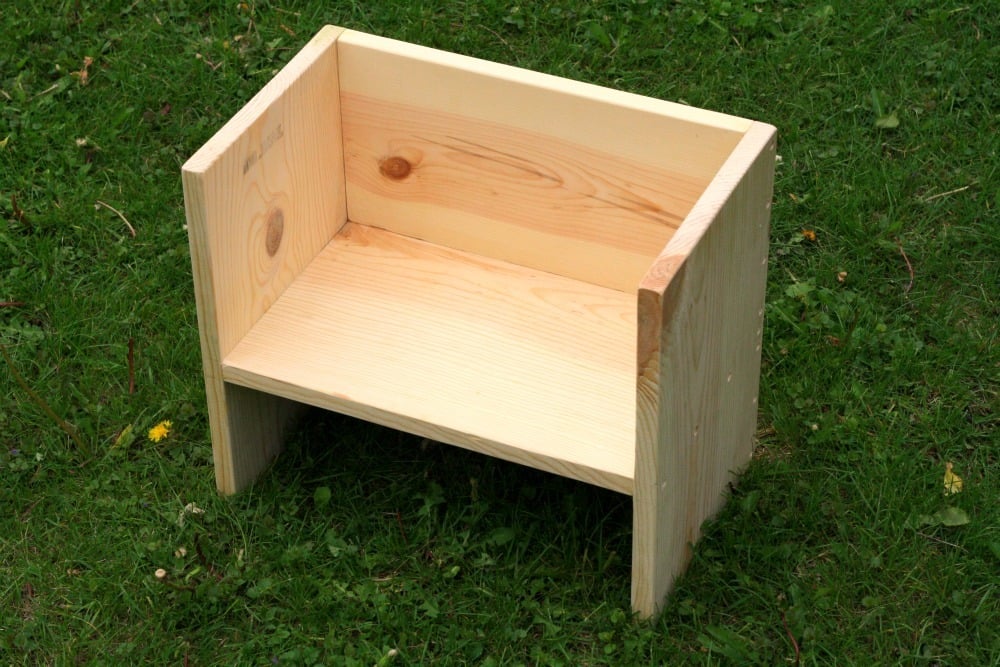


This flip seat is a favorite for kids because it has a low seat, a high seat, can be pushed around and used as a table. This project can be made from scraps or from discount boards (cheap project!) and has only straight cuts that can be done with a hand saw or chop saw. It can easily be adapted for bigger kids.
Preparation
- (1) 1x10 4' sides and seat
- (1) 1x8 14" back
- (1) 1x6 14" back
- 1 3/4" self tapping wood screws
- (2) 1x10 13 3/4" (may be slightly less than this--mine was 13 11/16". Measure boards together and cut at that measurement so that it will be flush)
- (1) 1x10 14"
- (1) 1x8 14"
- (1) 1x6 14"
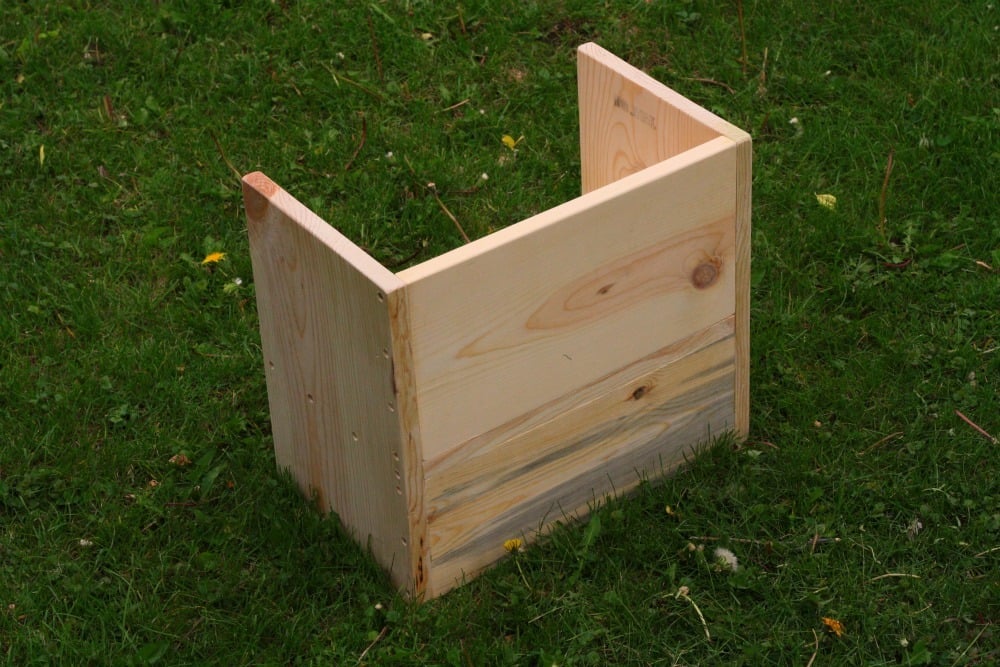
You will use the 1x10's to make an I shape (the center will be off center). Make sure that the width of the 1x6+1x8+the 3/4" of the seat board is the same as the boards that make up the sides.


Please read through the entire plan and all comments before beginning this project. It is also advisable to review the Getting Started Section. Take all necessary precautions to build safely and smartly. Work on a clean level surface, free of imperfections or debris. Always use straight boards. Check for square after each step. Always predrill holes before attaching with screws. Use glue with finish nails for a stronger hold. Wipe excess glue off bare wood for stained projects, as dried glue will not take stain. Be safe, have fun, and ask for help if you need it. Good luck!
Instructions
Step 1

Use one of the boards to lightly draw and determine the "T" space where you will drill the holes. Mark and drill, with a countersink bit, evenly spaced holes on both sides. Use clamps/corner clamps/glue and screws to put it together. Make sure the edges are all flush so that it doesn't turn into a rocking chair ;)
Step 2

I just used glue on the part where the backs meet the seat so I had less holes to fill. If you really love wood filler and sanding, go ahead and do some kreg jig holes to attach it in the back.
Step 3
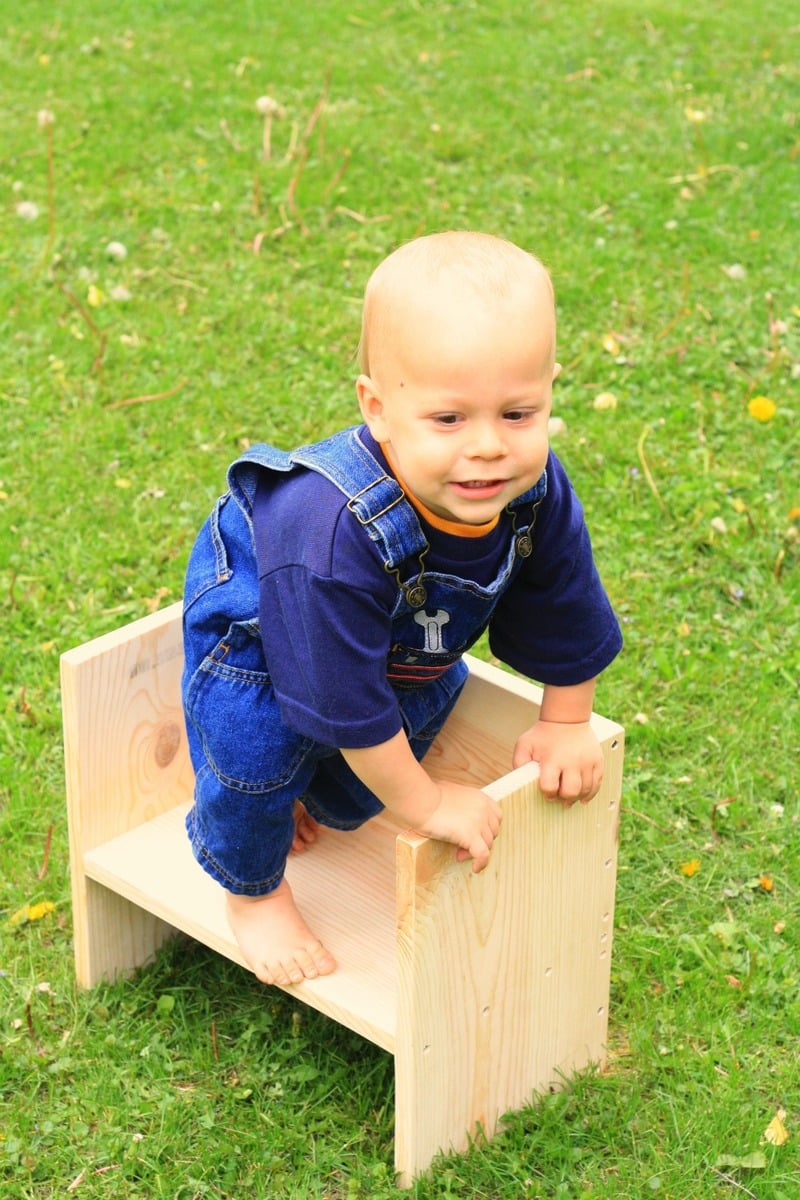
Sand down the project and round the corners and edges to make it more kid friendly. Fill in the countersink holes and do some more sanding. Finish as desired-I used no VOC paint and non-toxic shellac on the one I made for my son (in case he decided to chew on it). Beware, it may be used by curious toddlers to empty the Brita pitcher!
Step 4

Step 5

Step 6

Low seat.
Step 7

Step 8

Enjoy!
It is always recommended to apply a test coat on a hidden area or scrap piece to ensure color evenness and adhesion. Use primer or wood conditioner as needed.
Comments
Ana White
Sat, 06/04/2011 - 19:29
Happy Birthday Erin! Love
Happy Birthday Erin! Love this little chair, and your little guy is so cute! Thank you so much for sharing with us!
jengil_1
Sun, 06/05/2011 - 13:25
Nice! So, do we ask how you
Nice! So, do we ask how you know it can be used to empty the Brita? ;)
claydowling
Sun, 06/05/2011 - 20:16
Emptying the pitcher
I'm pretty sure it works by raising the toddler so that he can reach the pitcher now. They're inquisitive and have all day to devote to getting into stuff.
There was a good Woodwright Shop episode about building a stacking bookshelf last season (you can get those at video.pbs.org). The dimensions are different but the basic shape is the same, and he showed a slightly different construction technique.
mamma_joy
Sun, 06/05/2011 - 21:27
I'm pretty sure jengil_1
I'm pretty sure jengil_1 knows EXACTLY how that came to be, but her 'asking' made me LOL! His most recent 'accomplishment' was standing on the keys of the piano so he could see the pictures on the top (what will he do when I get them on the $10 bookshelves?). I will have to check out the stacking bookshelf, too. I'm sure there are lots of ways to make something like this, I was trying to make it without needing to rip any boards or finish raw plywood edges. It worked and would be easy to adapt with wider boards for bigger kids.
claydowling
Mon, 06/06/2011 - 05:53
Multiple methods
I think this is a pretty nice shelf. I'm just always looking for multiple solutions to the same problem, because it helps me when it comes time to plan my own projects.
martha_aint_me
Mon, 06/13/2011 - 07:55
kids_seating
table/chair
Guest (not verified)
Sun, 02/12/2012 - 20:15
flip seat
I saw something like this at a craft show but they made the side pieces stick out a bit on the back and rounded them so it could be fipped on the other side to be a rocker too. and then flipped down on the level side and be a step stool!
Lindsay (not verified)
Sat, 10/13/2012 - 11:09
Alterations for bigger kids?
Hello... I'm sure I could (eventually) figure this out myself, but I'm wondering if anyone who has already tried this plan could provide suggestions and save me some time? And since this would be my first woodworking project attempt from Ana's site and I'm a complete rookie, ;) I know this is a rookie question but how best should I alter these plans to make it for a bigger kid - like a 7yr old? Just add inches to each board length cut? And if so, the same amount to each cut? Or...?
cindings
Sat, 06/27/2020 - 03:46
Measurements in cm
Hello from Australia! I am very keen to try this except I’m so confused with the measurements since it is not the metrics system (between the shopping and cut list). Would you by any chance be able to provide the measurements for both in centimeters? Thank you! Cindy