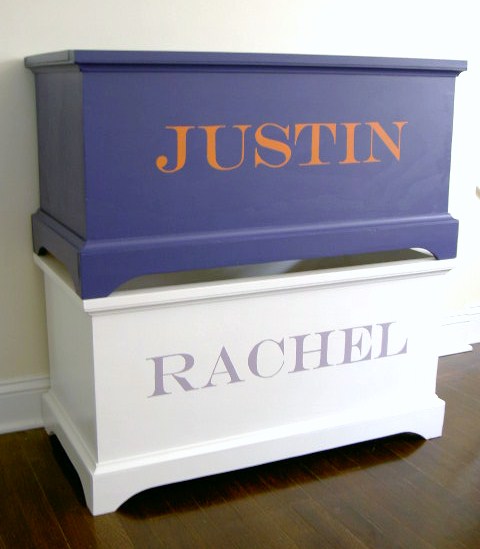
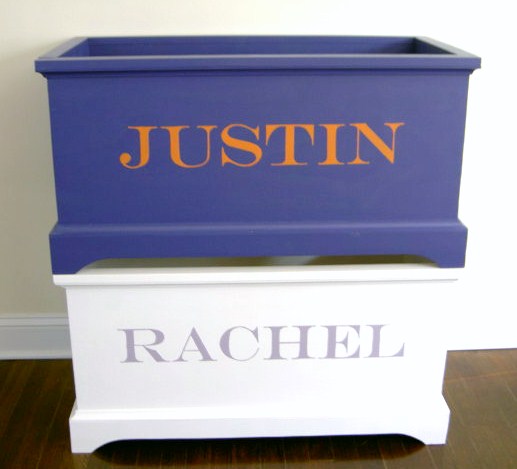
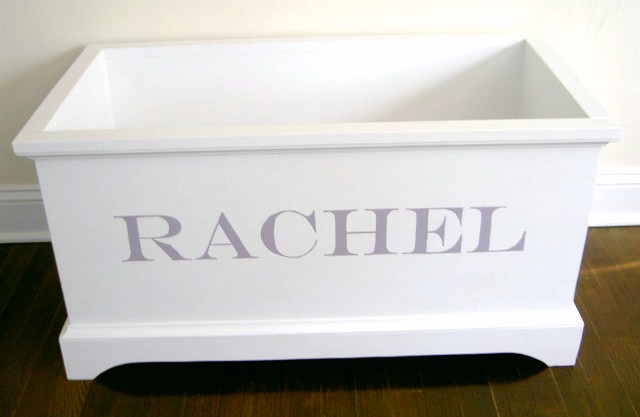
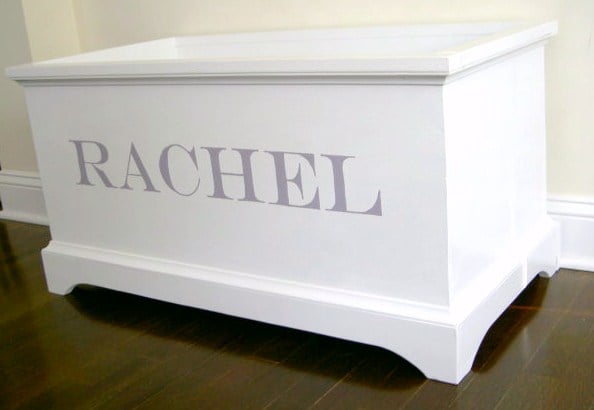
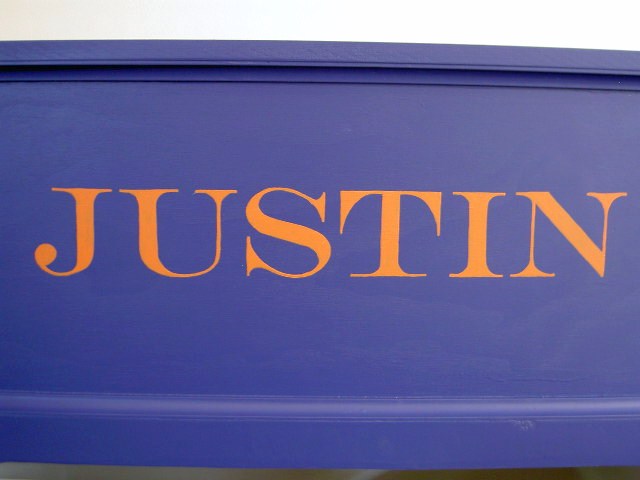
open toy boxes with personalization
Built from Plan(s)
Estimated Cost
$35.00 each
Estimated Time Investment
Day Project (6-9 Hours)
Finish Used
1. one coat primer
2. two coats semi-gloss white
1. three coats Behr paint + primer Signature blue
2. two coats semi-gloss white
1. three coats Behr paint + primer Signature blue
Recommended Skill Level
Intermediate
Comments
karab
Sun, 06/05/2011 - 18:43
Lettering
These are beautiful! What do you use for the lettering? I recently made the stackable toy boxes for my nieces and wanted to put their initials on them. I practice on a piece of plywood, but I didn't like the results.
In reply to Lettering by karab
jaimecostiglio
Mon, 06/06/2011 - 02:47
lettering
Karab,
I printed out the names (Engravers font), taped the paper to the box, traced with a pen to get an indent into the wood, painted inside the indent. Good luck.
brookifer86
Mon, 06/06/2011 - 13:54
*sigh*
Your work is always so beautiful! Love these toy boxes, they're pure perfection
In reply to *sigh* by brookifer86
jaimecostiglio
Mon, 06/06/2011 - 14:10
Thanks Brooke
I actually recognize your wedding guestbook bench from all the linky parties but I had no idea you were also a builder over here at Ana's place. Nice to have fellow buildy gals.
Guest (not verified)
Tue, 08/30/2011 - 18:30
Cost
I agree with the others, your builds are always so beautiful. Question on cost: I noticed Lily's toy box cost you $50 and these cost you $35. Was it because these weren't cabinet grade. My co-worker wants me to make one for her daughter for Christmas and I'd like to keep the cost down while still having a nice product, of course!
Jaime (not verified)
Wed, 08/31/2011 - 03:36
Cost was lower
because I was able to use some scraps for the sides and short molding pieces. They are still cabinet grade, I wouldn't recommend using regular 3/4" plywood - it's too rough even with sanding it would be very rustic. One sheet of cabinet grade 3/4" plywood costs $29 at my HD, you can definitely get all your pieces from one sheet. Plus to keep costs down make the base molding out of plywood scraps rather than buying new especially if you are painting. I guess if you have to buy everything: 3/4 ply, 1 x 2s and cove molding it would be closer to $40 plus paint and primer. Good luck, such a nice sizable, sturdy, functional gift.
Jaime (not verified)
Wed, 08/31/2011 - 03:35
Cost was lower
because I was able to use some scraps for the sides and short molding pieces. They are still cabinet grade, I wouldn't recommend using regular 3/4" plywood - it's too rough even with sanding it would be very rustic. One sheet of cabinet grade 3/4" plywood costs $29 at my HD, you can definitely get all your pieces from one sheet. Plus to keep costs down make the base molding out of plywood scraps rather than buying new especially if you are painting. I guess if you have to buy everything: 3/4 ply, 1 x 2s and cove molding it would be closer to $40 plus paint and primer. Good luck, such a nice sizable, sturdy, functional gift.
spiceylg
Wed, 08/31/2011 - 04:58
:-)
Okay, thanx for the tips, much appreciated!
Brad chunn (not verified)
Sun, 01/01/2012 - 17:41
Lid w/ hinges
I really like the look of this toy box! Would it be hard to add a lid with hinges ? Thanks
In reply to Lid w/ hinges by Brad chunn (not verified)
jaimecostiglio
Sat, 01/07/2012 - 12:27
Lid
Brad I don't think a lid with hinges would be hard. Watch out for pinched fingers on those little ones - it inevitably always happens! Go for the slow closing hinge.
Guest (not verified)
Tue, 03/13/2012 - 06:53
Footer
Hi, is the footer attached with nails or screws? Anna's directions aren't clear because step 2 which outlines the footer is a duplicate of step one which is about fastening the sides and front.
In reply to Footer by Guest (not verified)
jaimecostiglio
Tue, 03/13/2012 - 14:14
Footer is attached
with 1 1/4" wood screws. Considering this is the support for the box unit I definitely recommend screws, 3 per long sides.
Good luck.
Guest (not verified)
Tue, 03/13/2012 - 20:35
Footer corners
Thanks a bunch! One more question, I have the same base moulding you chose, how did you get the top corners to line up so seamlessly? When I put mine together as a sample they don't fit well at the top
In reply to Footer corners by Guest (not verified)
jaimecostiglio
Wed, 03/14/2012 - 04:35
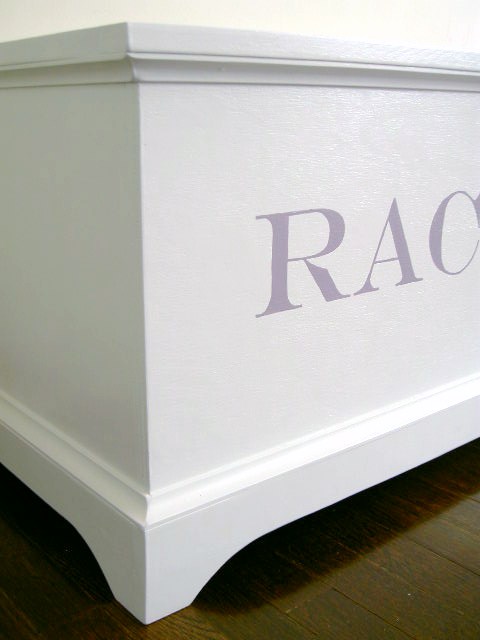
For base moulding
I used 3/4" plywood and cut out the arch with a jig saw. The corners should line up fine if your box is square. Once you attach the footer piece then miter cut the cove moulding and it should sit perfectly on the ledge of that footer. You can see more process picks in my posts here:
http://thatsmyletter.blogspot.com/2011/11/t-is-for-toy-box-4.html
http://thatsmyletter.blogspot.com/2011/05/t-is-for-toy-box.html
GMBC
Wed, 02/28/2018 - 05:25
toy box with open top
hi Ana, love your plans. Made the toddler helper in a folding style now have to make another by request. I have a question on the cutting measurements for the open toy box. The side says cut 15 1/2 inche wide yet the bottom is 16 inch wide.Is that correcgt as would have the bottom stgicking out past the ends?? Could just adjust the base size just not sure if there is reaason for the difference am i missing something.