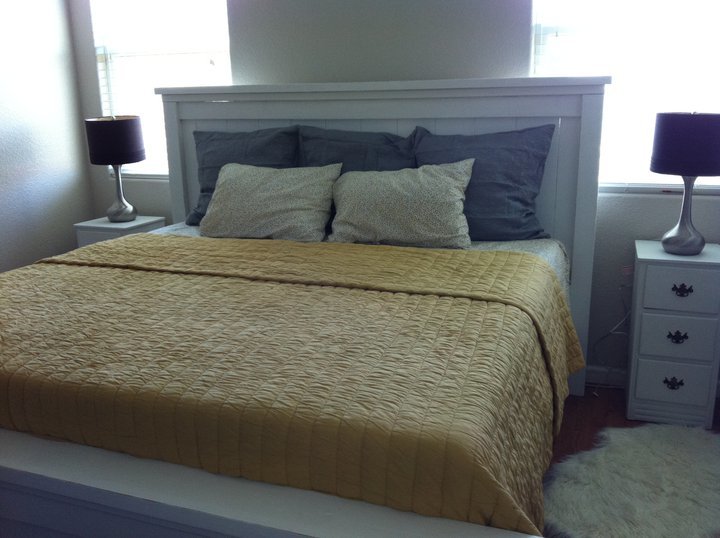
I fell in love with the Farmhouse bed after seeing Ana's bed on this site and just knew I had to make it. I'll preface this by noting that neither my husband or myself are builders or even owned any tools with the exception of an 18 volt drill. After building this bed, we went out and bought everything we need to build more pieces from Ana's collection of plans :) This project was very fun, forgiving, and the finished bed is absolutely beautiful.
I do have a few notes that would hopefully help people build this in the future. Hopefully you are reading this.
1) As Ana suggested, read ALL of the Farmhouse plans thoroughly, including the comments! Each of the plans are slightly different and might have a modification that would better suit you (I wish I had built the frame using the Fancy Farmhouse Bed. The way you assemble it makes it 7 inches narrower which would have been nice in our small room). There are also very valuable tips in the reader comments, so read those!
2) Read as many brag posts as you can. I saw that one lady used joist hangers for her support beams and side rail brackets so that the bed could be disassembled some day. That's what I did and I'm so, so glad that I did. You can find her post by googling "joist hanger + Ana White."
3) 4.5" screws are hard to find. I wont say impossible since some people did find them. If you use the new method for the posts of using 2x4s, you wont need the 4.5" screws. If you are using 4x4s, like I did, use lag bolts. I think the lag bolts will be more sturdy in the end anyway.
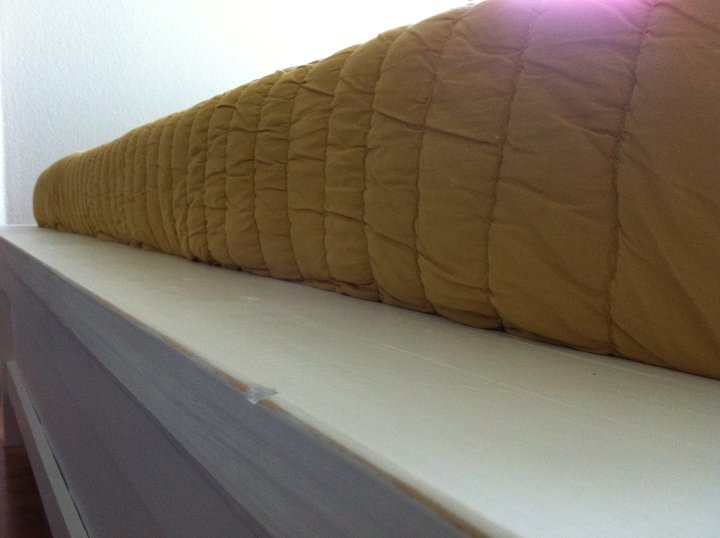
4) I should have made this item #1. In regards to the King size headboard plans, Ana has her mattress turned sideways and posted plans for a bed 80" wide. Since I did not thoroughly read Ana's notes, I missed that bit of important information and made my headboard 80" wide. Oops. Well, like I said earlier, this is a VERY forgiving plan. We just put the side rails on the inside of the 4x4 posts and added a .5 plywood scab to the inside of the side rails before we installed the joist hangers and that solved the problem. 80"-1.5"-1.5"-.5"-.5"= 76"! Since our bed is a platform bed, it worked out perfectly... just a little wider than it needed to be, but no one can tell the difference.
5) You actually need (5) 1x8 boards. I believe someone also posted that in the comments under the king farmhouse headboard plans. You also need (24) 4.5" screws or lag bolts, the plans only call for 20. (Ana calls for 6 per leg @ 4 legs = 24.
6) Really be sure of how high you want your bed before putting it together. Ours came out a little high, and if we wanted to, we could have cut the posts on the headboard a little shorter and mounted the side rails lower, but we just wanted to get the bed done. There is a lot of room to customize things in this plan so be sure to think everything out.
I think that’s it for now. If you have any questions, please let me know. I’d be happy to offer up any information I have learned while making this bed.

Kilz white oil based primer - 1 Coat.
Sanded between coats with 120 grit paper.
Valspar Satin Ultra White - 1 Coat.
Roughed up edges with 120 grit paper for a worn effect.
Comments
DianeHibbs
Sat, 01/26/2013 - 17:49
Great information!
I really appreciate reading what you learned and would have done differently. Thanks for posting this!