
Finally made it back from the store and built the storage benches. As some may know, completing a project with little kids in the house can be a bit of a challenge. My wife just doubles or triples the estimated time I think it will take.
I picked up one sheet of 1/2″ birch plywood and ripped it into 15 3/4″ strips. “Rip” is carpentry lingo for cutting wood in the direction of the grain. The sales associate at your local home improvement store can usually do this if you have lots of patience and a nice smile, and if they have a panel saw.
Considering the width of the saw blade, or the kerf, this dimension gave me 3 pieces from a 48″ wide sheet. I used these strips of plywood to make the walls and top of the benches. The box dimensions are 45″ x 15″ and 42″ x 15″. So my cut list included: 2 at 45″, 2 at 42″, and since the boxes are 15″ deep and the plywood is 1/2″ thick the side pieces are 14″ long. And I needed 4 of those. I measured each piece, made a line with a square, and carefully made the cuts with my handy circular saw. Since the kids were around we put on our sunglasses and made a “cover your ears” game out of it before each cut.
These parts for the storage benches were fastened together with screws using a cordless drill. It could also be done with a hammer and nails or a nail gun if you’ve got all the right stuff. Screwing it together makes it a bit stronger and easier to assemble. Plus, it is much quieter, which is what I like.
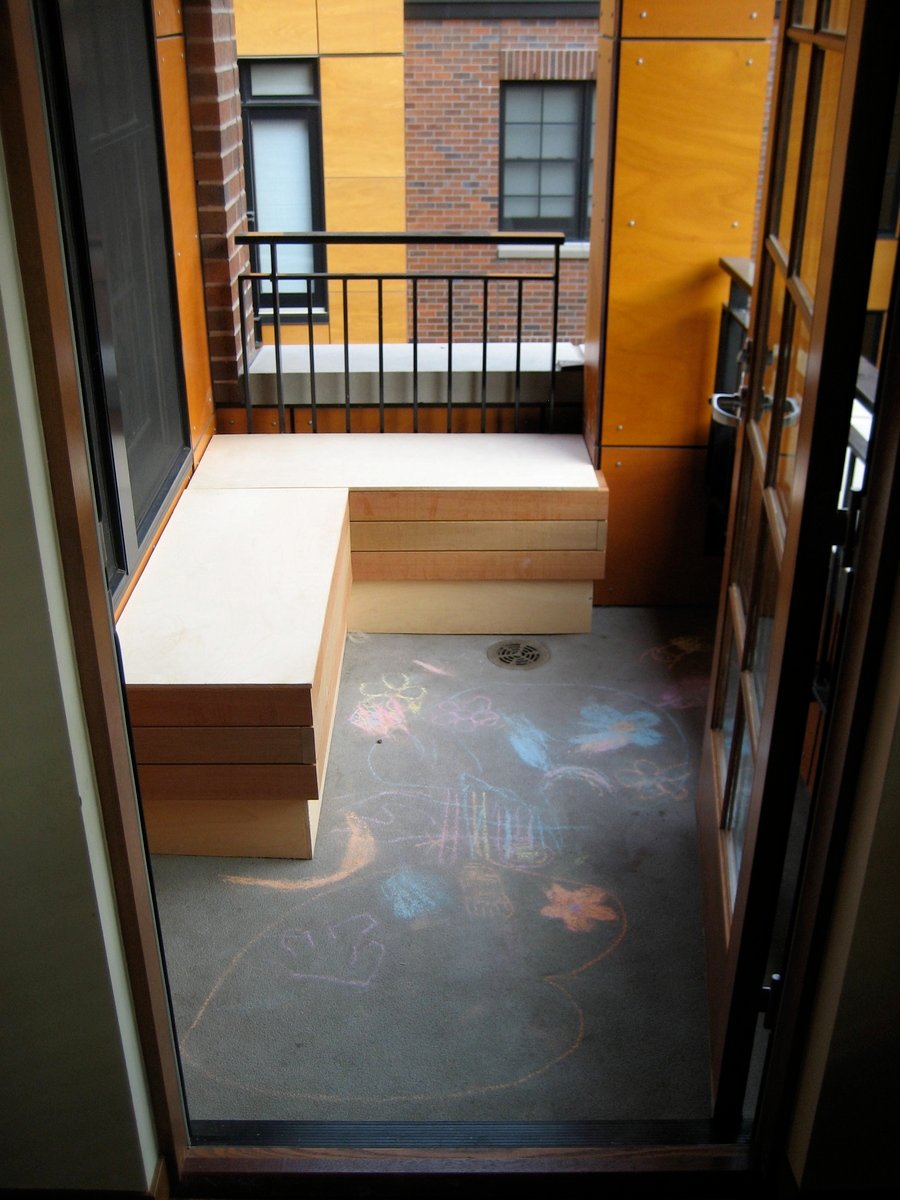
After I assembled the sides of the two boxes I connected them together in a L-shape and set them in the corner of the deck. I wanted to trim the outside of the benches with mahogany deck boards to go with my boat theme. The actual dimensions of the boards are 1″ thick by 3 1/2″ wide. At the lumber yard the proper name for this is five-quarter (5/4″) by four. When the boards are first cut out of the tree they are actually 1.25″ by 4″, but after drying and a little planing they shrink. Starting from the top I just measured the sides and cut each piece to length. I alternated the rows of boards to overlap differently at the outside corners. A little bit of extra detail like this goes along way to improve the overall look. I secured them from the back so the screws wouldn’t be visible.
With the last strip of plywood left, I cut a piece to fit over the top of each box and overlap the deck boards. The next phase of this project will be to upholster the tops of the benches. I need to find some cool fabric and thick foam, so I will have to leave it like this until I do. At least now, the space can be used as another play area.
Comments
Guest (not verified)
Thu, 07/28/2011 - 20:07
safety
This is a great use of space. I have a question...it appears a child could put their foot through the railing and step up on the concrete ledge then up and over the railing!! This may be an optical illusion but, if not this needs attention.
Great concept!