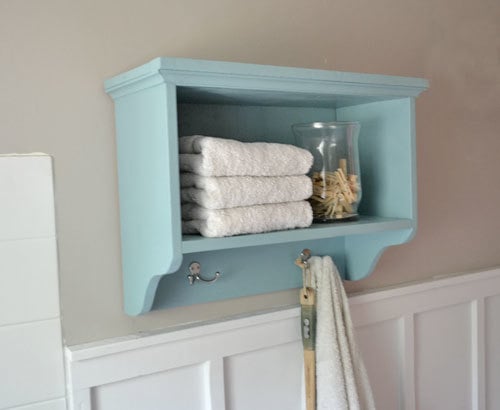


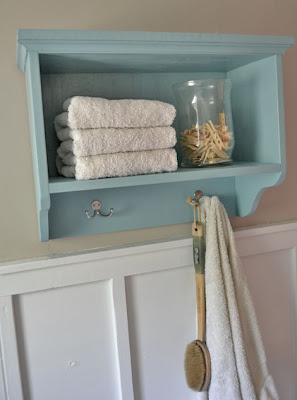
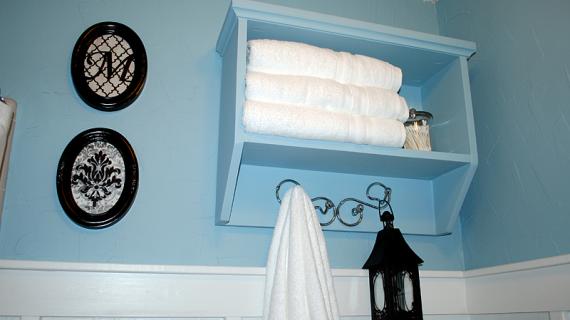
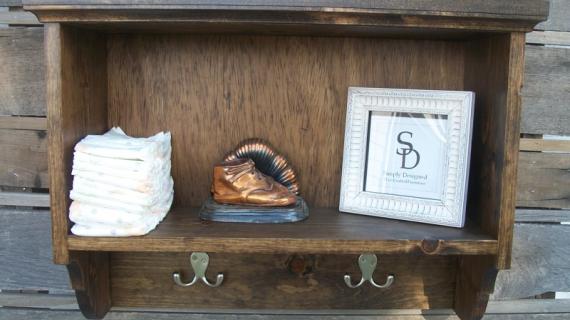
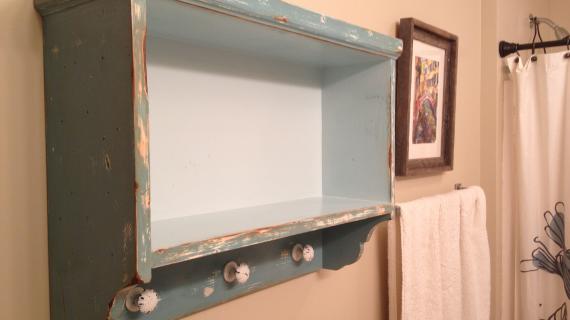
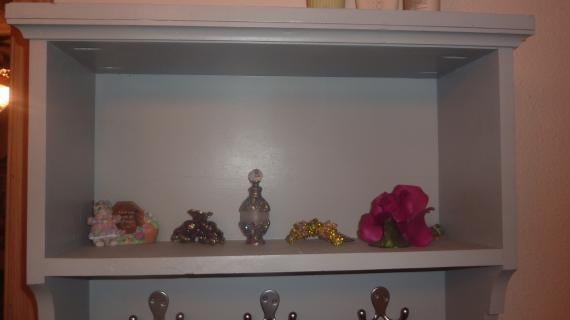
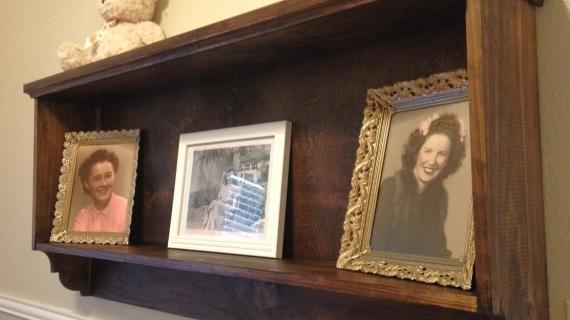
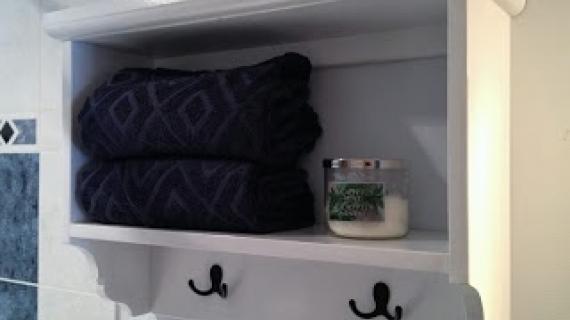
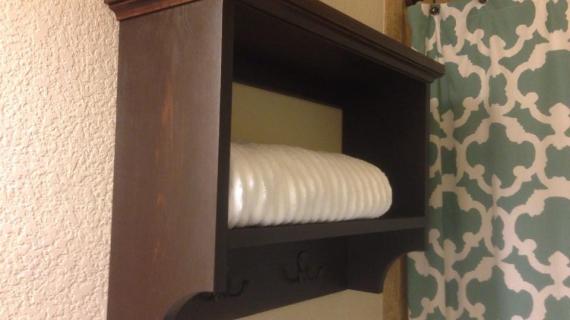
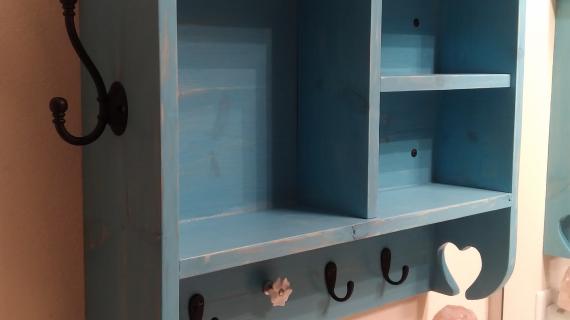
Simple woodworking plans to help you build a Bath Storage Shelf with robe hooks designed to store towels and other bathroom supplies. Featuring two cubbies, top shelf storage with protective ledge and two hooks, these beginning woodworking plans will help any do it yourself newbie build a Pottery Barn Matilda Wall Storage inspired bath storage.
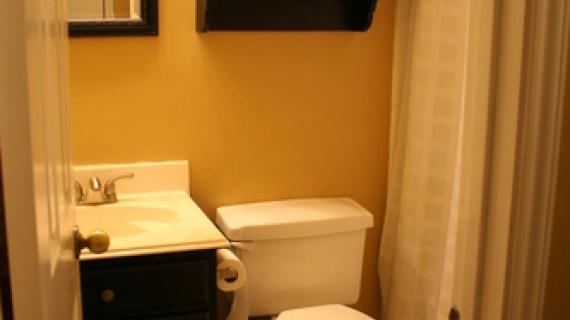
What a difference one small painted $20 project can make!
Preparation
1 - 1x6 @ 2 feet long
1 - 1x8 @ 8 feet long
1 - 1x2 @ 4 feet long
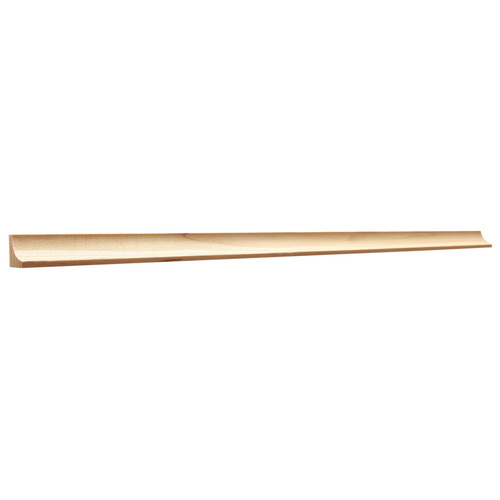
1 - 3/4" x 3/4" cove base moulding
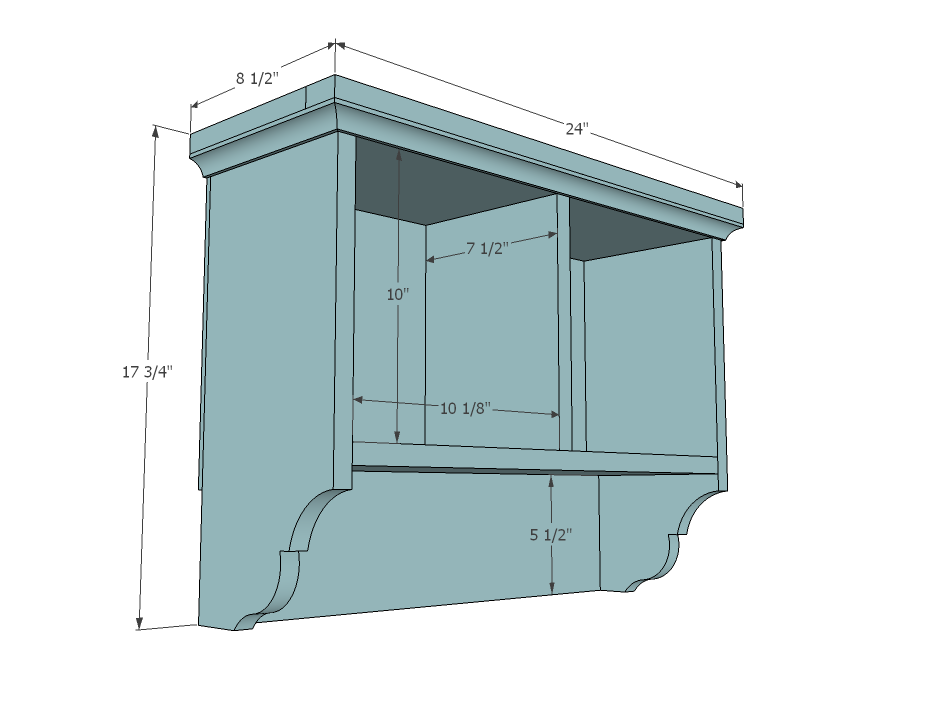
2 - 1x8 @ 17" (Sides)
2 - 1x8 @ 21" (Shelves)
1 - 1x8 @ 10" (Center Divider - Optional)
1 - 1x6 @ 21" (Base)
1 - 1x2 @ 24" (Crown)
2 - 1x2 @ 6 3/4" (Cut to fit - Side Crown)
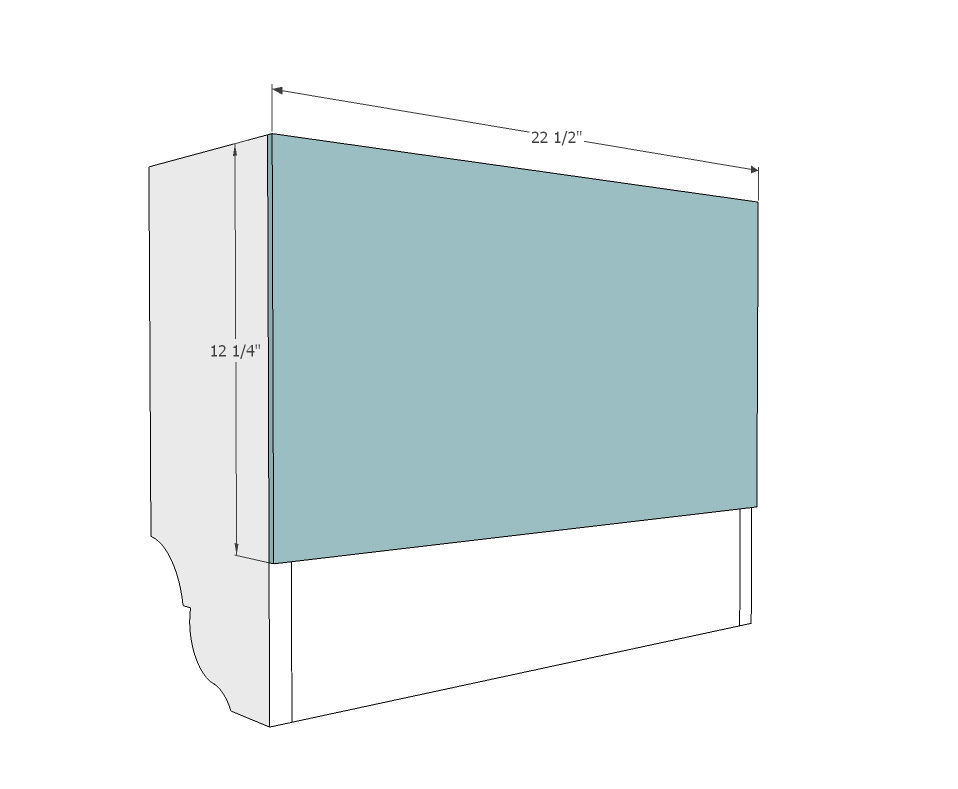
1 - 1/4" Plywood @ 22 1/2" x 12 1/4" (Back)
Cove Moulding to fit


Please read through the entire plan and all comments before beginning this project. It is also advisable to review the Getting Started Section. Take all necessary precautions to build safely and smartly. Work on a clean level surface, free of imperfections or debris. Always use straight boards. Check for square after each step. Always predrill holes before attaching with screws. Use glue with finish nails for a stronger hold. Wipe excess glue off bare wood for stained projects, as dried glue will not take stain. Be safe, have fun, and ask for help if you need it. Good luck!
Instructions
Step 1
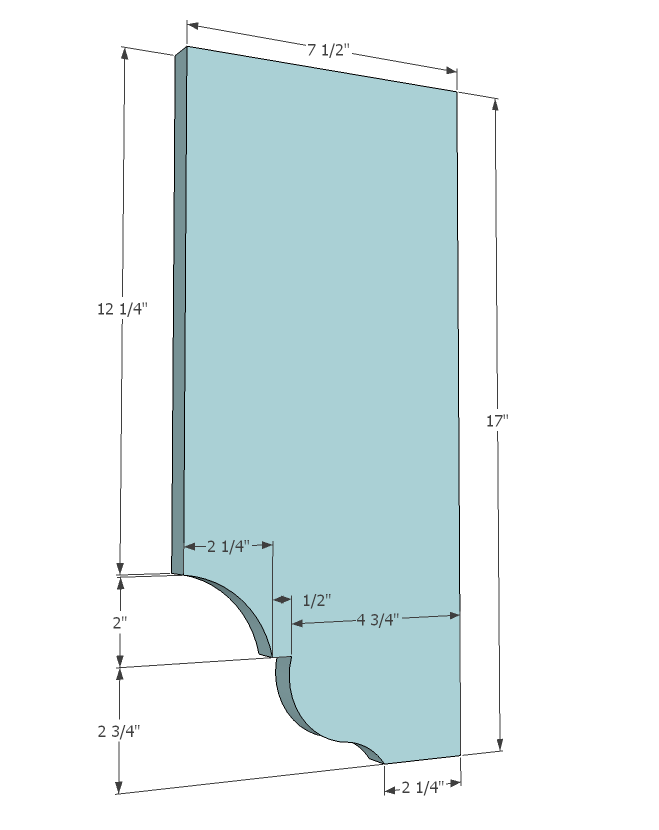
From the ends cut a scroll pattern as shown above with a jigsaw. Make sure both ends match and sand any rough areas. Your 1x8s may be a vary slightly in width, adjust accordingly.
Step 2

If you use a Kreg Jig, attach shelves as shown above. Otherwise, use 2" finish nails and wood glue to attach - or you could use 2" screws. Leave a 10" space between the shelves for the shelf partition - see next step.
Step 3
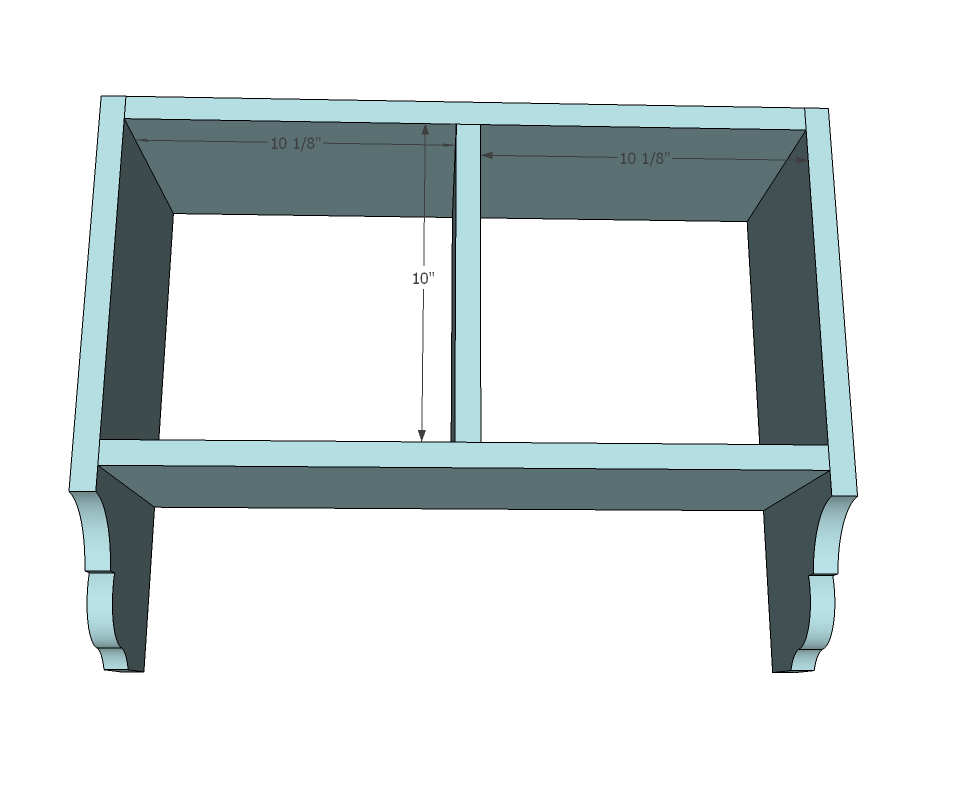
We choose not to add the center partition, but if you want, fasten in place. Use 2" finish nails and glue. You won't be able to do pocket holes because of the clearance here.
Step 4

Attach base as shown above. Make sure you also attach to the bottom shelf too.
Step 5
Step 6
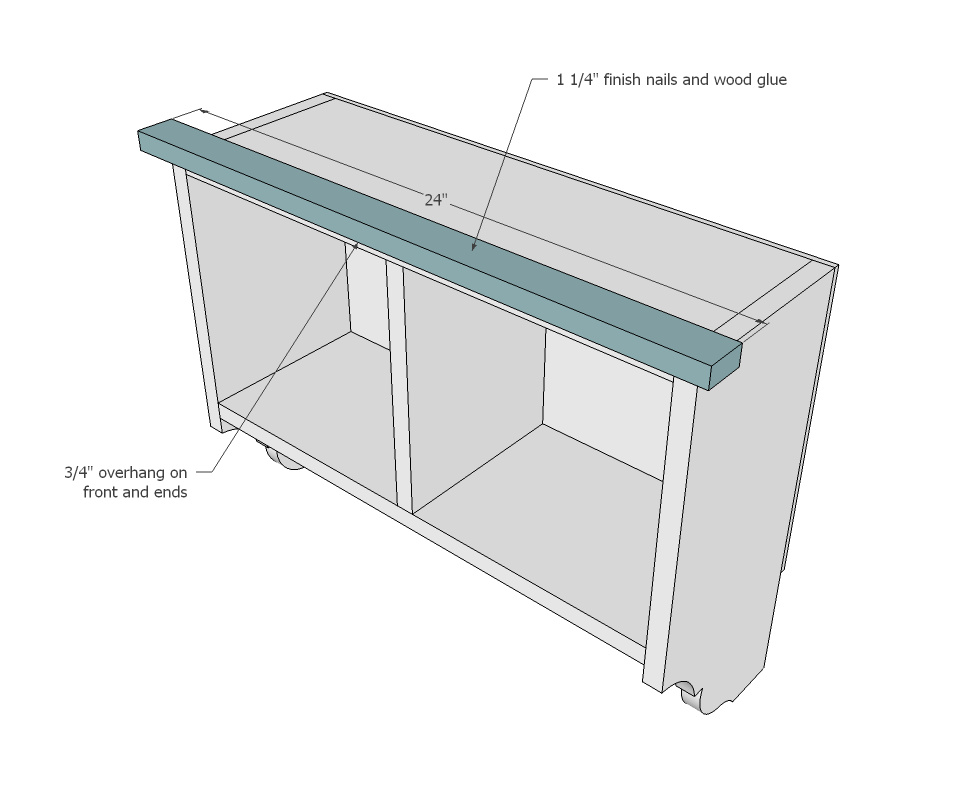
Now the front crown. 1 1/4" finish nails and glue as directed in the diagram.
Step 7

And the ends. Cut to fit, as your 1x8s can vary in width.
Step 8

Cove moulding should be no more than 3/4" wide x 3/4" tall, like this Cove Moulding from Lowes
Step 9
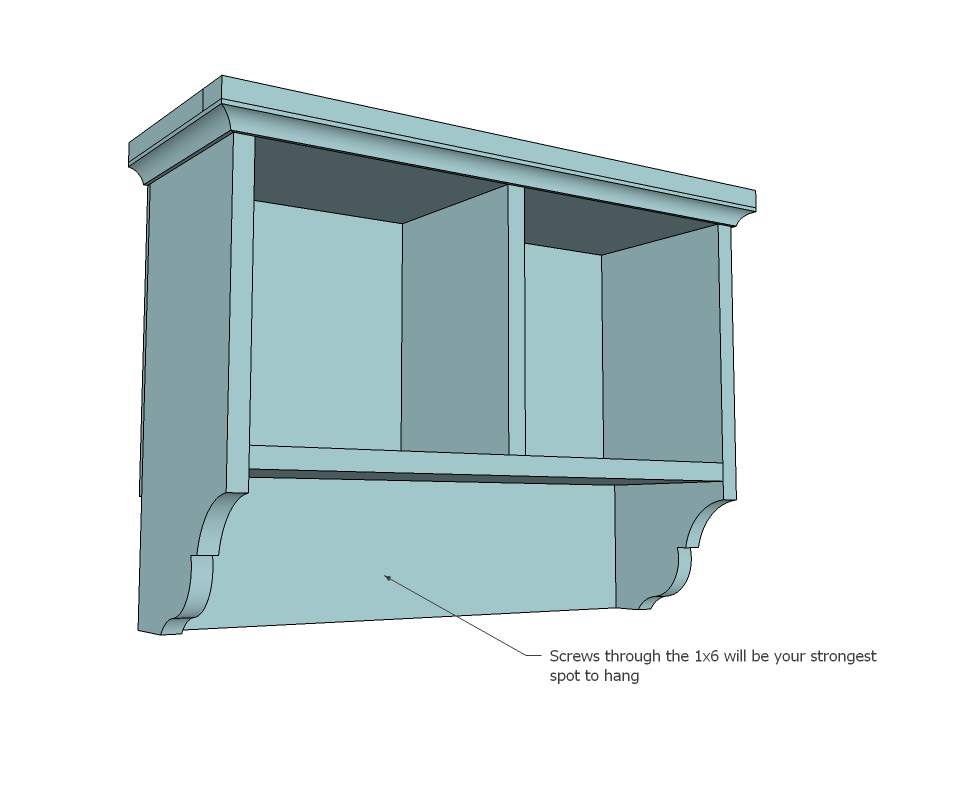
The best way to hang is through the 1x6 into a stud in the wall behind.
It is always recommended to apply a test coat on a hidden area or scrap piece to ensure color evenness and adhesion. Use primer or wood conditioner as needed.

Comments
lasmith84
Fri, 07/01/2011 - 15:10
Gorgeous!
I am SO going to make this when we do our bathroom remodel. I was wanting a place to keep shampoo out of toddler's reach combined with towel holders. This is perfect, and I really Love the color.
mrgreen
Sat, 07/02/2011 - 01:07
If you tack sides together
If you tack sides together with some panel pins you could carefully cut both at the same time.
Guest (not verified)
Sat, 07/02/2011 - 18:01
Sweet !
I love this!
Guest (not verified)
Wed, 07/13/2011 - 04:32
If you wanted to widen this -
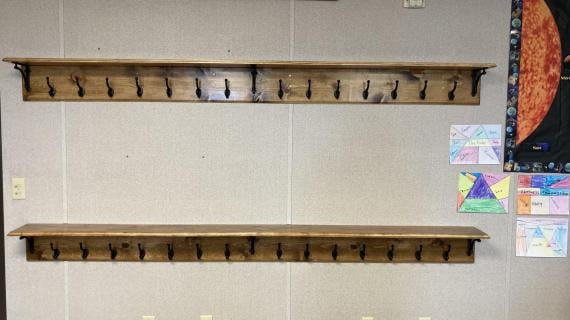
If you wanted to widen this - say make it 2 or 3 times longer (bigger bathroom) could just essentially do that & add the dividers every so many inches? Thanks!
wahome
Sat, 08/06/2011 - 20:41
What is that paint color
I am hoping to make this next for the kids bathroom. I love that paint color, what is it??
RynoldQ
Thu, 05/16/2013 - 06:54
Home project
I like this idea. I will do my own "Martina Bath Wall torage with hooks" for the two bathrooms in my new homes.
Anat Zach
Mon, 01/09/2017 - 08:03
Almost exact