


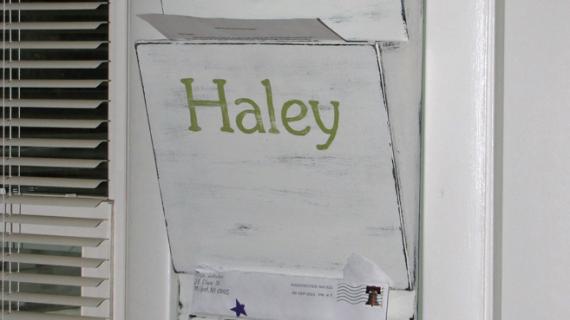
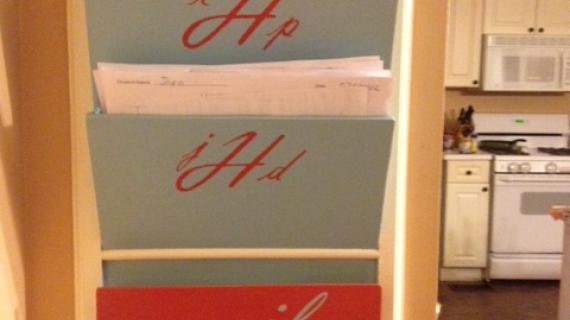
I've seen MANY requests for someone to knock-off the Daily System by Pottery Barn, so I decided to buckle down and do it. PLEASE don't let my inability to do shapes/angles in SketchUp turn you off to this plan. It's REALLY easy!!!!
This plan requires a "frame" of sorts. If you look closely at the PB daily system, you'll see that it's inset, and I'm sure that's how the papers don't come falling out the bottom. It could be a picture frame that you buy or make, or even an old, spray painted cookie sheet (I debated doing this for the magnetic aspect).
There are no "fasteners" involved, so make sure your cuts are straight and your board is not warped. That'll make it a little easier.


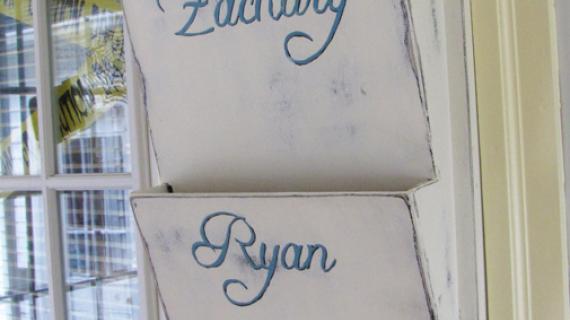
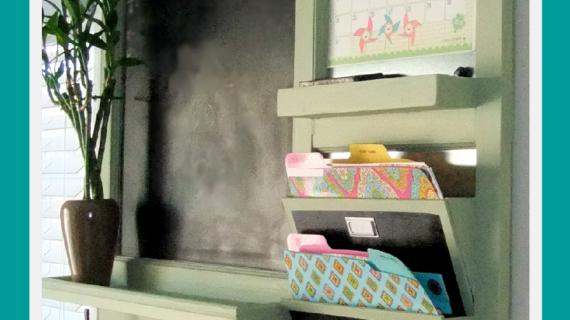
I can't wait to see what everyone does with this! Framing fun fabrics/scrapbook papers, different frame styles.. Ohhhhh, I'm excited!
Preparation
1 - 11 x 14 picture frame
1 - 1/4" plywood, 2 ft x 2 ft
(a) 2 - 1/4" Ply @ 10" x 2 1/2" (sides)
(b) 1 - 1/4" ply @ 5" x 10 3/4" (bottom bin front) * SEE NOTE
(c) 1 - 1/4" ply @ 7" x 10 3/4" (top bin front) * SEE NOTE
Please print out the template. Select "Scale to fit media" in your print options, and make sure the long, straight edge is 10".
* Measure the INSIDE of your frame. If the inside of your frame is not 10 3/4", use the dimension of your frame.


Please read through the entire plan and all comments before beginning this project. It is also advisable to review the Getting Started Section. Take all necessary precautions to build safely and smartly. Work on a clean level surface, free of imperfections or debris. Always use straight boards. Check for square after each step. Always predrill holes before attaching with screws. Use glue with finish nails for a stronger hold. Wipe excess glue off bare wood for stained projects, as dried glue will not take stain. Be safe, have fun, and ask for help if you need it. Good luck!
Instructions
Step 1

Print out template. Select "lanscape" orientation, and "Scale to Fit Media" in your print options.
Step 2
Cut out template and trace onto 1/4" plywood. Cut out using jig saw or circular saw. These will become your sides (a).
Step 3

notch out two 1/4" wide x 1" high rectangle from the top bin front (c).
Step 4
Glue sides (a) to the inside of the frame. TIP: Keep glass in place (but avoid gluing to glass) for proper fit when fully assembled.
Step 5


Comments
Lady Goats
Mon, 08/22/2011 - 10:35
YAY! Finally photos!
I added photos! woot woot!
Ana White
Mon, 08/22/2011 - 10:59
Gina, this is just incredibly
Gina, this is just incredibly beautiful and well thought out! Thanks so much for sharing! I'm super excited!
ValGal222
Mon, 08/22/2011 - 12:53
Nice!
I have been hunting for a reasonably priced letter bin to match my homemade PB system and here it is! Nice work and YOU ROCK! : )
Guest (not verified)
Tue, 08/23/2011 - 16:57
I am so excited to see this.
I am so excited to see this. I have been looking for a how-to for a long time. Thankx!
mycreativeescapes
Thu, 08/25/2011 - 05:53
Just what I was looking for!
This is exactly what I have been looking for!!!! I have been scowering office supply stores and couldn't stomach the price of these things - I know what my project will be this weekend!
Thanks!!!!
Carrie
Mindynkids (not verified)
Sun, 08/28/2011 - 20:10
how to get to the template?
Hi! I would love to try this project, but am having a hard time printing the template ... is there a place to go to download the template?
Melinda
Lady Goats
Sun, 08/28/2011 - 20:32
Template
Hi Melinda,
You can click on the image, then right click it. Select "Save Image" (or the closest option you have to it - I've got about 4 different ways of saving it). Then find the image on your computer and print it out. Let me know if this helps! :-)
Gina
debandtom25
Wed, 08/31/2011 - 04:30
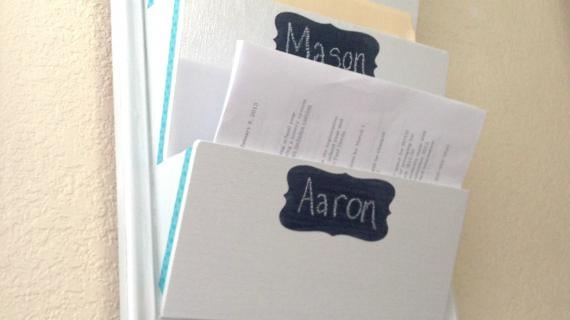
Organized kid's school papers
Now that school has started here in New Hampshire, I need one of these bins to attach to my mudroom. This is an excellent way to keep the kid's school papers organized. Thanks!
corduroydreams
Thu, 03/15/2012 - 21:19
My Version
I'm not sure how to upload to brag about it, but I made my own version of this. You can see it on my blog here:
http://www.corduroydreams.com/2012/03/build-your-own-letter-holder-with…
Guest (not verified)
Sat, 04/07/2012 - 02:20
LOVE THIS!! have been looking
LOVE THIS!! have been looking at the PB ones for ages but shipping to the UK was too expensive. I can now make my own - Thank You :)
Julie brown (not verified)
Tue, 10/09/2012 - 18:37
I love it I am going to make
I love it I am going to make some of these for our home school class room. we are limited on space and this is a great way to organize our work for the day. Thank you so much for the free pattern I hope to make you cubby bookshelf too.
annalea
Mon, 01/14/2013 - 17:07
Tip: to keep glue off of the glass.
I wonder if you could put a layer of plastic wrap or parchment paper over the front of the glass so any accidental drips would be on the plastic/parchment, and easily removed once everything is dry? (I KNOW I'll get glue on the glass . . . I'm just lucky that way. lol)
In reply to Tip: to keep glue off of the glass. by annalea
Lady Goats
Tue, 01/15/2013 - 14:13
Glue drips
You totally can! Nothing is attached to the glass, so you can remove it whenever you want. That's a brilliant idea! (I didn't get any glue on the glass, but I would imagine that, if you did, it wouldn't be too big a deal, anyway).