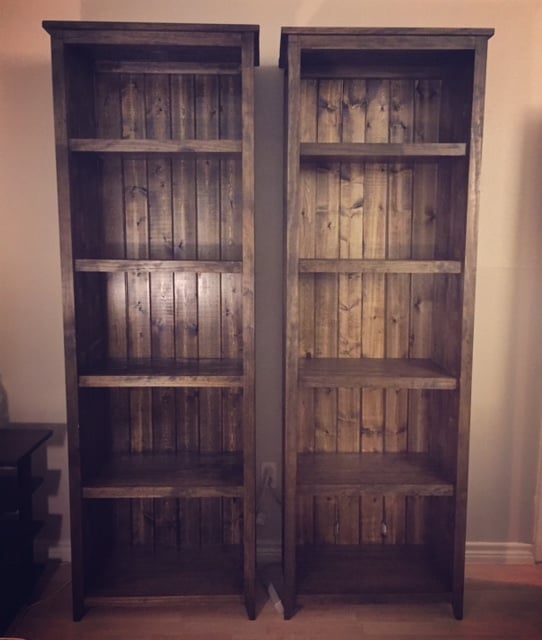


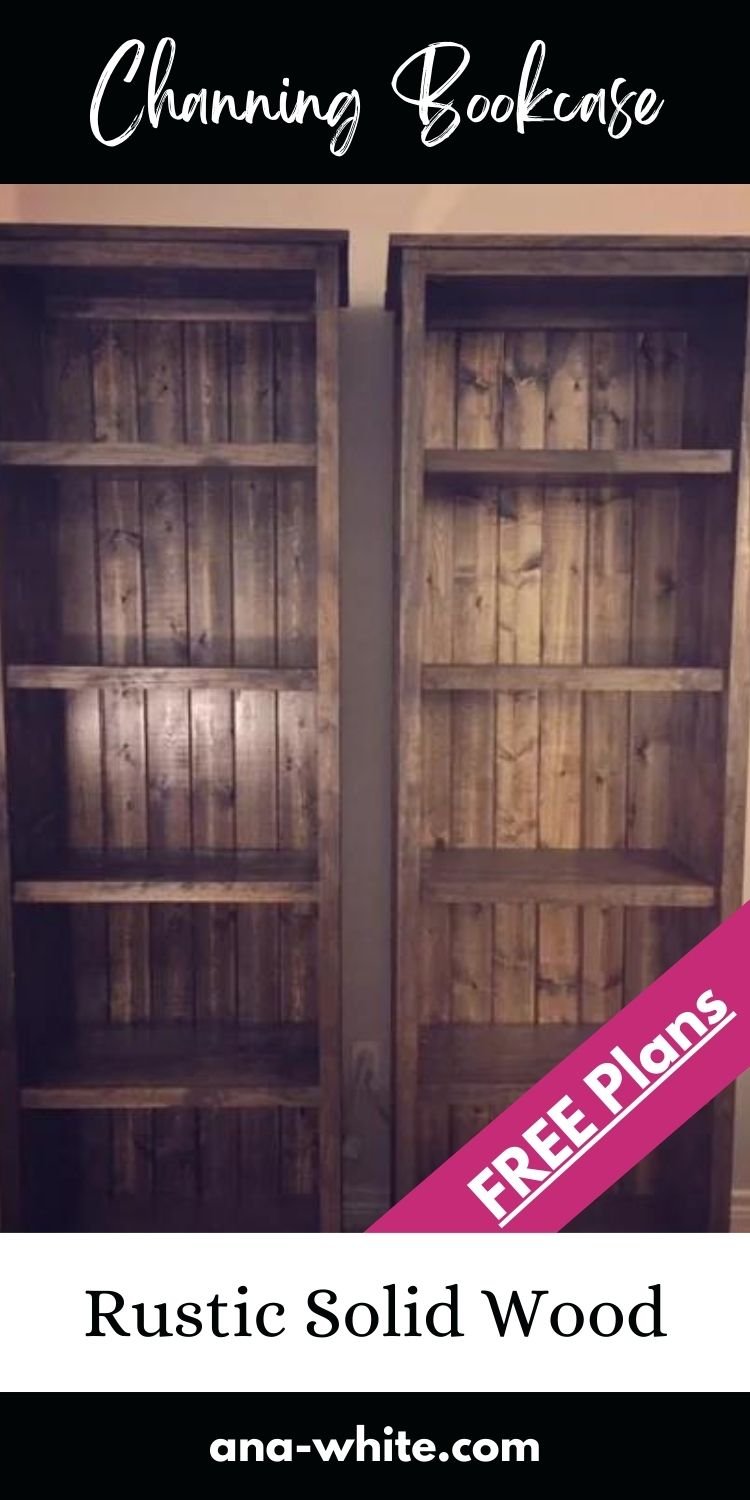
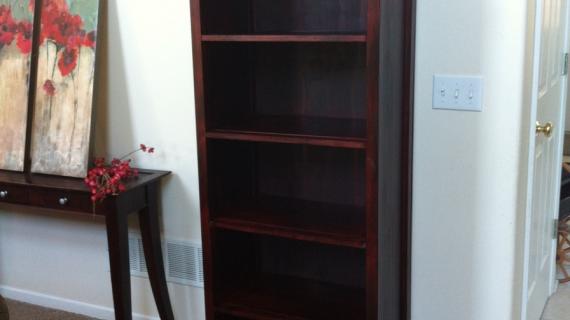
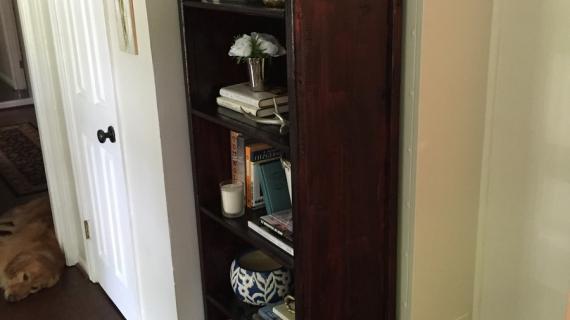
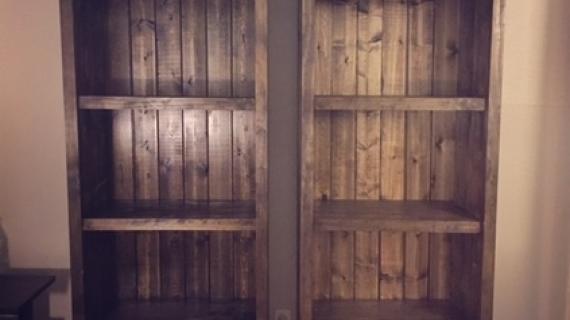
This DIY furniture plan contains everything that you need to know to build your own rustic solid wood bookshelf!
Step by step instructions include cut list, shopping list, and full diagrams.
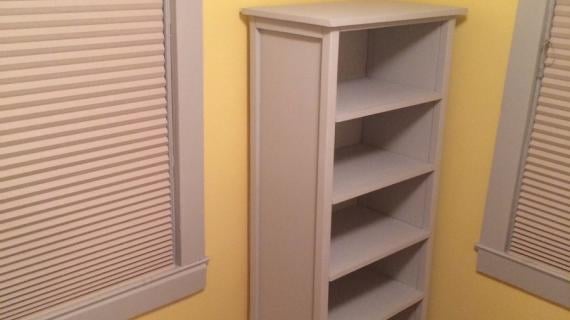
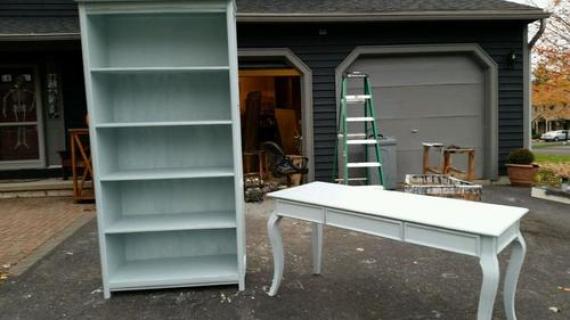
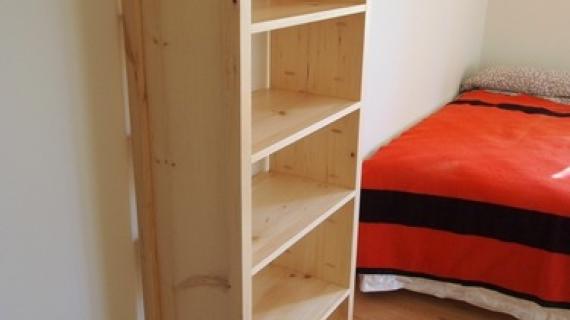
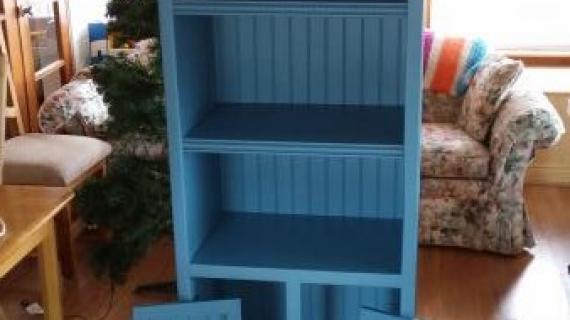
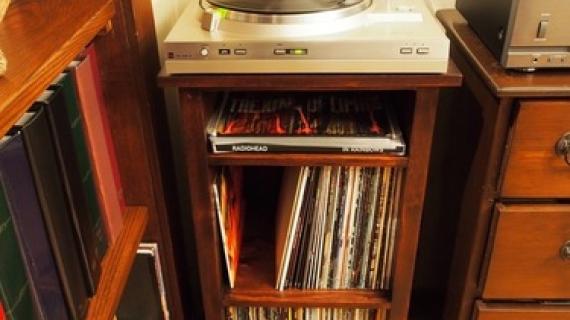
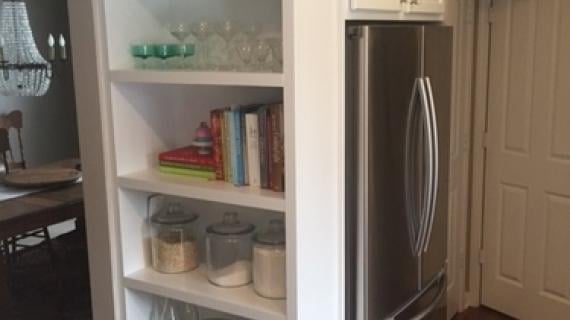
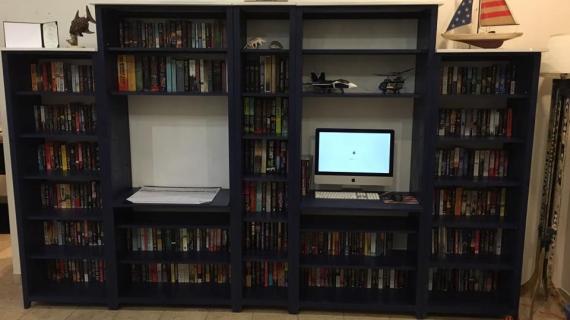
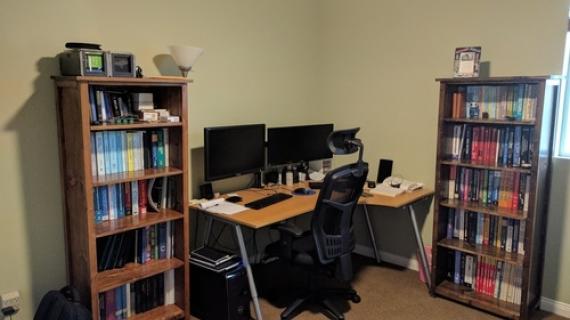
Also available in this collection:
Pin For Later!
Preparation
- 3 - 1x12 @ 8 feet long
- 4 - 2x2 @ 8 feet long
- 1 - 1/4" Plywood full sheet
- 1 - 1x3 @ 4 feet long
- 3 - 1x2 @ 8 feet long
- 4 - 1x2 @ 11 1/4" (Trim for sides - cut to fit)
- 2 - 1x12 @ 60 3/4" (Sides)
- 4 - 2x2 @ 62 3/4" (Legs)
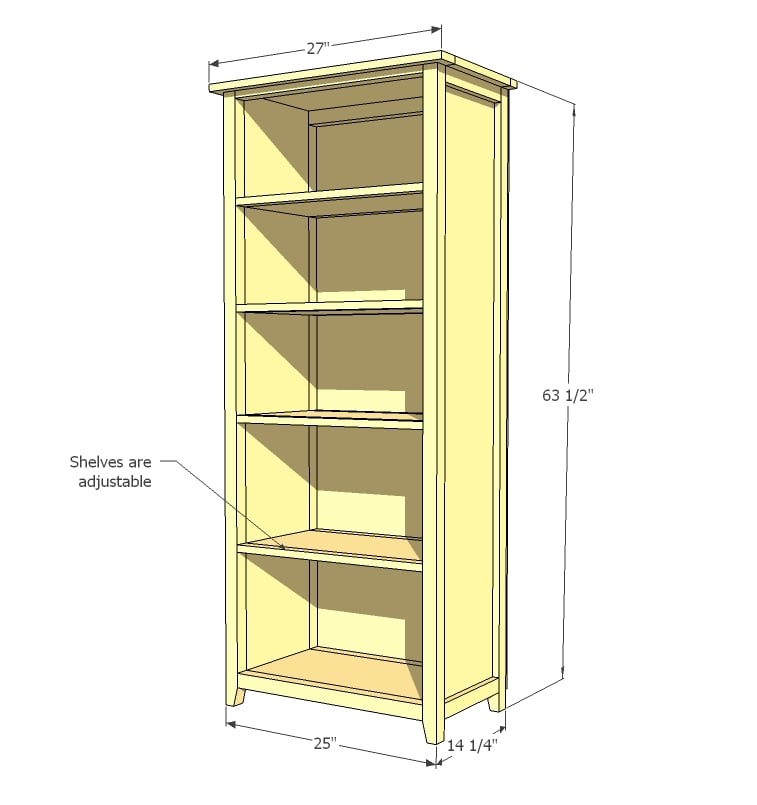
- 5 - 1x12 @ 22" (Shelves)
- 9 - 1x2 @ 22" (Shelf Trim)
- 3 - 2x2 @ 22" (Shelf Trim)
- 1 - 1/4" Plywood @ 25" x 60 3/4" (Back)
- 1 - 1x2 @ 27" (Top)
- 1 - 1x3 @ 27" (Top)
- 1 - 1x12 @ 27" (Top)


Please read through the entire plan and all comments before beginning this project. It is also advisable to review the Getting Started Section. Take all necessary precautions to build safely and smartly. Work on a clean level surface, free of imperfections or debris. Always use straight boards. Check for square after each step. Always predrill holes before attaching with screws. Use glue with finish nails for a stronger hold. Wipe excess glue off bare wood for stained projects, as dried glue will not take stain. Be safe, have fun, and ask for help if you need it. Good luck!
Instructions
Step 1

Start by simply nailing the top and bottom trim pieces to the 1x12s as shown above. If you are using pocket holes, make sure you have drilled the pocket holes first as noted in diagram.
Step 2

Attach legs to the sides as shown above. You can taper legs if desired.
Step 3

Attach bottom shelves as shown above. You can alternatively use 2" screws countersunk.
Step 4

Now trim the shelves with 2x2 as shown above.
Step 5

Step 6

Now attach back with 1 1/4" finish nails and glue. Adjust your bookshelf for square.
Step 7

If you are using a pocket hole jig, build the top first, then attach to top as shown above.
Step 8

You can either use fixed shelves with the pocket holes or you can use shelf pins for adjustable shelves. Here's a video I found that could help explain how shelf pins are installed. I like to use a scrap piece of pegboard as my guide, or predrill a 1x2 with holes as a guide, and simply clamp on.
It is always recommended to apply a test coat on a hidden area or scrap piece to ensure color evenness and adhesion. Use primer or wood conditioner as needed.
Comments
SingleMomThriving
Fri, 09/02/2011 - 07:44
Perfect Timing
I've been looking for a bookshelf plan that would work in my bedroom and having just got my Kreg joiner in the mail, it's a perfect timing of tools and plans meeting most immediate need.
Thanks ~Dona~
Guest (not verified)
Fri, 09/09/2011 - 16:12
type of wood
I'm so happy I came across this web site!
I was wondering what kind of wood boards you generally use for projects. You usually just specify dimensions: 1x12, 1x6, etc....is this fir, cedar, pine?
Thanks!
dws (not verified)
Wed, 12/12/2012 - 09:00
project wood type
For painted projects, the best wood to use is poplar. It is not
expensive, has a closed grain perfect for painting, works easily,
and resists cracking. Most lumber retailers carry it.
love2create
Sun, 09/11/2011 - 16:20
Exactly what I was looking for!
I have been wanting to build a set of two bookcases for my downstairs for books and games. This is perfect! Love the height and the depth of the shelves.
Guest (not verified)
Mon, 11/14/2011 - 15:42
Make taller and depper
Hello,
I am looking to make this, but making it taller (96") and deeper(24". What modifications would you recommend that I make.
Thanks!
shastacoke
Mon, 02/20/2012 - 11:02
At what angle did you taper
At what angle did you taper those legs on the bookshelves? I can't wait to build this. I'm about to finish my first project and now I will be building 2 of these for my next project. Thanks for this great website!!
NathalyKCornej…
Thu, 05/22/2014 - 06:42
Cost?
What is the estimate cost for materials/wood for this bookshelf?
MrE
Sat, 08/23/2014 - 06:54
Shopping List Question
"3 - 1x12 @ 8 feet long
4 - 2x2 @ 8 feet long
1 - 1/4" Plywood full sheet
1 - 1x3 @ 4 feet long
3 - 1x2 @ 8 feet long"
Can you explain what are these lengths for? I am confused.
ThiaD
Sun, 08/14/2016 - 16:25
Heavy books!
I built a bookcase very similar to yours, but I'm having problem with my shelves, for I have some very heavy (and beautiful) books. I used round shelf pins since I wanted adjustable shelves, but I will have to use something else and I would really like your advice.
yank_eh
Tue, 04/07/2020 - 16:10
Channing Bookcase - Step 7 / Finishing nails
Can someone clarify step 7 a little more for me. How is the top attached? Finish nails from the top down? Or from the bottom up?
Also, step 7 says to use 2" finish nails, but those are not included in the materials list.