

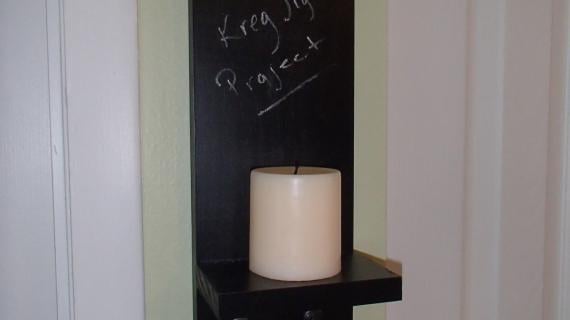
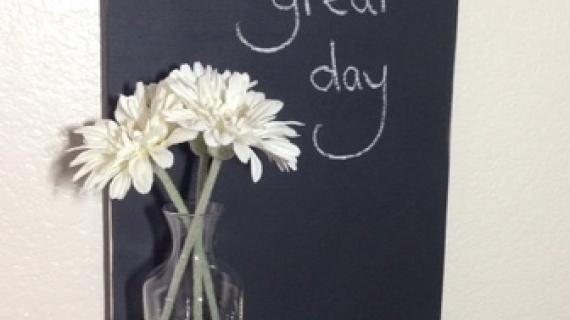
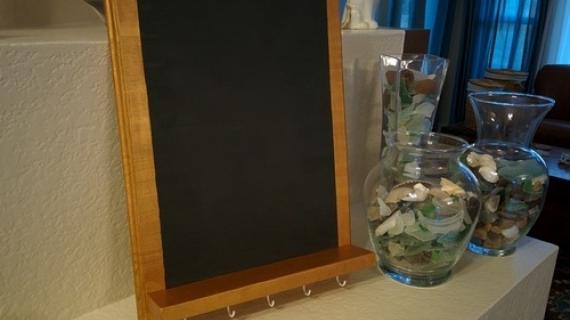
Make a chalkboard shelf with hooks perfect for grocery lists and keys and re-useable shopping bags, or as a stocking holder and wish list! This simple plan requires just a couple of screws and you can make it from scraps in just minutes! Free step by step plans from Ana-White.com
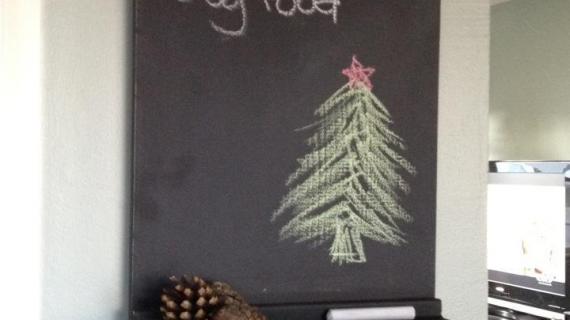
Reader submitted photo by SPLASH OF CRAFT
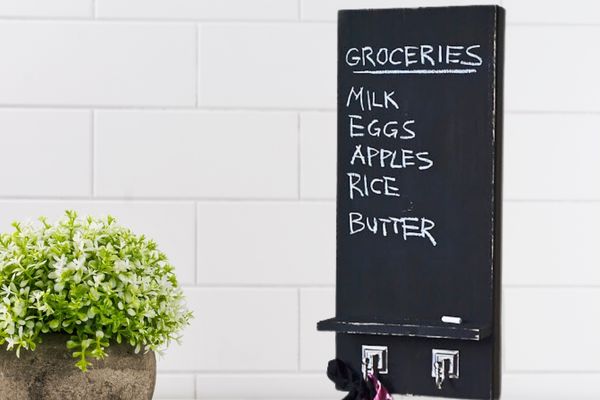
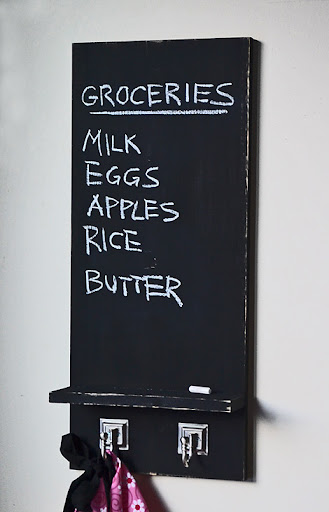
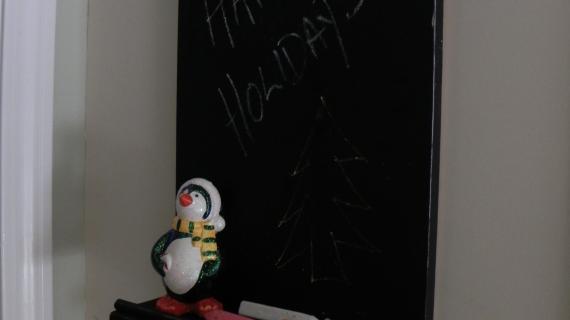
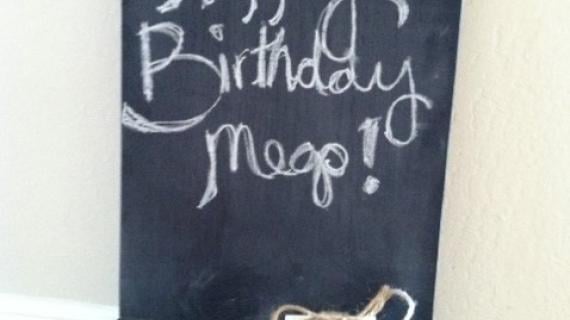
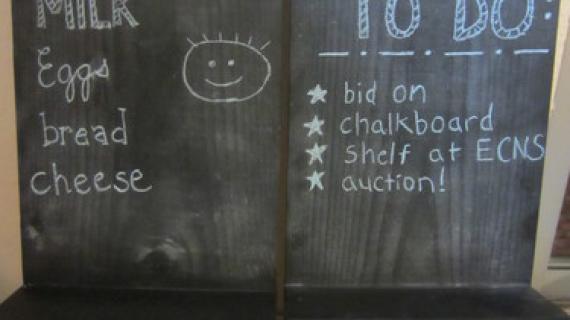
Here's an easy project that is useful and adorable! It's both hooks and a chalkboard.
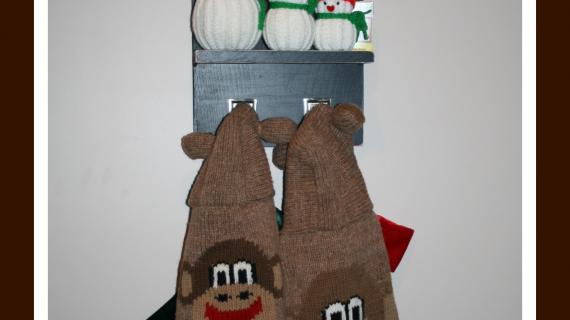
We've used it as a grocery list and as a Christmas wall decor to hang stalkings (and keep track of naughty and nice actions).


Pin For Later!

Preparation
- 1 - 1x12 @ 2 feet long
- 1 - 1x4 @ 12" long
- 1 - D Ring, Hook or other picture hanging kit
- 2 - hooks or pegs or knobs for hanging
- Chalkboard Spray Paint
- 2" self tapping screws (try SPAX or similar) or 1-1/4" Pocket hole screws
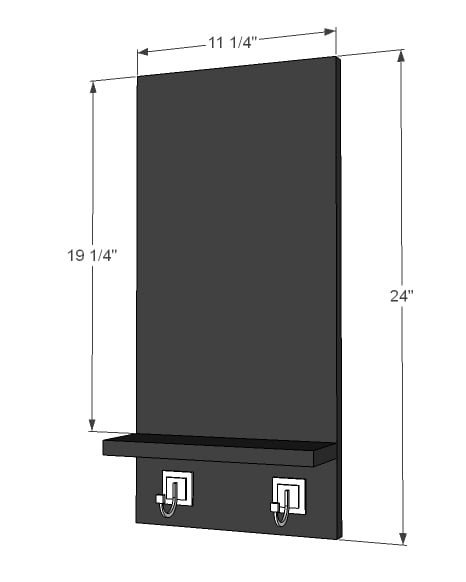
- 1 - 1x12 @ 24"
- 1 - 1x4 cut to width of 1x12 (should be about 11-1/4")


Please read through the entire plan and all comments before beginning this project. It is also advisable to review the Getting Started Section. Take all necessary precautions to build safely and smartly. Work on a clean level surface, free of imperfections or debris. Always use straight boards. Check for square after each step. Always predrill holes before attaching with screws. Use glue with finish nails for a stronger hold. Wipe excess glue off bare wood for stained projects, as dried glue will not take stain. Be safe, have fun, and ask for help if you need it. Good luck!
Instructions
Step 1
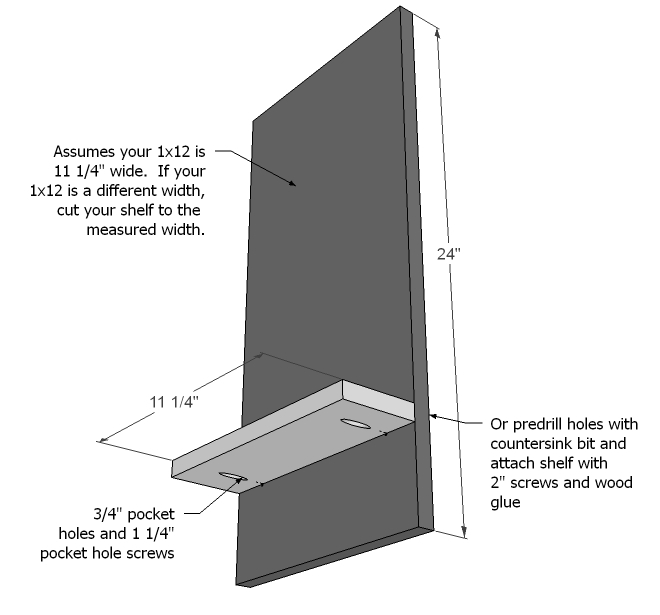
Attach 1x4 to 1x12 to create shelf. Use either the pocket holes or predrilled holes from back.
Step 2
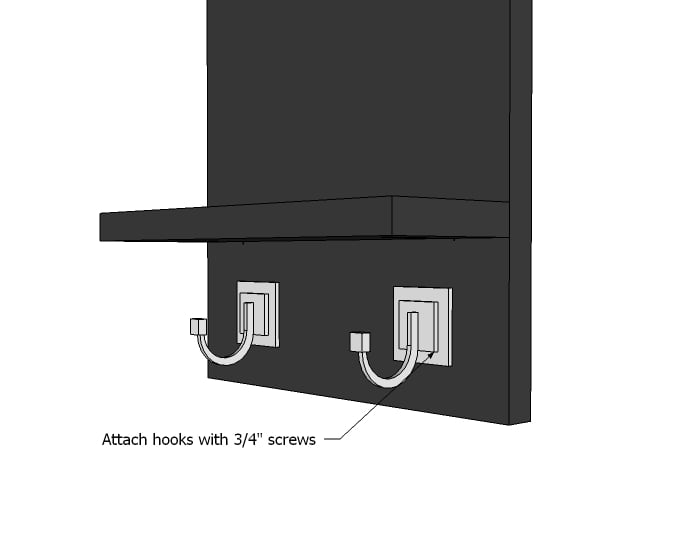
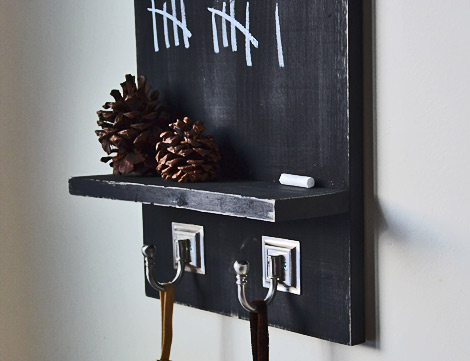
Attach hooks to area below shelf, centering and using 3/4" screws. You could also use pegs inserted into drilled holes with glue.
Step 3
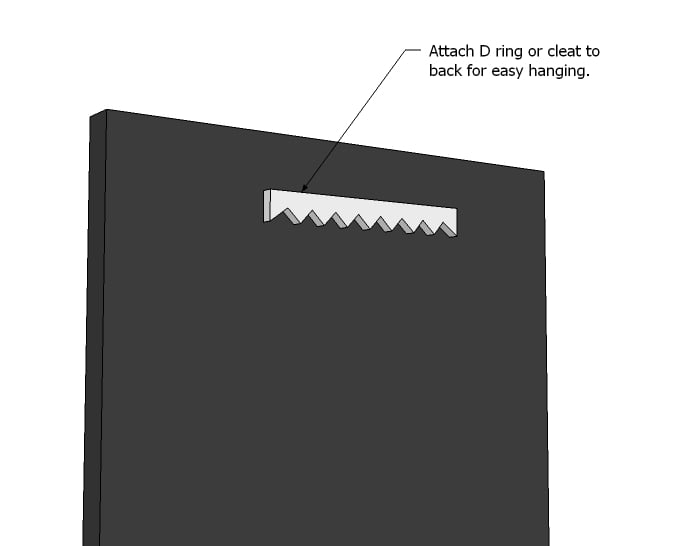
There are many ways to hang, the easiest is to use a store bought hanging kit for pictures frames, either D rings or cleats.
It is always recommended to apply a test coat on a hidden area or scrap piece to ensure color evenness and adhesion. Use primer or wood conditioner as needed.


Comments
babysteps
Tue, 11/29/2011 - 07:31
Fabulous!
I love it. This would be a great score keeping board in a game room. The hooks could hold ping pong paddles or even a small towel to use as an eraser. We have at least a full trash can of scraps saved and can't seem to part with them. This is going on my list. Do you know where those hooks came from? They are cool.
rhonit
Tue, 11/29/2011 - 08:01
just in time for Christmas!!
How great is this?!!! Just in time for Christmas, and how quick and easy. Not to mention inexpensive. These could be dressed up with moulding or trim around the top, or fancy cute knobs. I love it best plain, with the sanded edges.
We are right in the middle of building 2 sets of play kitchens and have built and painted 4 hi-chairs and 1 crib. All for Christmas for the grandgirls. And 1 farmhouse doll bed, because my Mom requested one for her dog.
Love all you do!!!!
Thanks so Much
savvylili
Tue, 11/29/2011 - 09:41
To do list
Hi, I can't find the button to "add to my to do list." Can someone please let me know how I can add this chalkboard to my list?
Thanks a bunch!
Liliana
In reply to To do list by savvylili
MikeB
Tue, 11/29/2011 - 14:32
Add to To-Do-List
at the end of the project plan (just below the Finishing Instructions box), you should see a link to "My To-Do List". Click that link and it should be added to your list. The link is between the Finishing Instruction box and buttons for twitter, google, facebook, etc. Hope this helps!!!
savvylili
Tue, 11/29/2011 - 17:45
Thank you!
Thank you MikeB! Can't believe I didn't figure that out...thought it would bring up my list!
~ L.
ashinshaw
Wed, 01/11/2012 - 07:54
Love it
I love this! I can't wait to make one. I did see this one and i was floored on the price of $230.00 plus $140.00 for shipping.
http://pinterest.com/pin/232005818273490643/
I will be making one very soon!
Thanks
Guest (not verified)
Tue, 02/21/2012 - 04:47
double it?
If you wanted 4 hooks instead of 2, would you double the size and dimensions of this project?
In reply to double it? by Guest (not verified)
haus3755
Mon, 02/27/2012 - 21:49
Of course you could. The
Of course you could. The great thing about this "plan," is that it is so simple, you can do ANYTHING you want to it. Make it longer, taller, add shelves, add anything you want. Especially if you have scraps, don't be afraid to try something new on such a small scale as this.