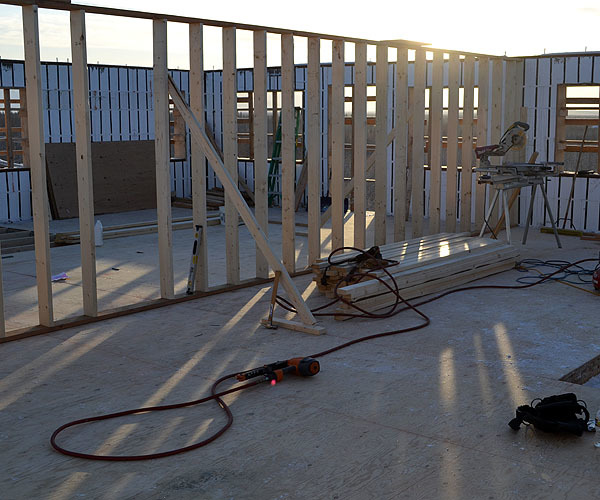
The weather has certainly warmed up here, but with this storm of warm weather has come lots of white fluffy snow. We've been struggling just to keep the upstairs of the Momplex shoveled and ice free to get to the point of work, so things have not been moving along as fast as we'd all like.
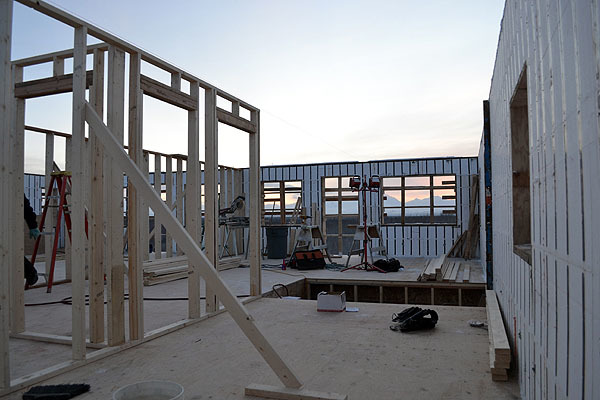
But one thing we were able to get done was building the upstairs interior walls.
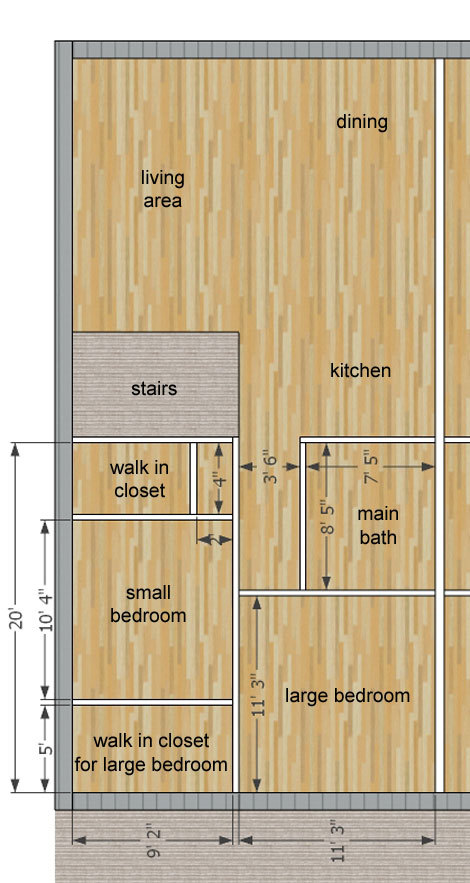
After much thought and consideration, with wide doorways, spacious baths, and easy walk in closets a main priority, this is the wall layout we finally all agreed on.
I am pleased to announce that we have lots of closet space!
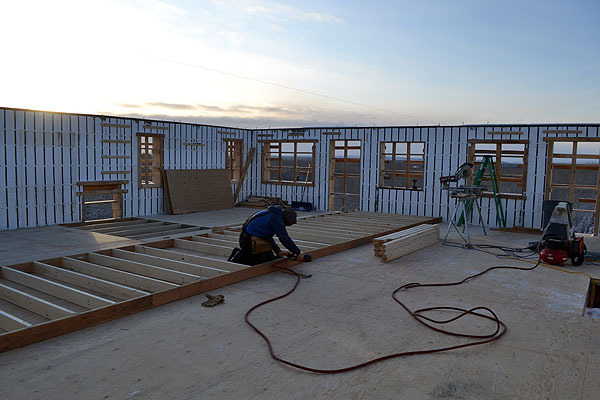
So with a freshly pressed room layout, it's time to frame the walls! First the layout is chalklined to the floor of the Momplex so we have guides for placing walls.
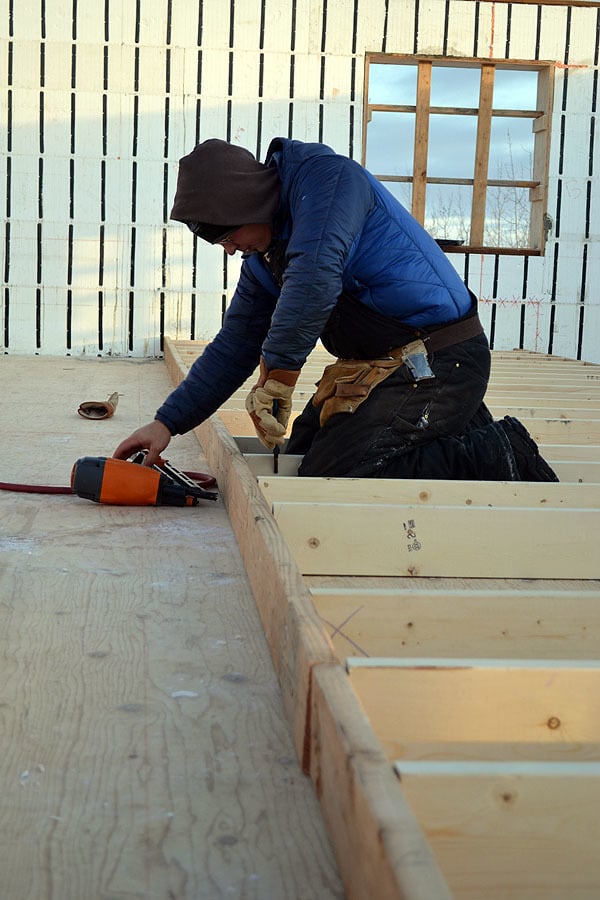
Then the walls are framed with a 2x6 wall down the center to provide added sound barrier between the two units. We used a framing nailer to attach walls, and stud length 2x6s to reduce cutting.

The framing nailer is nothing you want your fingers anywhere near. A trick is to use channel lock pliers to hold the board while you nail. Sometimes I even use this trick when working on furniture.
Once the center wall is raised, it's braced from both sides to keep it square unit the top plates are put on.
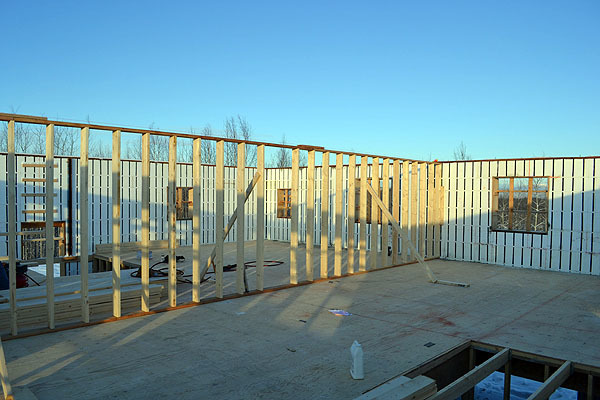
Walls actually make the rooms look bigger because you can get a sense for room size. The Momplex units are small, but definitely more than enough for Mom to live in comfortably.
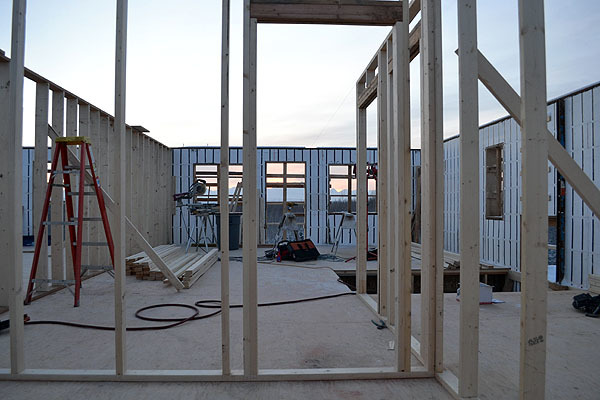
After the center wall is framed, the smaller interior walls are framed.
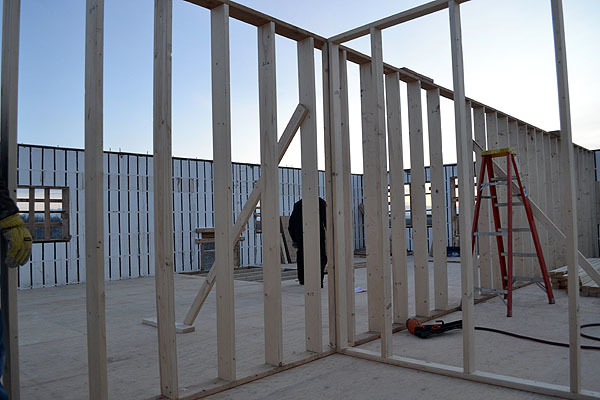
Where the walls join, extra bracing is put in the adjoining wall to give you something to nail to, and a spot to end your drywall on. The top plates will overlap on top, further tying in all the walls.
We ended up not framing in the full bathroom walls because we want to make sure the tub will fit in first. Just to be safe!
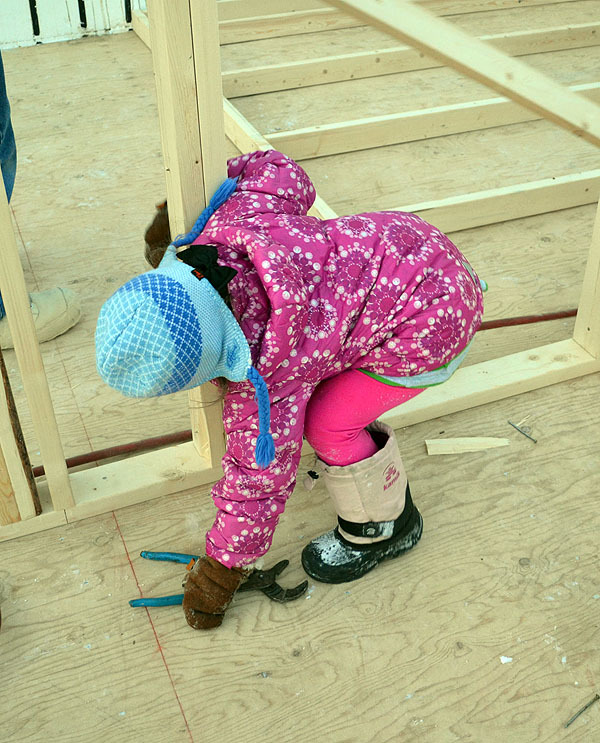
Then the best helpers showed up.
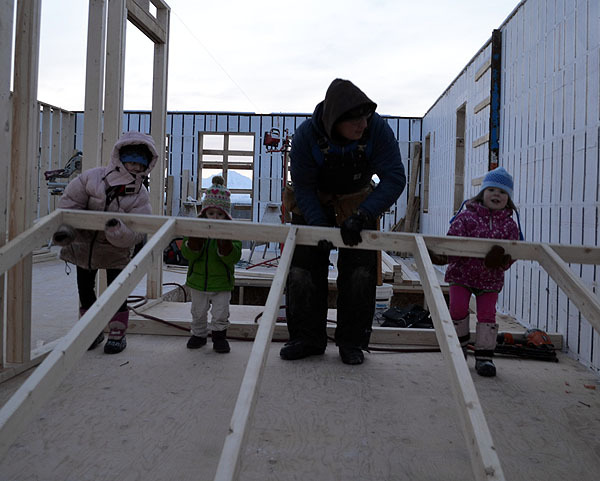
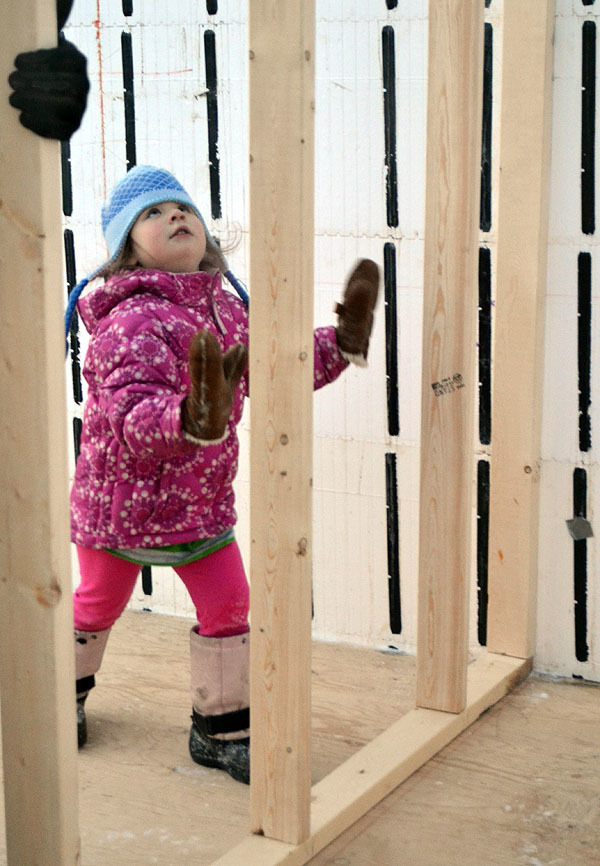
For the last wall, the girls all pitched in.
Now this is the part where you have to go from lifting up from the ground to re-positioning to pushing up over your head. You have to change your grip.
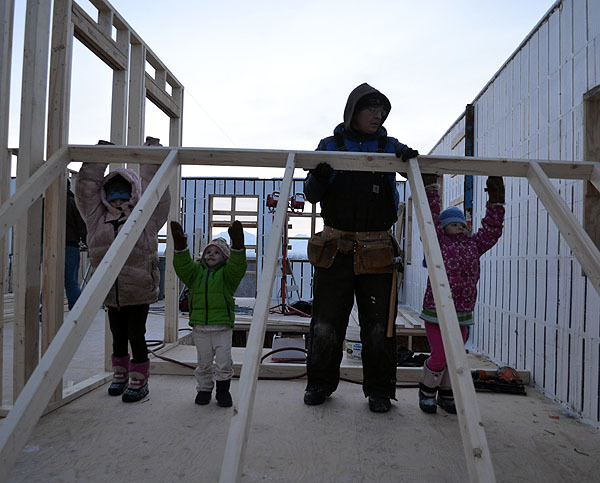
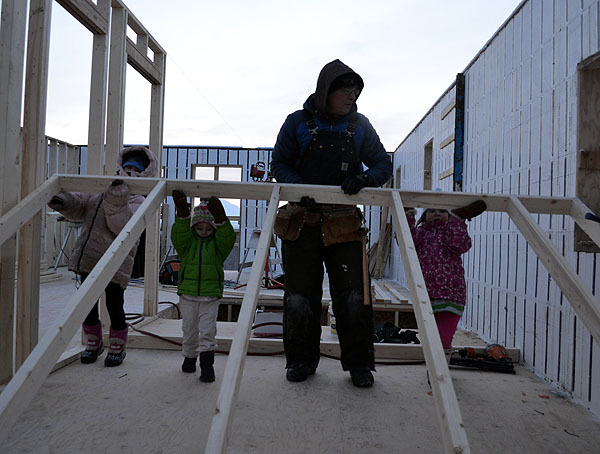
Now its time to push the wall up.
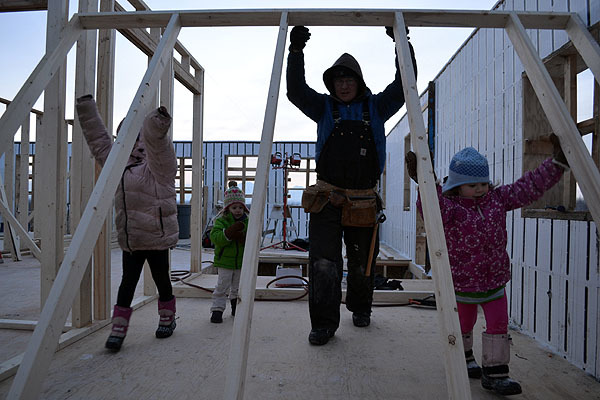
Almost there ....
Oh yeah!
Now if only putting trusses up was that easy!
Comments
Guest (not verified)
Wed, 12/07/2011 - 11:49
So happy that you finally got
emmarosemc
Wed, 12/07/2011 - 11:56
Oooo so excited to see
jaimecostiglio
Wed, 12/07/2011 - 12:17
Ana it's becoming so real
Kate (not verified)
Wed, 12/07/2011 - 12:19
Walls, Yay!
Claudia Kutchukian (not verified)
Wed, 12/07/2011 - 12:23
Can't believe how excited I get at updates
annalea
Wed, 12/07/2011 - 13:40
Looking good!
ferbit
Wed, 12/07/2011 - 13:50
Very cool!
sgilly02 (not verified)
Wed, 12/07/2011 - 16:51
brrrr
Guerrina
Wed, 12/07/2011 - 17:20
Go Team Ana!
Guerrina
Wed, 12/07/2011 - 17:23
Meant To Ask!
In reply to Meant To Ask! by Guerrina
Ana White
Thu, 12/08/2011 - 21:59
Seems everyone loves the big
Gabriela (not verified)
Thu, 12/08/2011 - 06:01
I don't know if anyone's
Guest (not verified)
Thu, 12/08/2011 - 09:42
WORKING RIGHT ALONG WITH YA!
In reply to WORKING RIGHT ALONG WITH YA! by Guest (not verified)
Ana White
Thu, 12/08/2011 - 21:56
Thank you for reading and I
Andree (not verified)
Thu, 12/08/2011 - 19:36
Been following from the start and have a question now.
In reply to Been following from the start and have a question now. by Andree (not verified)
Ana White
Thu, 12/08/2011 - 21:49
Hi Andree thank you for
Guest (not verified)
Sat, 12/10/2011 - 08:07
Thanks for pushing forward - and keeping us informed!
llama (not verified)
Fri, 12/16/2011 - 23:41
I'm still a little surprised
In reply to I'm still a little surprised by llama (not verified)
birdsandsoap
Sat, 12/17/2011 - 00:35
"Good fences make good