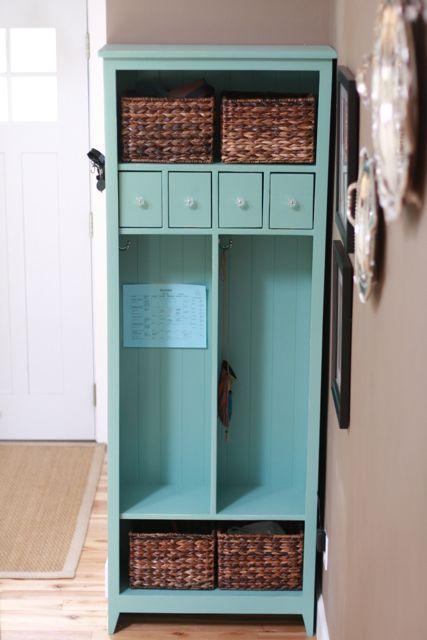


Build a locker cabinet with cubbies to use as a charging station. Free simple plans with step by step diagrams, cut list and shopping list.
A little treat for you today!


Preparation
- 3 - 1x12 @ 8 feet long
- 1 - 1x12 @ 10 feet long
- 1 - 1x8 @ 2 feet long
- 1 - 1x6 @ 8 feet long
- 1 - 1/4" plywood full sheet
- 3 - 1x2 @ 8 feet long 3 knobs
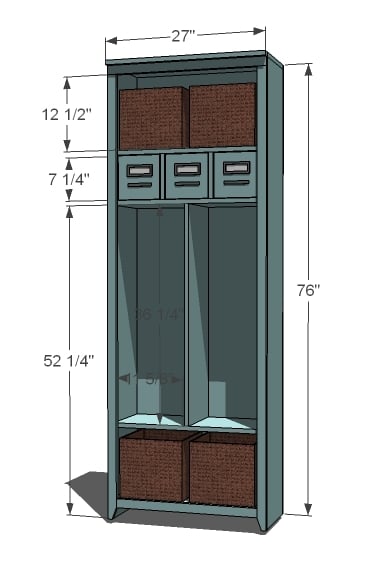
- 4 - 1x12 @ 25 1/2"
- 4 - 1x12 @ 7 1/2" (Measure your 1x8 board widths and cut the cubby sides to 1/4" more for drawer allowance - more info in plan)
- 1 - 1x12 @ 36 1/4"
- 1 - 1x12 @ 27"
- 2 - 1x12 @ 75 1/4"
- 1 - 1/4" plywood @ 27" x 76"
FRAME
- 2 - 1x2 @ 73 3/4"
- 2 - 1x2 @ 27"
- 1 - 1x2 @ 24"
DRAWERS - CUT TO FIT!!!
- 6 - 1x6 @ 10 1/2"
- 3 - 1x6 @ 5 3/4"
- 3 - 1x8 @ 7 1/4"
- 3 - 1/4" plywood @ 10 1/2" x 7 1/4"
Cut drawers and trim to fit.


Please read through the entire plan and all comments before beginning this project. It is also advisable to review the Getting Started Section. Take all necessary precautions to build safely and smartly. Work on a clean level surface, free of imperfections or debris. Always use straight boards. Check for square after each step. Always predrill holes before attaching with screws. Use glue with finish nails for a stronger hold. Wipe excess glue off bare wood for stained projects, as dried glue will not take stain. Be safe, have fun, and ask for help if you need it. Good luck!
Instructions
Step 1

If you get this box built square and right, then your drawers will slide great - so take your time here, mark all joints, check twice for square and you should be good to go.
TIP: Measure the width of your 1x8 boards to get your drawer face heights. Then add 1/4" to this measurement and cut your cubby sides to this number for perfect fitting drawers.
NOTE: If you do not have a pocket hole jig, do step 2 - adding the main divider - before this step because you won't be able to squeeze your drill in there.
Step 2

Add main locker divider with 1 1/4" pocket hole screws and glue or using countersunk screws or nails and glue.
Step 3

Now add the sides, top and bottom shelf. You can use the Kreg Jig or just screws or nails and glue - it's fully face framed, so the joints are all reinforced.
Step 4

Attach back to all fixed shelves with glue and 1 1/4" finish nails.
Step 5

Step 6

Then add top and bottom trim.
Step 7

And finally the crown.
Step 8

The trick with drawers is building to fit your openings. For beginners, give about 1/8" on each side. If you feel your drawers are really good - leave a 1/16th. Tack the plywood on to the bottom. Drill hole in back if using as a charging station.
TIP: Each drawer could be slightly different, so build each drawer to the cubby measurements, and mark drawers for best fit. Apply candle wax to bottom after finishing for the smoothest slide.
Step 9

Slide drawer boxes into cubbies. Cut faces to fit and position over the drawer box. Nail on.
Step 10

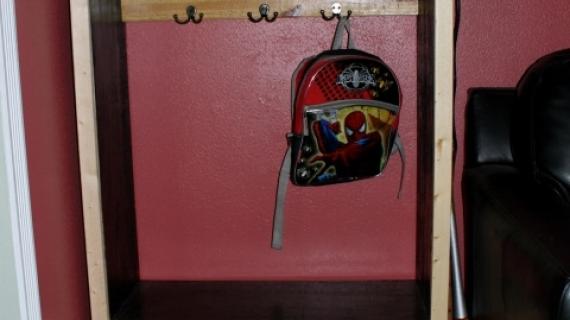
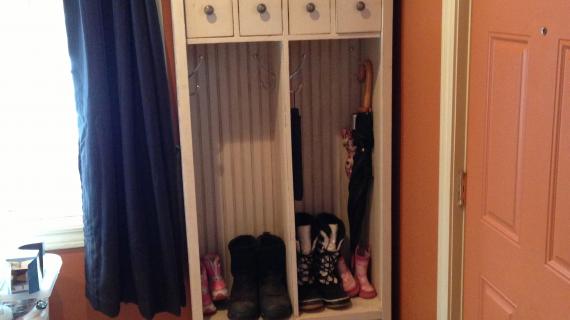
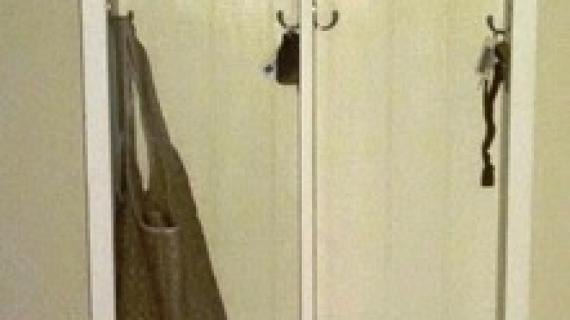
Add hooks. Secure to wall behind to prevent tipping.
It is always recommended to apply a test coat on a hidden area or scrap piece to ensure color evenness and adhesion. Use primer or wood conditioner as needed.
Comments
Brian Forbes Colgate (not verified)
Wed, 12/14/2011 - 19:45
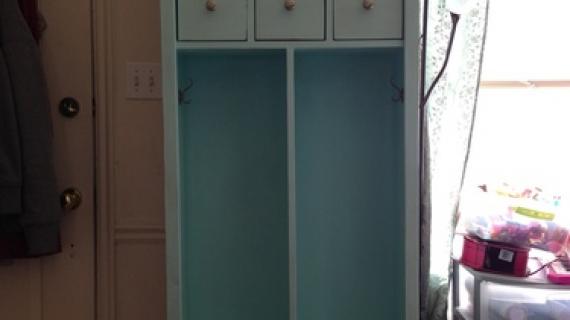
Hillary's Locker Cabinet with Charging Cubbies
Since most of my electronics have charging stands of some sort, I might be tempted to try this with doors on the cubbies instead of the drawers ...
Great project, and an awesome first one for Hillary!! :-))
Don Bridge (not verified)
Thu, 12/27/2012 - 09:44
Hillary's Locker Cabinet w/charging station.
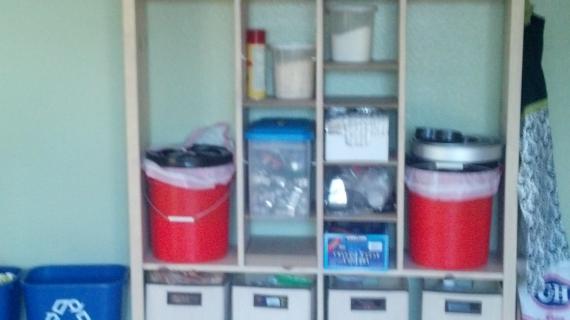
I'll modify the purpose to house my wife's Christmas ribbon, bows, wrapping paper, as well as being a craft supply center. I'll triple the amount of draws and add a stall for the wrapping paper to stand in.
Rachel Kitson
Sun, 08/24/2014 - 09:24
Side mounts
Hey! Just finished building my project (will post pictures once I have the finish on) and the only problem we encountered was there was no measurement listed for what height the inside piece is mounted to the sides in step 3. We ended up putting them at 12 3/4" down from the top, but it ended up being 1/8" off on one side and is crooked. :( Oh well, still looks great for our first project!
So you should add the measurement for the height of the side pieces in step 3 and the plans would be perfect! Very easy to follow aside from that!! Thanks for the plans!