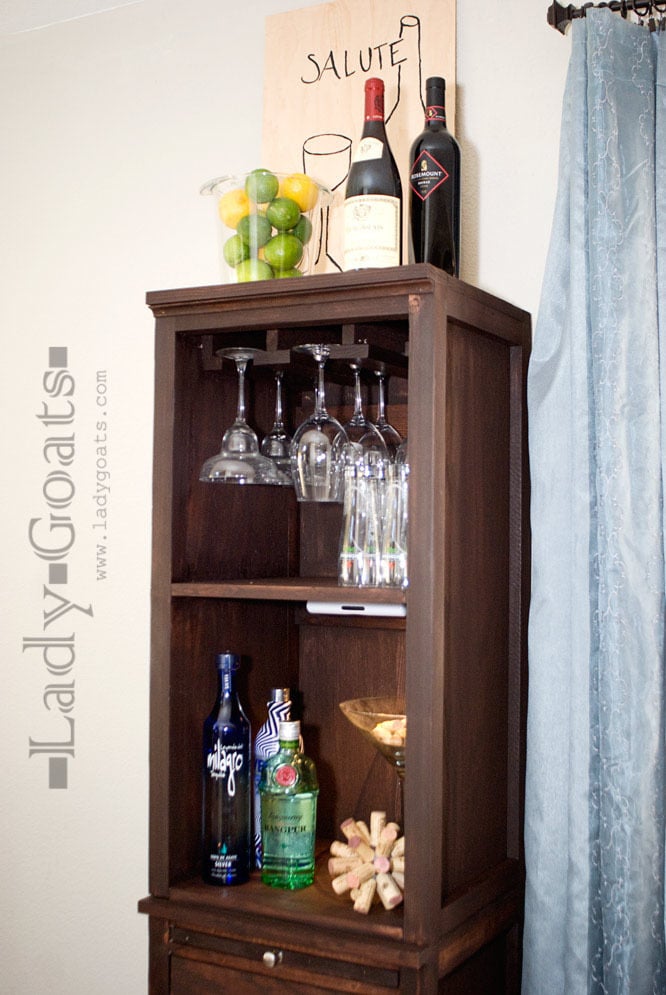


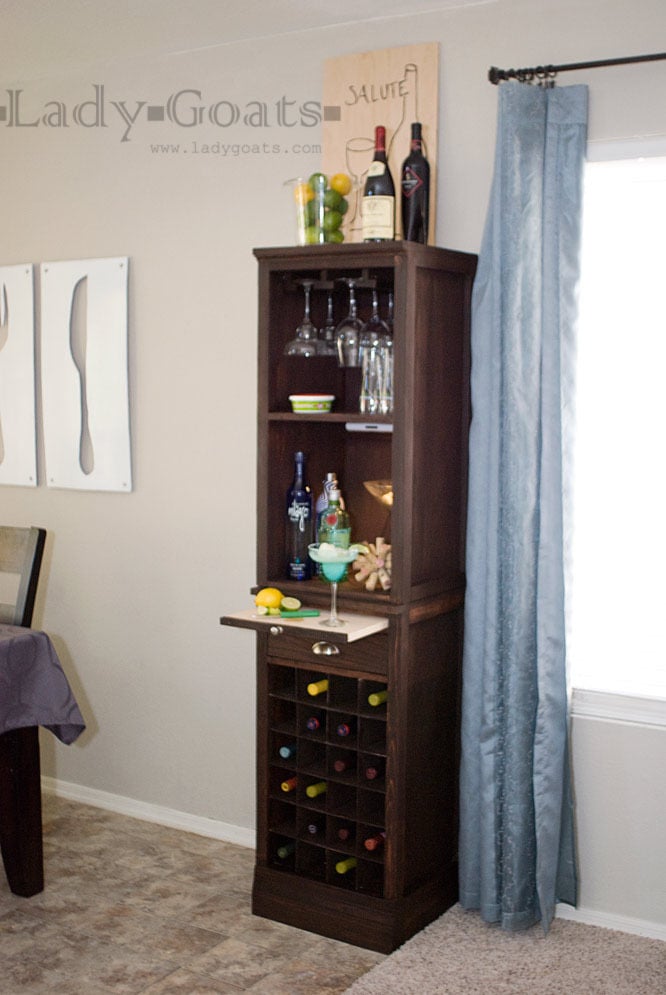
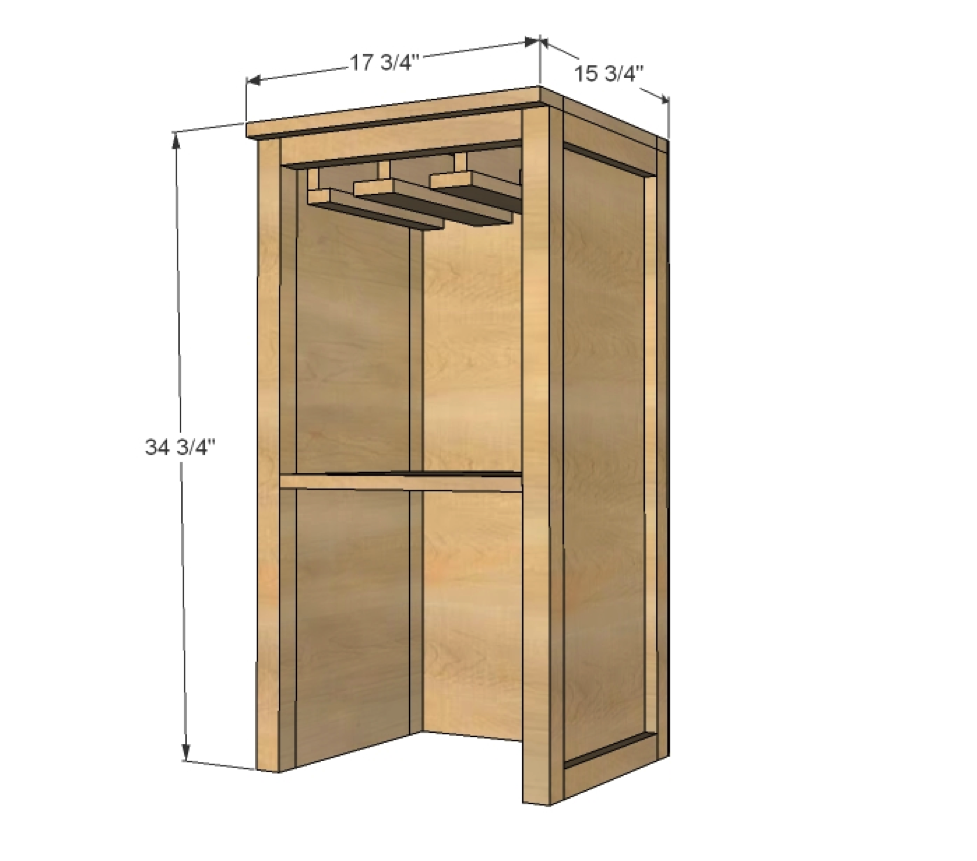
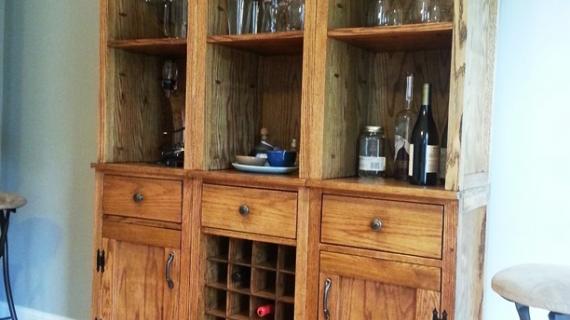
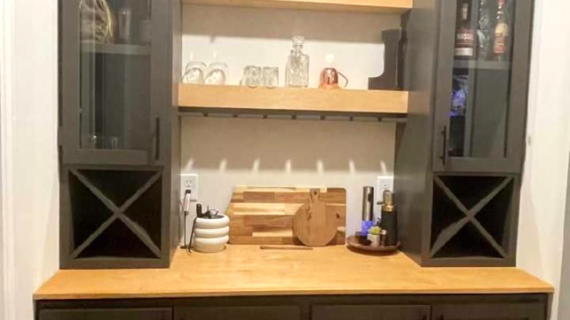
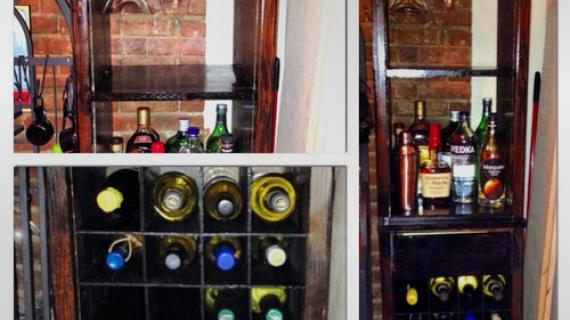
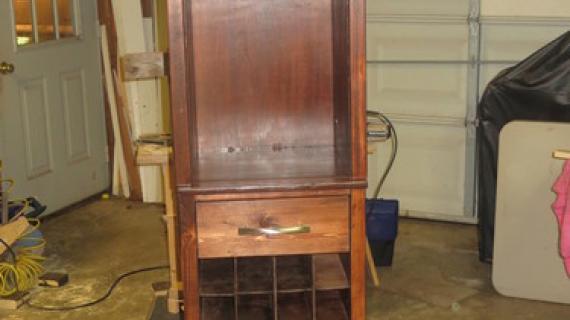
Plans to build a stemware hutch inspired by Pottery Barn's modular bar collection. Build your own with free, step-by-step plans.
Preparation
- 10 feet of 1x12 boards – for three hutches, use a single sheet of plywood cut into 11 ¾” wide strips 8 feet long. Make longest cuts first.
- 2 – 1x2 @ 8 feet long
- 1 – 1x3 @ 8 feet long
- 2 – 2x2 @ 8 feet long
- Use ¼” plywood from base to cover back.
- 2 – 1x12 @ 34” (sides)
- 4 – 1x2 @ 11 1-4” (width of 1x12s)
- 4 – 2x2 @ 34”
- 6 – 1x3 @ 12”
- 2 – 1x2 @ 12”
- 1 – 2x2 @ 14 ¾”
- 1 – 1x2 @ 17 ¾”
- 1 – 1x12 @ 17 ¾”
- 1 – 1x3 @ 17 ¾”
- 2 – 1x2 @ 14 ¾”
- 1 – 1x12 @ 14 ¾”
- ¼” plywood @ 17 ¾” x 34 ¾” (See base plan)


Please read through the entire plan and all comments before beginning this project. It is also advisable to review the Getting Started Section. Take all necessary precautions to build safely and smartly. Work on a clean level surface, free of imperfections or debris. Always use straight boards. Check for square after each step. Always predrill holes before attaching with screws. Use glue with finish nails for a stronger hold. Wipe excess glue off bare wood for stained projects, as dried glue will not take stain. Be safe, have fun, and ask for help if you need it. Good luck!
Instructions
Step 1

Cut your 1x2 trim to the width of your 1 x 12 boards, and nail to the sides using glue and 1 1/4" finish nails.
Step 2
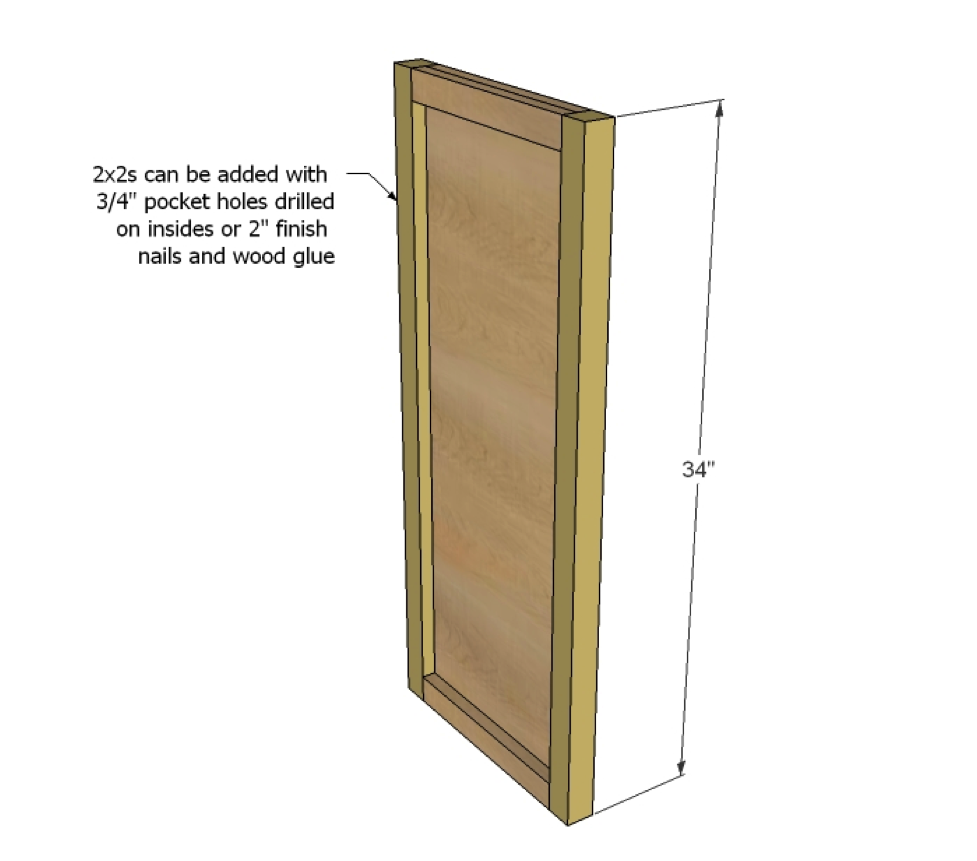
Attach the side trim with either pocket hole screws set for 3/4" stock and 1 1/4" pocket hole screws, or by nailing 2" finish nails through the sides.
Step 3
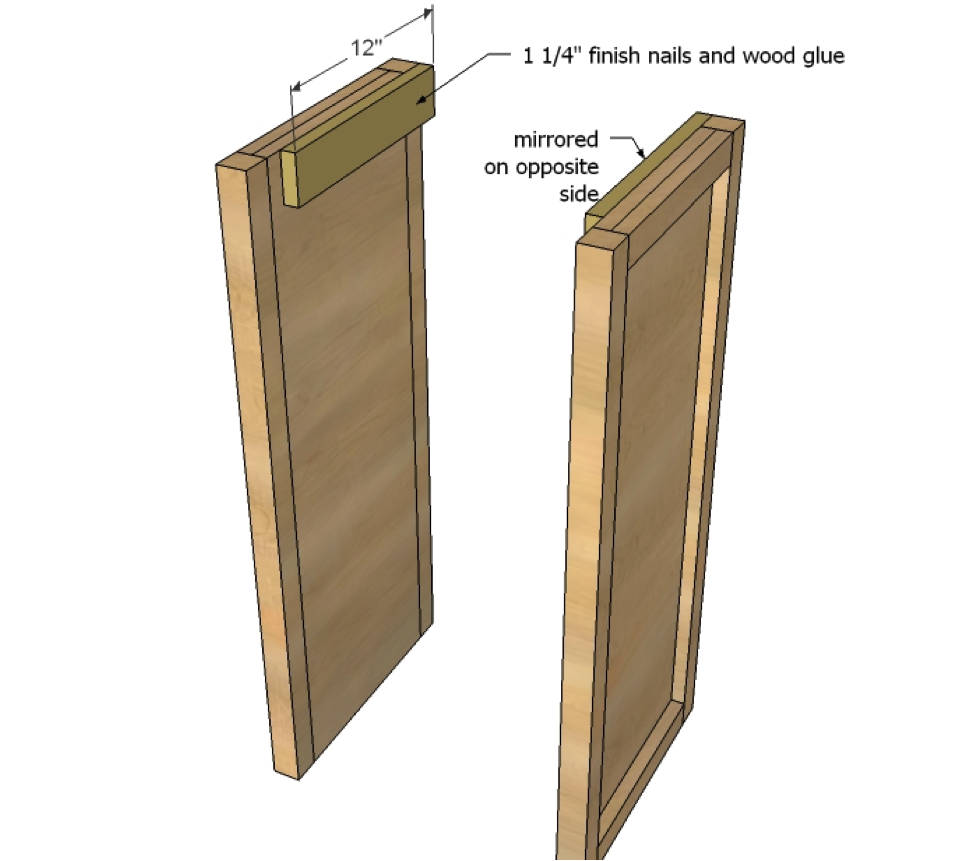
Nail 1x3s to the sides using glue and 1 1/4" finish nails. You may have to adjust it's length, depending on the width of your 1 x 12
Step 4
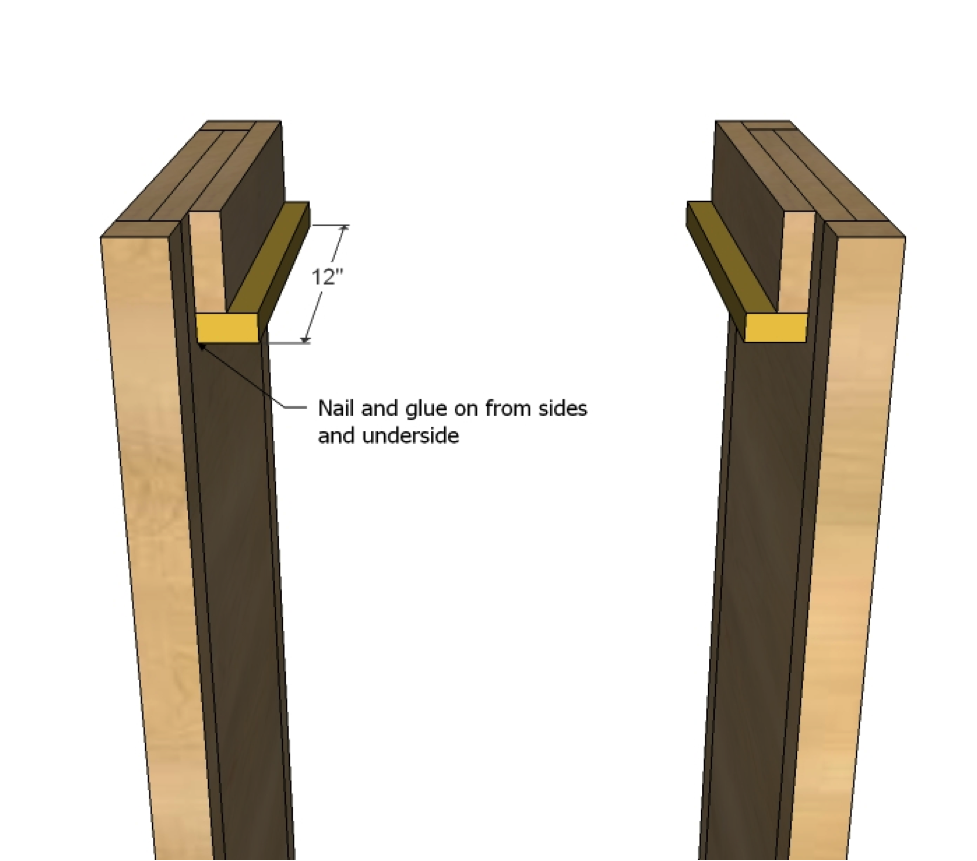
Nail 1x2s to the underside of the 1x3s added in the previous step using glue and 1 1/4" finish nails.
Step 5
Step 6

Using pocket holes set for 3/4" stock, build the top using 1 1/4" pocket hole screws. Then attach the top to the base with glue and 1 1/4" finish nails, keep the sides and back flush.
Step 7

Build your shelves as shown above with pocket holes. Then you can attach them with pocket holes from the underside, or shelf pins for adjustable shelves.
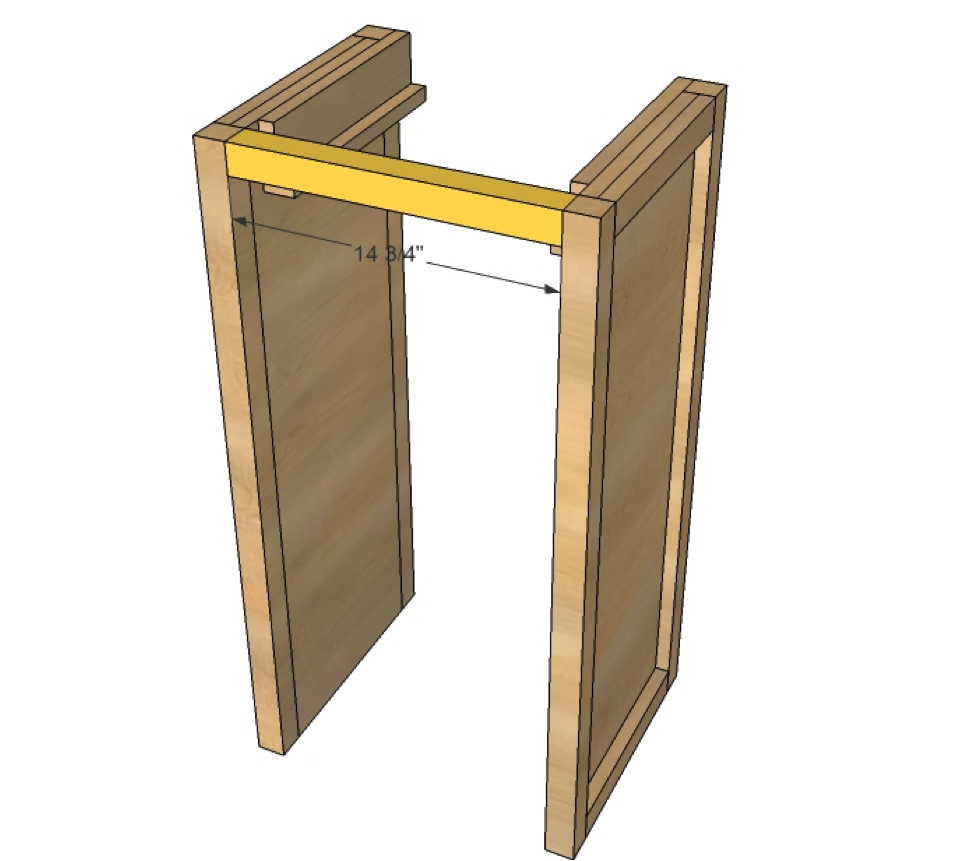
Step 8

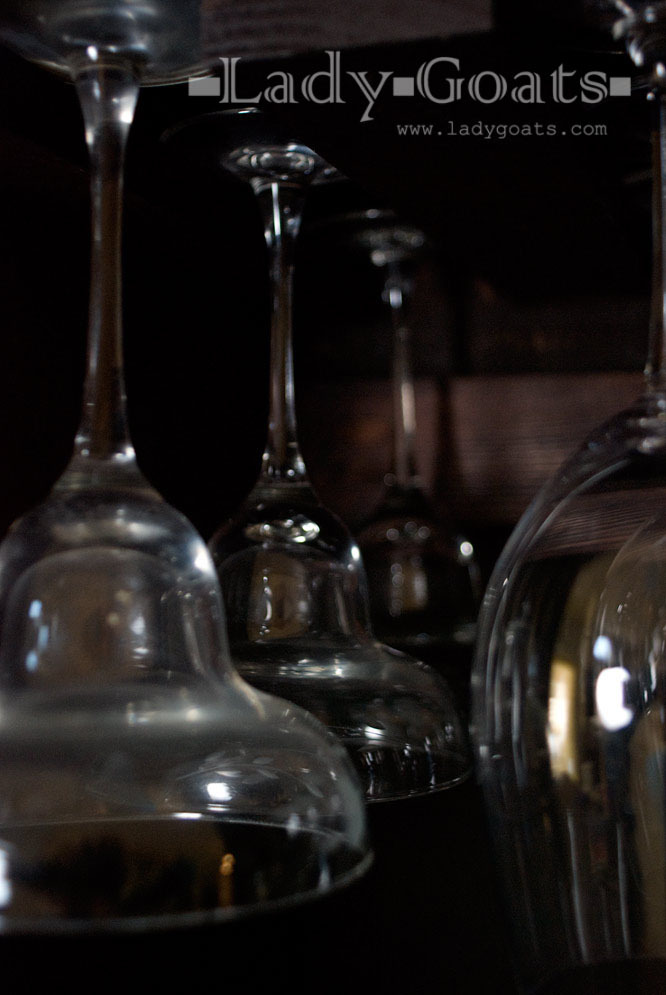
Build the remaining stemware pieces and attach to top.
Step 9
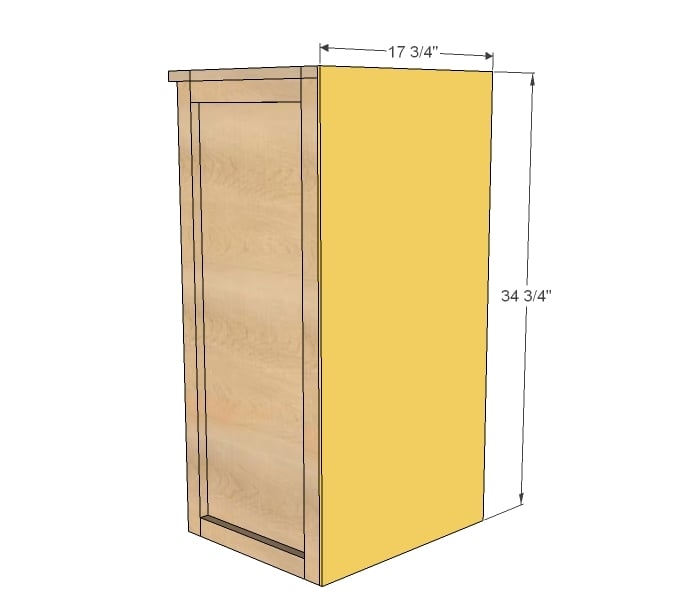
And finally, the back.
It is always recommended to apply a test coat on a hidden area or scrap piece to ensure color evenness and adhesion. Use primer or wood conditioner as needed.
Comments
guest (not verified)
Tue, 01/31/2012 - 07:45
This is really a beautiful
This is really a beautiful project!! I have to ask since I'm still new ar this, how do you connect the hutch and base?
In reply to This is really a beautiful by guest (not verified)
Lady Goats
Tue, 01/31/2012 - 08:01
Connecting the hutch and base
Hi and thanks! :-) I built a bottom shelf for this, so I just screwed through the bottom shelf into the base. I also added some 1x3 braces to the back of mine so that I could screw it into the wall (one under the stemware "slides", and one under the middle shelf).
nicwolford
Tue, 01/31/2012 - 08:45
I freaking love this
I think I just found my next project. Thank you.
tannisg
Tue, 01/31/2012 - 09:18
Beautiful - but not for my kids!
I love this! And we really need to build a bar/liquor cabinet/hutch of some sort (already have two china hutches, but still have things that don't fit, how sad is that!?)
But with toddlers and teenagers and all ages in between, I don't think the open wine storage in the bottom will work :) We need something that closes and preferably something that locks..
Maybe I could put a glass door on it or something?
In reply to Beautiful - but not for my kids! by tannisg
claydowling
Tue, 01/31/2012 - 15:49
Locks, kids and booze
If you want the hutch, build the hutch, with or without door. If you're worried about your kids drinking, that's a conversation you should have with them that's separate from the furniture.
The lock is a non-issue with your kids and booze. I lived with an underage alcoholic who never once touched my well-stocked and unlocked cabinet. In my youth, although I was far from temperate, I never bothered taking anybody else's booze either. A teenager after something that's been forbidden will move heaven and earth to lay hands on it.
tannisg
Tue, 01/31/2012 - 16:24
I agree - its more the toddler :)
Clay - I agree wholeheartedly about teaching them about drinking, and actually I do trust my teen. She's only 12 so I guess she's not technically a teen yet, but will be soon. I just like the idea of having it behind a closed door at least so its not a temptation. I think when she has friends over, or we hire a babysitter, or whatever, I'd rather not have it sitting open for her to have to worry about someone wanting. Probably silly of me.
And a moot point because the 1 and 3 year olds would spill/break/play with it long before anyone would drink it! They spilled a whole container of margarita salt that was sitting with the wine in our current open configuration - took weeks to sweep it all up because I tried to let roomba pick it up and it got spread into a thin layer all over my living room...
SongBabe7 (not verified)
Fri, 02/10/2012 - 10:57
hack for the lock issue...
I used toddler locks on the inside of a cabinet to accomplish this. Bonus was that you can't see them from the outside of my (otherwise) Grandmother's 1960s cabinet-turned liquor cabinet. http://preview.tinyurl.com/89cbnyc
SongBabe7 (not verified)
Fri, 02/10/2012 - 10:59
totlock
Add a door and put a Totlock on it. It's completely invisible from the outside, so it won't alert an unfamiliar person to the way to get it open. And it keeps the toddlers out too.
SongBabe7 (not verified)
Fri, 02/10/2012 - 11:01
totlock
Add a door and put a Totlock on it. It's completely invisible from the outside, so it won't alert an unfamiliar person to the way to get it open. And it keeps the toddlers out too.
Tsu Dho Nimh
Tue, 01/31/2012 - 14:11
What is that wine cork thing?
the star, snowflake or sea urchin of wine corks?
In reply to What is that wine cork thing? by Tsu Dho Nimh
Lady Goats
Tue, 01/31/2012 - 16:14
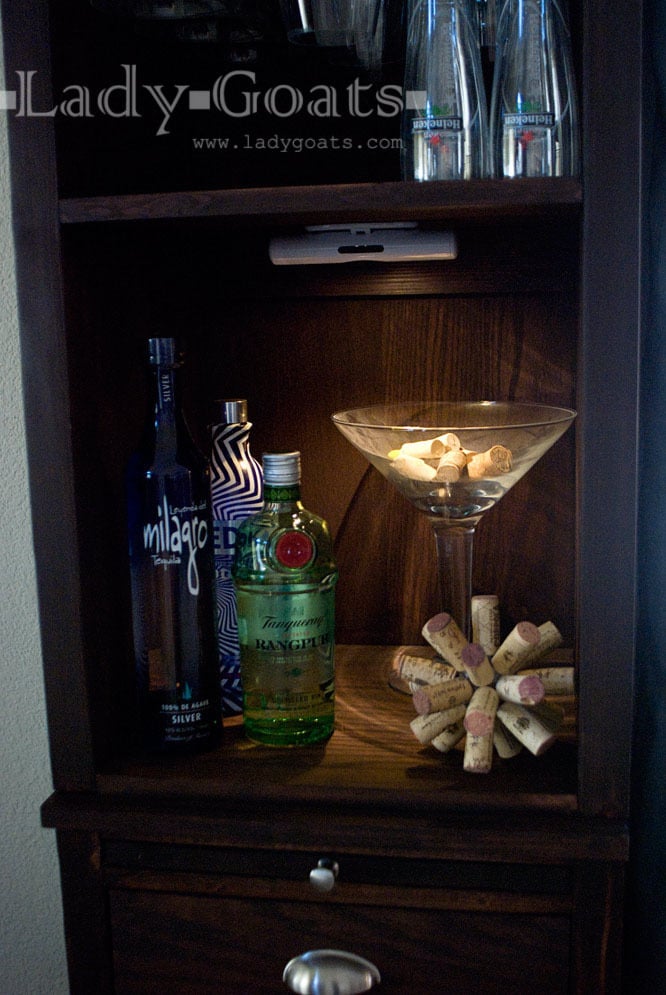
Cork "thing"
It's just a small styrofoam ball that I painted brown and hot glued corks to. I made a BIG one that required 200+ corks, but the kid decided it was better taken apart and shredded. It was awesome, unlike this measly li'l one :-)
Guest (not verified)
Tue, 01/31/2012 - 17:01
when my kids were toddlers we
when my kids were toddlers we tied the wine bottles to the open winr rack we had.
lazyLiz
Thu, 02/09/2012 - 20:05
wowee!
I'm in the middle of building my display cabinet for my breakfast area and I just saw this one. I think I'm going to steal from your plan and add the hanging glass thingy on mine :-) (don't drink much wine but I like how it looks)
In reply to wowee! by lazyLiz
Lady Goats
Fri, 02/10/2012 - 07:48
yay, steal away!
I'm sure it's gonna look great!
markw
Tue, 02/21/2012 - 12:37
Stemware holders
I want to build this for my wife, but I don't quite understand how to do the stemare holders. What is their size and spacing, and how did you attach them? Did you nail them to the top before you nailed that on?
Thanks for the great project!
In reply to Stemware holders by markw
Lady Goats
Wed, 02/22/2012 - 09:49
That.. is an excellent question!
I actually forgot to add this step with the photo of the spacing. I'll email Ana and see if she can add it in there. SO sorry!
In reply to Stemware holders by markw
Lady Goats
Wed, 02/22/2012 - 12:01
Ok, now you can see how it was added :-)
The amazing Ana fixed my error :-)
claydowling
Tue, 02/21/2012 - 15:17
Stemware holders
Sizing and spacing of the stemware holders is fairly easy. You need to size them big enough to hold your stemware, and space them far enough apart to fit your stemware into them.
It's easiest to figure out by cutting the top piece, then setting up a row of stemware on top of it. Because people have different sized glasses, size it to the stemware that you have. Set 1x material on edge between the glasses, and that marks the position of your rails in the final cabinet.
CindyLouBell
Tue, 04/16/2013 - 11:24
Does anyone have an
Does anyone have an approximate cost on this project? Or on the wine grid base?
In reply to Does anyone have an by CindyLouBell
Lady Goats
Tue, 04/16/2013 - 12:22
Approx Cost
Hi Cindy! I spent $143 on the bar (that's for both the hutch and the wine-grid base, including hardware, pocket hole screws and sandpaper ;-) ) - If you decide to do it without the cove moulding (I still haven't added mine), that'll save you about $15.