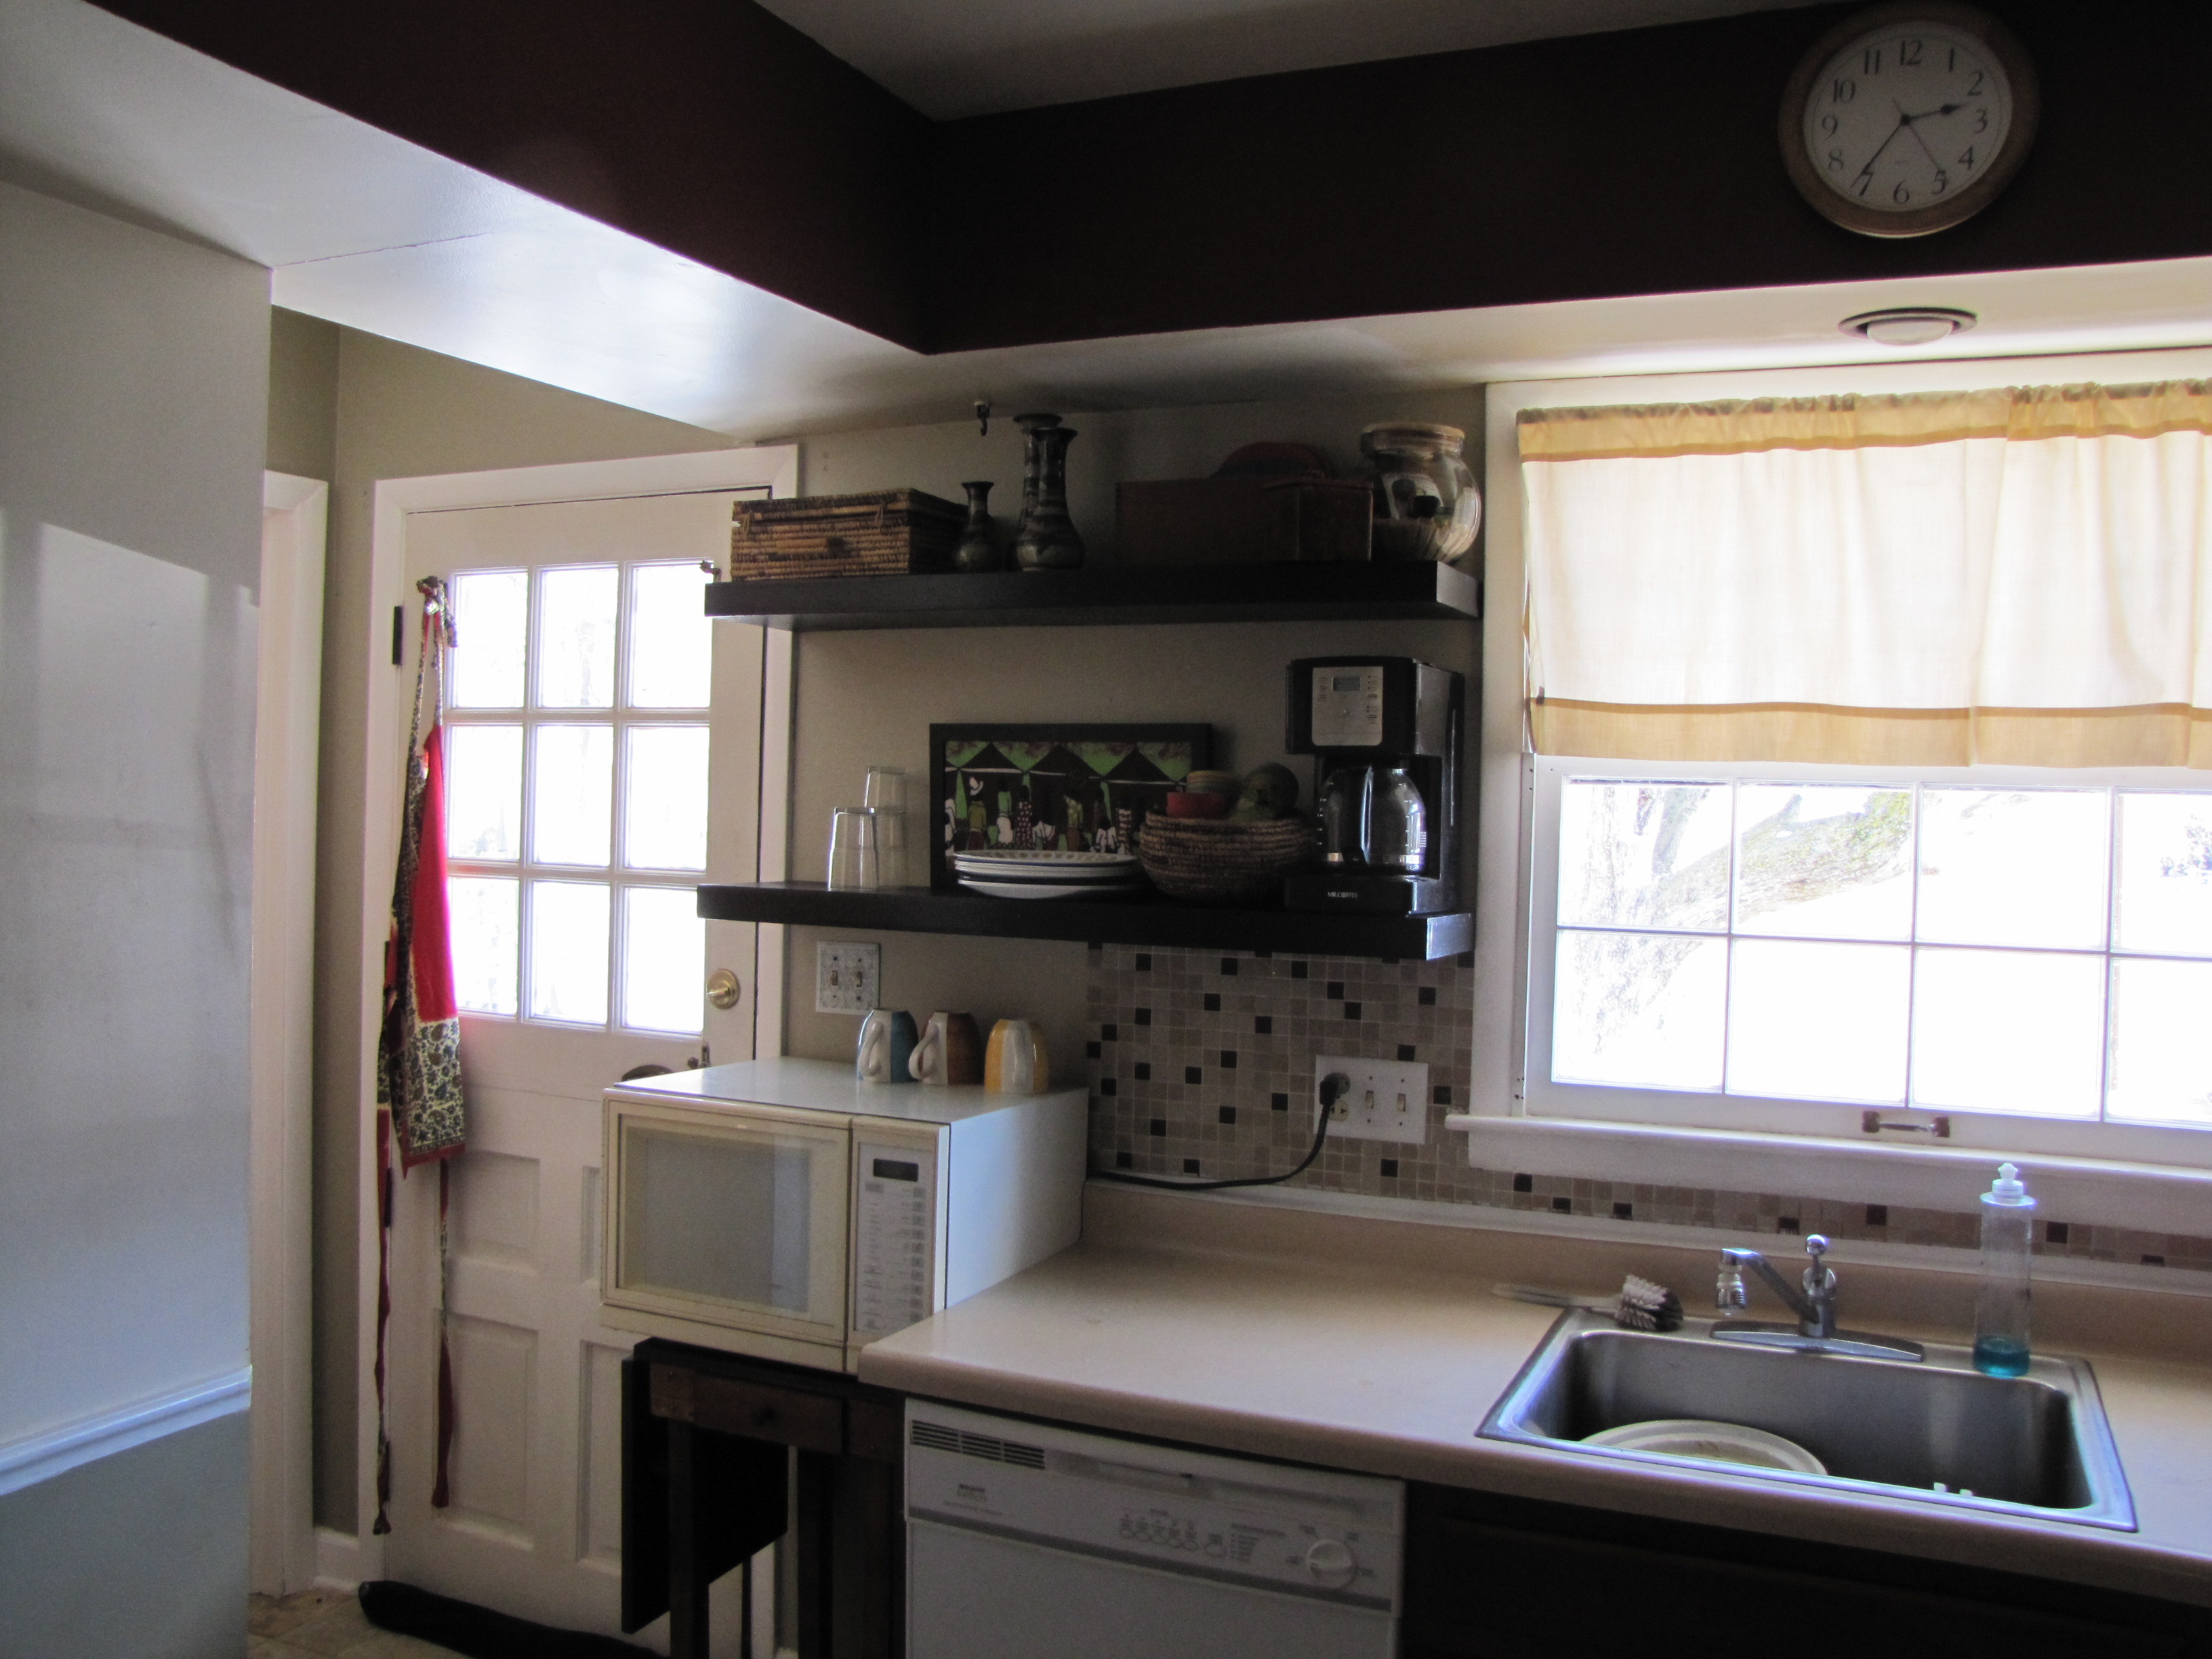
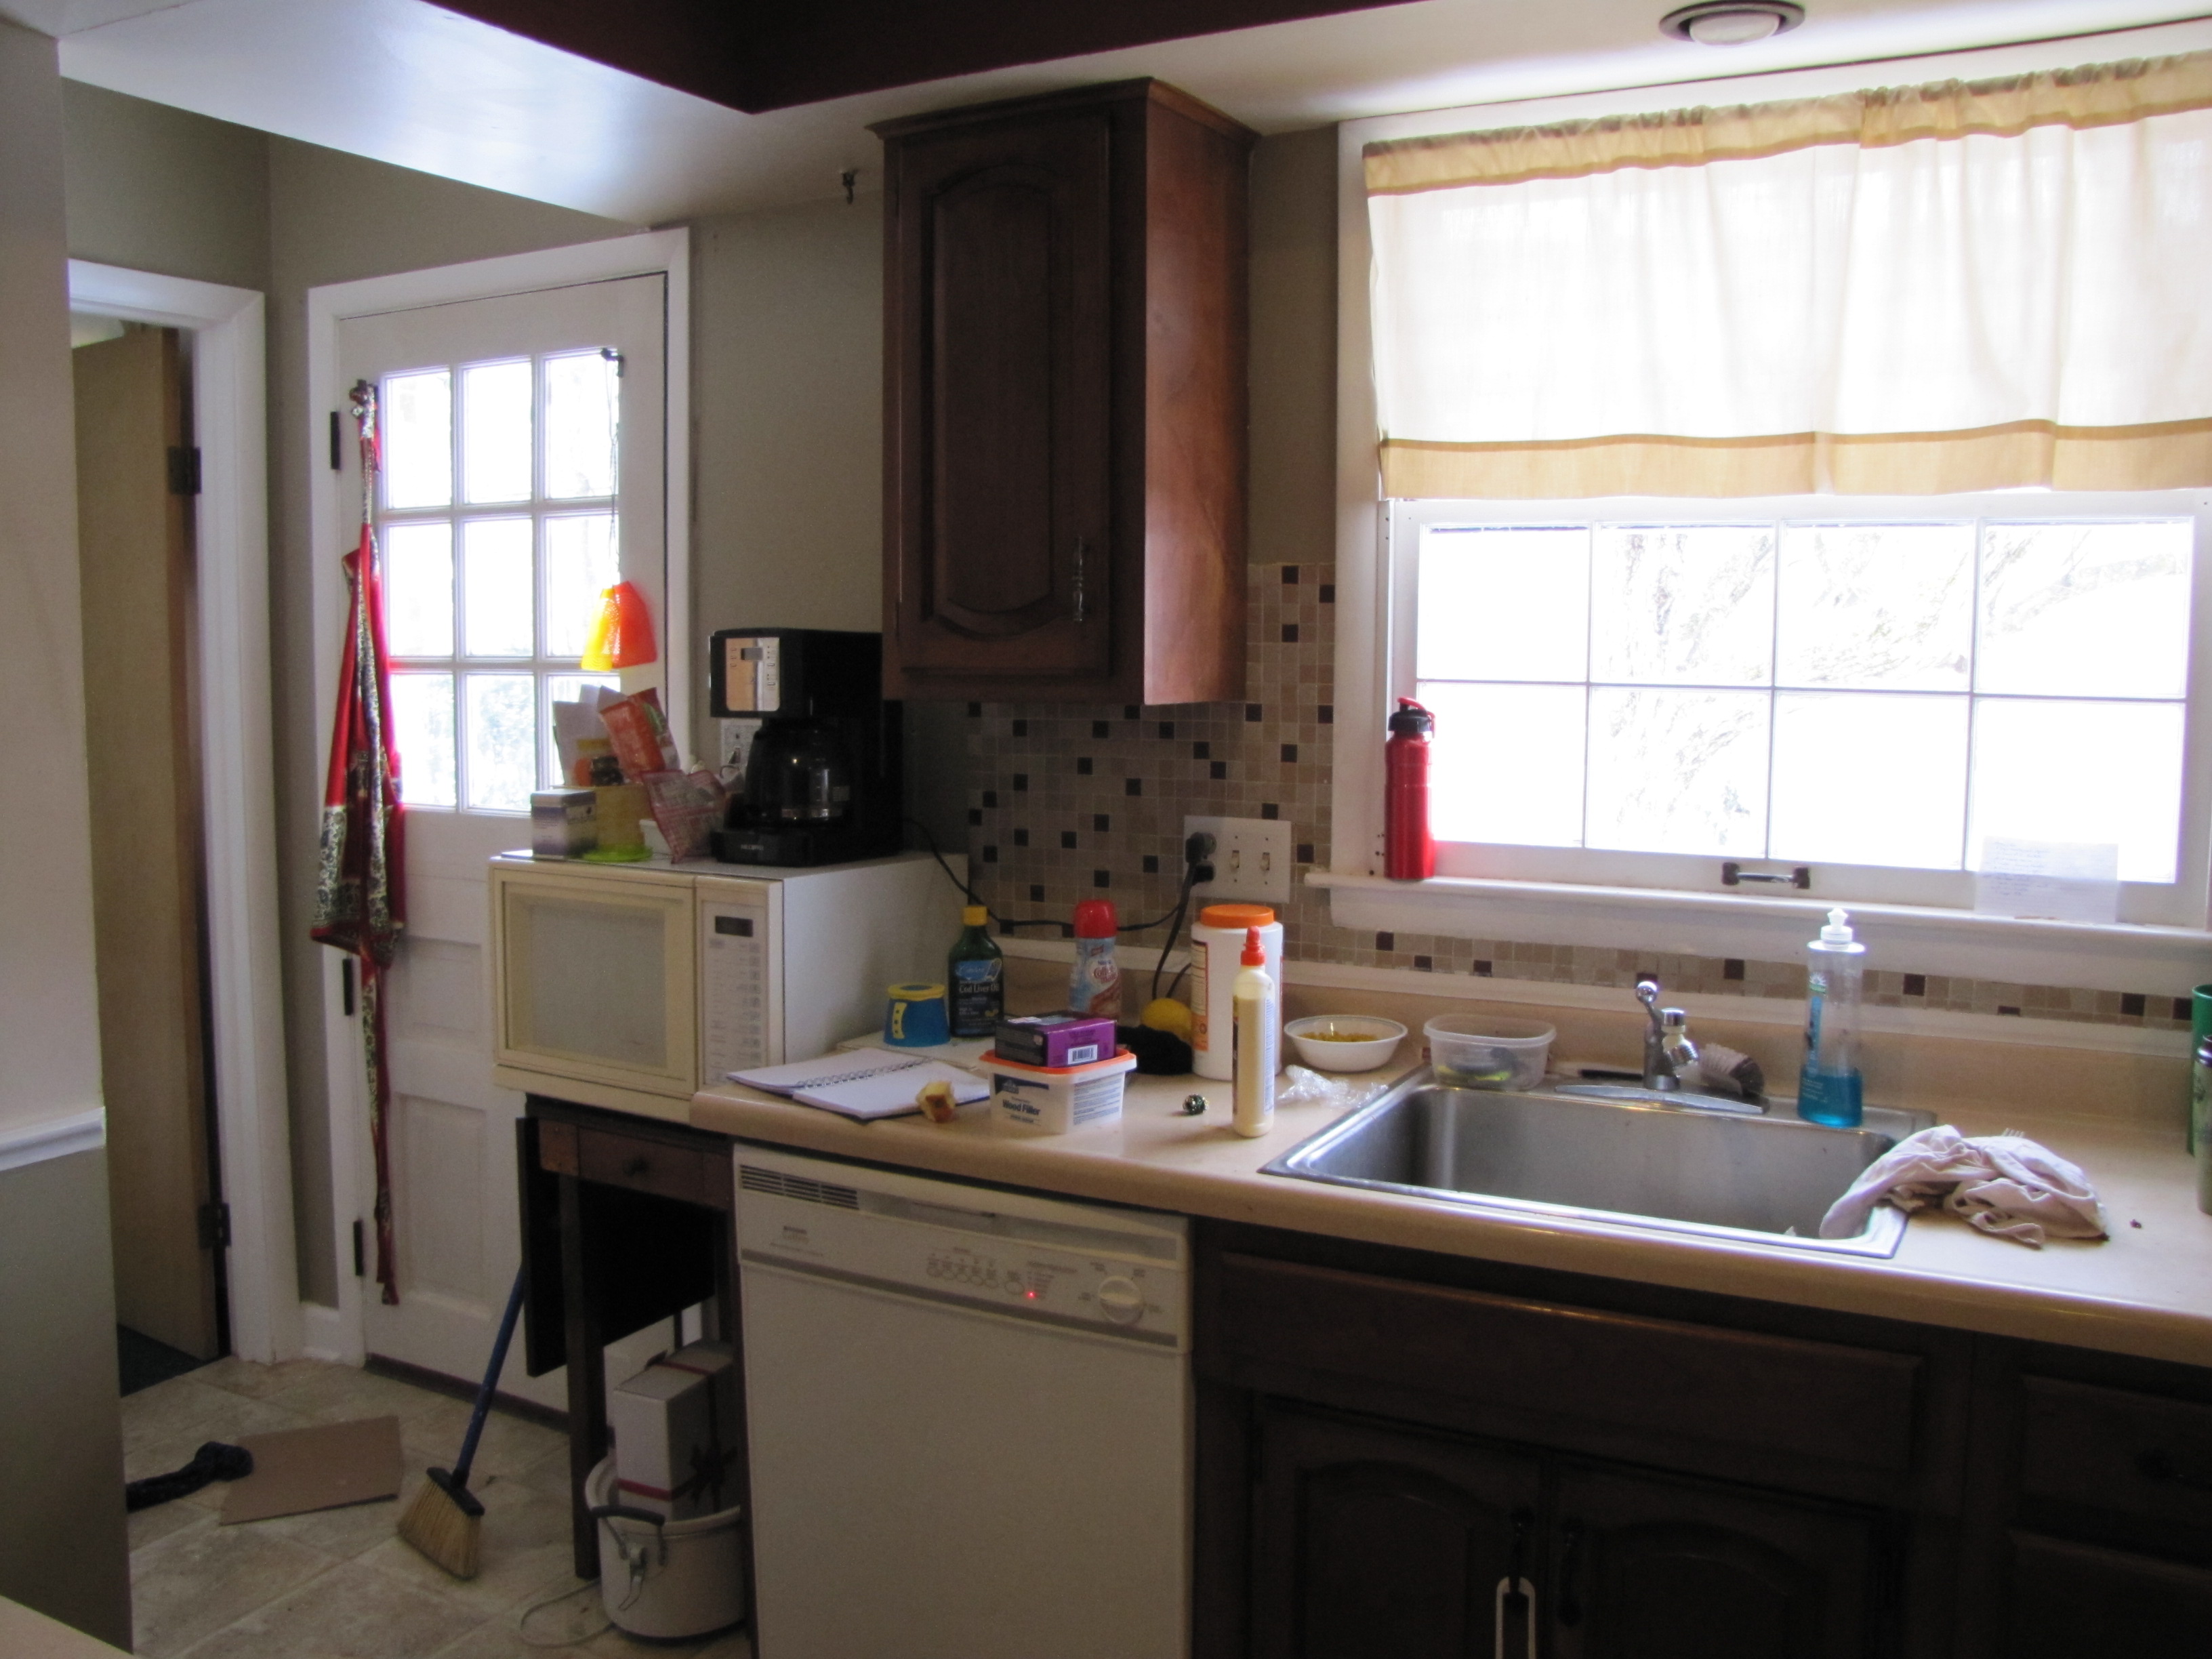
First project we have done. We love how well the shelves turned out. We modified the original plans to 9 inches deep. We had one hang up with the original plans b/c the two inch screw at the end of the frame go in perpendicular to the wall and we didn't have a way screw the frame into the wall and hit a stud. We added a hidden bracket on the end directly to the outside piece. It was a fun project and opens up our small kitchen tremendously.
Built from Plan(s)
Estimated Time Investment
Day Project (6-9 Hours)
Finish Used
black -high gloss.
Recommended Skill Level
Starter Project
Comments
Martha Jones DW
Tue, 02/14/2012 - 18:19
Those came out really nice.
Those came out really nice. Does it give you more storage, then the cabinet?
amcateer
Wed, 02/15/2012 - 15:50
yes and no. We have more
yes and no. We have more space but not everything we had in the cabinet (water bottles etc) worked with open shelves and we had to move elsewhere. We are thinking about adding another shelf in the middle that goes from the door to the coffee maker. But I'm not sure if it will look to cluttered. Eventually I would like to make a tilt out trash can cabinet with a cubbie for the microwave on top.