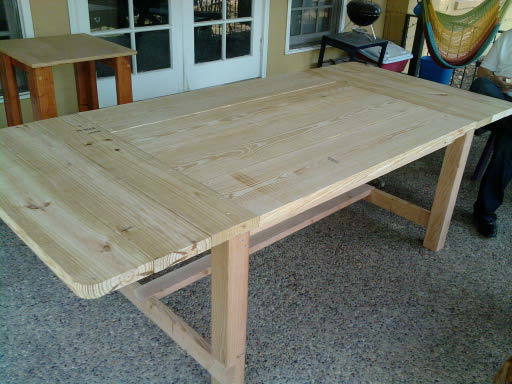


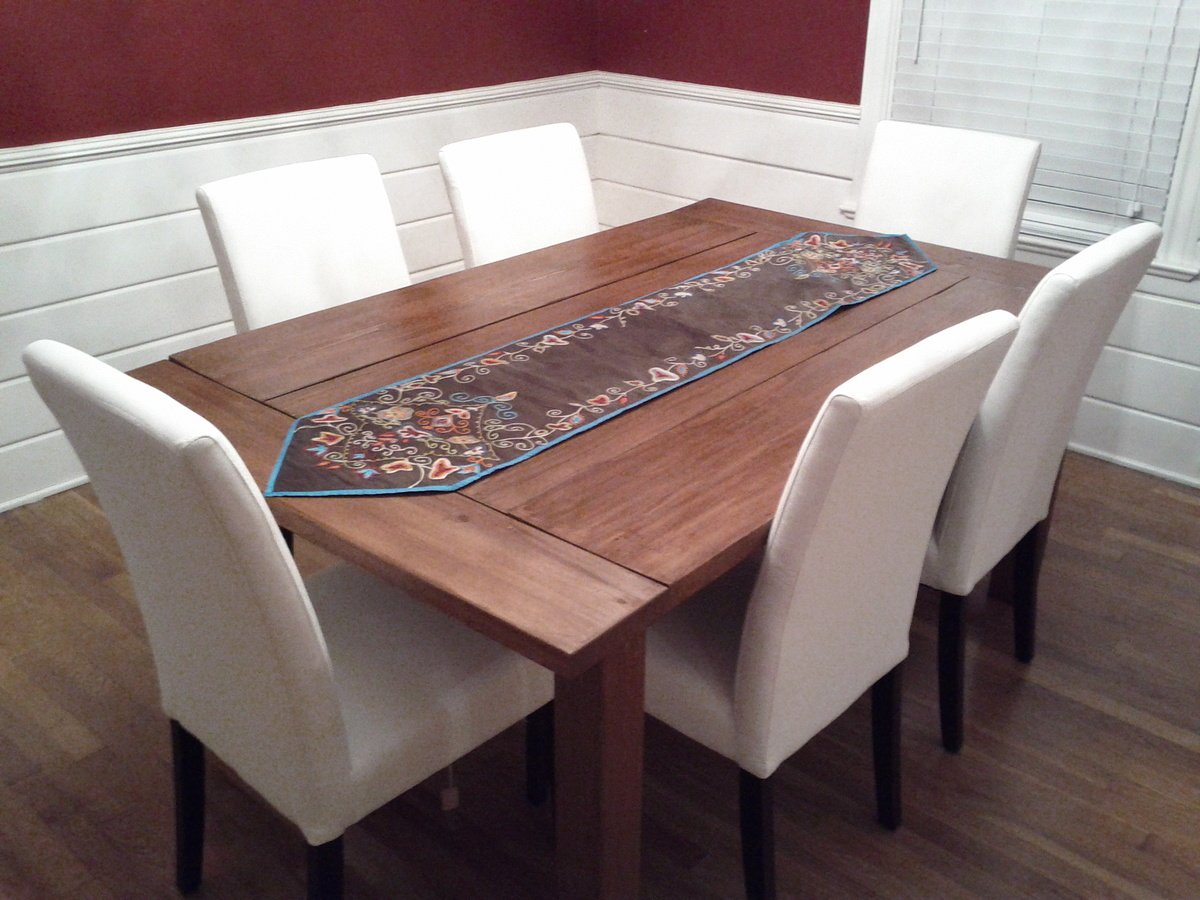
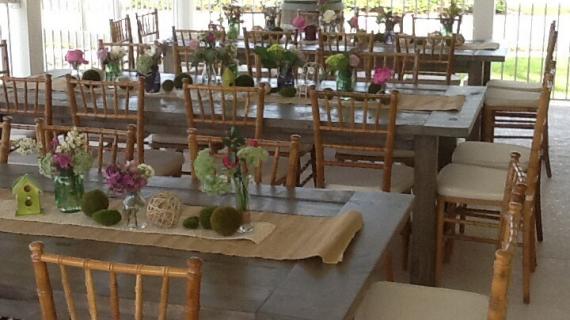
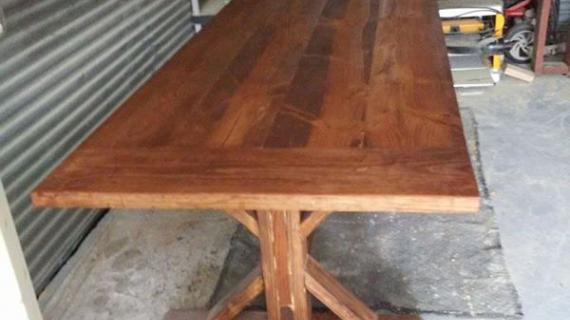
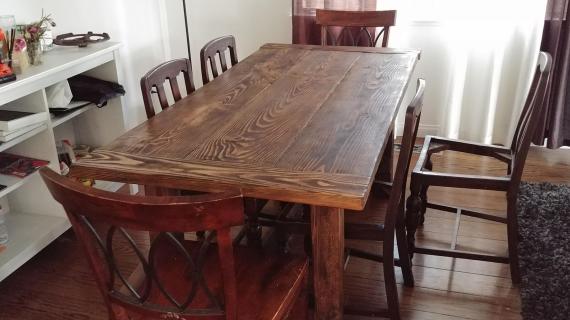
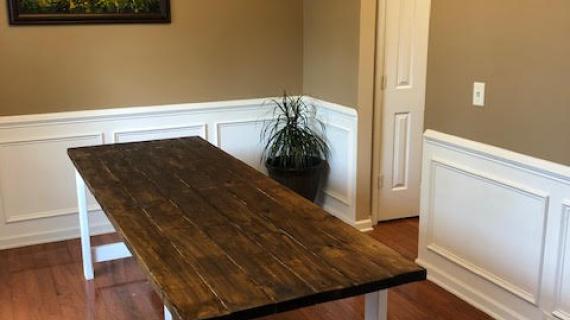
We saw this table at a furniture store but did not want to pay the hefty price for it. We took a few pics and then looked for similar plans on this site and found some. I then purchased the lumber, yellow pine and timber for the legs. The top is three 2X12 and the ends and removable extensions are 2X6. The legs are 4X4 timber. The table is extremely heavy and I needed a second person to help with the cuts and putting it together. It took about 8 hours to completely assemble and another several hours of sanding and then finally about three hours to stain. It was well worth all the time I spent putting this together!

Preparation


Please read through the entire plan and all comments before beginning this project. It is also advisable to review the Getting Started Section. Take all necessary precautions to build safely and smartly. Work on a clean level surface, free of imperfections or debris. Always use straight boards. Check for square after each step. Always predrill holes before attaching with screws. Use glue with finish nails for a stronger hold. Wipe excess glue off bare wood for stained projects, as dried glue will not take stain. Be safe, have fun, and ask for help if you need it. Good luck!
Instructions
Step 1
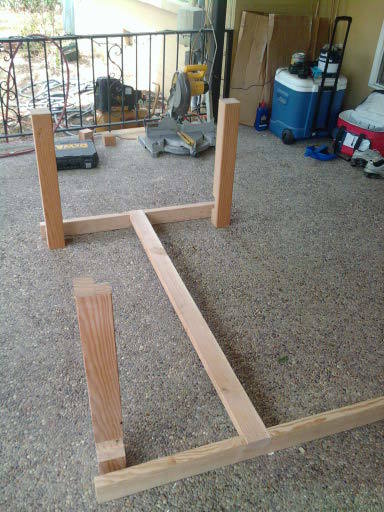
Step 2
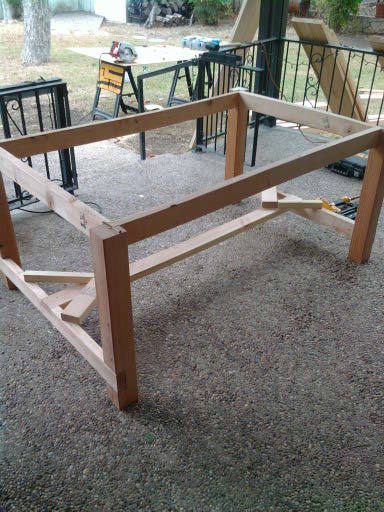
Step 3
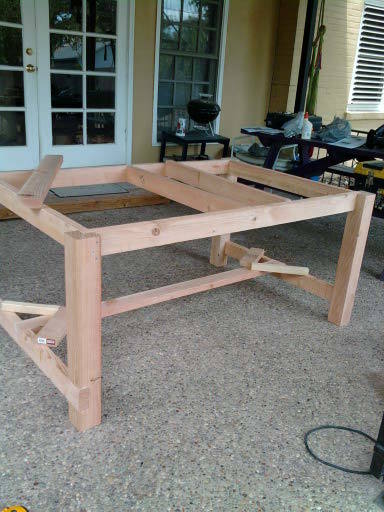
Step 4
Step 5

It is always recommended to apply a test coat on a hidden area or scrap piece to ensure color evenness and adhesion. Use primer or wood conditioner as needed.


Comments
margjack
Fri, 02/24/2012 - 07:14
Great job!
How do the extensions work?
Guest (not verified)
Wed, 02/29/2012 - 14:12
extensions
The extensions are attached to two 2X2 pieces of wood that slide in from underneath. I notched out the necessary space for the 2X2 and they slide in and out easily.
beachmama79
Fri, 02/24/2012 - 10:05
How Beautiful!
I would love to make something like this to use for a craft table. Great job!
drgal12
Wed, 02/29/2012 - 14:17
Thanks!
It would make a great craft table as well. You will not have to worry about over-loading this table with weight because of the sturdiness of the 2X12's. Good luck!
Daniel
MelissaG (not verified)
Mon, 02/27/2012 - 01:06
directions?
I am wondering if there are actual instructions for this table? I keep looking and I see what you need and the finishing instructions but I'm not seeing a step-by-step guide for how to make this, cost etc. Thanks!
drgal12
Wed, 02/29/2012 - 14:21
directions
I hesistated on putting all the directions in only because they were extensive. I will work on making a shorter version of the step-by-step directions I used. The cost of the materials was approximately $200. What was difficult was finding the 2X12's that were not too warped. It was difficult to do that because they are not usually used for something so small and detailed as a table. You can substitute them with boards that are not as wide.
Daniel
Guest (not verified)
Mon, 02/27/2012 - 11:30
Love this table
I would love to build this table. Do you have step by step instructions? I am so happy to find another woman who likes to build. Great plans and instructions.
drgal12
Wed, 02/29/2012 - 14:24
Thanks
I will work on getting a shorter version of the step-by-step directions. The ones that I used were from two different sites and combined a couple of steps. It was a lot of fun building this table but I did need the use of another person b/c of the size of the boards taht I was using. Best of luck.
Daniel
Margo
Wed, 03/07/2012 - 18:49
Beautiful table. What stain
Beautiful table. What stain did you use?
drgal12
Fri, 03/09/2012 - 22:08
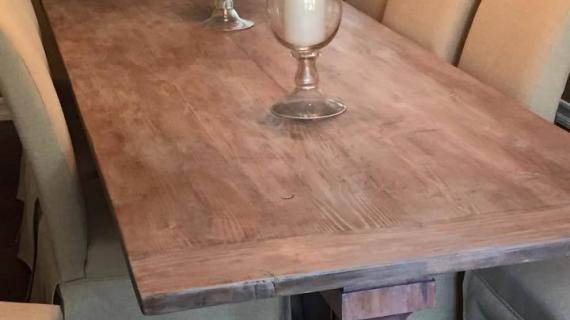
Cabot's Brown Mahogany
Cabot's Brown Mahogany
Amy Imes (not verified)
Thu, 03/08/2012 - 11:27
dimentions?
Hey, Love the table. My husband is thinking about making the table, but was wondering if you could post the dimentions (table top, legs, etc...). Thanks, Amy
drgal12
Fri, 03/09/2012 - 22:46
legs - 4X4 timber @ 28
legs - 4X4 timber @ 28 1/2"
top - 2X12 (X4) @ 44 1/2" wide
2X6 (X2) @ 44 1/2" long
extensions are 2X6 (X2 @ each end) @ 44 1/2" long
cross members connecting legs 2X4 (X2) @ 42"
2X4 (X1) @ 64"
Rob L (not verified)
Sat, 03/10/2012 - 19:41
I'm getting some details before my build.
I am planning on building this table in the next couple of weeks. I was wondering how you cut your notch in the 4x4 post for the tabletop support boards. I have been trying to figure out a good way of doing so. Thanks for the inspiration! Rob L
Guest (not verified)
Wed, 03/14/2012 - 11:16
Wood
What kind of wood did you use?
Guest (not verified)
Fri, 03/23/2012 - 05:59
Finished photo is store table?
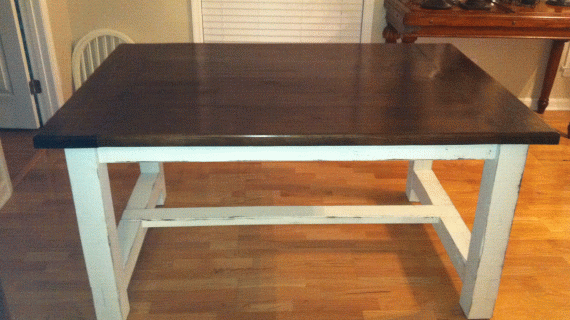
I don't see a brace at the bottom of the legs in the finished photo...I'm assuming this
is the store table that made you want to do it?
drgal (not verified)
Sun, 10/07/2012 - 23:44
No, the finished photo is my
No, the finished photo is my table. that is how it turned out. The braces were only on just to stabilize the frame until the top frame was put on to sturdy it.
JW (not verified)
Wed, 10/24/2012 - 12:42
question
I'm still confused by this response. In one picture, there are angle braces connecting to the center board that spans the length of the table. I can see why these would be removed after the top is placed on. However, what about the brace between the two legs (short side to short side)? I don't see how this could be removed as it was notched into the corner piece in the earlier pictures. In the finished picture, the chairs on the end would have to be straddling this brace. (?) Sorry, just wanting to clarify before I begin this project. Thank you.
Barb Krull (not verified)
Sun, 03/25/2012 - 10:59
HELP!!!!
We are trying to follow the directions but we cannot see the dimensions in detail (the ones in the PDF file pictures). Is there a way to increase size while keeping the clarity? If we increase the picture size we lose the detail in order to read it.
huskerkme
Wed, 11/05/2014 - 21:10
Extensions
I was wondering how you attached the extensions. I have seen this table with the extensions before in a catalog and was wondering how to attach them. Any hints on how you did it or plans would be greatly appreciated.
SisCox
Wed, 12/20/2017 - 08:23
Extensions
How did you notch out for the extensions?