


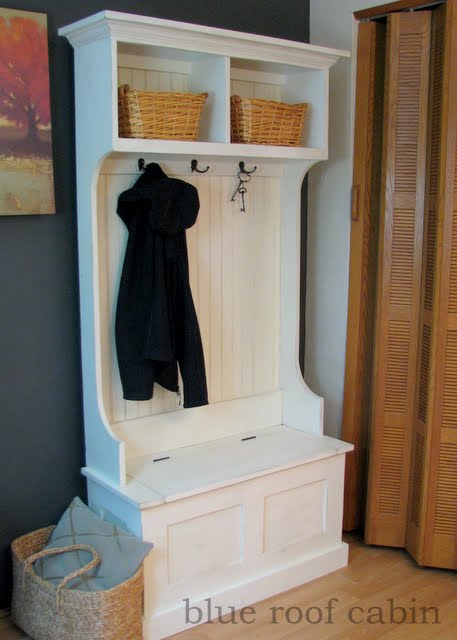
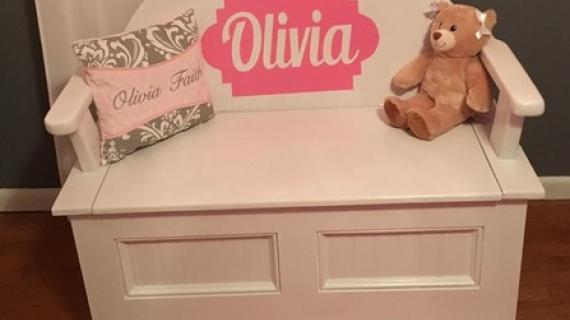
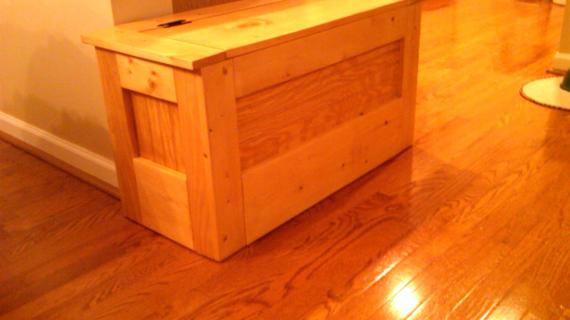
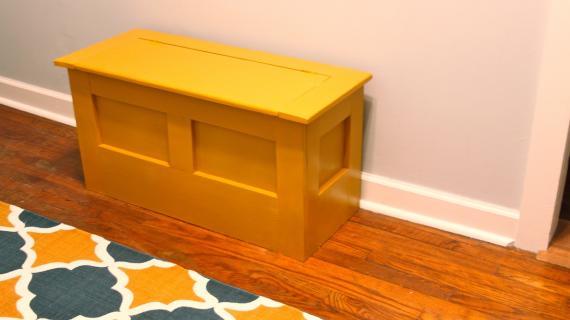
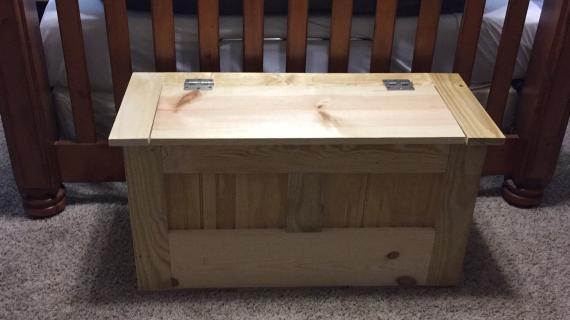
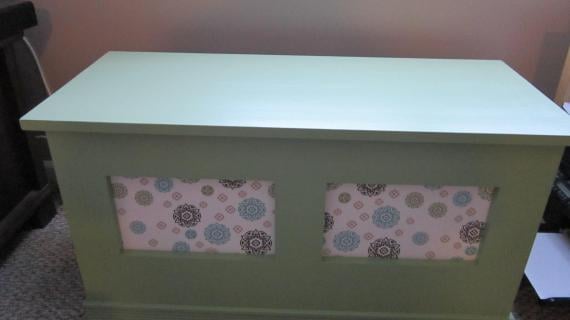
Free easy plans to build an entryway storage bench featuring lift top compartment. Step by step plans include shopping list, cut list, diagrams, and instructions.
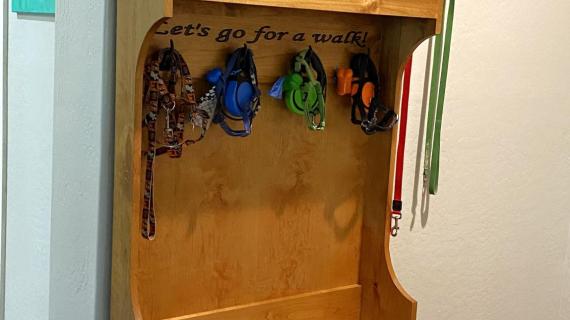
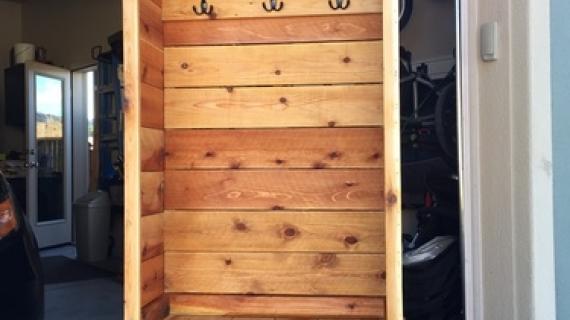
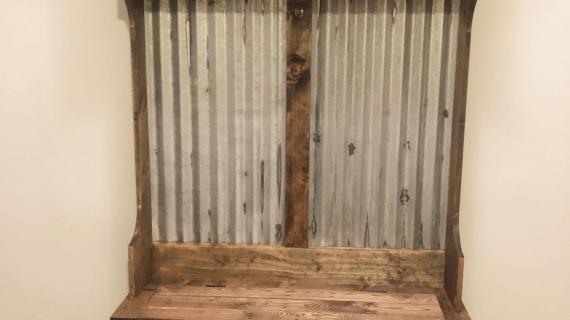
Add the narrow hall tree hutch on top to create a full entryway storage solution.
Hi everyone and happy Friday!!!

Preparation
- 3 - 1x4 @ 8 feet long
- 1 - 1x8 @ 6 feet long
- 1 - 1x3 @ 8 feet long
- 1/4" plywood scraps or 1/2 sheet - If you are building the hall tree, consider using beadboard
- 1 - 4 1/4" base moulding 7 feet long
- 1 - 1x12 @ 28 3/4" long
- 1 - set narrow profile hinges
FRONT/BACK PANELS
- 2 - 1x4 @ 27"
- 2 - 1x8 @ 27"
- 4 - 1x4 @ 17 3/4"
- 2 - 1x4 @ 7"
- 2 - 1/4" plywood @ 32" x 17 3/4"
SIDE PANELS
- 4 - 1x3 @ 17 3/4"
- 2 - 1x4 @ 7 1/2"
- 2 - 1x8 @ 7 1/2"
- 2 - 1/4" plywood @ 12 1/2" x 17 3/4"
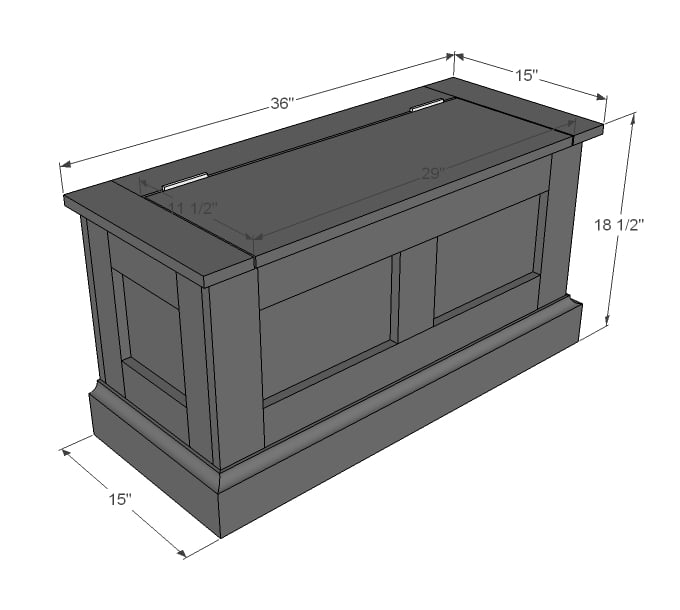
TOP
- 2 - 1x4 @ 15"
- 1 - 1x4 @ 29"
- 1 - 1x12 @ 28 3/4"
- Optional moulding cut to fit at base


Please read through the entire plan and all comments before beginning this project. It is also advisable to review the Getting Started Section. Take all necessary precautions to build safely and smartly. Work on a clean level surface, free of imperfections or debris. Always use straight boards. Check for square after each step. Always predrill holes before attaching with screws. Use glue with finish nails for a stronger hold. Wipe excess glue off bare wood for stained projects, as dried glue will not take stain. Be safe, have fun, and ask for help if you need it. Good luck!
Instructions
Step 1

You will need to build two - one for front and one for back.
Step 2

Also build two sides.
Step 3

Then attach all four panels to make a box. You can drill pocket holes to attach with pocket hole screws as well.
NOTE: you may wish to attach plywood pieces (next step) before assembly - especially if you are using small scrap pieces.
Step 4

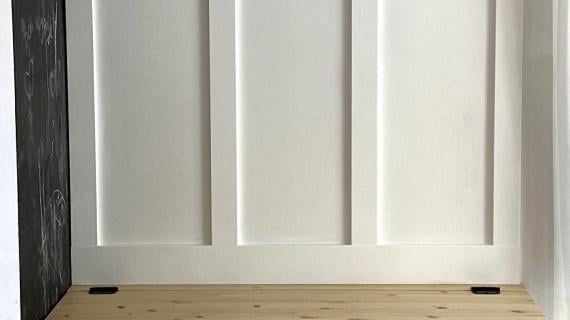
Plywood the insides with 1/4" plywood or beadboard and attach with glue and nails.
Step 5
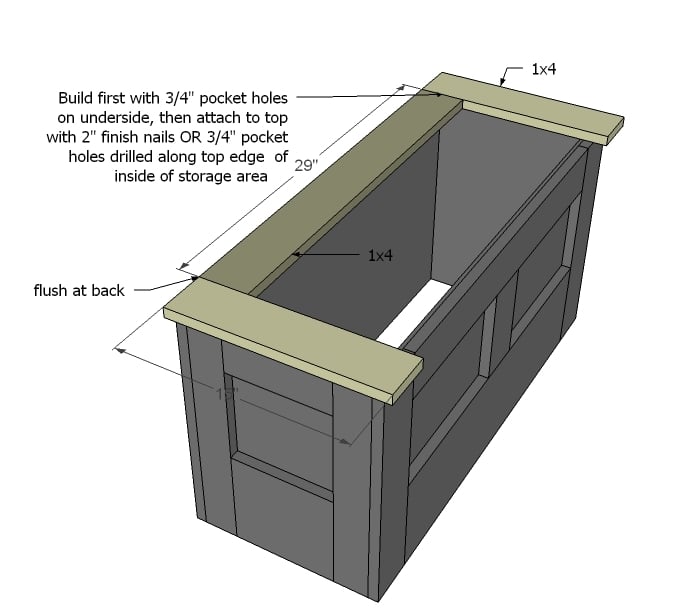
Step 6

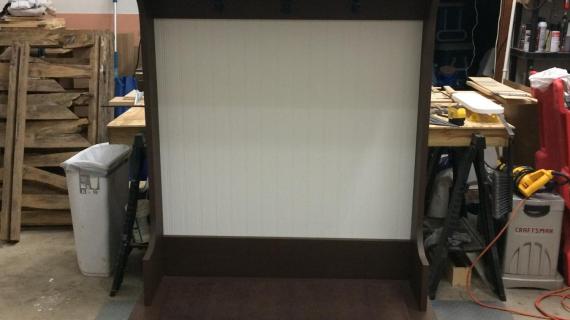
I really like the added moulding. I recommend cutting to fit, mitering corners with a miter saw.
Step 7

You can attach hinges by setting on top (easiest method) or in the joint.
It is always recommended to apply a test coat on a hidden area or scrap piece to ensure color evenness and adhesion. Use primer or wood conditioner as needed.

Comments
PghMommaof3 (not verified)
Fri, 02/03/2012 - 11:59
bottom?
As this is built, is it open on the bottom?
In reply to bottom? by PghMommaof3 (not verified)
Ana White
Fri, 02/03/2012 - 12:07
Yes, this is built open
Yes, this is built open bottom. To add a bottom, I'd recommend 3/4" plywood, cut to size and attached on underside with 3/4" pocket holes and 1 1/4" pocket hole screws and glue.
PghMommaof3 (not verified)
Fri, 02/03/2012 - 12:09
Thanks!
Great, thanks! I'll add this to my "to-do" list. Which seems to have more "to-do's" on it than I have time "to do" them!
Rachael Hubbard (not verified)
Fri, 02/03/2012 - 13:00
Is there an estimated cost on
Is there an estimated cost on this? I LOVE it but am wondering if it would fit in my budget... A total on the whole thing, not just the bench?
Joe (not verified)
Fri, 02/03/2012 - 14:46
Fire Truck Bed
Wonderful bed. What will it cost for me to build? I'm happy I found it!
Guest (not verified)
Fri, 02/03/2012 - 15:08
Build it!
Build it!
YankeeBelle
Fri, 02/03/2012 - 16:30
I Love it!
This is beautiful. What a generous gift for charity. Ordered my pocket hole jig today....this is DEFINITELY going on the list. Thank you Ana and Blue Roof Cabin for sharing these plans!
melfosson
Fri, 02/03/2012 - 16:34
Google Sketchup file
Is it possible to make the original google sketchup file available for this plan so I can make some adjustments? I'm going to build this for a friend, but we need to change some dimensions, etc. I'd love to be able to show her the sketchup according to her dimensions instead of having to recreate the whole drawing myself in sketchup.
Elle's best friend
Sat, 02/11/2012 - 20:58
I love this!
I was looking for plans to build a window seat for my small kitchen, when I came across your website. I am so impressed and inspired with all the designs and the talent of yourself and your contributers. I have never built anything, but the high cost of particle board furniture with their off gassing fumes along with the ease of your plans has got me believing. I read your website last night, called my best friend shared it with her and bought the kreg jig today. I'm ready to buy wood and supplies, but need some help with modifying the dimensions. I would like to make it 50" long to fit under my window. Any help you could provide would be greatly appreaciated!
Guest (not verified)
Sun, 04/01/2012 - 12:28
Window bench
I too have been looking for a window bench plan. If Elle's best friend finds a plan or if we can pressure Ana to create one :) let me know.
Pasi Haverinen (not verified)
Thu, 09/27/2012 - 02:44
Thanks for fabulous site for home wood craftmanship
Hi,
I must admit that your site has given me lots of inspirations lately regarding in the process of creating wooden storage bench among other things.
Thank you very much for your detailed and inspiring site...it provides in-depth knowlege about the phases of contracting usable hand-made pieces of furniture. in-down-to-earth manner.
EMarshall.MA
Sat, 01/26/2013 - 21:45
I'm a newbie - help!
I've drawn these plans to scale on SketchUp but I'm having trouble figuring out how to adjust the lid. I've extended this to become seating/storage for my tiny kitchen/"breakfast nook"...and I need it to hold some, oh, 250-300 lbs if possible. I've made mine to be 53"x20". Can you please help?Thanks I advance. :-)
In reply to I'm a newbie - help! by EMarshall.MA
JoanneS
Sun, 01/27/2013 - 07:12
Mimi's Storage Bench reply
Hi EMarshall.MA,
In Ana’s plan, her top is 7 ¼” shorter than the overall finished length, and 3 ¾” narrower than the overall finished width.
If we apply that to your top which is 53” x 20”, yours would come out to 45 ¾” x 16 ¼”
I would recommend waiting to cut this piece till after you have attached the top frame in Step 5, and re-measure your opening just to make sure. It would be ¼” overall shorter and ¼” overall narrower than your opening.
To make the bench sturdier for seating, a center upright of 3/4" plywood inside the bench would help strengthen it. I would recommend to add this after step 4. Your sides are 5” wider than the original plan, so I’d use the side measurement of 12 ½” + 5”, and then subtract ½” to account for the 1/4" plywood added in step 4, which would give you 17” as the width, and using 17 ¼” as the height (same height as the plan). Measure after you assemble step 4, just to make sure the 17” will fit. Using pocket holes, you can attach it from the inside to the upright front frame (top, middle & bottom), and the back frame (top & bottom).
Hope this helps? Happy building! :)
Joanne
kongk
Tue, 05/21/2013 - 04:22
All the contents you
All the contents you mentioned in post is too good and can be very useful. I will keep it in mind, thanks for sharing the information keep updating, looking forward for more posts.Thanks
Discover Sea Navi
markdesign
Fri, 06/21/2013 - 17:26
Hinge strong enough?
Can the bench support the weight of an adult sitting on it with just two hinges?