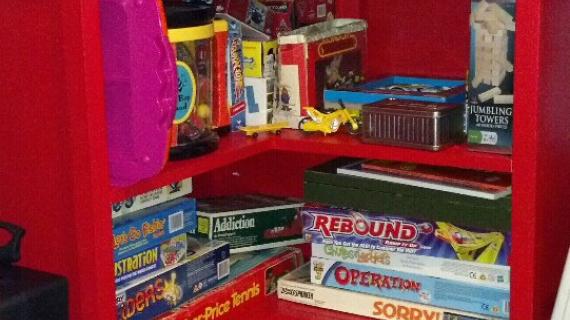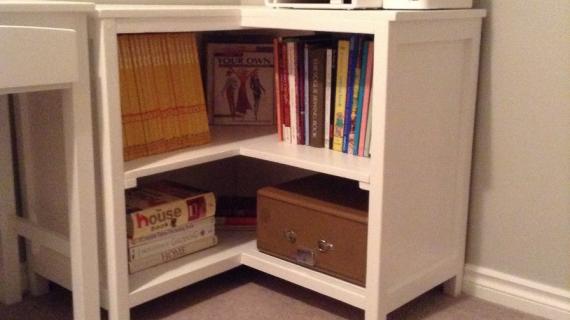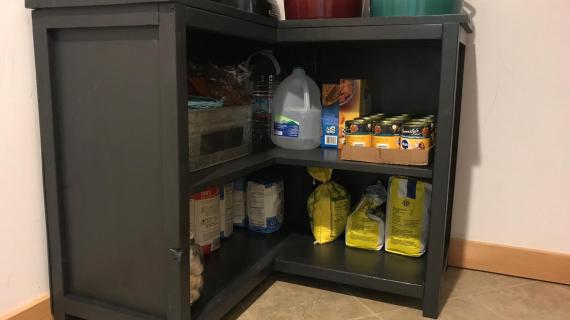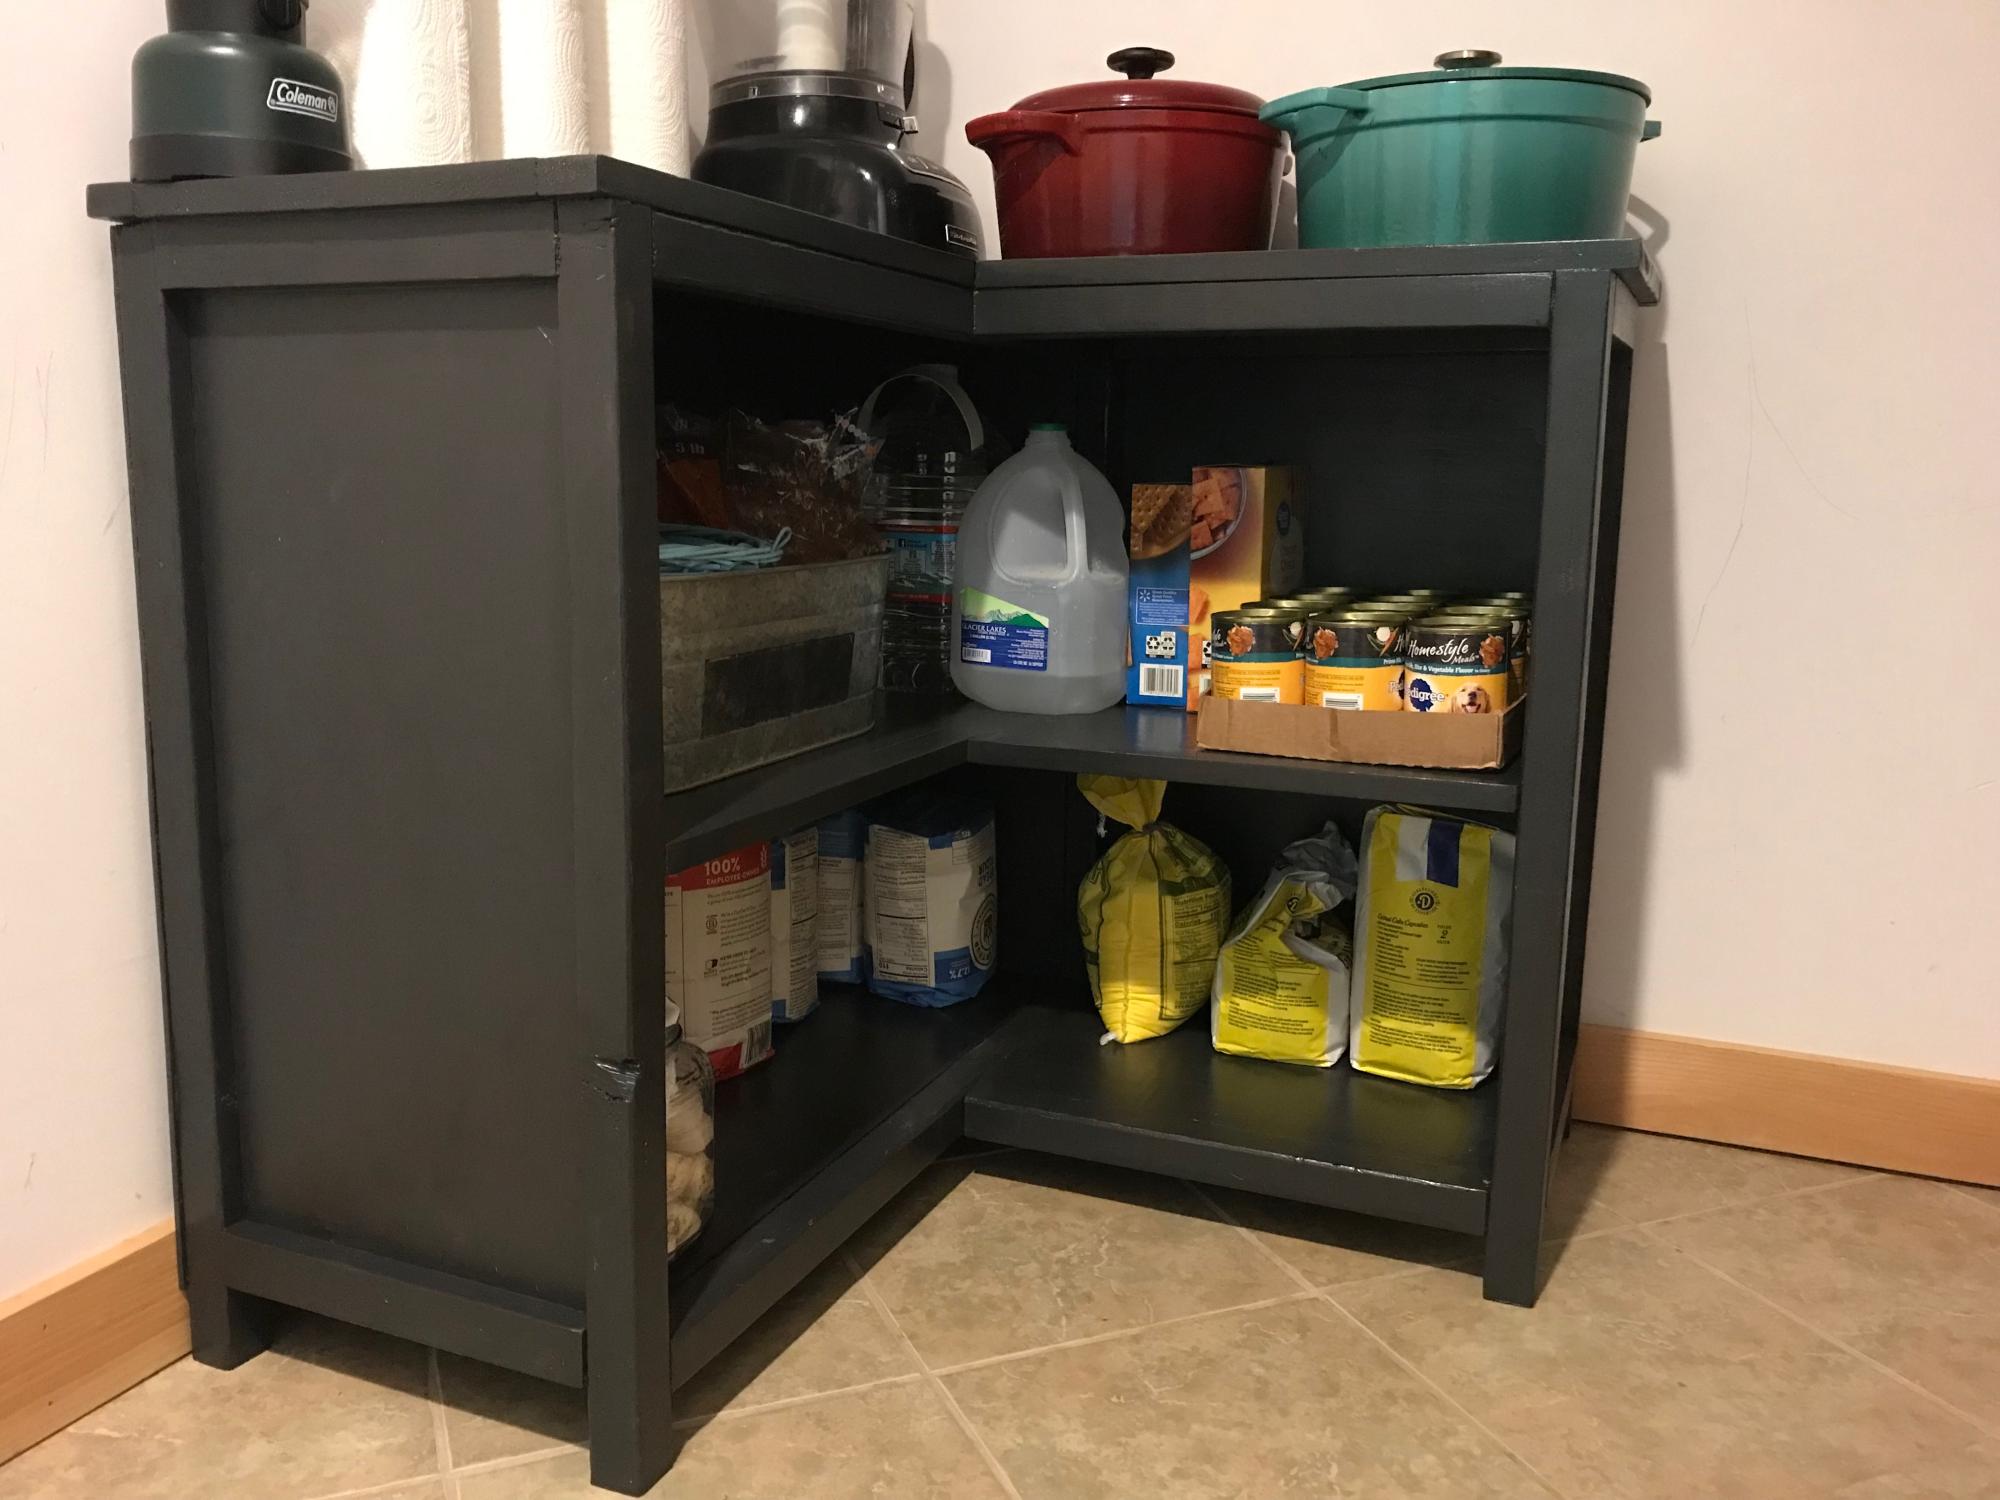


Free plans to build a corner bookshelf. This bookshelf wraps around a corner, adding storage where you need it. Free step by step plans with diagrams and shopping list from Ana-White.com
Preparation
- 2 - 1x12 @ 10 feet long
- 2 - 1x2 @ 8 feet long
- 4 - 2x2 @ 8 feet long
- 1-1/4" pocket hole screws
- 1-1/4" brad nails
- wood glue
MAIN BOOKSHELF - CAN BE MADE ALONE OR ADDED TO SIDES
- 4 - 1x2 @ 11-1/4" side trim
- 2 - 1x12 @ 26-1/2" - side panels
- 4 - 2x2 @ 29" - legs
- 4 - 2x2 @ 29-1/4" - top/bottom trim
- 2 - 1x12 @ 29-1/4" middle and bottom shelves
- 2 - 1x2 @ 29-1/4" - middle shelf trim
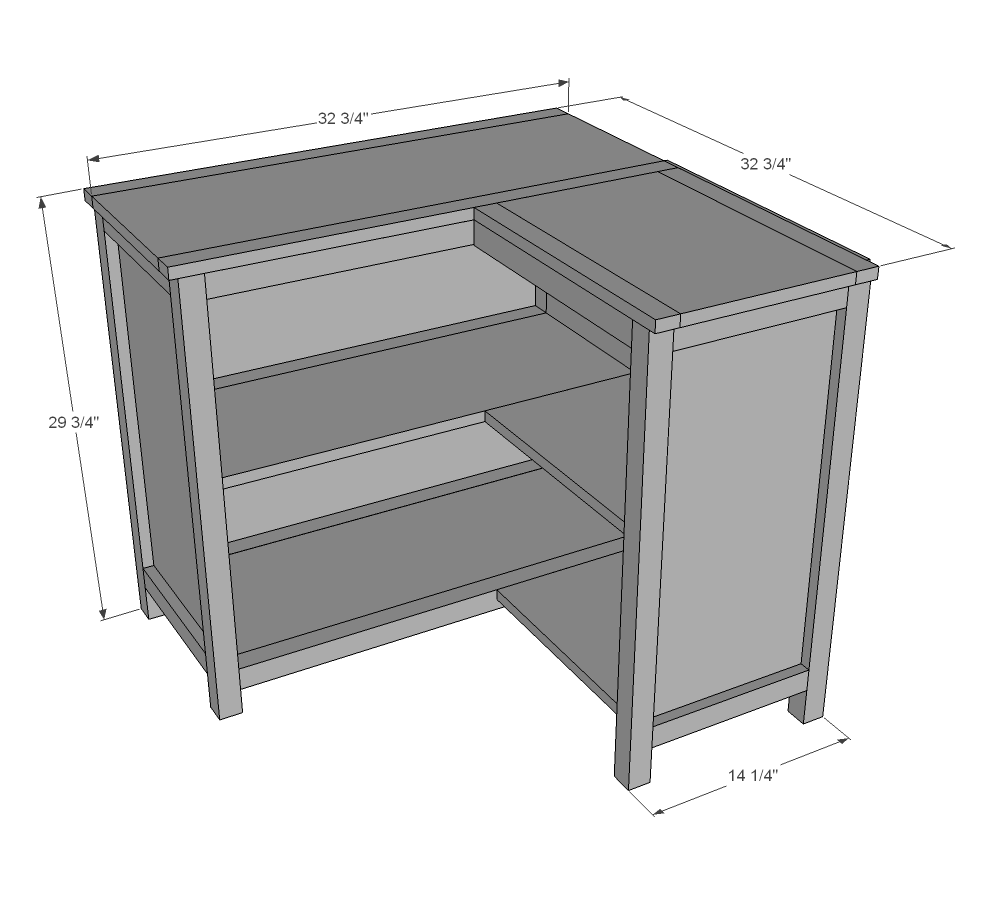
- 1 - 1x12 @ 32-3/4" - top
- 2 - 1x2 @ 32-3/4" - top trim
CORNER ADD ON
- 2 - 1x2 @ 11-1/4" - side panel trim
- 1- 1x12 @ 26-1/2" - side panel
- 2 - 2x2 @ 29" - legs
- 4 - 2x2 @ 16-1/2" - top and bottom trim
- 2 - 1x12 @ 16-1/2" - bottom and middle shelf
- 1 - 1x12 @ 18-1/2" - top
- 2 - 1x2 @ 18-1/2" - top trim
BACKS
- 1 - 1/4" plywood @ 27" x 19"
- 1 - 1/4" plywood @ 27" x 31-2/4"


Instructions
Step 1

Attach 1x2 side trim pieces to the 1x12s. If using pocket holes, drill along the front and back edges for attaching legs in later steps.
Step 2

Attach legs to side panels with pocket hole screws.
Step 3

Attach top supports to legs.
Step 4

Attach side trim to shelf. Then attach entire shelf to the side panels.
Step 5

Step 6

Attach side trim pieces to the top. Then attach top to the bookshelf base.
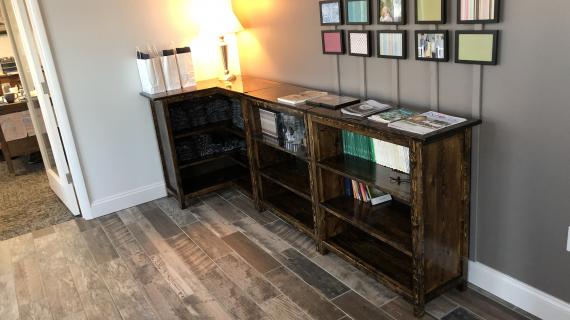
This completes the bookshelf. You can also add a back (see last step). You can also build single bookshelves along side the corner bookshelves following steps 1-6.
Step 7

For the corner add on, build a third side panel as done in step 1 and 2.
Attach to main bookshelf with pocket holes.
Step 8

Add middle shelf with 1x2 trim pre-attached.
Step 9

Add bottom shelf with 2x2 trim attached.
Step 10

Build top and attach on top.
Step 11

Nail or staple back on with glue.
Step 12