Have you ever wondered how overhangs on roofs are done?
It turns out they are much easier to do than one might think.
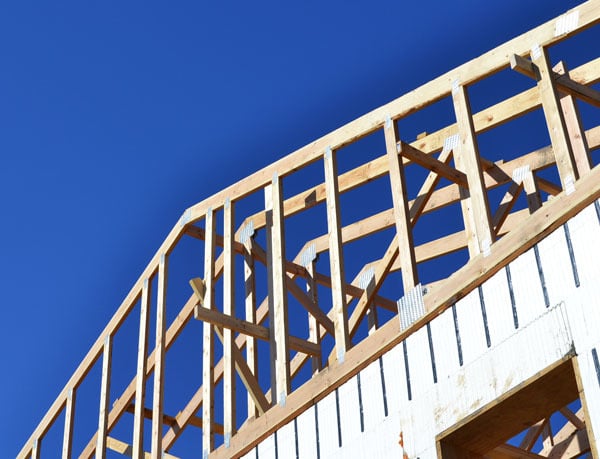
Our <a href="http://ana-white.com/2012/04/momplex/longest-day" target="_blank"> trusses are set, and the gable end trusses are different than the common trusses.</a> (Gable end trusses are the end trusses and common trusses are the middle trusses.)<p></p><p>Not only do the gable end trusses have vertical studs every 24" for later nailing plywood or siding too, but they are shorter in overall height.
</p><p></p><p>And it's not because our truss company short changed us.</p><p>Or was short on lumber.</p><p></p><p><img src="https://lh4.googleusercontent.com/-wtZ_dqwsDZk/T5lyEiXwwLI/AAAAAAAAKK4/…; style="width: 470px; " alt="" /></p><p></p><p>Because the overhangs actually sit ON TOP of the gable end trusses and are attached to the first common truss. This is done for support, but we like this method too because it's much easier.</p><p></p><p>Another cool thing .... anyone who has every built a huge project knows by the time you go up two stories, it is impossible to <span style="font-style: italic;">not </span>be off a tiny bit. In our case, we started with a perfectly square 44' x 44' footer, but at the top plates, the Momplex measures 44' 1/4" x 44 5/8", despite our best efforts to stay square. Much of this has to do with the heavy concrete pushing blocks outward, making walls grow a tiny bit.</p><p></p><p>Growing a tiny bit isn't a huge deal, but when you put plywood on, you don't want to be trimming sheets down or adding little pieces at the end to make up for a building not built for standard 4'x8' sheets of plywood. You want that roof to be square, with a truss every 24" exactly so your plywood pieces can meet centered on a truss.</p><p></p><p>BUT you don't want to set the gable end trusses in 1/4" or 5/8" to force the roof square because your siding will have an uneven drop in it from the exterior wall to the gable end ... making sense?</p><p></p><p>This is why this method of overhangs is so awesome. Because the gable end truss sits BELOW the overhangs, the gable end trusses are simply attached flush with the exterior wall. Then we build the overhangs exactly 24" wide, on top of the gable end truss. Because the overhangs sit on top, it doesn't matter where the gable truss is. The plywood never touches it. </p><p>And just like that, we forget that the Momplex is a tiny bit off.</p><p></p>
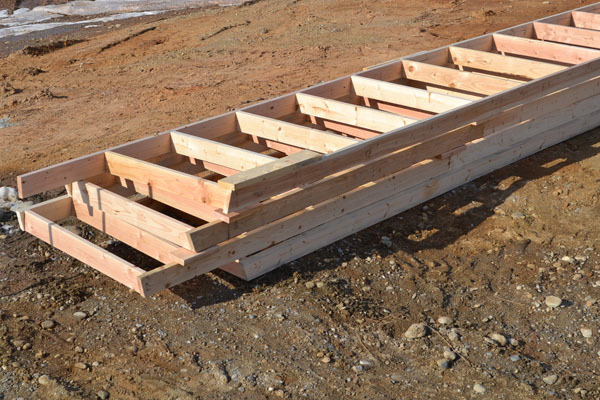
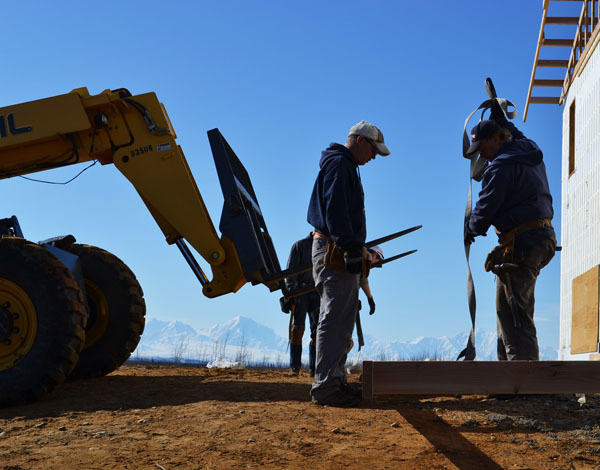
Before we started setting trusses and renting heavy equipment, we built the overhangs on the ground. It's easier to do these things not on a ladder, not reaching up overhead, without expensive equipment rentals adding up as you pound nails.
They are huge.
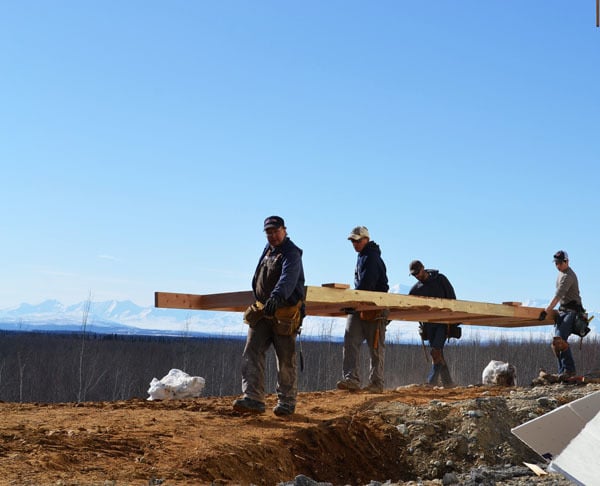
Since we rented expensive heavy equipment for the roof framing, we asked the very talented Mike and John to help us out. They normally work with my brother, and we are very thankful for their help this week. Very thankful.
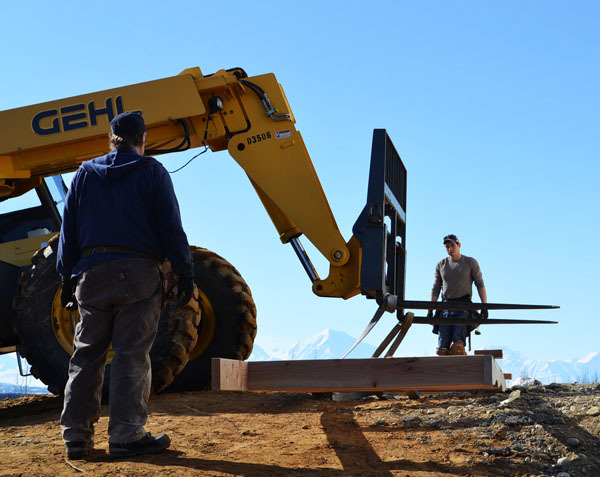
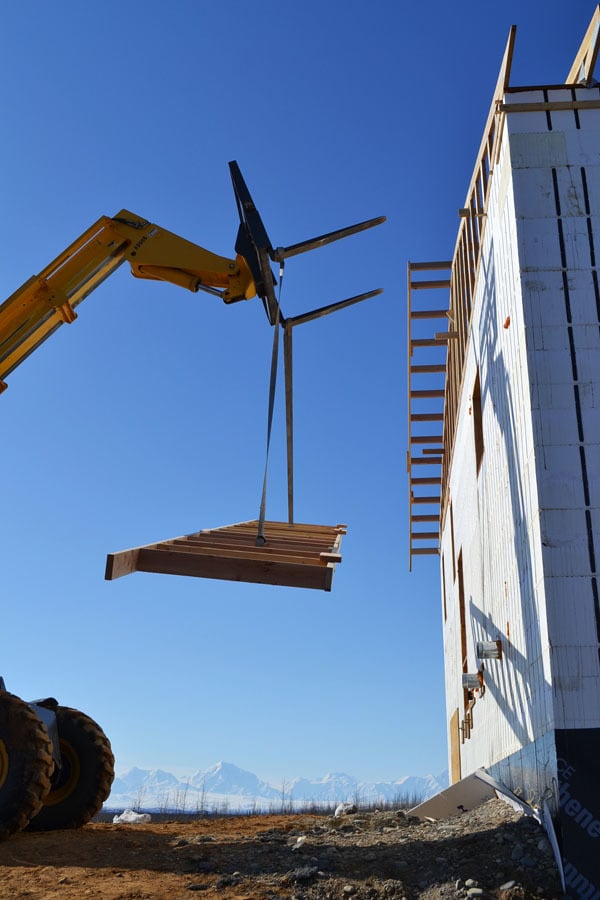
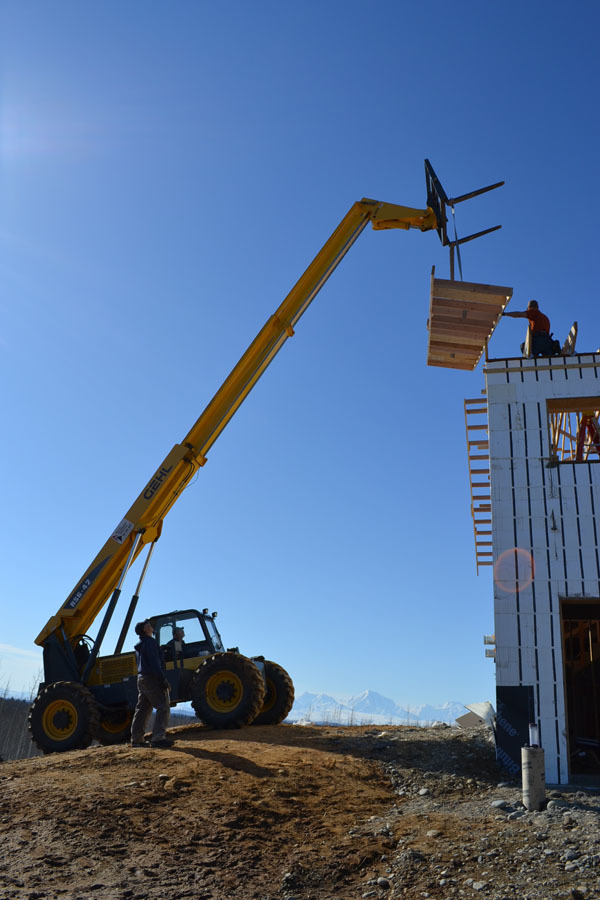
The overhangs are carried carefully over into position.

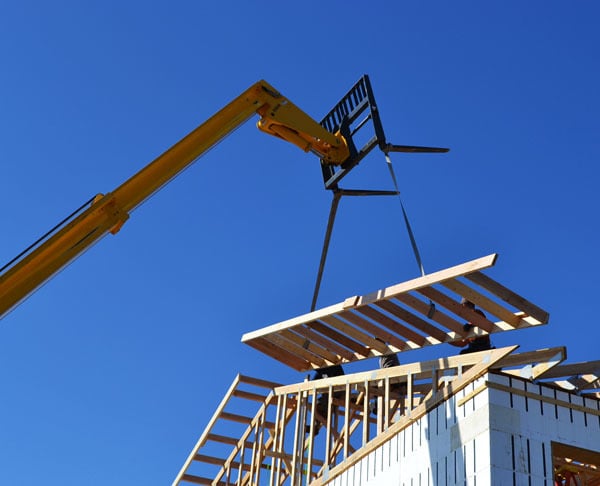
And then Papa Tim and Mike rig the overhangs up with straps. We rented the lift for bringing plywood up two stories, and will use it for lifting the overhangs. At $250 a day, it's definitely worth not having to carry 80 sheets of 5/8" plywood up two stories, through trusses, and then on top of a framed roof.
I can barely pick a sheet up two feet!
And that's just my end.
The rigging is just looped over the forks.
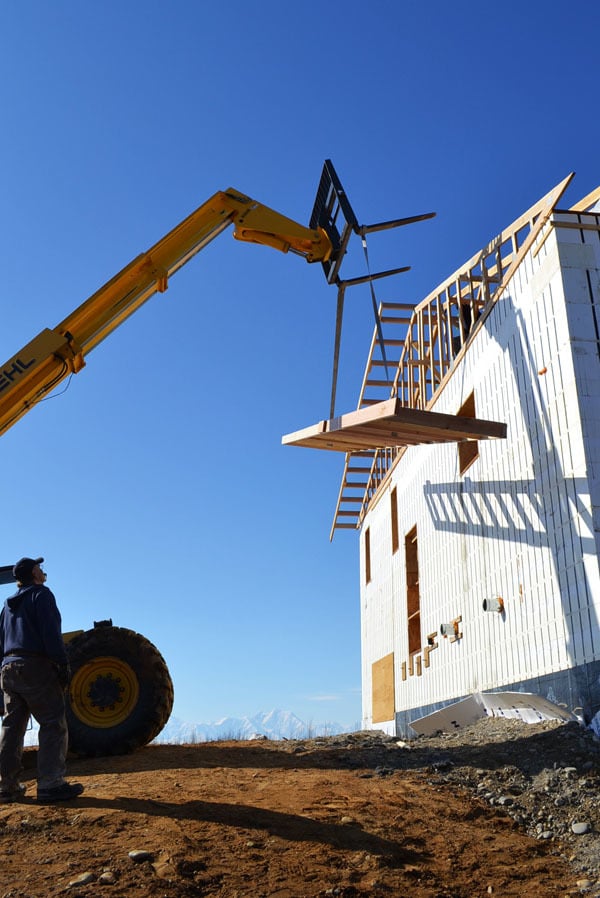
And up she goes.
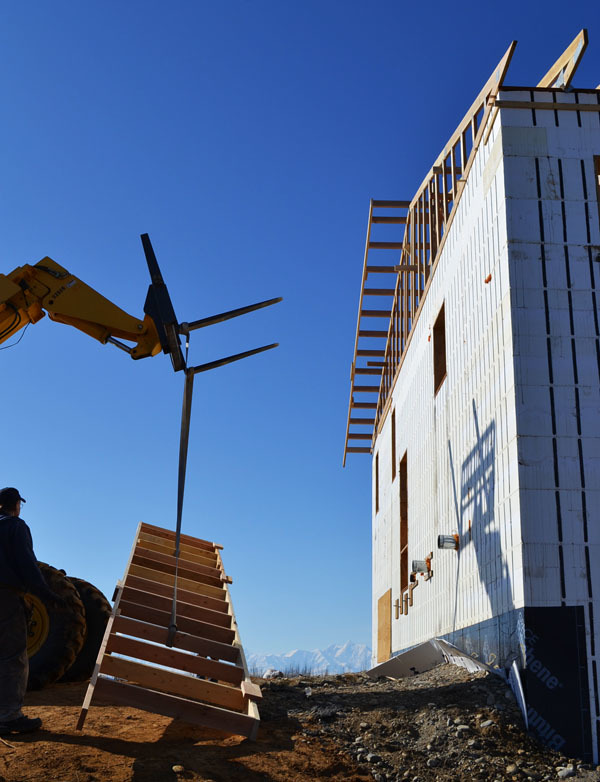
You can see we have already done the first side.
Uncle Bill is operating the lift.
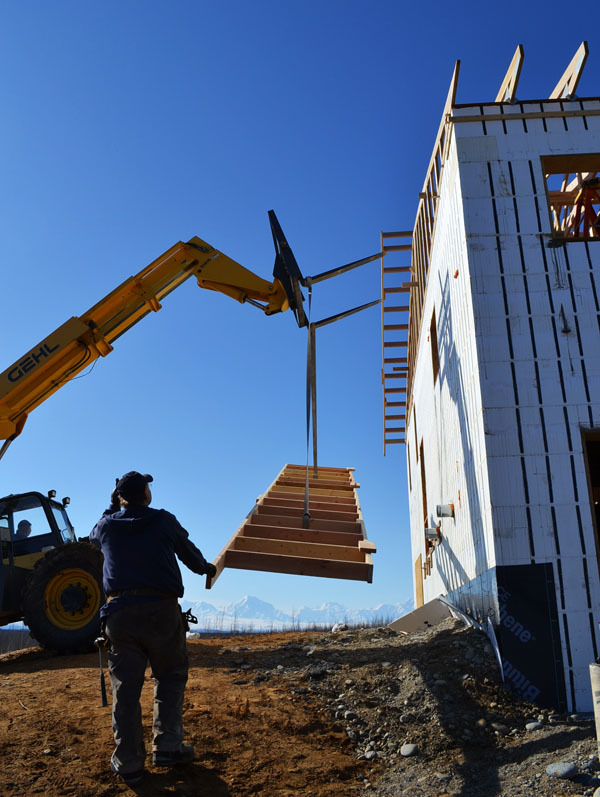
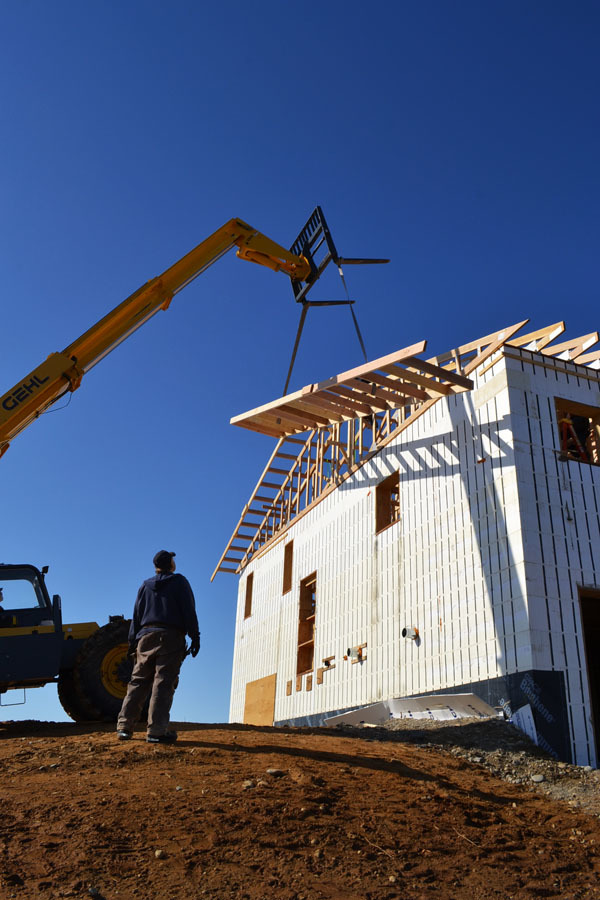
The outside end is cut "wild" or with extra length so we can tie it into the front fascia board later. Then it will be trimmed just perfect.
I kept thinking as I watched the overhang go up how long it would have taken to build overhangs the other way. The notch out each board, notch out the end truss, nail in place, all while squeezed between trusses two and a half stories up with a nail gun cord tangled in trusses.
This is how you want to do overhangs.
If you were up just a story, you could pull the overhangs up by hand for sure. Or if you had a smaller roof. Remember, this is two homes in one. We have the lift on site for bringing plywood up to the roof, but it sure is nice for the overhangs.
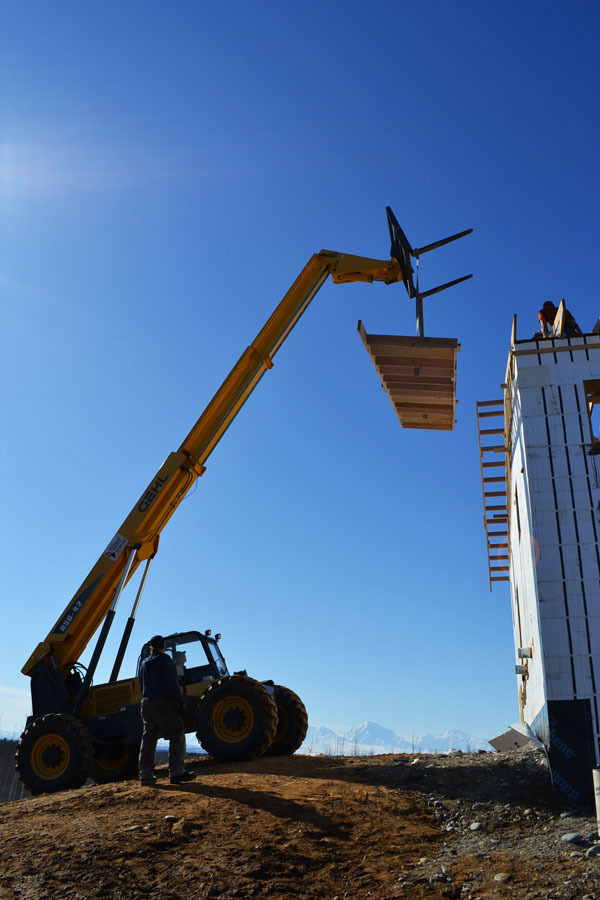
Once the overhang is at the right height
Uncle Bill just brings it in and John grabs it. This should be harder.

But it wasn't. It's lowered into place.
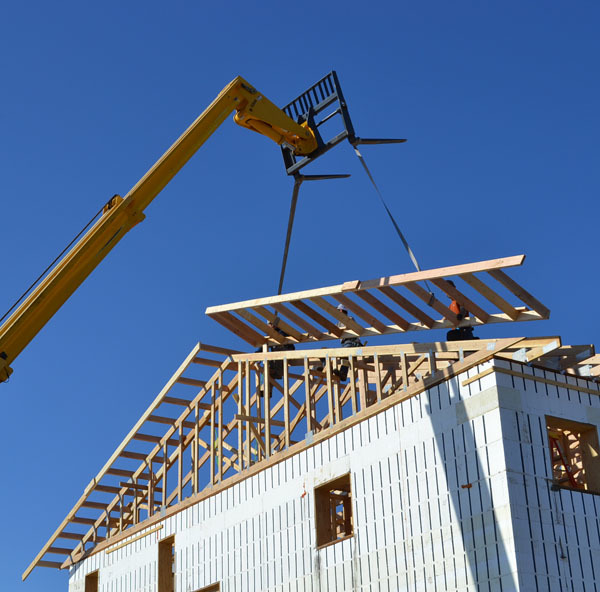
The overhang is maneuvered into position. After setting all those trusses, this is easy stuff.
Comments
Robohead
Thu, 04/26/2012 - 09:59
I really like coming here to
Crissy (not verified)
Thu, 04/26/2012 - 10:37
WOW!!
Rachel Marie (not verified)
Thu, 04/26/2012 - 11:16
Awesome!
lizng (not verified)
Thu, 04/26/2012 - 11:29
bravo
Matthew (not verified)
Thu, 04/26/2012 - 12:46
Indeed!
Ana White
Thu, 04/26/2012 - 15:33
THANK YOU everyone!!!! This
ferbit
Thu, 04/26/2012 - 16:09
Eagerly awaiting Momplex updates!!!
Lady Goats
Thu, 04/26/2012 - 16:22
Can we say... YAY!
bigboab5
Thu, 04/26/2012 - 17:52
well done,
Pam the Goatherd
Fri, 04/27/2012 - 08:45
Question Answered!
Guerrina
Fri, 04/27/2012 - 09:58
Wonderful!!!
k g (not verified)
Thu, 05/03/2012 - 18:25
Love it!! IT looks so good!
mipsda
Fri, 07/06/2012 - 11:43
Overhangs are great, they