Today, the Momplex is going to the salon.
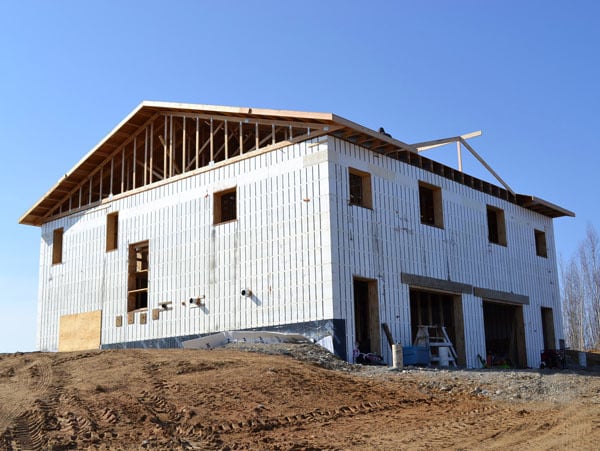
This Momplex we are building ... it is a big box.

In defense of big boxes, they are the most efficient to build, the most efficient to heat and maintain.
But we don't want the Momplex to look like a big box.
No. We want the Momplex to look like this:
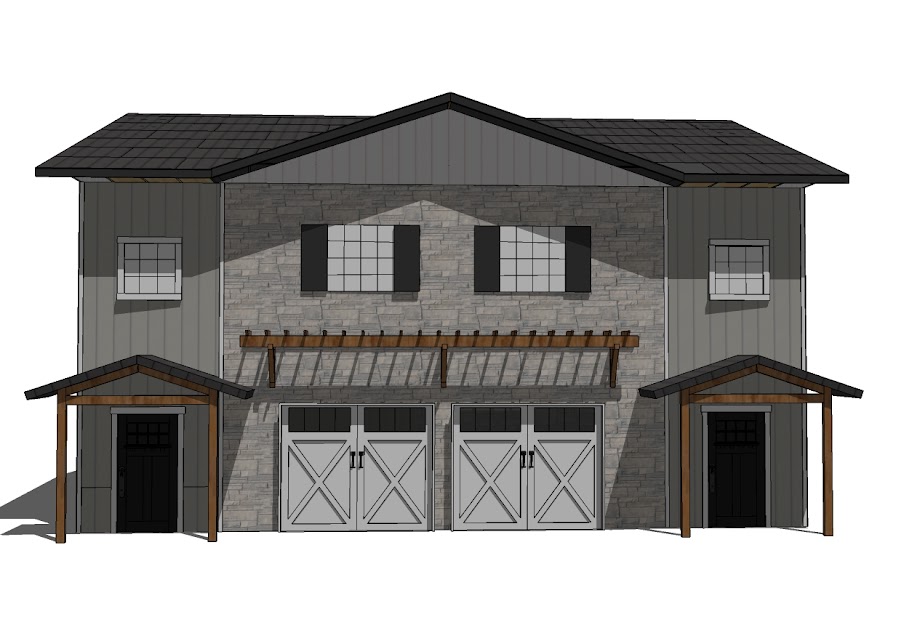
We want the Moms to drive up and be excited about their home because it does not look like a giant box.
And we don't ever want the Moms to not be able to access their garages because a giant pile of snow fell off the roof right in front of the garage doors. Nope, we want the Moms to drive up and say, ah, this is my lovely home, and drive right into their garage and be home.
Hey what can I say? I love my Mom. She's my hero.
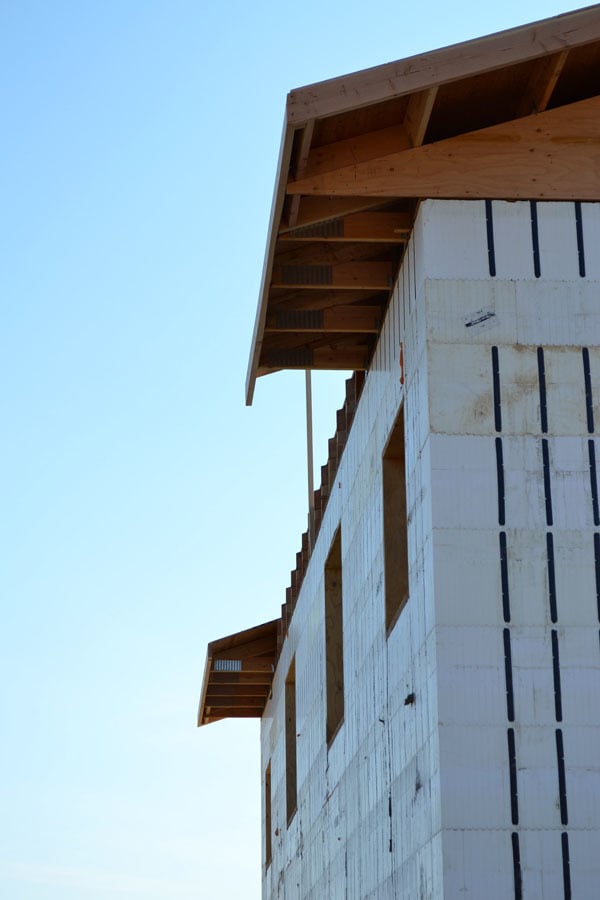
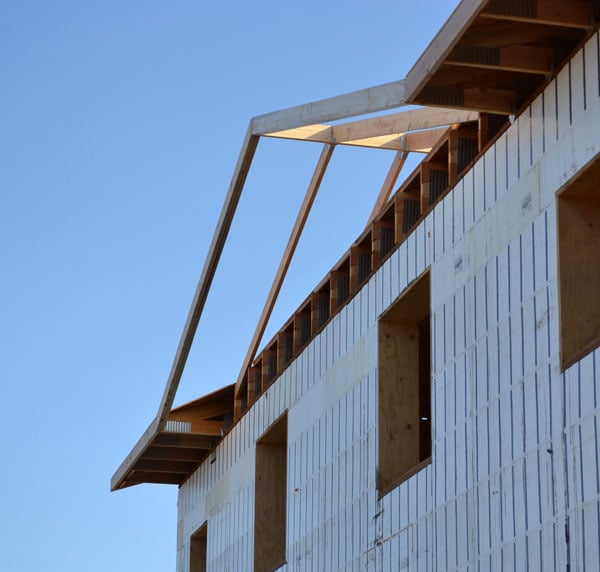
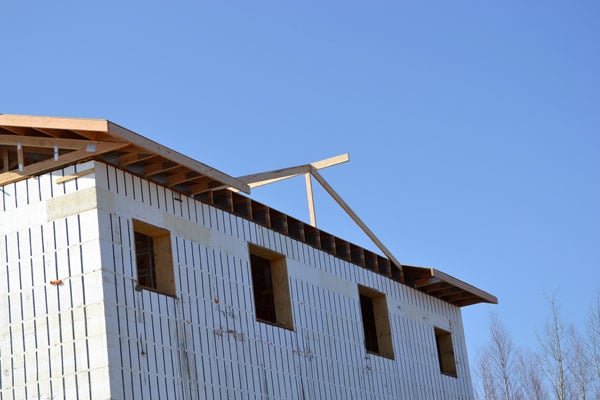
So we've got to build another roof on top of the existing roof. When our trusses were made, we had the middle trusses clipped short on the ends, so the front of the Momplex looks like a bite was taken out of it.
In other words, the Momplex has bad hair.
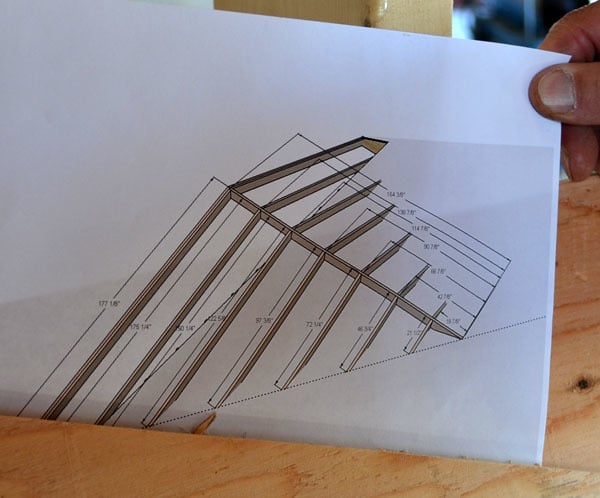
We've done roofs like this before, our great room roof comes to mind right now<p><br /></p><p><img src="https://lh5.googleusercontent.com/-zMQvqSBBxZ8/T2o2ENNqtHI/AAAAAAAAJ0A/…; style="width: 470px; " alt="" /><br /><p></p><p>but this is the first time we have used <a href="http://ana-white.com/2012/03/alaskalife/google-sketch-basics" target="_blank">Google Sketchup</a> to draw out the roof first. What a time saver! </p></p>
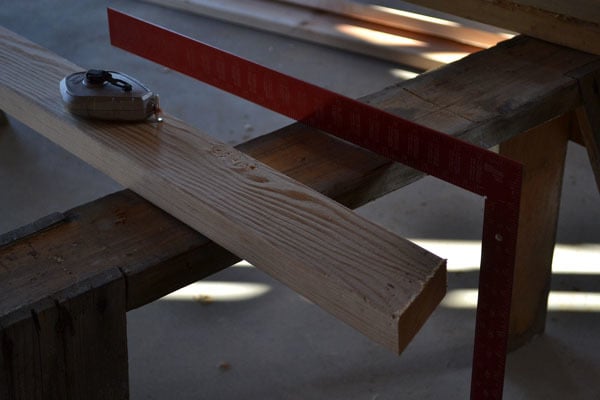
And you will want a rafter square.
Rafter squares are really cool because you can measure roof angles in seconds, consistently accurate.
Our roof is a 4-12 pitch, meaning for every 12", the roof rises 4". To figure this angle, you simple line the 4" mark up with the edge of the board, and then line the 12" mark up further down. Then depending on what direction the cut is, mark a line.
Slick stuff.
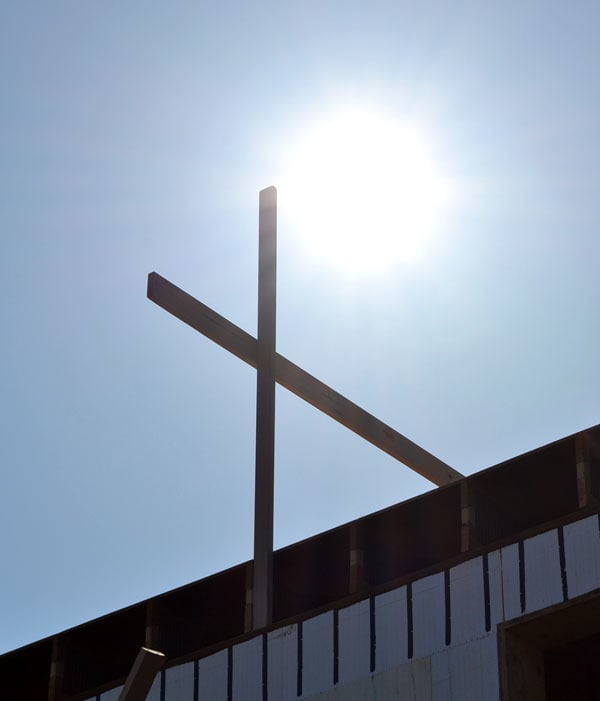
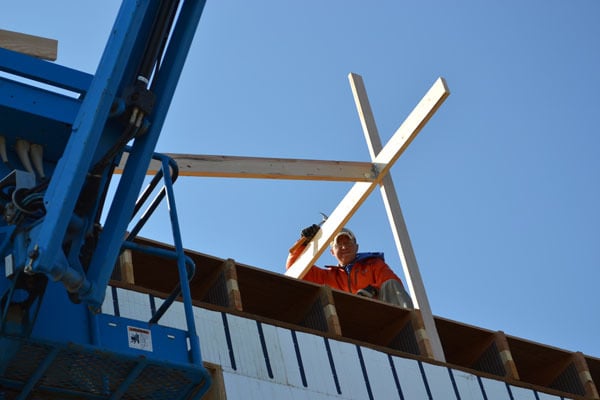
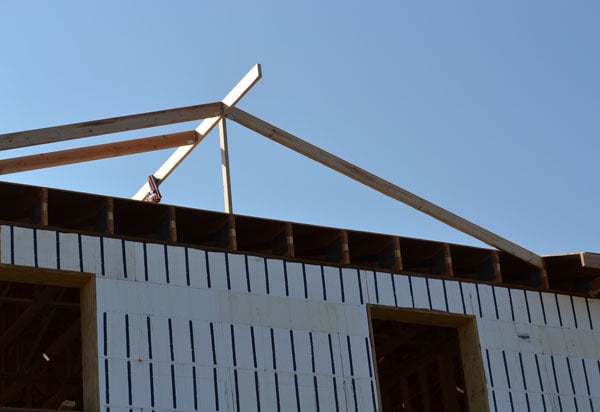
To start the roof, we screwed a 2x4 to the center, adjusted for level, and then added the ridgepole. The ridgepole runs "wild" meaning it is longer than it needs to be. We will be removing the upright later on, so length just needs to be taller than the roof.
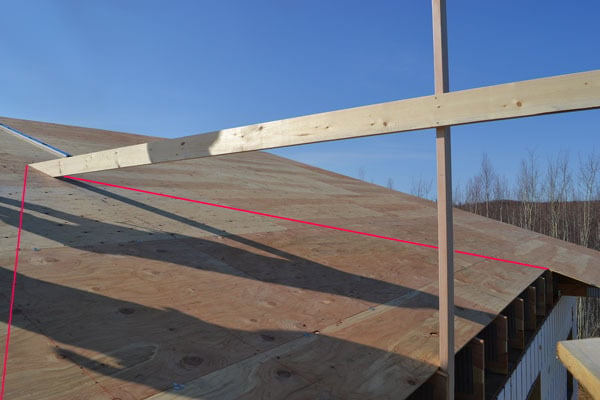
Then we chalked lines where the valley will go. I drew the chalk lines in to illustrate.
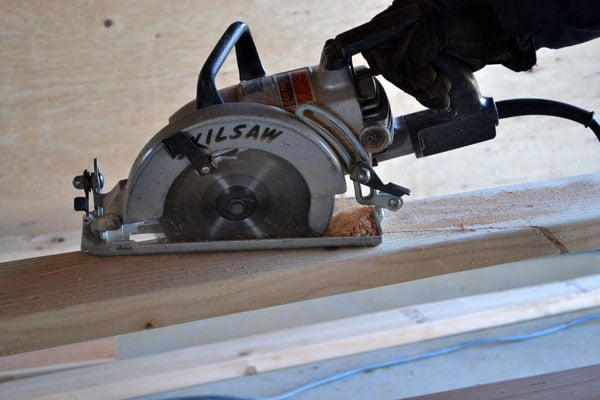
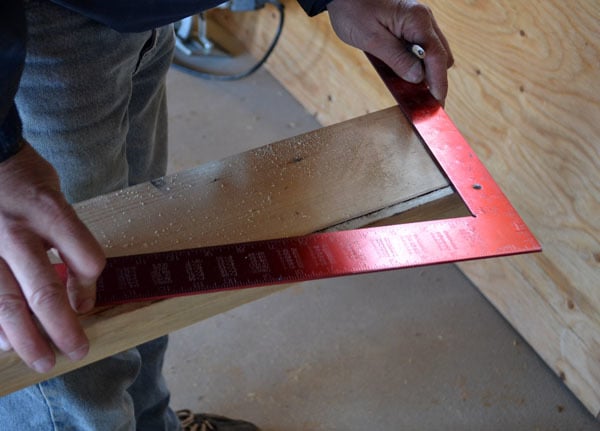
Then we start cutting rafters. This is actually the not so fun part. Because we choose to build the roof on top of the first roof plywood - instead of framing into the trusses - the rafter ends must be cut at a double bevel. So the blade is angled while an angle cut is made.
<p></p><p><img src="https://lh5.googleusercontent.com/-aJj9ZfH5_fE/T6QJGDX0MyI/AAAAAAAAKO4/…; style="height: 700px; " alt="" /></p><p></p><p>And then to the top of the rafters brackets are nailed. </p>
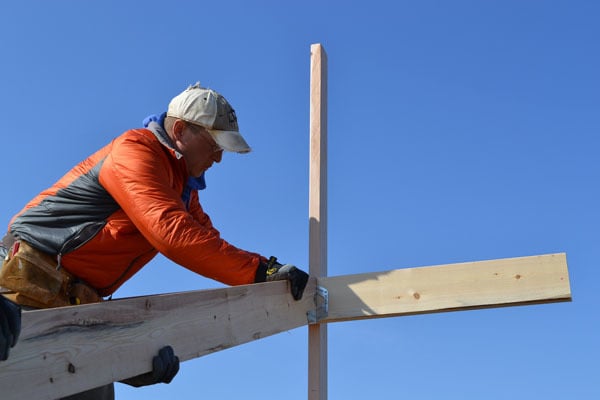
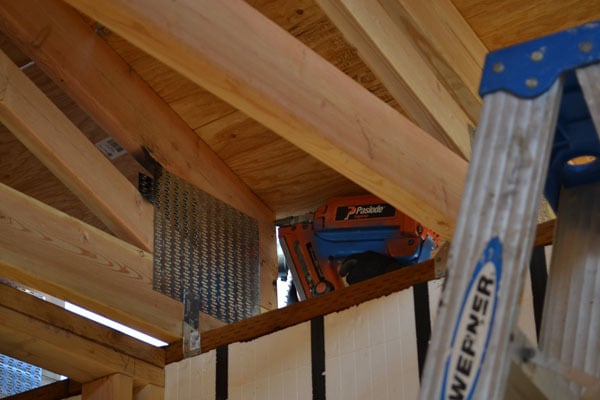
And the brackets are attached to the ridge pole.
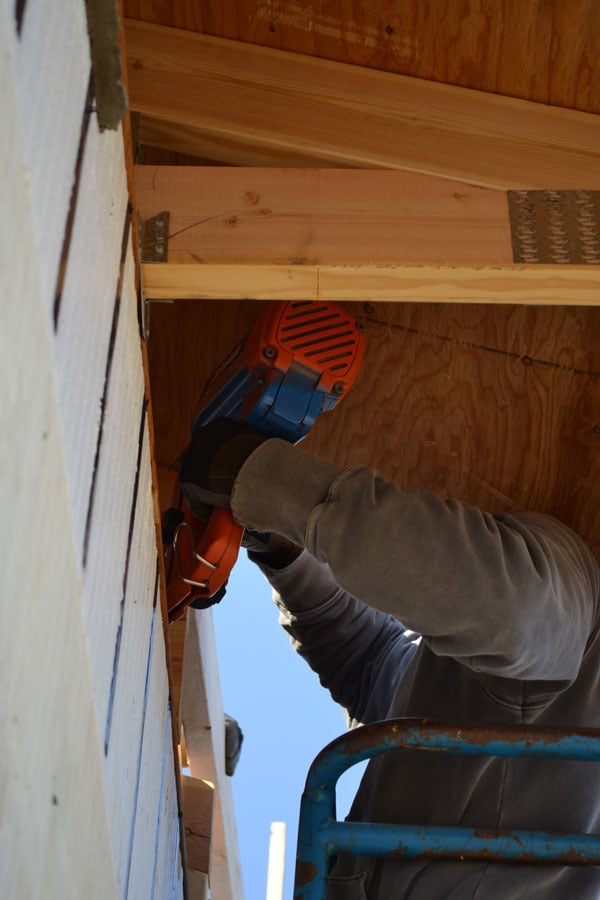
The ends are then attached from underneath.
With rafter ends nailed to the trusses.
One rafter up! Here's the moment of truth. When we put both rafters up, will it be a perfect fit, or is Google Sketchup lying to us?
It was a perfect fit.
Perfect.
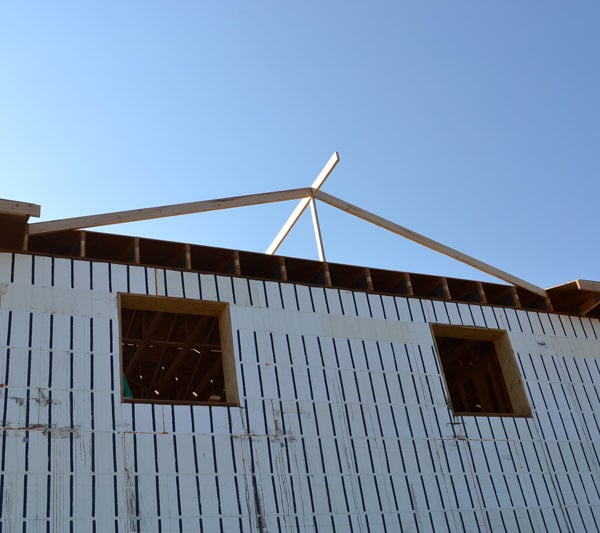
Thanks Google Sketchup.
Then we kept adding rafters, spaced 24" on center, following the valley lines back.
Comments
Jessica D. (not verified)
Fri, 05/04/2012 - 11:16
Can't get enough of the
In reply to Can't get enough of the by Jessica D. (not verified)
Ana White
Fri, 05/04/2012 - 17:27
Hi Jessica! Thanks for
Crissy (not verified)
Fri, 05/04/2012 - 11:49
Looks great!!!
In reply to Looks great!!! by Crissy (not verified)
Ana White
Fri, 05/04/2012 - 17:32
Thank you Crissy! Your
whitney_smith
Fri, 05/04/2012 - 11:50
Boy...
In reply to Boy... by whitney_smith
Ana White
Fri, 05/04/2012 - 17:41
Hi Whitney! Thank you! The
Danielle Z. (not verified)
Fri, 05/04/2012 - 13:40
Wow!
Ana White
Fri, 05/04/2012 - 17:45
Thanks Danielle! Now if only
Megan Ashman (not verified)
Fri, 05/04/2012 - 19:36
It's looking great!! I'm
Jasmine H (not verified)
Fri, 05/04/2012 - 19:47
Looking good..
Kim M (not verified)
Sat, 05/05/2012 - 10:33
Looks great!
JulieW (not verified)
Sat, 05/05/2012 - 12:40
Can you tell us what kind of
birdsandsoap
Sat, 05/05/2012 - 23:49
She's got bangs! Bangs are
Juanita_r
Wed, 05/09/2012 - 04:54
oh ana! love your new homes moms!!!