Building a house is like a giant relay race.
When you hand the baton off to the next stage, you are either giving them an advantage or a disadvantage. But when you DIY it all yourself, you are running the entire race yourself. And you are always thinking about the next step, and how decision you make in this step are going to affect later steps.
Let me give you an example.
Let's say we framed up the walls, and the studs are randomly placed, not 24" or 16" on center. When the baton is passed to the drywaller, he or she is going to have to locate each stud, mark it on each sheet of drywall, and then attach with screws. And if the studs are not on 16 or 24 inch centers, each sheet of drywall will have to be trimmed down - resulting in wasted materials and time.
Wouldn't it have been easier to hand off the baton with perfectly placed studs, so all the drywaller has to do is hang sheets, and only cut out windows, doors, and ends?
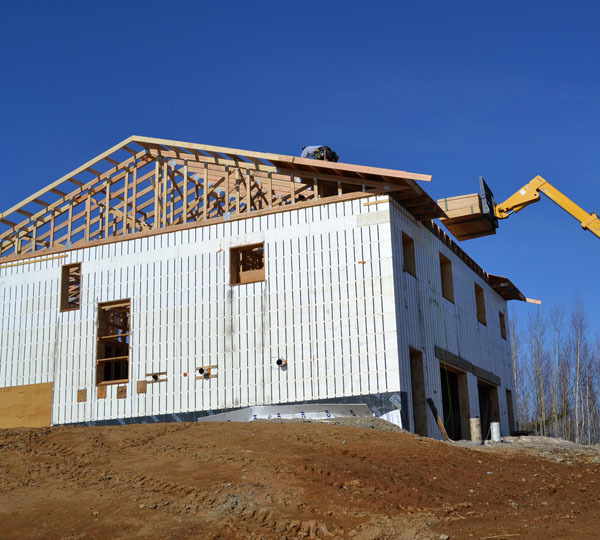
Today, we hand the building baton off to the next stage, adding plywood to the roof. Now we've been thinking of the roof plywood all along. Because this is one the hardest and most expensive stages, being two stories up and having to rent equipment and bring on help. If there is a stage that you want to go smoothly, safely and efficiently, this is it.

We have<a href="http://ana-white.com/sites/default/files/imagecache/90x90/3154808762_13…; target="_blank"> taken great care to space the trusses EXACTLY 24" on center.</a> This means if you measure from the center of the truss to the next, it is exactly 24" apart. This is done so standard 8' long sheets of drywall can be screwed to the trusses, and plywood joints are made in the center of a truss.
What would happen if we did not take such great care?
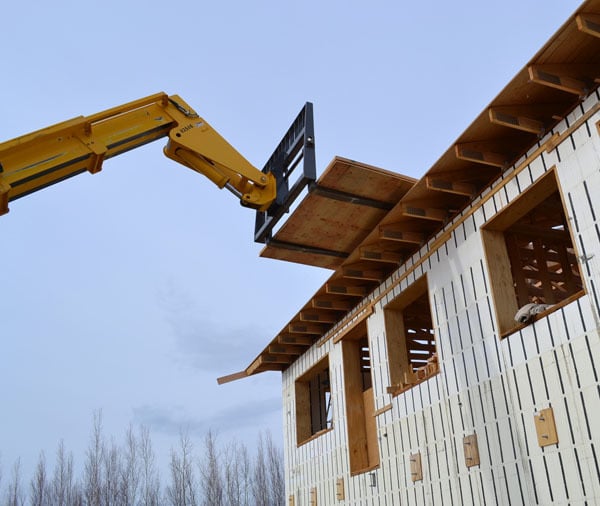
We would have to measure, cut, and haul up separately 80 sheets of plywood.

We decided it would be easier to just haul up a whole bunk of plywood, and just grab sheets, lay them down, and nail down.<p><br /></p><p><img src="https://lh4.googleusercontent.com/-BA7Oz6k1oWw/T58MMH2EpvI/AAAAAAAAKLs/…; style="width: 470px; " alt="" /><br /></p><p><br /></p><p>We had the lift rented for $250 a day to help with bringing plywood up to the roof. We will need 80 some sheets brought up two and a half stories.
</p>
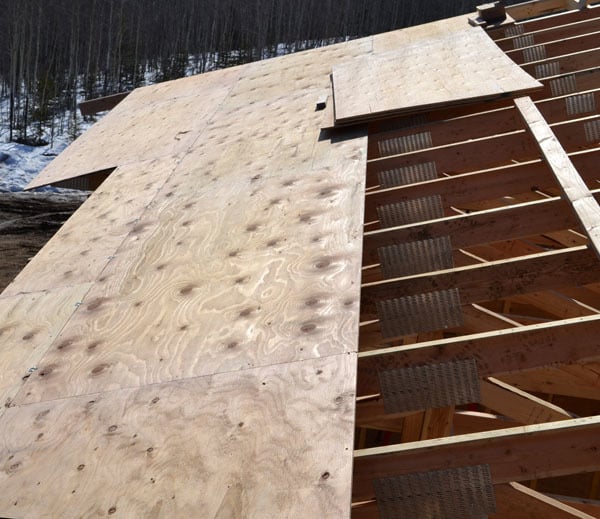
To start the plywood, you measure up to where the first row ends and the second starts, and snap a chalkline. Then you attach the second row first, and work your way up from there, and add the first row too. Sheets of plywood are staggered, so the seams interlock, preventing weak points.
Plywood meets up dead center on trusses.
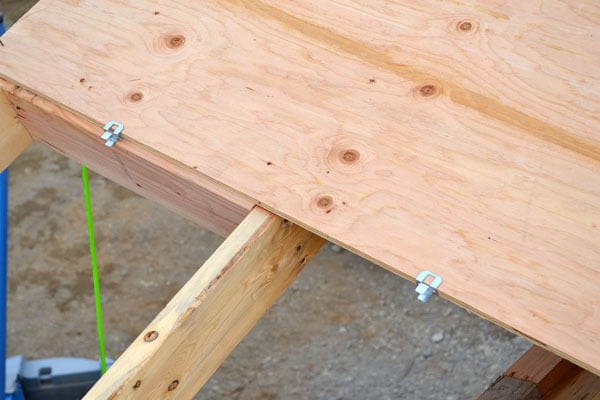
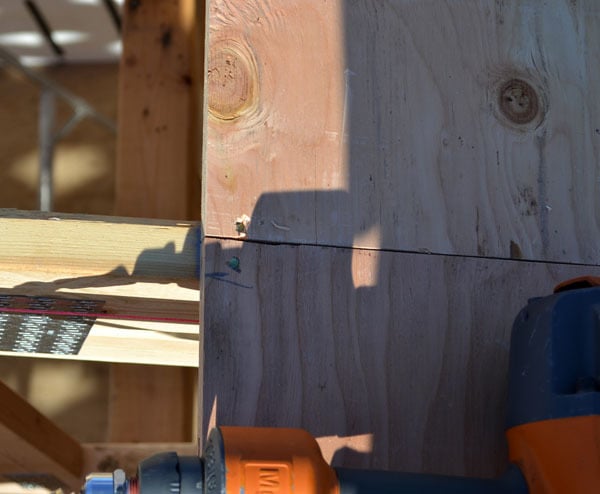
On the horizontal seams, H clips are used.
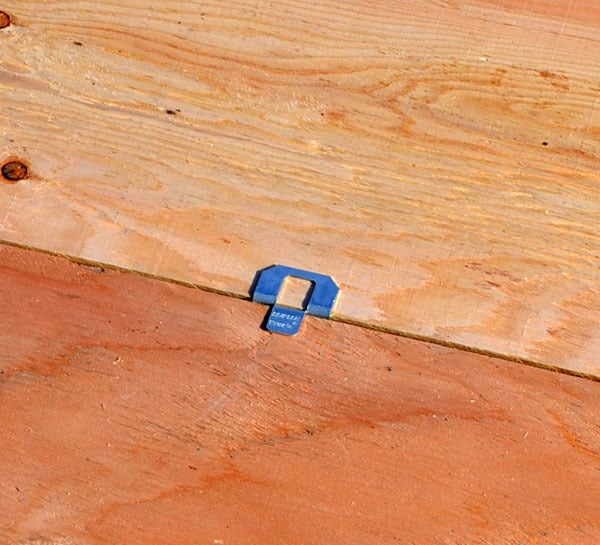
They hold plywood together when there is no truss to do the job.

With the help of a lift, and John and Mike helping, putting plywood up went fast. It was grab a sheet (well, I wouldn't call it that with each sheet weighing 70 or 80 pounds) and nail it down.
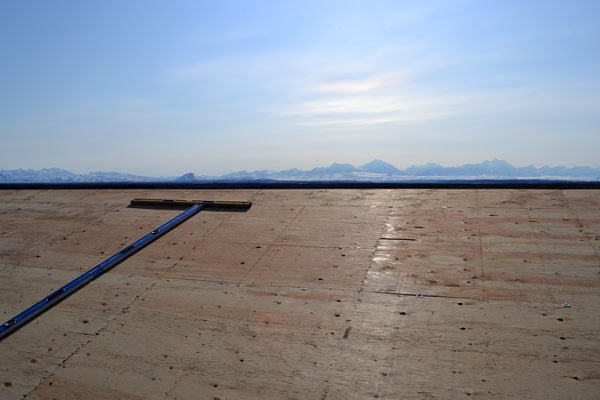
By early afternoon, one side was fully sheathed.
And then we moved to the back side. We started again at the base and worked our way upward.
If you look close, you will see the plywood actually overextends the trusses by just a little bit. I'll explain that in a minute ....

By later that afternoon, we finished plywooding the roof. By carefully planning all the steps before, one of the most difficult tasks was made simple.

Remember the plywood overextending the truss tails? Well, that's because a fascia board is added to the truss tails.
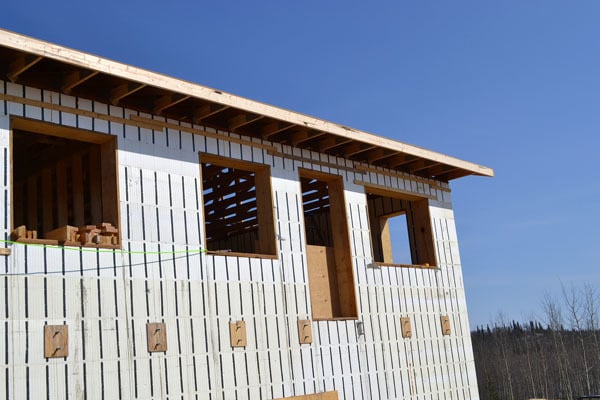
This finishes out the trusses.

And remember <a href="http://ana-white.com/2012/04/momplex/easy-overhangs" target="_blank">how on our overhangs we let them run wild on the ends?</a>

This is so we can tie them into the fascia boards

And then cut them off with a handsaw.<p></p><p><img src="https://lh5.googleusercontent.com/-sIzxfJLMFl4/T58MOXb4sdI/AAAAAAAAKME/…; style="width: 470px; " alt="" /></p><p>And we hand the baton off to the next stage.</p><p></p><p>We will be adding a decorative gable roof over the garages to add a little character and some snow diversion. We decided to add this roofline on top of the plywood instead of to the framing. I thought maybe someone with a plywooded roof could then use the information to change their own roofline. I can't wait to show you how we do that!!!</p><p></p>
Comments
wesleyjack
Tue, 05/01/2012 - 10:06
you don't make building a
In reply to you don't make building a by wesleyjack
Ana White
Tue, 05/01/2012 - 10:37
Hi Wesley, thank you! This
perchik
Tue, 05/01/2012 - 10:22
As a volunteer roofer, I approve 1000%
In reply to As a volunteer roofer, I approve 1000% by perchik
Ana White
Tue, 05/01/2012 - 10:39
Hi! I have so much respect
liquid6 (not verified)
Mon, 05/21/2012 - 13:06
Much Love from a fellow roof decker.
ChantelleJ (not verified)
Tue, 05/01/2012 - 10:55
Thanks for pointing out the (not-so) obvious!
Megan Ashman (not verified)
Tue, 05/01/2012 - 11:05
It's coming together so
Megan Ashman (not verified)
Tue, 05/01/2012 - 11:06
It's coming together so
mom of 4
Tue, 05/01/2012 - 12:24
I am continually impressed
whitney_smith
Wed, 05/02/2012 - 07:03
uh-oh
Guerrina
Fri, 05/04/2012 - 09:30
Contained At Last!
Joel (not verified)
Fri, 05/11/2012 - 22:56
Motivation...