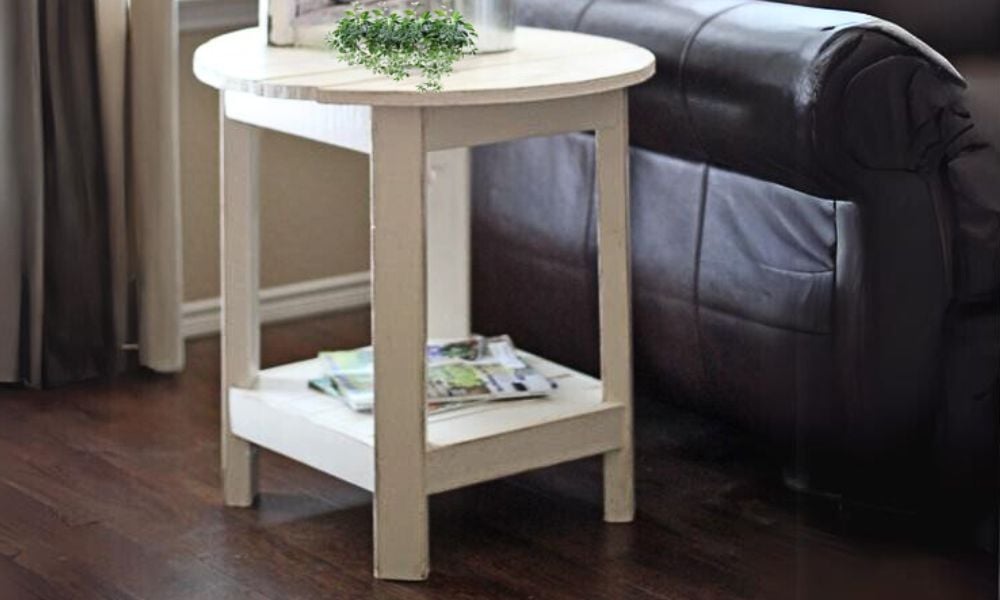


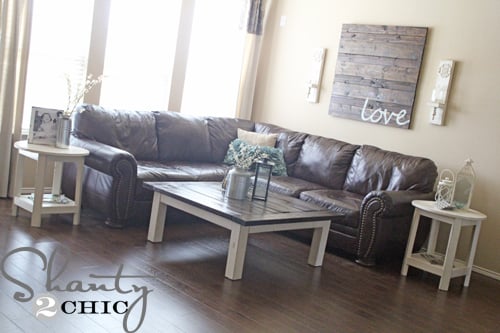
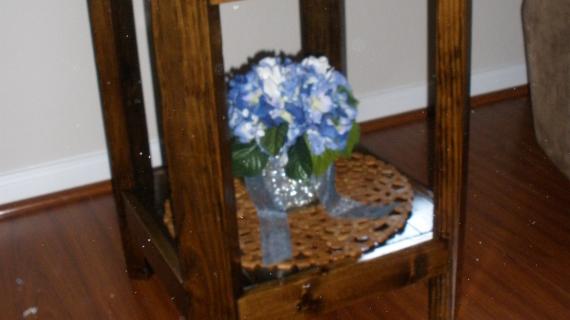
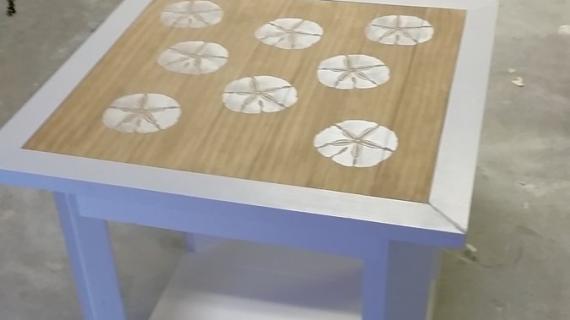
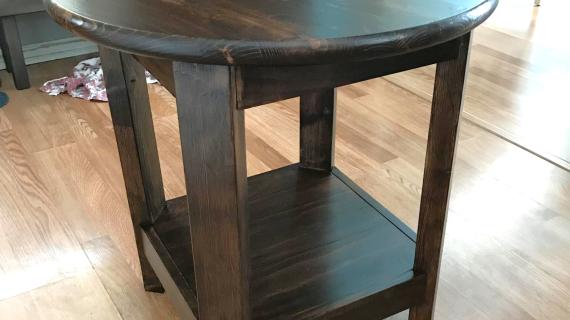
Make this side table inspired by Pottery Barn Benchwright Side Table! Free DIY plans from Ana White!
Preparation
- 3 – 1x3 boards 8 feet long
- 1 – 2x3 board 8 feet long
- 2 – 1x4 boards, 8 feet long OR 24” round tabletop
- 1 1/4" pocket hole screws
- 2” brad nails
- Decorative bolts or nails
*If you can't find 2x3s (Our Home Depot stocks them) you can rip a 2x6 into two 2x3s. 2x3 needs to measure 1 1/2" x 2 1/2".
BASE
- 6 – 1x3 @ 15” (Bottom Shelf Boards)
- 4 – 2x3 @ 23 1/4" (Legs)
- 8 – 1x3 @ 13” (both ends beveled at 45 degrees off square, not parallel, long point to long point)
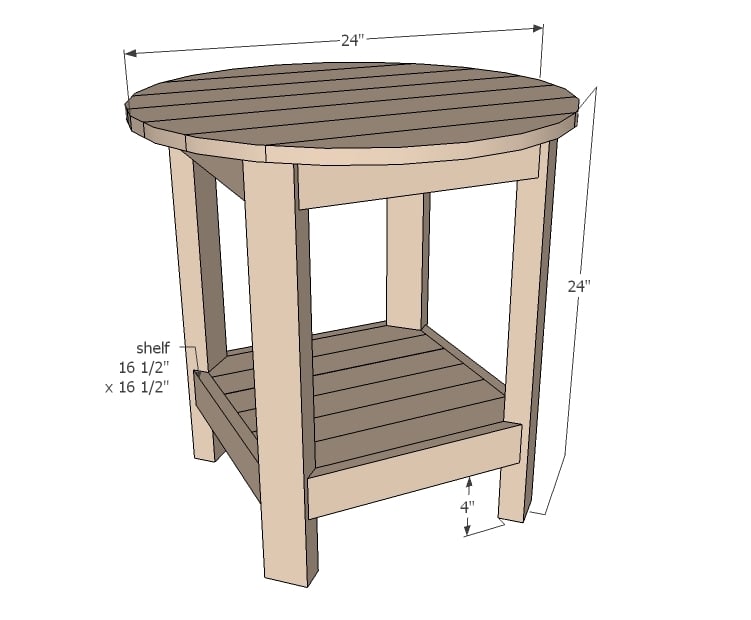
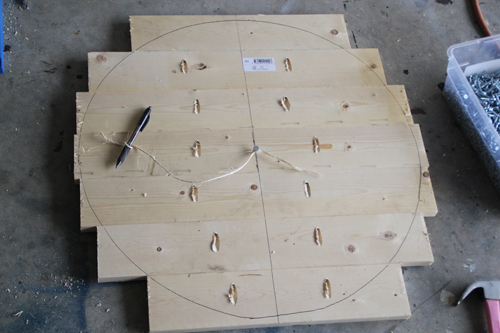
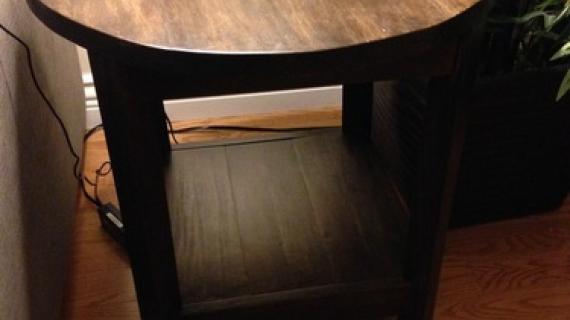
TABLETOP
- 1 – 1x4 @ 24”
- 2 – 1x4 @ 23 1/2"
- 2 – 1x4 @ 21 3/8”
- 2 – 1x4 @ 16 1/4"


Please read through the entire plan and all comments before beginning this project. It is also advisable to review the Getting Started Section. Take all necessary precautions to build safely and smartly. Work on a clean level surface, free of imperfections or debris. Always use straight boards. Check for square after each step. Always predrill holes before attaching with screws. Use glue with finish nails for a stronger hold. Wipe excess glue off bare wood for stained projects, as dried glue will not take stain. Be safe, have fun, and ask for help if you need it. Good luck!
Instructions
Step 1

Build your bottom shelf as shown here. You can use the Kreg Jig or just a wood block underneath to attach.
Step 2

Then add legs to bottom shelf as shown above.
Step 3

Followed by the side aprons.
Step 4

And then the top aprons. I recommend 3/4" PHs and 1 1/4" PH screws here.
NOTE: To attach top with PHs later, drill 3/4" PHs facing upward on aprons.
Step 5

Step 6

Attach top to base. You can use decorative nails or screw through aprons.
It is always recommended to apply a test coat on a hidden area or scrap piece to ensure color evenness and adhesion. Use primer or wood conditioner as needed.
Comments
Amy Parnell (not verified)
Tue, 05/01/2012 - 12:11
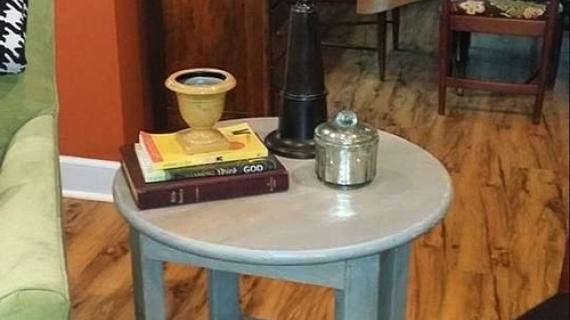
My table
This is so funny! I just made this table last week based on the Benchwright table by pottery barn. I looked here first for a plan and didn't find one so I just made it up. I even thought about making plans to post, but I can't figure out sketch up! So cool to see the plans!
Here's a link to my blog post about my side table. http://amykayparnell.wordpress.com/2012/04/27/side-table/
Ana White
Tue, 05/01/2012 - 17:31
Amy I love the green of your
Amy I love the green of your table!!! These tables seem to take paint well! Love your table!
PedroAA
Thu, 05/03/2012 - 01:23
Rounding off
Nitpicking, I can see that the jigsaw'ed edges are showing a bit in the photo.
From my personal experience in rounded edges, I would say that the best way to make them smooth is by using a belt sander (not as hard as one might think), or use a router with a center rotating point, to make it from the start 100% round and smooth.
Remember though, that making the cut with the router option only works for totally round, constant radius edges (if the radius changes, as in side table sides or such, you cannot use the fixed center router accessory).
jrankintamu
Fri, 05/04/2012 - 21:38
I will be making these
I will be making a pair of these soon. Just as soon as I finish the coffee table. (All I have left to do is stain) I'm so super excited.
mindy (not verified)
Sun, 09/16/2012 - 08:19
Question! The lowes and home
Question! The lowes and home depot that are near me do not carry 2 x3 boards. They looked at me like I was crazy and said it does not exist. They also said if I tried to split a 2 x 6 it would split. Got an suggestions?
mindy (not verified)
Sun, 09/16/2012 - 08:36
Question! The lowes and home
Question! The lowes and home depot that are near me do not carry 2 x3 boards. They looked at me like I was crazy and said it does not exist. They also said if I tried to split a 2 x 6 it would split. Got an suggestions?
Bander (not verified)
Sun, 09/16/2012 - 10:44
Ask about a 2x3 stud instead
Ask about a 2x3 stud instead of a board. 2x3 is a stud size, like 2x4 only not as common. If you end up getting the 2x6, you will be ripping (cutting) it to size on a table saw, not splitting it. People do this all the time and it doesn't split the wood.
It sounds like they may have been confused because you were not using words in the way they are used to, but they should have taken the time to understand what you needed.
DianeHibbs
Mon, 03/18/2013 - 20:11
pocket holes on beveled ends???
Am I missing something here? I can't, for the life of me, figure out how to put pocket holes in the skirt pieces. Please help!!
In reply to pocket holes on beveled ends??? by DianeHibbs
DWL
Thu, 08/21/2014 - 11:52
pocket holes on beveled ends
Hi Diane,
I had the same problem. I'm almost done with the table and will post pics in a few days, but the pocket holes on the beveled ends set me back significantly. First, with the 45 degree bevel, a 3/4 pocket hole is too short - it breaks through at the angle and leaves nothing to hold on to. To fix this, I adjusted the length of the pocket hole to 7/8 which solved the problem (i left the drill bit at 3/4 and adjusted the blue drill slot only). Unfortunately, this didn't solve my next problem, which was how to screw into the angled legs without the sides being pulled out of place. For me, whenever I attempted to screw the ends onto the legs, the pocket screw sucked the end towards the outside of the table (hard to explain, but I assume this happened to you as well). In the end, I ended up putting the pocket holes on the outside and used Kreg plugs to fill in the holes. After sanding, it looks fine and since I will be painting the table, the little ovals won't be noticeable. I definitely feel your pain... Hard to imagine how other people found it so easy!
F16Lambo
Tue, 01/27/2015 - 17:32
Pocket holes on beveled ends
Wish I'd have seen your comments earlier, I've been having the same results with the inside pocket screws. Did you leave the pocket hole at 7/8 setting when you flipped the board and drilled on the outside? What about pre-drilled finish nails and glue instead? Thanks, Don