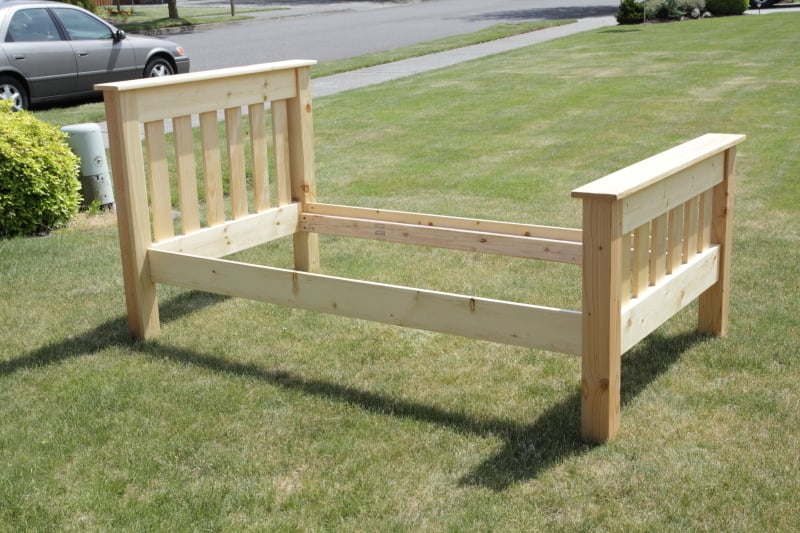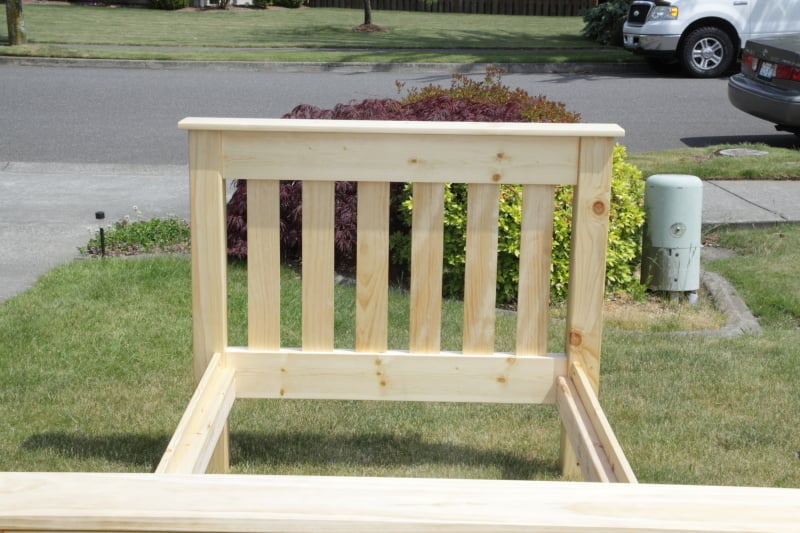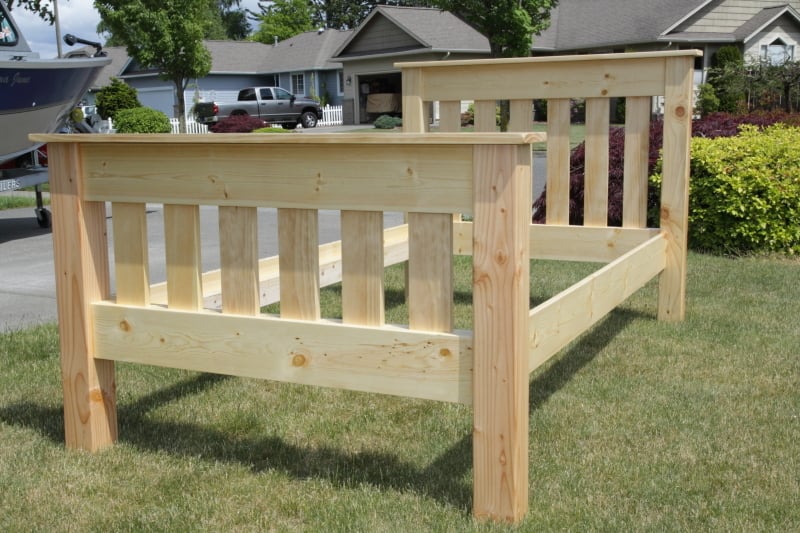
Total cost was under $200. The wood was a combination of select pine, Douglas fir. I used Minwax clear finish. Instead of slats I used plywood. This is going into the spare bedroom. We are quite pleased.


Built from Plan(s)
Estimated Cost
$200.
Estimated Time Investment
Weekend Project (10-20 Hours)
Finish Used
Minwax wood conditioner and Minwax clear Polyurethane fast drying.
Recommended Skill Level
Intermediate
Comments
GMWW
Mon, 05/28/2012 - 19:51
We chose to go with a 1 x 6
We chose to go with a 1 x 6 instead of a 2 x 4 for the top of the head and foot boards.
Jake
Tue, 05/29/2012 - 16:29
Take it Apart?
Can you take the bed apart in case you move? You did a great job.
GMWW
Fri, 06/01/2012 - 20:45
Yes it comes apart. A total
Yes it comes apart. A total of four pieces. Headboard, footboard, and the two sides. Also a fith piece if you count the plywood base for the mattress. The sides are screwed in at each of the corners of the head and footboards.
PSUlion01
Mon, 05/12/2014 - 19:01
Nice!
Thinking of building this for my son as we move from crib to bed. Just curious how sturdy and strong the bed is? From the pictures it doesn't look like there's much wood where the rails attach to the head and footboard. Did you use pocket holes and screws? Any comments on how it's held up, what you might do differently? Also any idea if it'll hold a kid and parent for nightly story time?
Thanks...nice work!
GMWW
Wed, 05/14/2014 - 15:22
It is in our guest room and
It is in our guest room and does not get much use. However, it is screwed in at the corners not with pocket screws because the rails were too close to the edges. I chose to screw them in starting farther back and at a 45 degree angle to send the screw deeper towards the center of the four posts. It is very strong. Another suggestion would to purchase bed hardware. Hardware can be found online or in a hardware stores for attaching rails to bed posts. I've used such hardware for fixing commercial beds I've purchased.
Hope this helps.
ShaunSmith
Sun, 11/02/2014 - 08:26
Hi there
You did a beautiful job of making that bed. Any chance you could tell me where you put all the screws? We have a Kreg Jig but are completely stuck on where to put the screws in without seeing them (because we'd like to stain).
GMWW
Tue, 01/20/2015 - 15:25
Sorry it took so long to
Sorry it took so long to answer. Where I put the screws depended on how the bed was going to be placed in the room. In our case, the headboard was going to up against a wall. Therefore the screws were on the wall side of the headboard. The footboard of the bed had the screws on the mattress side. Kreg sells pocket hole plugs that work very well. Glue them in after you screw the head and foot boards together and sand them before finishing.
The sides of the bed that are attached to the head and foot boards and screwed in too. I had to screw them in at a sharper angle to get enough sideboard material but deep enough into the head and foot boards in. Use the longest screws possible for strength without going all the way through the four corner posts.
GMWW
Tue, 01/20/2015 - 15:37
Edit
Sorry I had to take a look again at the underside of the bed. I actually used the pocket hole screws on the sideboard to attached to the foot and headboards cross pieces if that helps.
GMWW
Tue, 01/20/2015 - 15:50
Either way described above
Either way described above will work. See added photos of plugged finished pocket holes and underside attachment to foot-board.