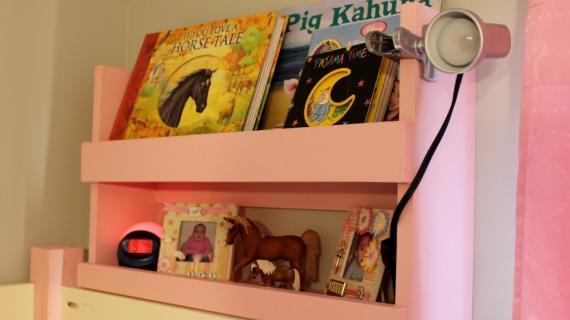
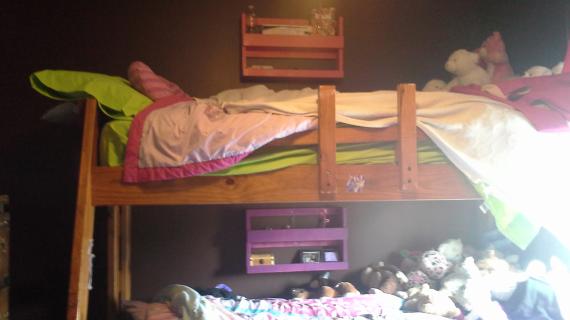
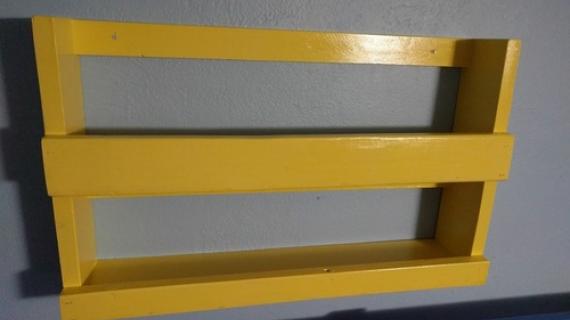
So we just put some bunkbeds in my sons' room. The problem is my oldest always likes water by his bed so I needed somesort of a nightstand. After searching I found a shelf online that was pretty pricey and of course I thought I could do something cheaper. I didn't make it exactly the way it looks but hey all I had to buy was some spray paint, so yay!
Preparation
1 - 1 X 2 (6 ft or scraps see cut list)
1 - 1 X 3 (6 ft or scraps see cut list)
1 - 1 X 4 (6ft)
2 - 1X2 @ 20"
1 - 1X2 @ 21 1/2"
1 - 1X3 @ 21 1/2"
2 - 1X4 @ 13"
2 - 1X4 @ 20"
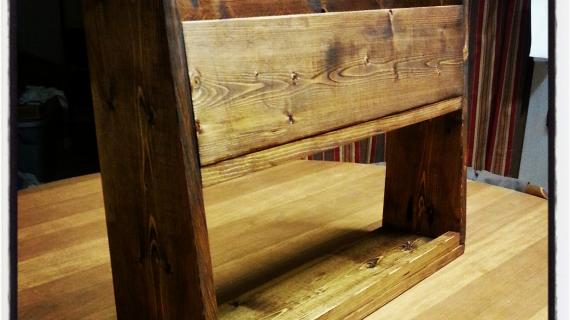
All cuts were cut straight if desired you could round the upper corners of the 13" pieces. I just was in a hurry.


Please read through the entire plan and all comments before beginning this project. It is also advisable to review the Getting Started Section. Take all necessary precautions to build safely and smartly. Work on a clean level surface, free of imperfections or debris. Always use straight boards. Check for square after each step. Always predrill holes before attaching with screws. Use glue with finish nails for a stronger hold. Wipe excess glue off bare wood for stained projects, as dried glue will not take stain. Be safe, have fun, and ask for help if you need it. Good luck!
Instructions
Step 1

Predrill and countersink holes on both 13" boards. I did three holes across the bottom of each board. Measure up 6 1/4 in. from the bottom edge of each 13" and predrill 2 holes. Now attach the bottom board and the middle board using 2in. screws.
Step 2

Under the middle shelf I added a 1X2, predrill and screw this into the sides using 2in. screws. Also add a 1X2 at the top of the shelf. Both of these 1 X 2 will be used to attach the unit to the wall.
Step 3

Flush with the bottom edge of the bottom shelf, attach the 1X2@21 1/2" to the front using wood glue and finishing nails. Then attach the 1X3@21 1/2" to the middle shelf in the same manner.
Step 4
Before painting or staining locate the studs on your wall where you will be hanging the unit. You should be able to hang the unit on 2 studs, predrill the holes for the studs on the 1X2 boards. Then proceed to sand and paint as you like. Hopefully my instructions weren't too confusing.
It is always recommended to apply a test coat on a hidden area or scrap piece to ensure color evenness and adhesion. Use primer or wood conditioner as needed.