
Do you remember last year when we poured the slab for the Momplex, that we used up the extra concrete to fill up these sonotubes? (UPDATE: Thanks to all of you, I now know those are not spelled saunatubes! hehe!)

Well, today, they are going to become more than just an obstacle to avoid in front of the Momplex.

Those posts are the foundations for the little roofs!

And today we are going anchor beams into those concrete filled sonotubes so we can start building those roofs.
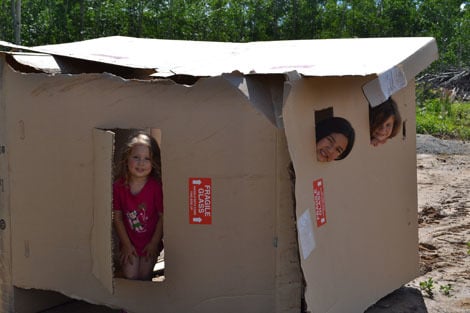
We've got entertainment up on the hill today. The boxes for the windows are keeping the girls occupied. Time to get stuff done!
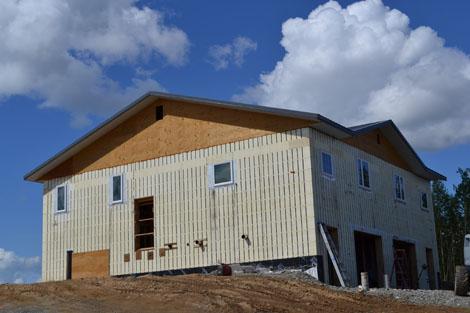
The little roofs are like <a href="http://ana-white.com/2012/05/momplex/new-hair" target="_blank">the new hair (or the front roof gable end) </a>on the Momplex. They are mostly decorative, making the very boxy looking Momplex look not so boxy. But they also will protect the garage man doors from snow fall and shed rain water.<p></p><p><img src="http://ana-white.com/sites/default/files/imagecache/Full/footers-for-de…; style="height: 300px; " alt="" /></p><p></p><p>Remember we'd filled the saunna tubes up in front to just the right height and screeded off the top, waiting for this very day. Today, we'll put anchors in and add the front beams.</p><p></p><p></p><p></p>
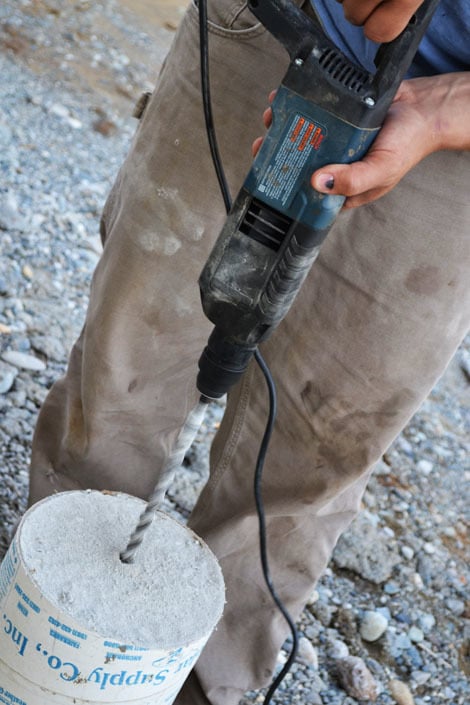
We start the construction with a concrete drill. If you build an ICF home, go buy a concrete drill. You will need it. We've used it for<a href="http://ana-white.com/2011/12/momplex/top-plates-hard-way" target="_blank"> anchoring top plates</a> (brr, don't remind me!) to attaching interior walls to the ARXX blocks, and that's just the beginning. <p></p><p>We are drilling holes in the center of the concrete, keeping the drill square with the concrete surface. The bit is slightly larger than the concrete anchor bolts. There is some room for being "off" but it's always better to be as precise as possible.</p><p></p><p>After drilling the hole, a small tube is inserted in the hole and we use the leaf blower to clean out the hole.</p><p></p><p></p>
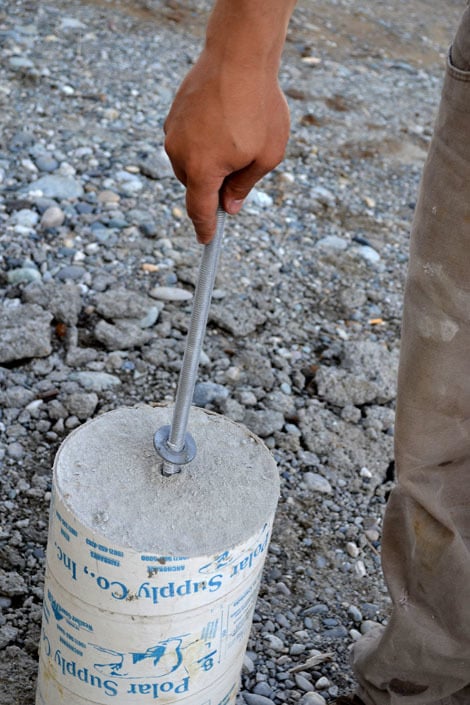
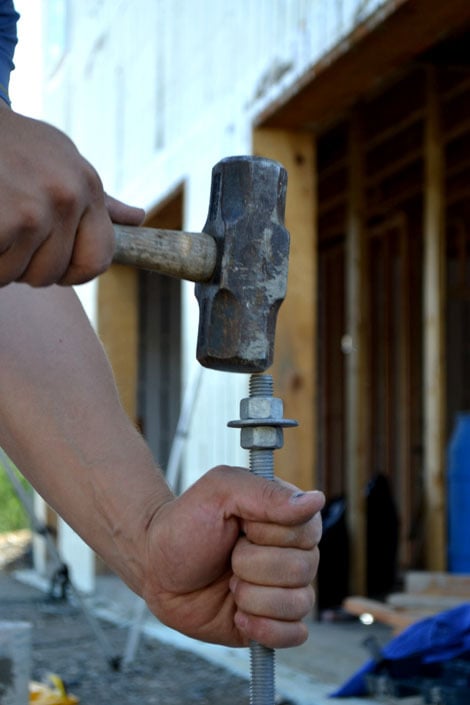
Then the concrete anchor bolts are tested for fit.
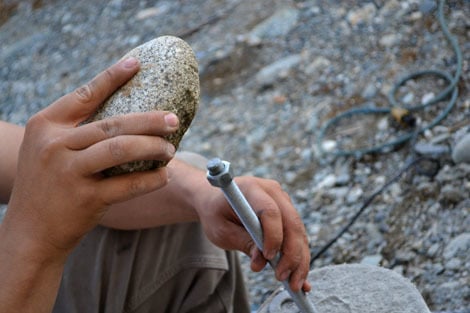
Who needs a hammer?
Oops, now we have to pull it back out and put the glue in .....
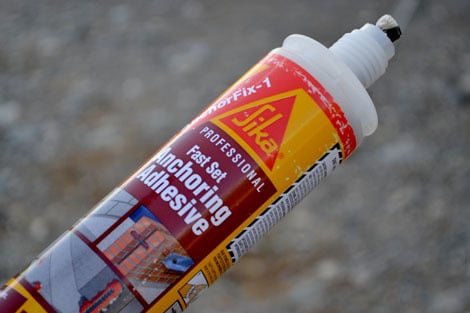
With the holes drilled and tested for fit, we'll be using Anchoring Adhesive to anchor the bolts in the concrete.
Just squirt it in the hole.
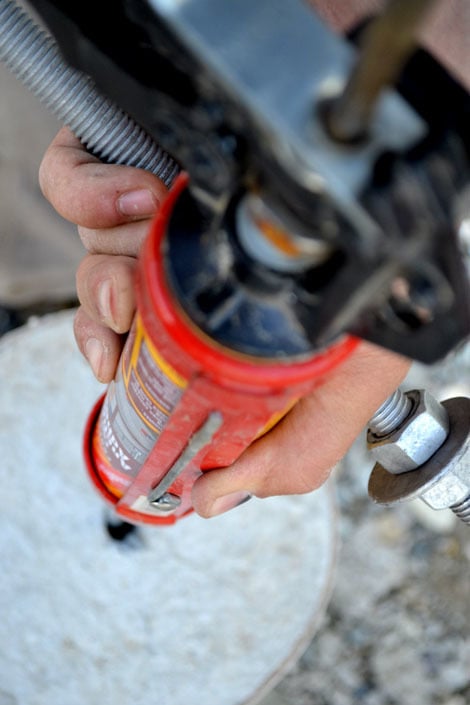
And put the bolt in.
Make sure the bolt is all the way in the hole, at the very bottom. If not, it will settle later on, and you'll have a low point :(
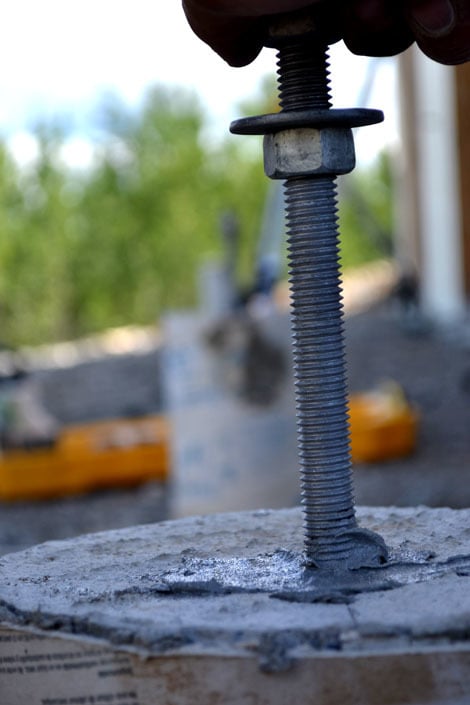
If you've put enough Anchoring Adhesive in, it will squish out the sides. That's a good thing.
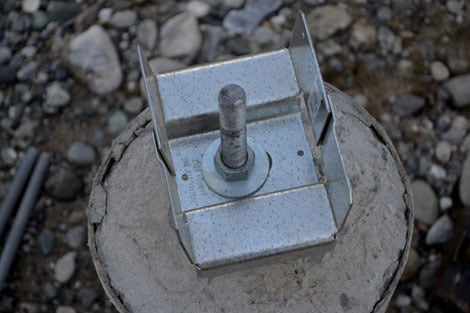
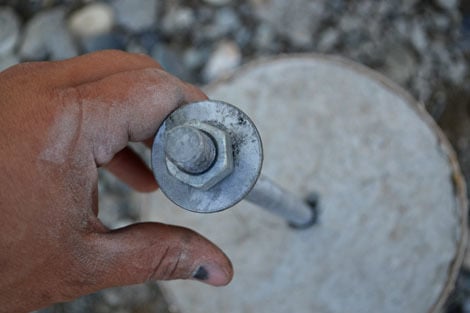
Over the bolt, we slip a post anchoring bracket.
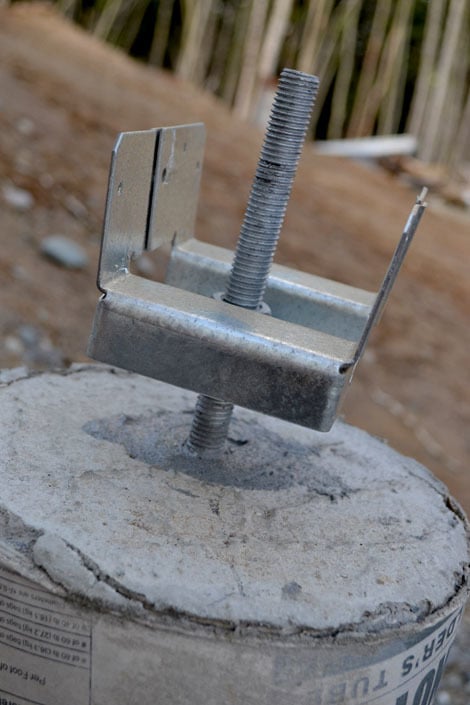
Not only is it adjustable up and down - even after installation if for example your sonotubes sink a little - but the brackets give you some play left to right as well.
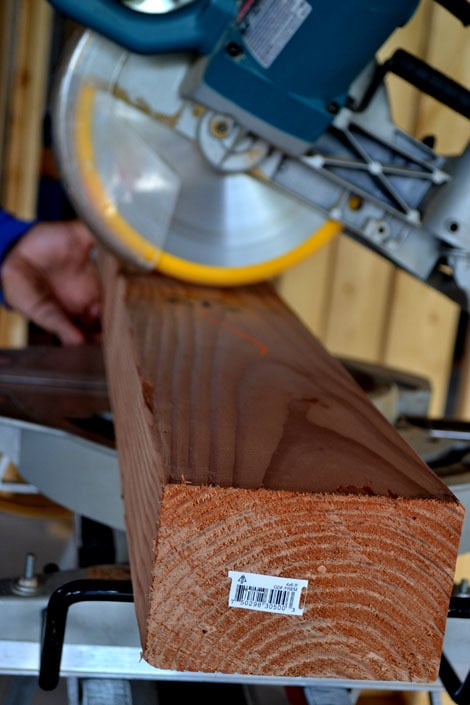
We cut the beams for the front of the little roofs with the miter saw. Any bigger and we'd be getting the chain saw out.
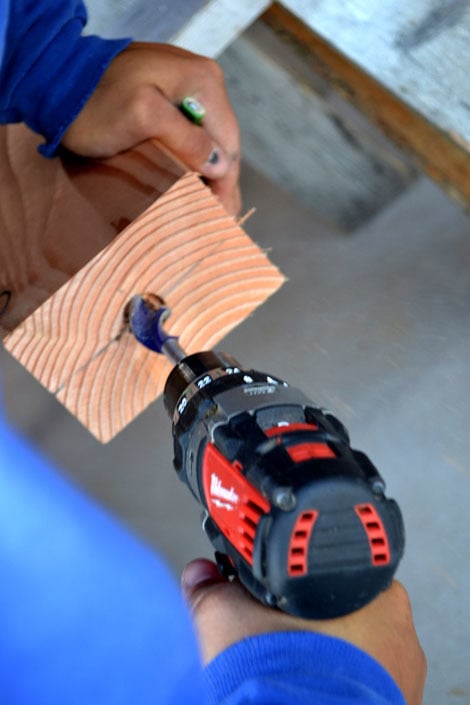
And bigger holes are drilled in the bottom of the beams. The excess bolt sticking up in the sonotube will be hidden inside this hole. By going a little bigger than the bolt, we are giving ourselves a little wiggle room.<p><br /></p><p><img src="https://lh4.googleusercontent.com/-QFzvahJGKA8/UAWgV8cvjiI/AAAAAAAALLc/…; style="height: 705px; " alt="" /><br /></p><p><br /></p><p>And because these things are always easier done on a flat level surface, not above you head, we go ahead and attach the header to the side beams. We are using really really long screws.</p><p><br /></p><p><img src="https://lh6.googleusercontent.com/-JSwsF07Dykw/UAWgYfSDsBI/AAAAAAAALLs/…; style="height: 705px; " alt="" /><br /></p><p><br /></p><p>We drive the screws into the beams</p><p><br /></p><p><img src="https://lh4.googleusercontent.com/-VtWEcnWFCX8/UAWgXN2ifaI/AAAAAAAALLk/…; style="height: 313px; " alt="" /><br /></p><p><br /></p><p>And one is done!</p><p><br /></p><p><img src="https://lh5.googleusercontent.com/-aSP12XLkpwM/UAWgZ1pkruI/AAAAAAAALL8/…; style="height: 705px; " alt="" /><br /></p><p><br /></p><p>As a whole unit, the beam is brought outside and fit over the bolts and into the brackets.</p><p><br /></p><p><img src="https://lh3.googleusercontent.com/-woyyxBOYQWY/UAWgZvzLGFI/AAAAAAAALL0/…; style="height: 313px; " alt="" /><br /></p><p><br /></p><p>And then the brackets are screwed to the posts.</p><p><br /></p><p><img src="https://lh4.googleusercontent.com/-WeQ6juHw5hA/UAWgagBkvkI/AAAAAAAALME/…; style="height: 705px; " alt="" /><br /></p><p><br /></p><p>Everything is checked for square and adjusted</p><p><br /></p><p><img src="https://lh4.googleusercontent.com/-yUkBgFHv-9o/UAWgcH76HHI/AAAAAAAALMU/…; style="height: 705px; " alt="" /><br /></p><p><br /></p><p>And the bolts are tightened when it's all just right.</p><p><br /></p><p>Now the fun part .... we get to build the roofs!!!! </p><p><br /></p><p>Can't wait!</p><p><br /></p><p><br /></p>
Comments
Quest JKL (not verified)
Tue, 07/17/2012 - 12:25
Bolts
In reply to Bolts by Quest JKL (not verified)
Ana White
Tue, 07/17/2012 - 13:55
You are 100% correct - we
Carrie Witty (not verified)
Tue, 07/17/2012 - 12:31
I think you mean sonotubes.
In reply to I think you mean sonotubes. by Carrie Witty (not verified)
Ana White
Tue, 07/17/2012 - 13:53
haha!! Laughing at myself
Carrie Witty (not verified)
Tue, 07/17/2012 - 19:13
No problem!
Brenna (not verified)
Tue, 07/17/2012 - 13:21
Updates are fun!
melanie dahlan (not verified)
Tue, 07/17/2012 - 15:54
Thanks for sharing your
Lindsay Humphreys (not verified)
Tue, 07/17/2012 - 20:41
Ana - we have these ugly
guard4114 (not verified)
Wed, 07/18/2012 - 05:13
My dad has these as well.
In reply to Ana - we have these ugly by Lindsay Humphreys (not verified)
Ana White
Thu, 07/19/2012 - 11:16
Hi Lindsay - thank you! We do
Guerrina
Wed, 07/18/2012 - 12:50
Love The New Hair!
William Markart (not verified)
Thu, 07/19/2012 - 12:26
Wow, just WOW!