
This project ... building these little roofs over the Momplex front doors ... it only took a day or so. But I think I'm dragging it out into three posts because I loved working on it so much. Wood is definitely my favorite material to work with, and I love revisiting this building project.
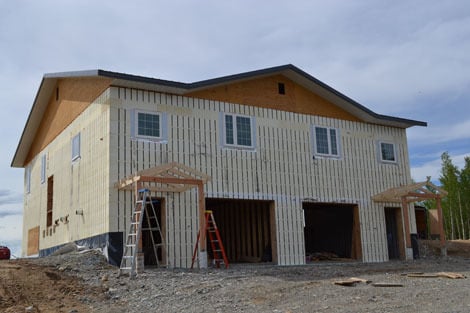
We've got the two little roofs framed and anchored to the Momplex, and today we are going to finish them out!
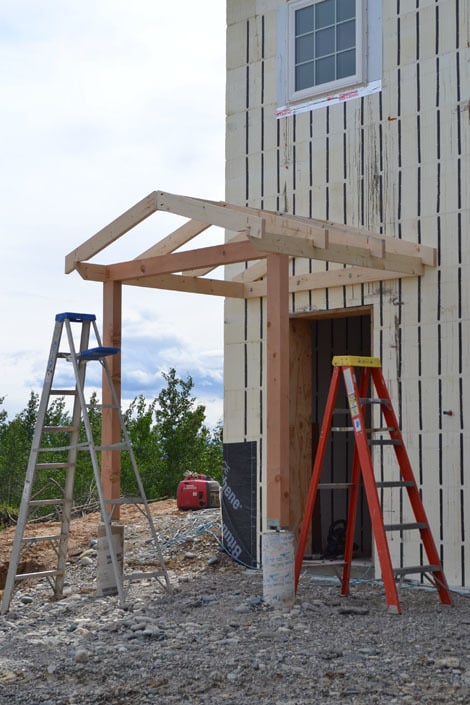
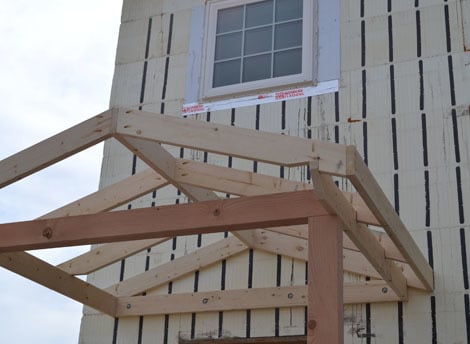
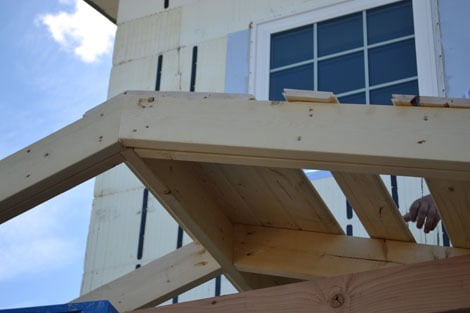
We'd just put the rafters up and ridgepole. But the ends are open, and the front rafters have visible birdsmouth notches that we need to cover up.
So first, we screw a 2x6 to the end of the rafters. We mark out the placement of the rafters - 24" on center for this project - and attach to the rafters with screws.
We'll be covering this part up later with tin, so not terribly worried about exposed screw holes here.
Just focusing on getting a good fit.
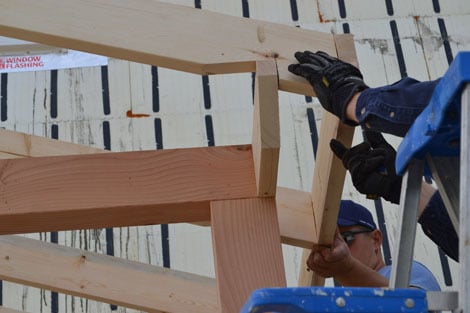
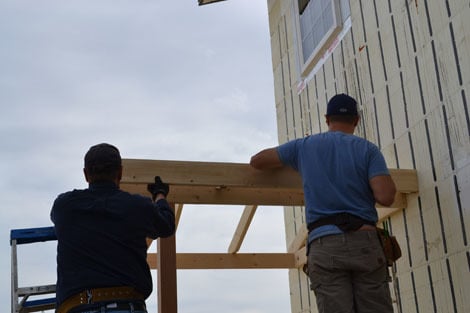
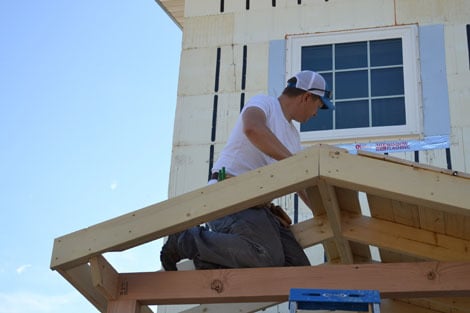
Now we need to add the fascia board to the front to cover up those birdsmouth cuts.
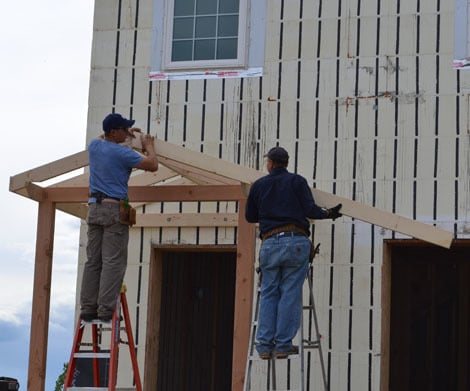
We want this board to fit perfect, so we measure and mark in place.
And then attach with the nail gun.

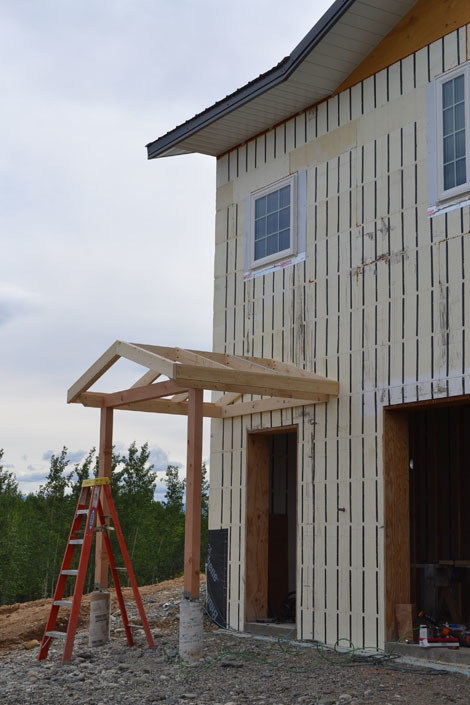
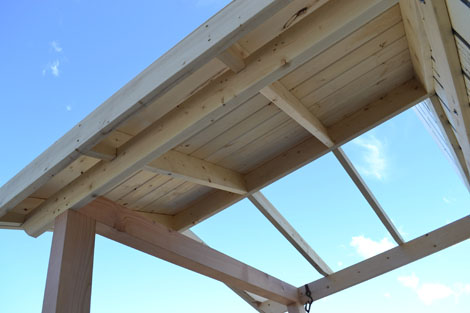
This finishes out the roof framing.
We had thought about finishing up the underside of the roof with sofit material,
But on this underside of the little roofs, protected from the elements, easy to reach if needed with a brush, I jumped at the chance to put some wood on the Momplex exterior.
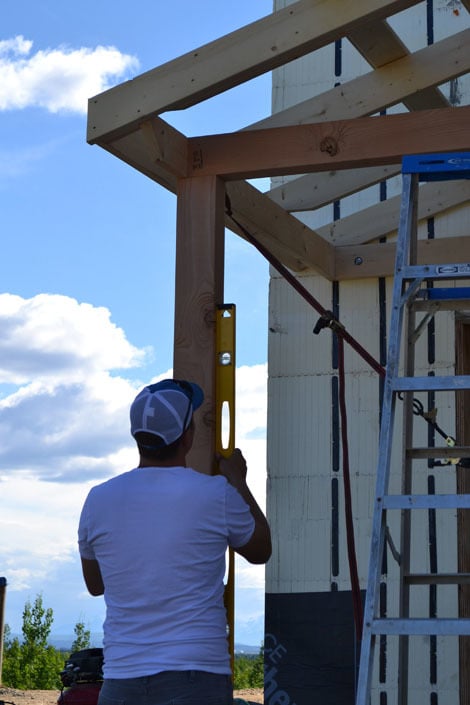
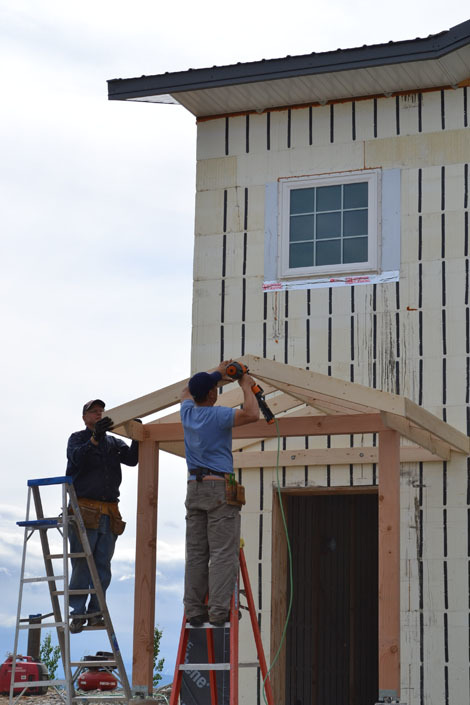
Before we attach the wood, we square up the little roofs and check for level.
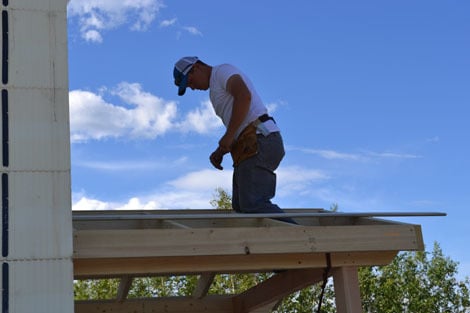
And then the Ram climbs up on top and takes a measurement. Cut me 40.<p><img src="https://lh4.googleusercontent.com/-lxj3vJ8hR2g/UA7o57H6HPI/AAAAAAAALVQ/…; style="height: 313px; " alt="" /><br /></p>
We start by fitting the very top boards in place.
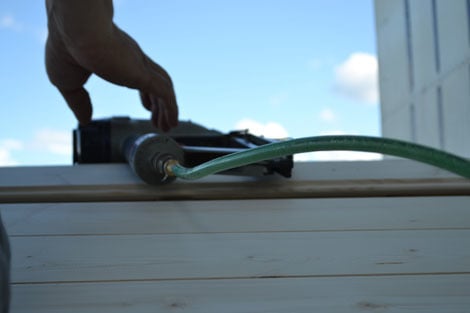
You recognize this nailer.
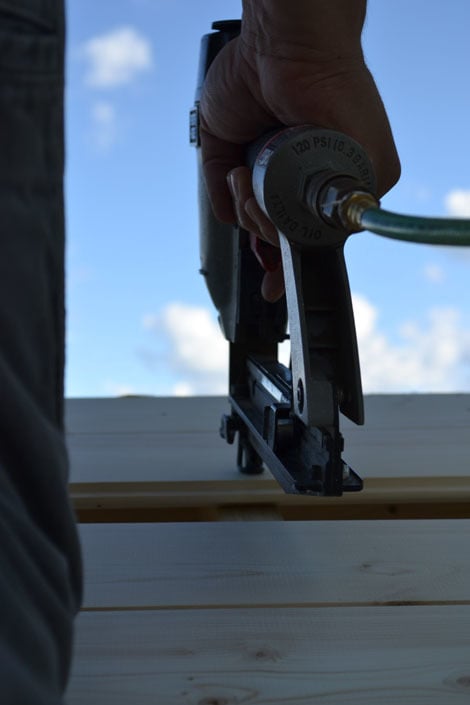
Still going strong, 10 years, four building and who knows how many pieces of furniture later. We nail the tongue and groove down to the rafters.
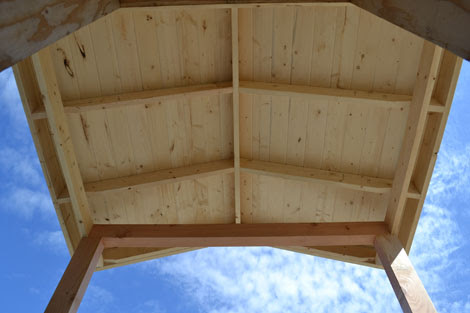
<p></p><p><img src="https://lh4.googleusercontent.com/-skq7CwxTfwQ/UA7or4ISL5I/AAAAAAAALUY/…; alt="" /></p><p></p><p>We are using locally milled tongue and groove. Each board fits into the next to make a beautiful, finished joint.</p>
Once the first boards go in place, the rest slide in and get nailed down faster than I can cut.

Maybe I should stop pausing and admiring our progress!
But it is so beautiful!!!
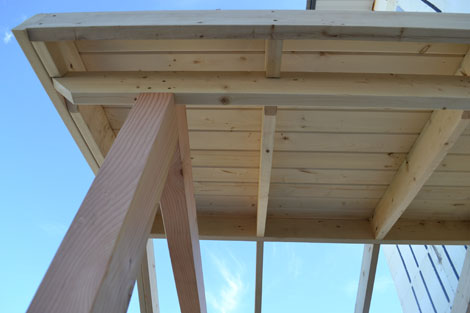
Not only does the tongue and groove finish out the undersides of the little roofs, but it provides structure and support to the roof, and gives us something to attach roofing too.

We finish out both roofs the same.

And then use the scrap tongue and groove to fill in the open part between the rafters connected to the ICF walls and the back support. Very pretty.
Now what color to stain?

We'll see what the roofs look like after we put the roofing on!
Comments
Kimberly Ann (not verified)
Tue, 07/24/2012 - 14:15
AHH!
In reply to AHH! by Kimberly Ann (not verified)
Ana White
Tue, 07/24/2012 - 15:56
Hi Kimberly Ann thank you and
Derek M (not verified)
Tue, 07/24/2012 - 14:25
Awesome Job! Did you angle
In reply to Awesome Job! Did you angle by Derek M (not verified)
Ana White
Tue, 07/24/2012 - 15:59
Hi Derek, thank you! When we
Guerrina
Tue, 07/24/2012 - 16:46
Beautiful
birdsandsoap
Tue, 07/24/2012 - 17:26
so cool to see the cosmetic
Shasta (not verified)
Tue, 07/24/2012 - 18:59
Beautiful
Colleen M (not verified)
Wed, 07/25/2012 - 12:52
You guys are thinking of
maya (not verified)
Fri, 09/14/2012 - 01:15
Very pretty. Time to paint
anthonyansel
Mon, 03/11/2013 - 21:33
Stainless steel for roofing
andrewamos89
Wed, 03/13/2013 - 13:32
Membrane roofs refer to flat
reshhia
Fri, 05/10/2013 - 00:43
The seem and therefore are