I've been dreading this step.
Not because it's going to be long or hard or expensive or anything like that.

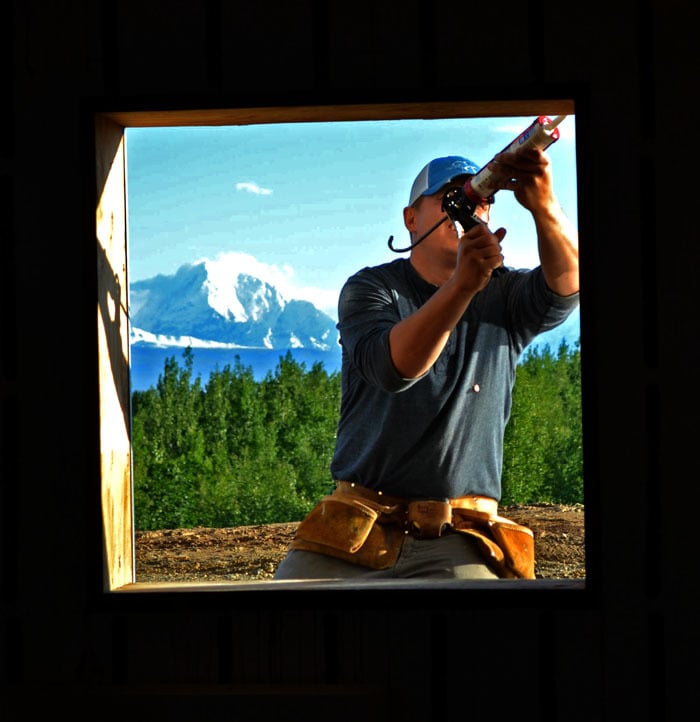
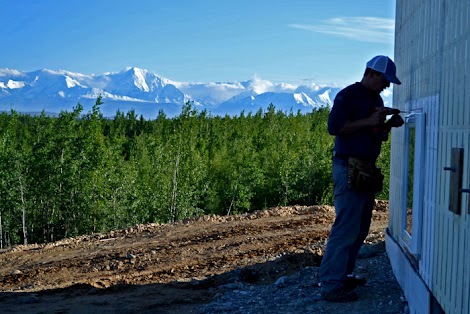
I've been dreading this step, because after today, all of the framed mountain views are going to get a mat and glass.
We are putting windows in today. And our views are going to get a little smaller, a little less clear, a lot less fresher, but certainly much warmer.

As is, the Momplex is certainly a little too drafty for both of Grace's Grandmas.
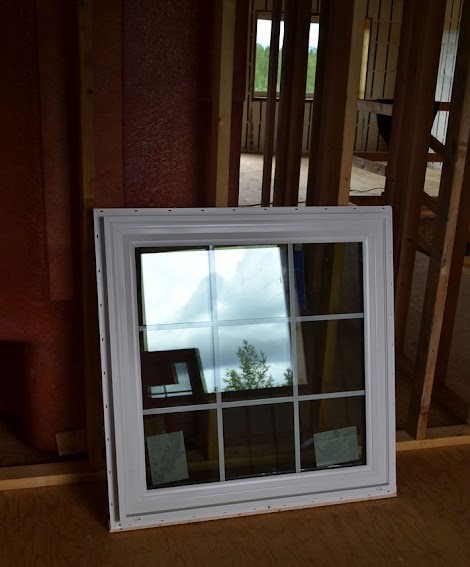
Living up here in Interior Alaska, with full knowledge that these windows will one day in fact see -60 below on the outsides and +70 on the inside - a temperature difference of 130 degrees from outside to inside of the glass, we've spent the money on getting triple pane insulated windows.
Triple pane doesn't just come with a price tag cost. The window frames are much chunkier, and I don't care what they say, they are darker too.
But these are the sacrifices one must make to live in a climate as harsh as ours.

Since we built with ARXX block walls, we will need to attach metal flashing around the sides to give us something to screw the window - and later on siding and trim - to. We had this metal stuff ordered up.
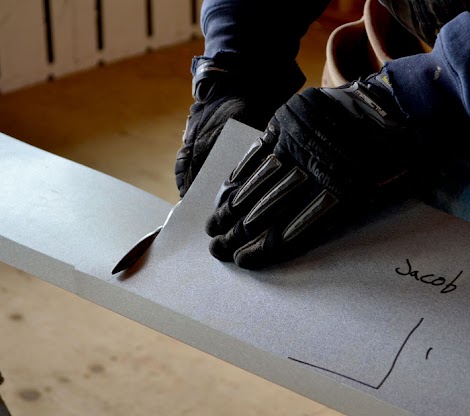
And then just used tin snips to cut to size.

Snip, snip.

The metal is wide enough to reach the black fastening strip on the ARXX block to be screwed in.

It also prevents drafts between the ARXX blocks and window bucks. All of the windows are done this way.

But on the bottom where we don't need the flashing, we add Window Seal stickers. It covers up the gap between the ARXX blocks and the window bucks on the top and bottom.
And then to prevent drafts between the window itself and the building, out comes the silicone.
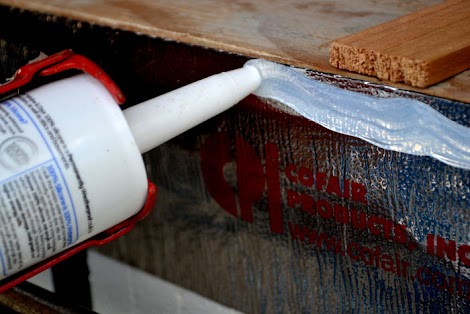
It's these little steps that make the big difference later on.

The silicone goes over the metal flashing too.

All the way around.

Now it's time for the windows to be installed. The wood stickers are removed from the windows and all packaging.

And then the window is placed bottom first in the opening from the outside.

From the outside, you won't be able to tell how the window is sitting in the room.
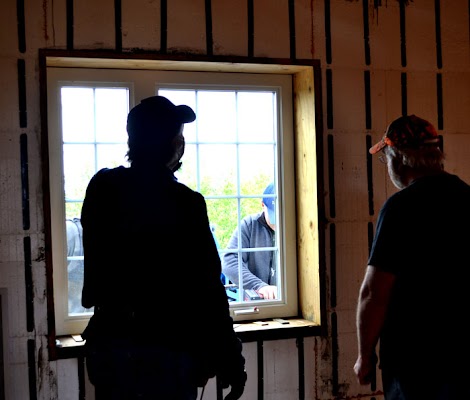
So we've got too people we can trust to do things right - Grandpa Tim and Uncle Bill - on the inside shimming the windows and checking for level.
Looks good!

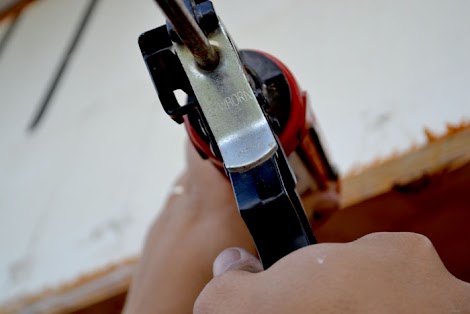
When they are happy with the window's fit, the window gets screwed to the exterior walls.
Screws are placed all the way around the window.

And the silicone squishes out around the window, fully sealing any gaps.
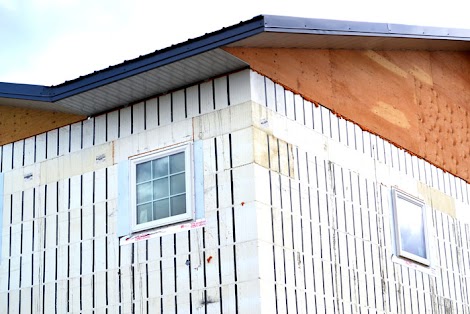
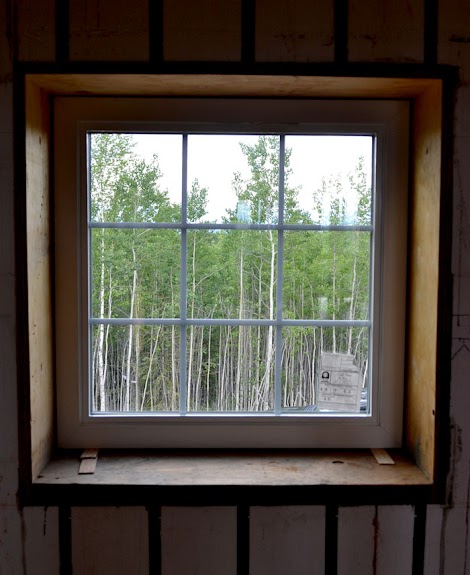
Done deal!

And in a matter of about 20 minutes a window, the views from inside the Momplex got about 20 percent less awesome.

But given the alternative - no window in December in Alaska - we'lll take it!

With the windows installed, we just need entry doors, garage doors and insulation in the roof to be able to turn the heat on!
Our plan is to complete all outside work this summer before we move in - things like decks and siding so when Mom does move in this winter, it's literally turnkey - as in turn the key - and we'll move inside this fall and start with interior projects. But either way, we are looking very good to have the Momplex fully shelled in for winter!
Thanks for reading and supporting! Can't wait to share our next little Momplex project with you - it's my favorite so far!
Comments
whitney_smith
Thu, 07/12/2012 - 12:29
Like it!
nicolae
Sun, 01/20/2013 - 03:13
Your project is amazing and
Cindy Irene (not verified)
Thu, 07/12/2012 - 14:57
I would love to build our own
Buy Kratom (not verified)
Thu, 08/02/2012 - 02:16
wow amazing :)
Leslie @ NE Po… (not verified)
Thu, 07/12/2012 - 14:58
ICF
Alice (not verified)
Thu, 07/12/2012 - 15:00
Yay for warmth, even at the
ferbit
Thu, 07/12/2012 - 16:12
How exciting!
birdsandsoap
Thu, 07/12/2012 - 23:12
You're not crazy! Those
John@RemodelingBIBLE (not verified)
Fri, 07/13/2012 - 00:28
Very informative and easy to
Guerrina
Fri, 07/13/2012 - 08:58
Multi-Paned Windows
LucyS (not verified)
Fri, 07/13/2012 - 09:05
20% Less Awesome View
redhead_61
Fri, 07/13/2012 - 10:13
Don't worry about windows
OmgVeronica (not verified)
Fri, 07/13/2012 - 15:32
YAY!!! How exciting! Don't
Ami (not verified)
Sat, 07/14/2012 - 16:38
Y'all are doing such an
Mandi S (not verified)
Sun, 07/15/2012 - 13:27
When we bought a house in
Satasha (not verified)
Mon, 07/16/2012 - 11:56
Insulation!
Shasta (not verified)
Tue, 07/17/2012 - 11:48
Love the windows. I have a
AcePab (not verified)
Fri, 07/20/2012 - 03:05
Beautiful view